
Guides · Fall planting · Published October 31, 2026
How to Plant Garlic in Fall, Step by Step
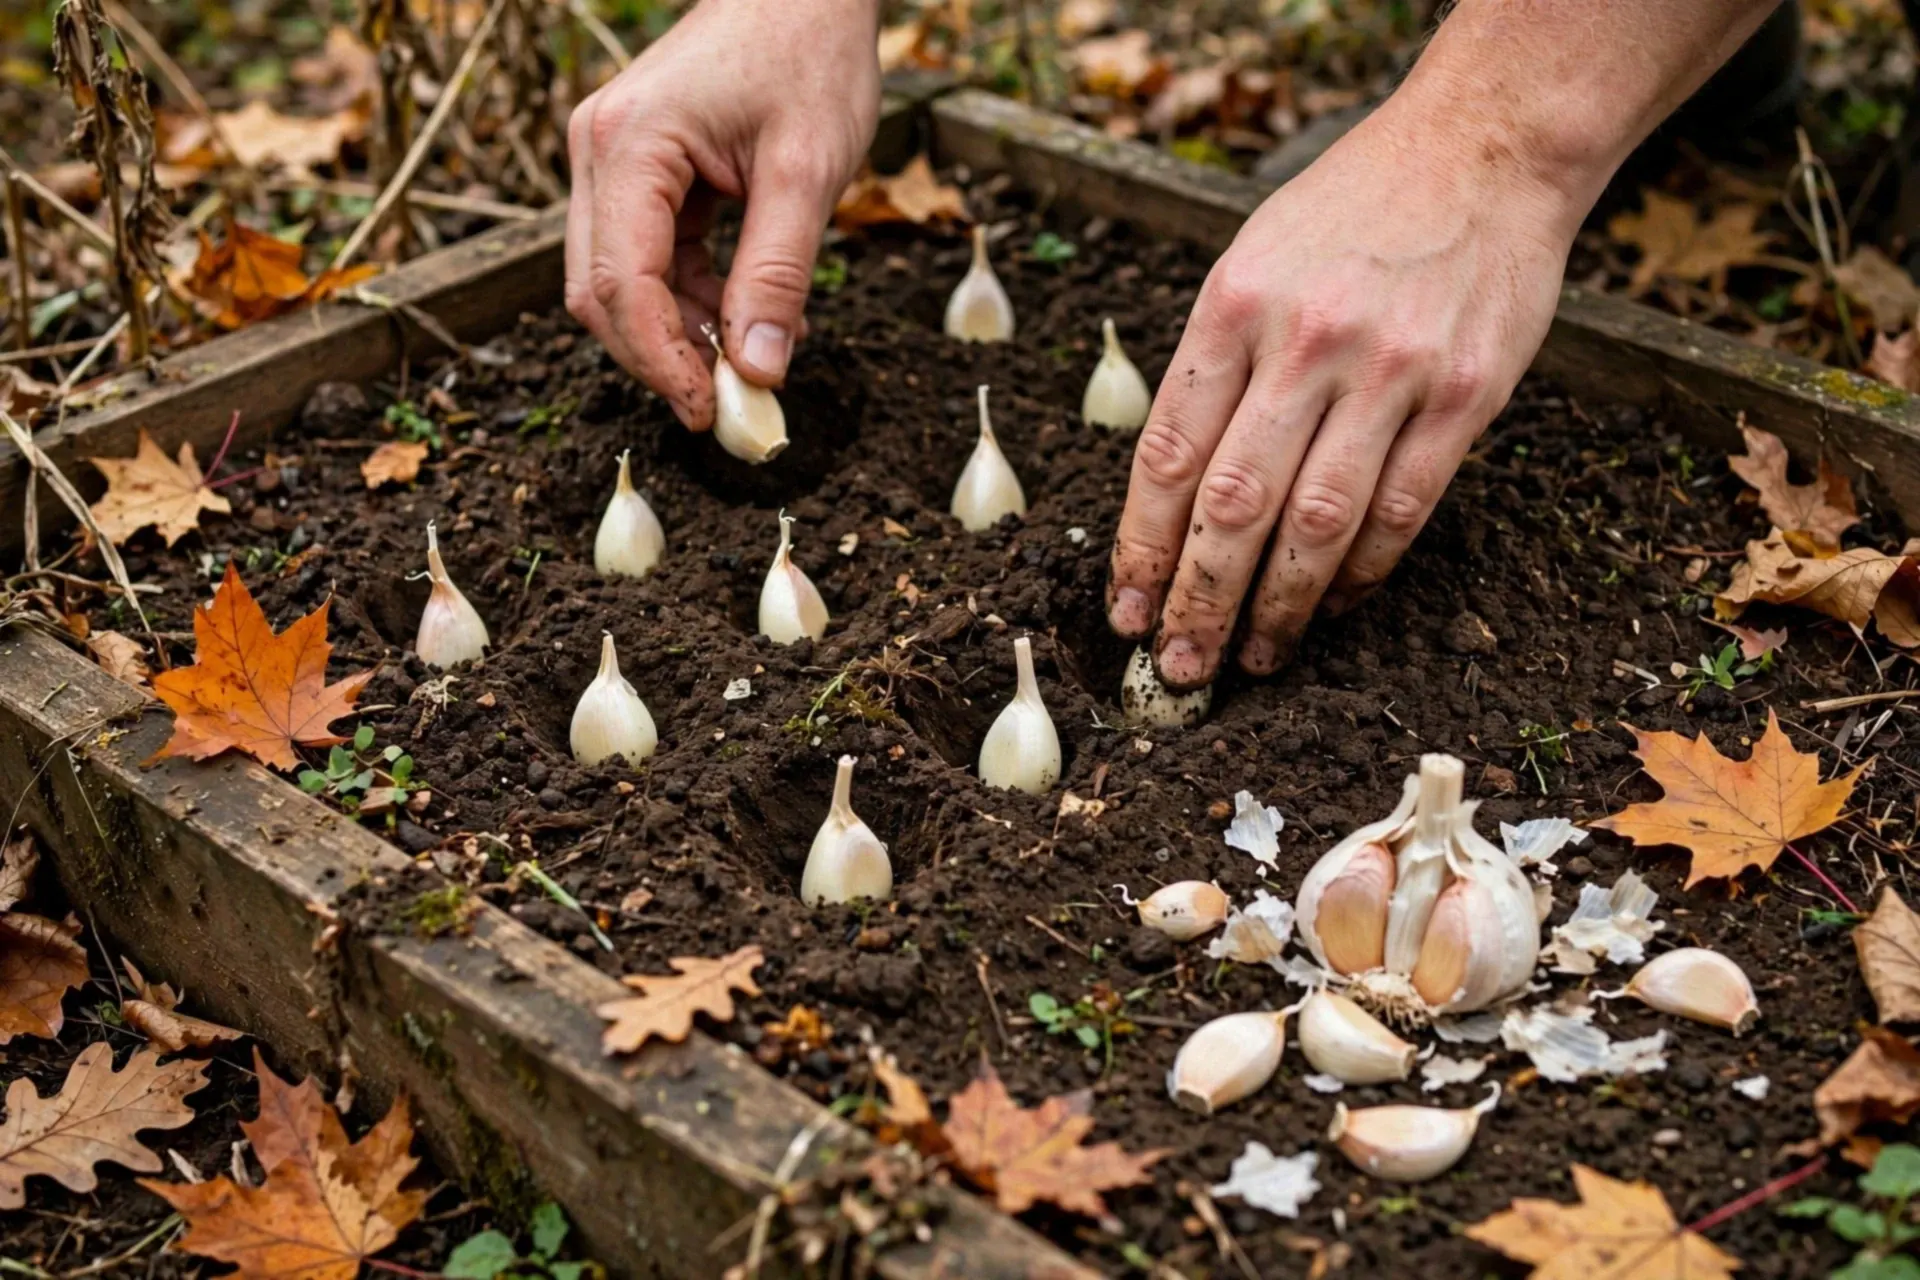
Garlic is the easiest win in the fall garden: plant it now, walk away for winter, and harvest full bulbs next summer. It works because garlic needs a cold spell to form proper cloves — fall planting gives it exactly that. Here is the whole job, in order.
What you need
- Seed garlic — about 1 bulb gives 5–8 cloves; each clove becomes one new bulb
- Compost to feed the bed — work out the amount with the Compost Calculator
- Straw or shredded leaves for mulch, 4–6 inches deep — amounts from the Mulch Calculator
- A fork or spade, a trowel, and a watering can
Step 1 — Pick the right type for your winters
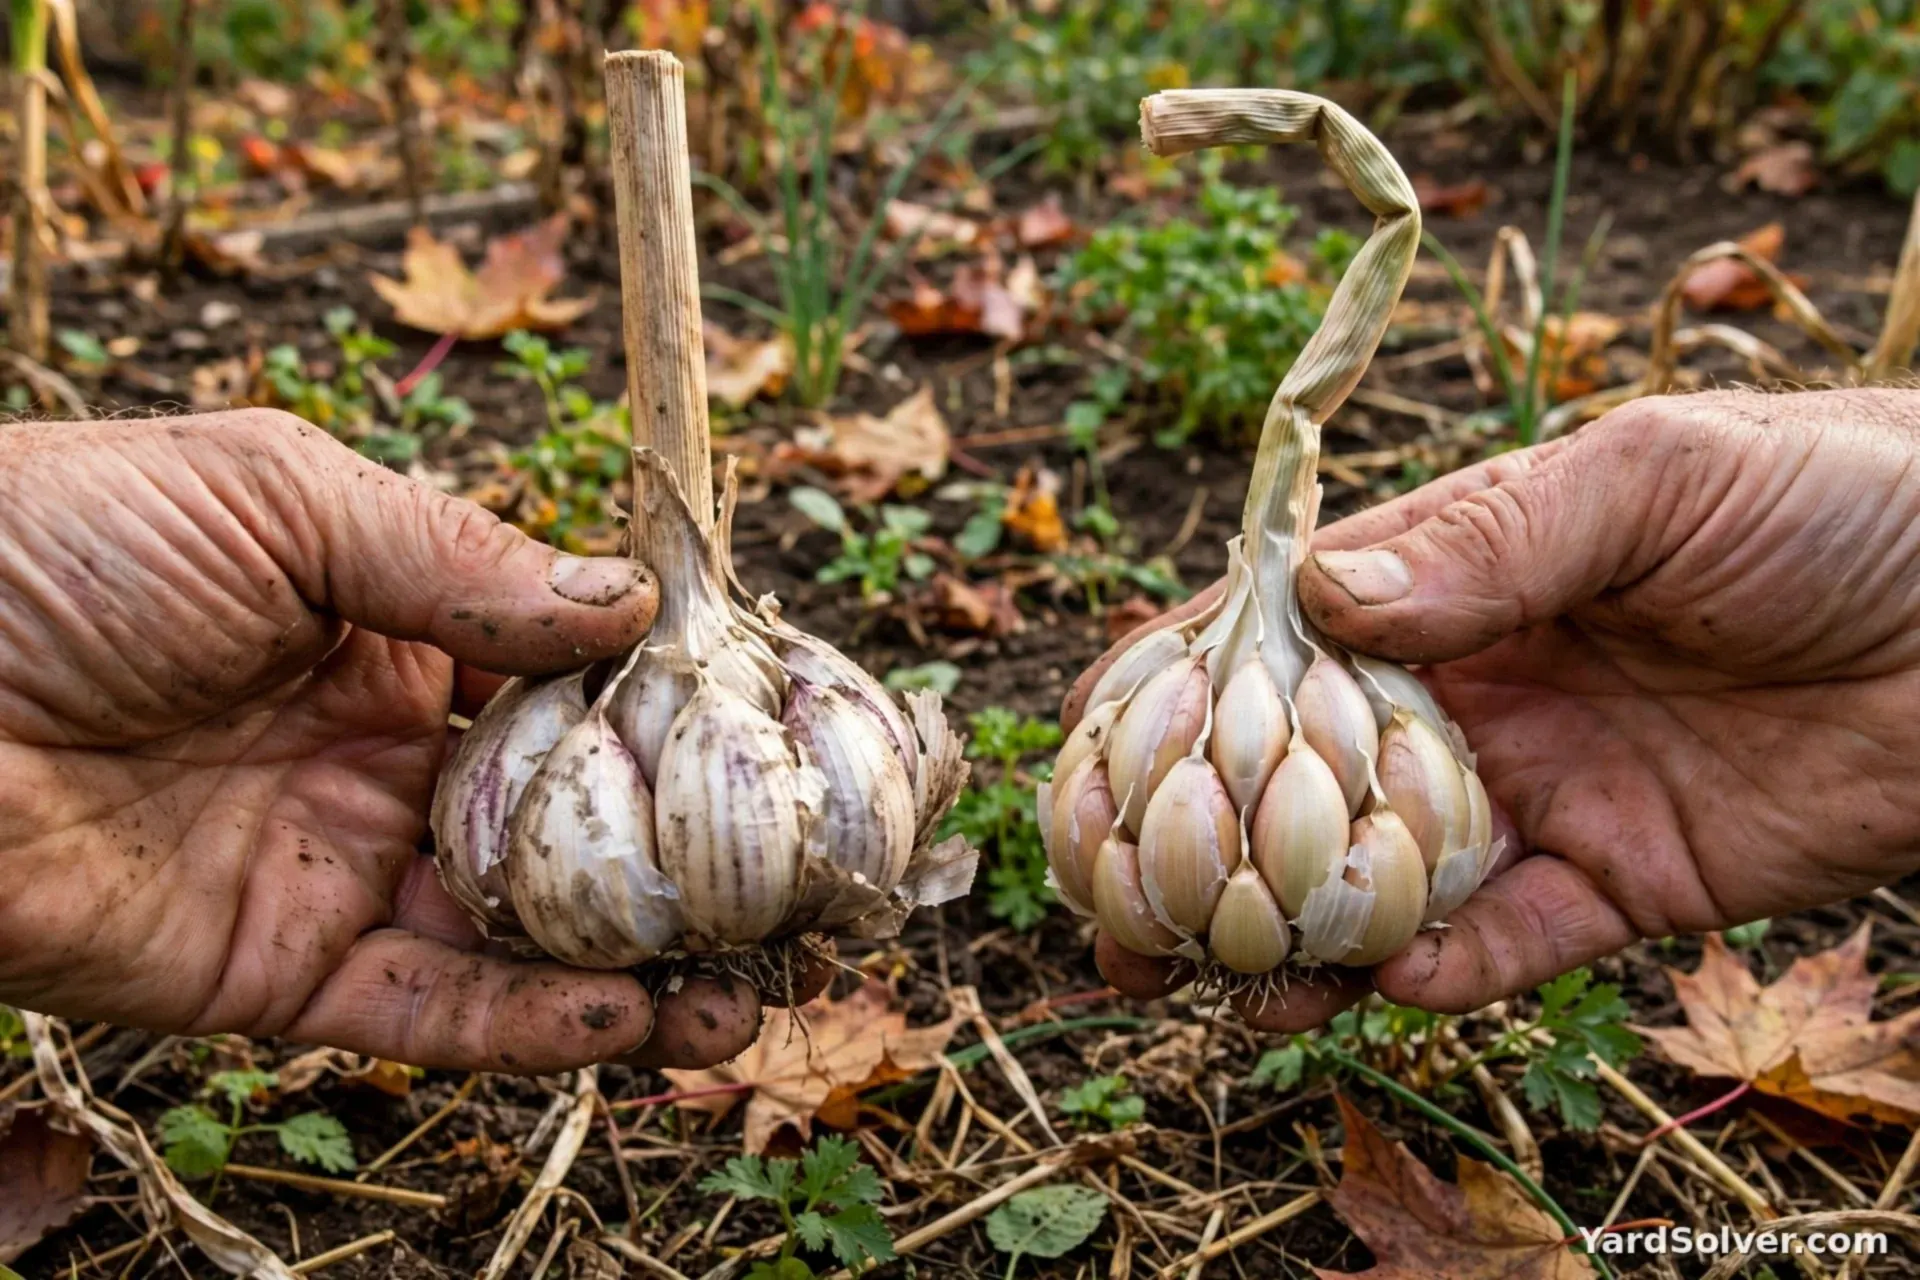
Hardneck garlic is the cold-climate choice (Canada and the northern US): it shrugs off deep freezes and makes the curly flower stalks called scapes in June. Softneck suits mild winters and stores longer. In a cold region, common hardneck names to look for are Music, German White and Russian Red.
Step 2 — Time it 4–6 weeks before the ground freezes
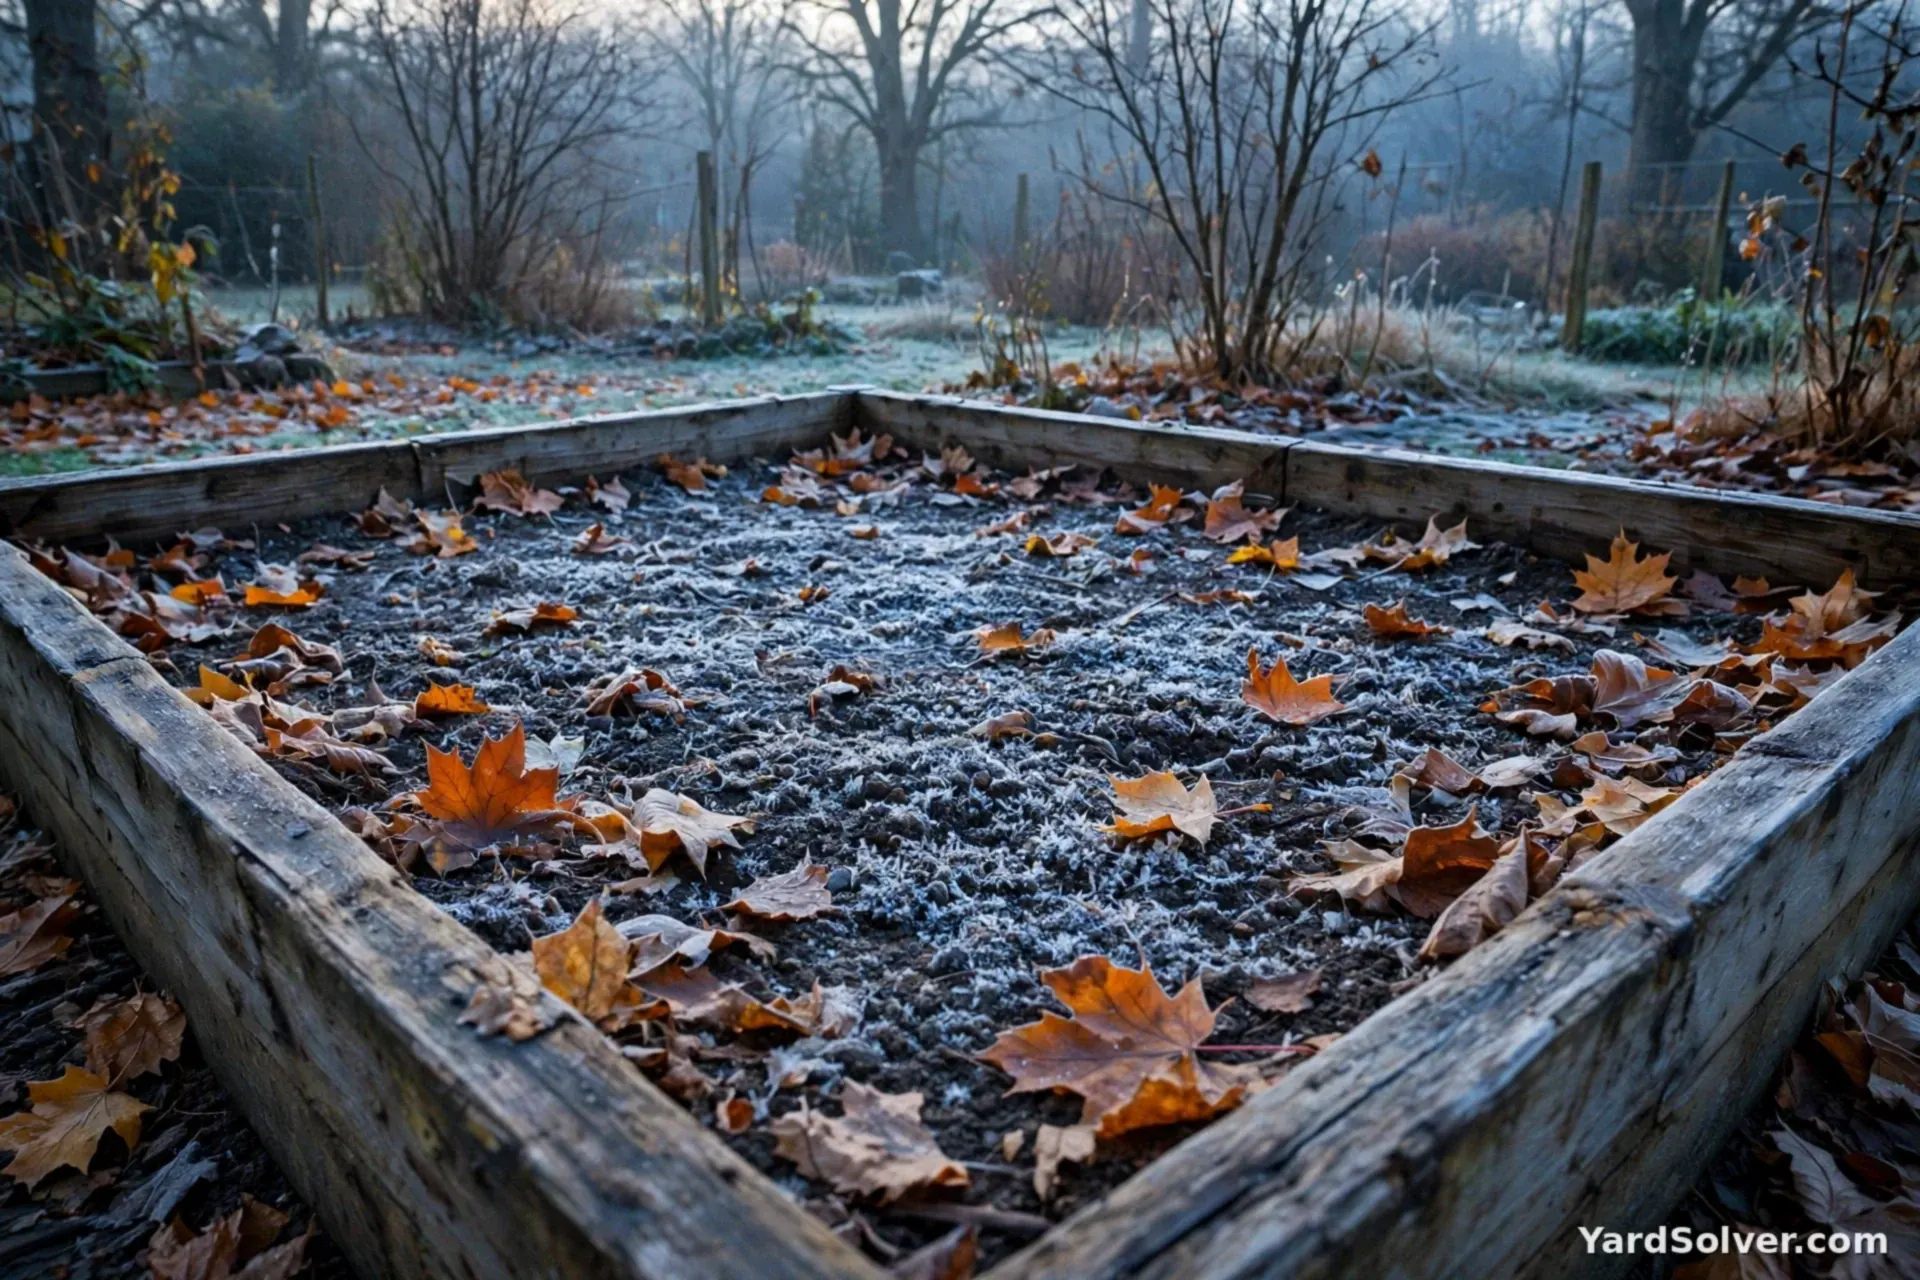
The cloves need time to grow roots — but not top growth — before winter locks in. For most of Canada and the northern US that means October to early November. Check your own frost dates on the Planting Calendar and count back from when your ground usually freezes hard.
Step 3 — Prepare the bed
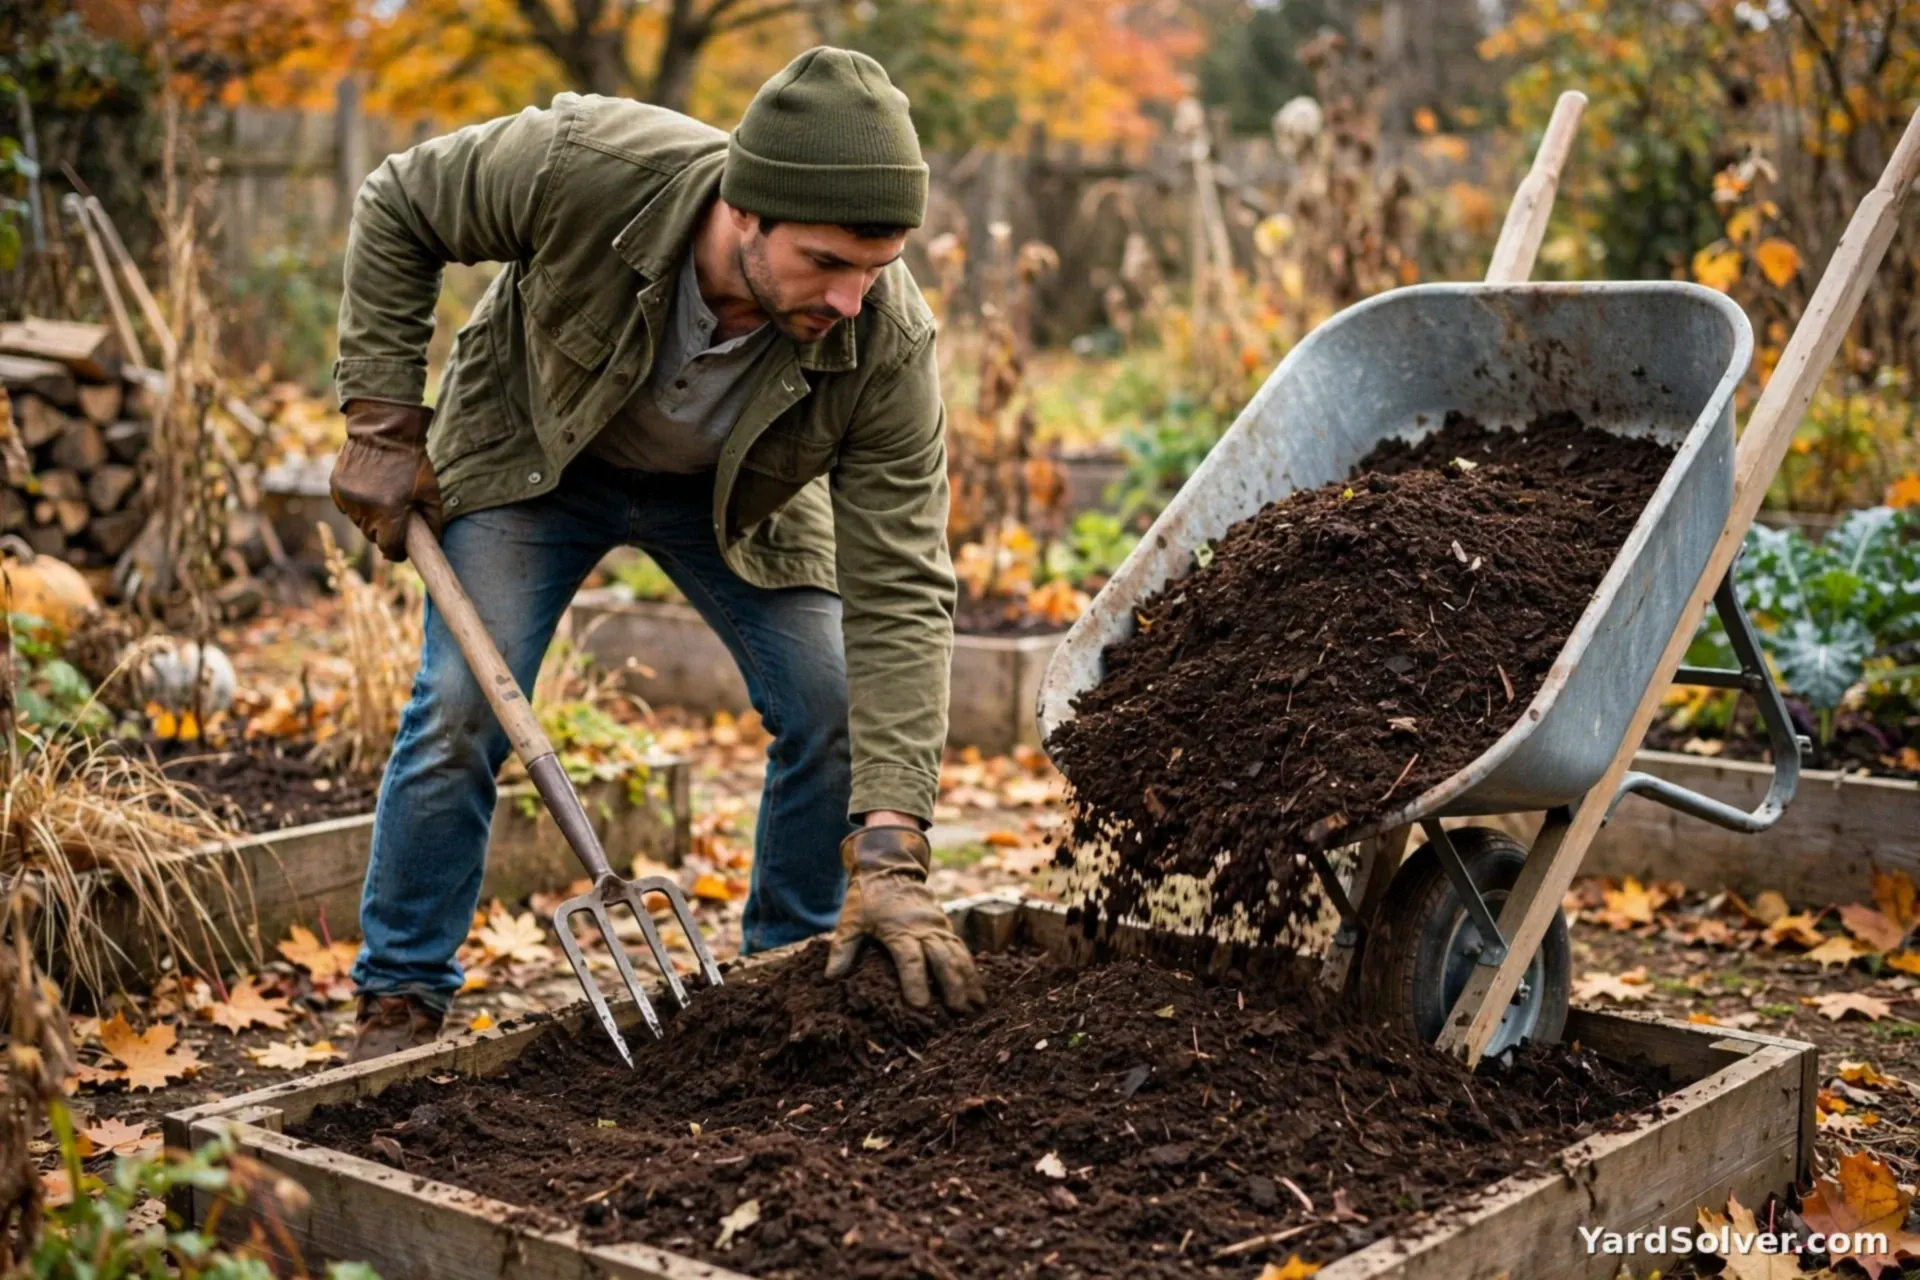
Garlic wants full sun and soil that drains. Loosen the bed, pull weeds, and work in 1–2 inches of compost. Filling or topping a raised bed? The Raised Bed Soil Calculator gives you exact bag counts.
Step 4 — Break the bulbs and plant pointy end up
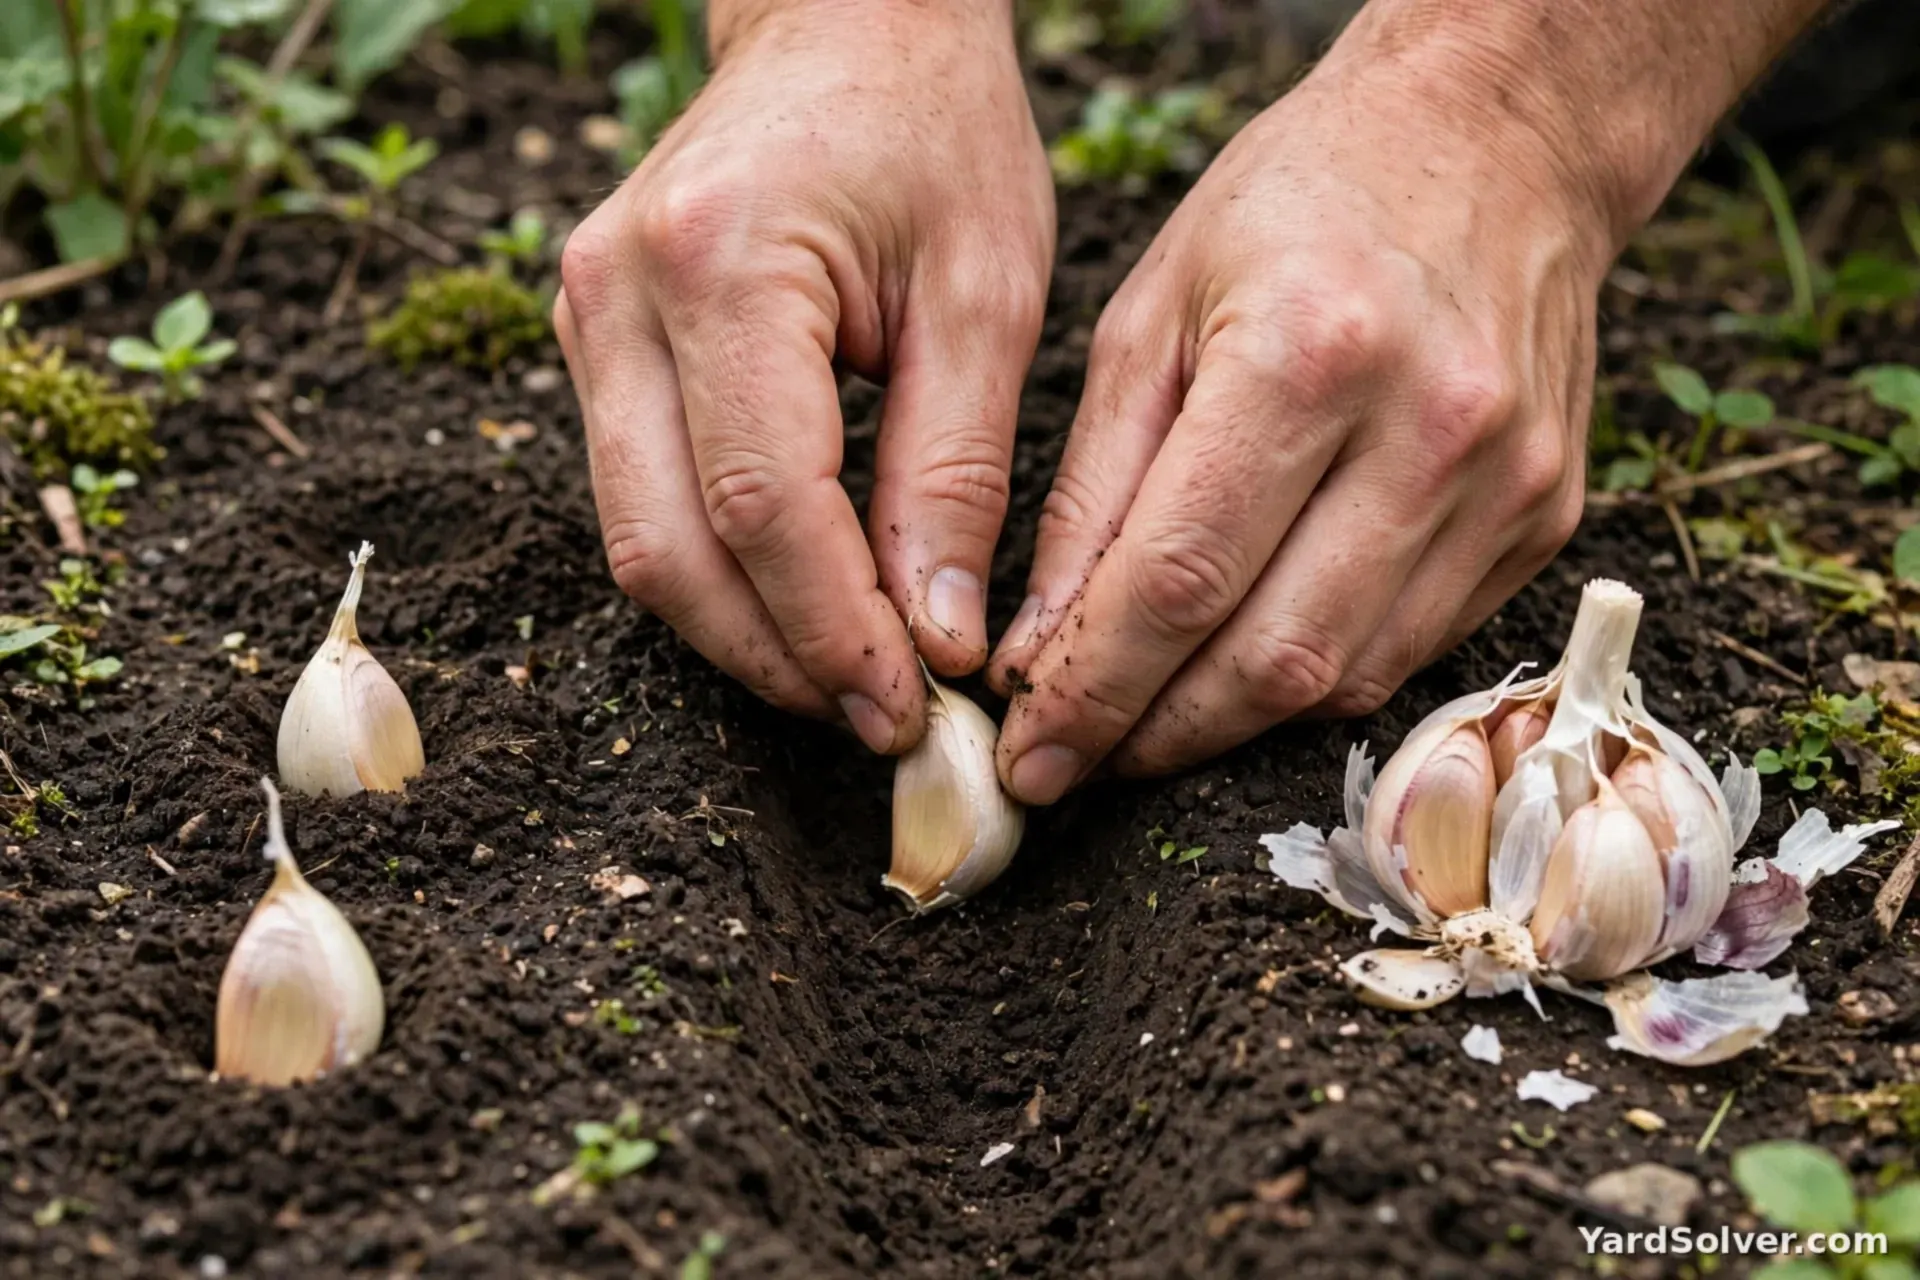
Split each bulb into cloves the day you plant, keeping the papery skin on. Plant each clove pointy end up:
- Depth: 2 inches in mild areas; 3–4 inches where winters are severe
- Spacing: 6 inches between cloves, 12 inches between rows — check how many fit with the Plant Spacing Calculator
A clove planted upside down usually still grows, but it fights its way up and makes a bent, smaller bulb — pointy end up is worth the second it takes.
Step 5 — Water once, deeply
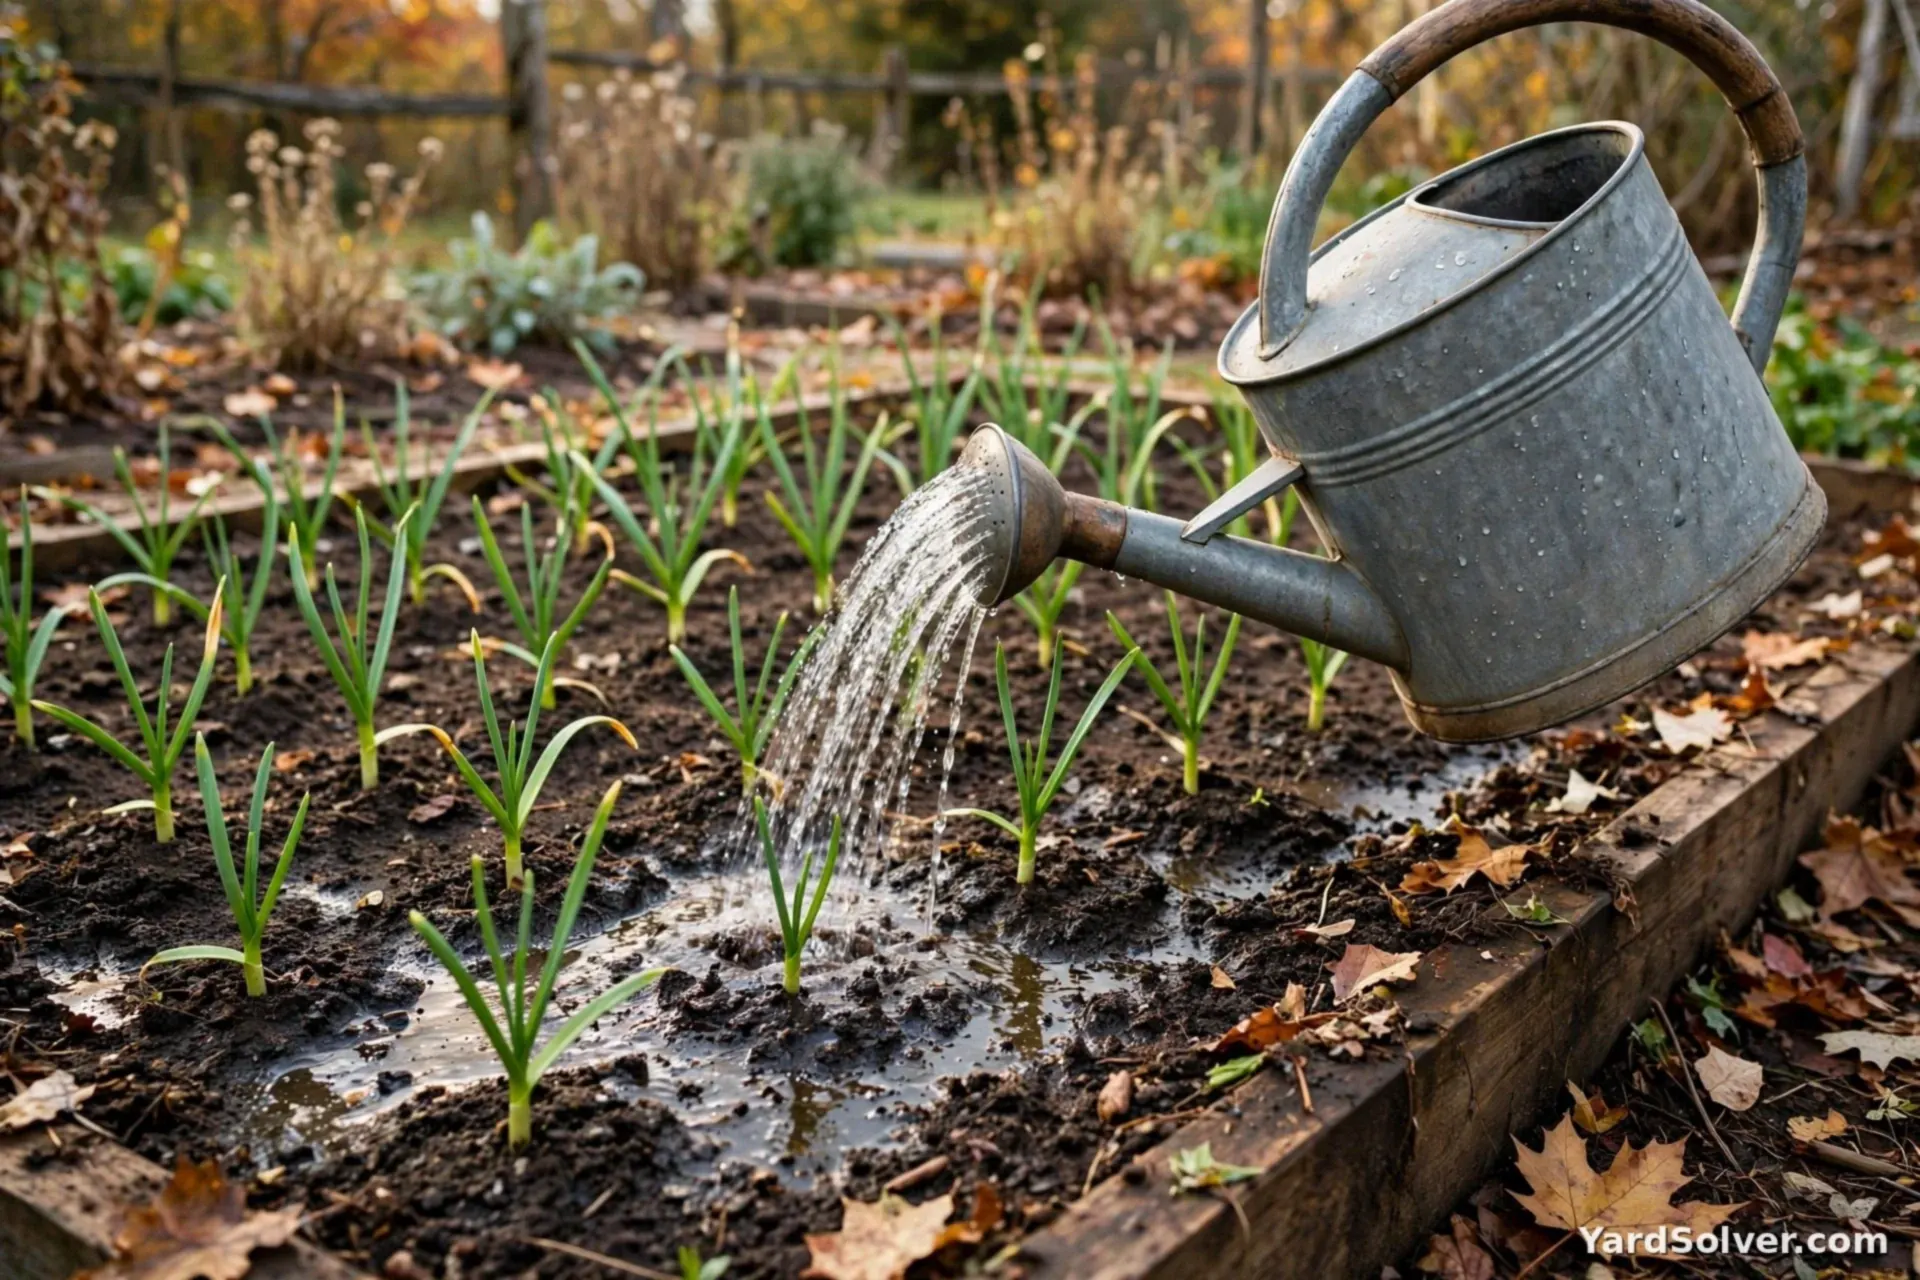
Water the bed well right after planting to settle the soil around the cloves and start the roots. After that, autumn rain is usually enough until the ground freezes.
Step 6 — Mulch 4–6 inches deep
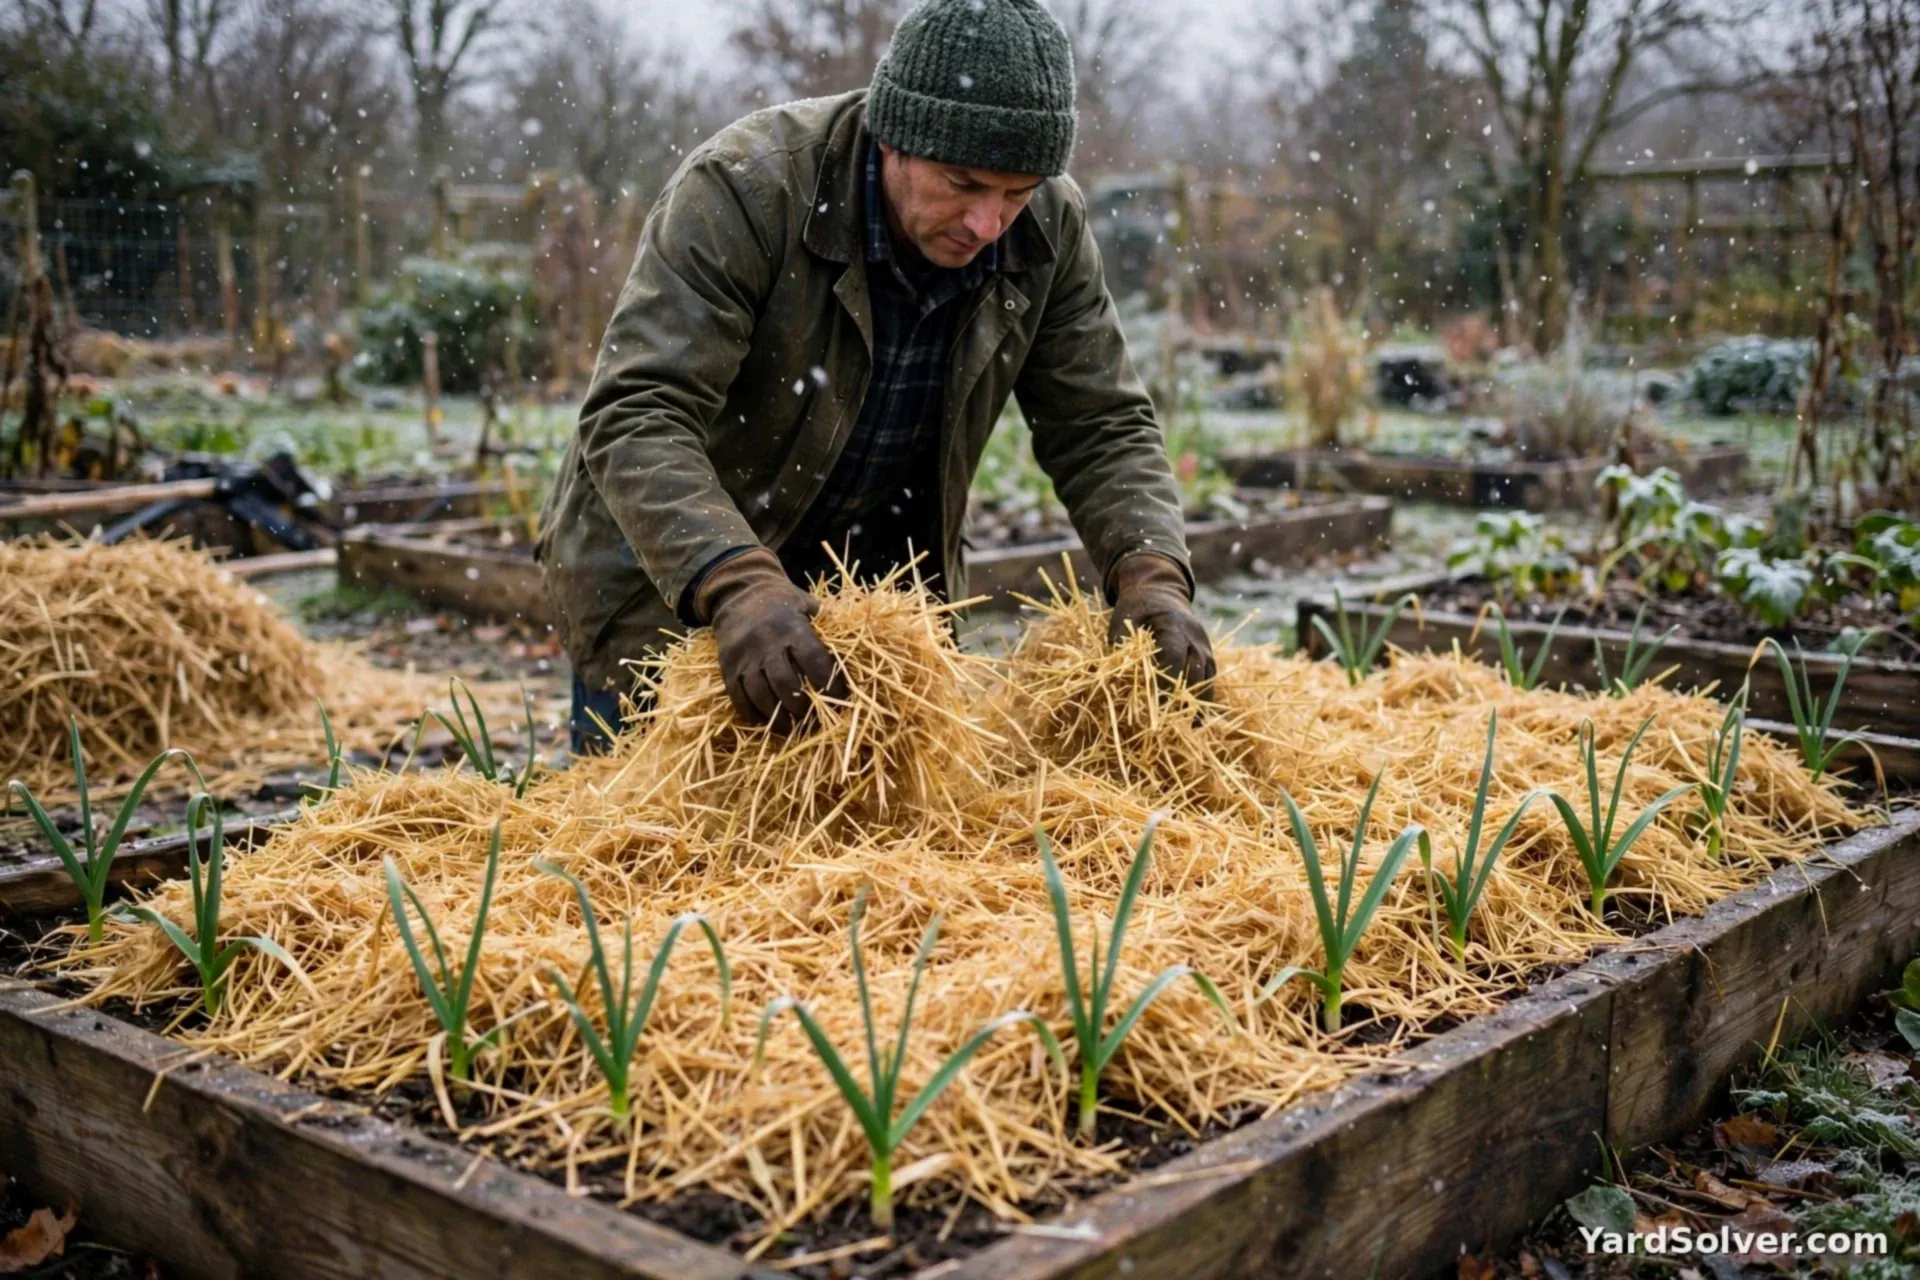
Once nights are regularly freezing (or right after planting in very cold areas), blanket the bed with 4–6 inches of straw or shredded leaves. The mulch's job is not warmth exactly — it stops the freeze-thaw cycles that heave cloves out of the ground. The Mulch Calculator tells you how many bags your bed needs.
Step 7 — Spring and harvest, briefly
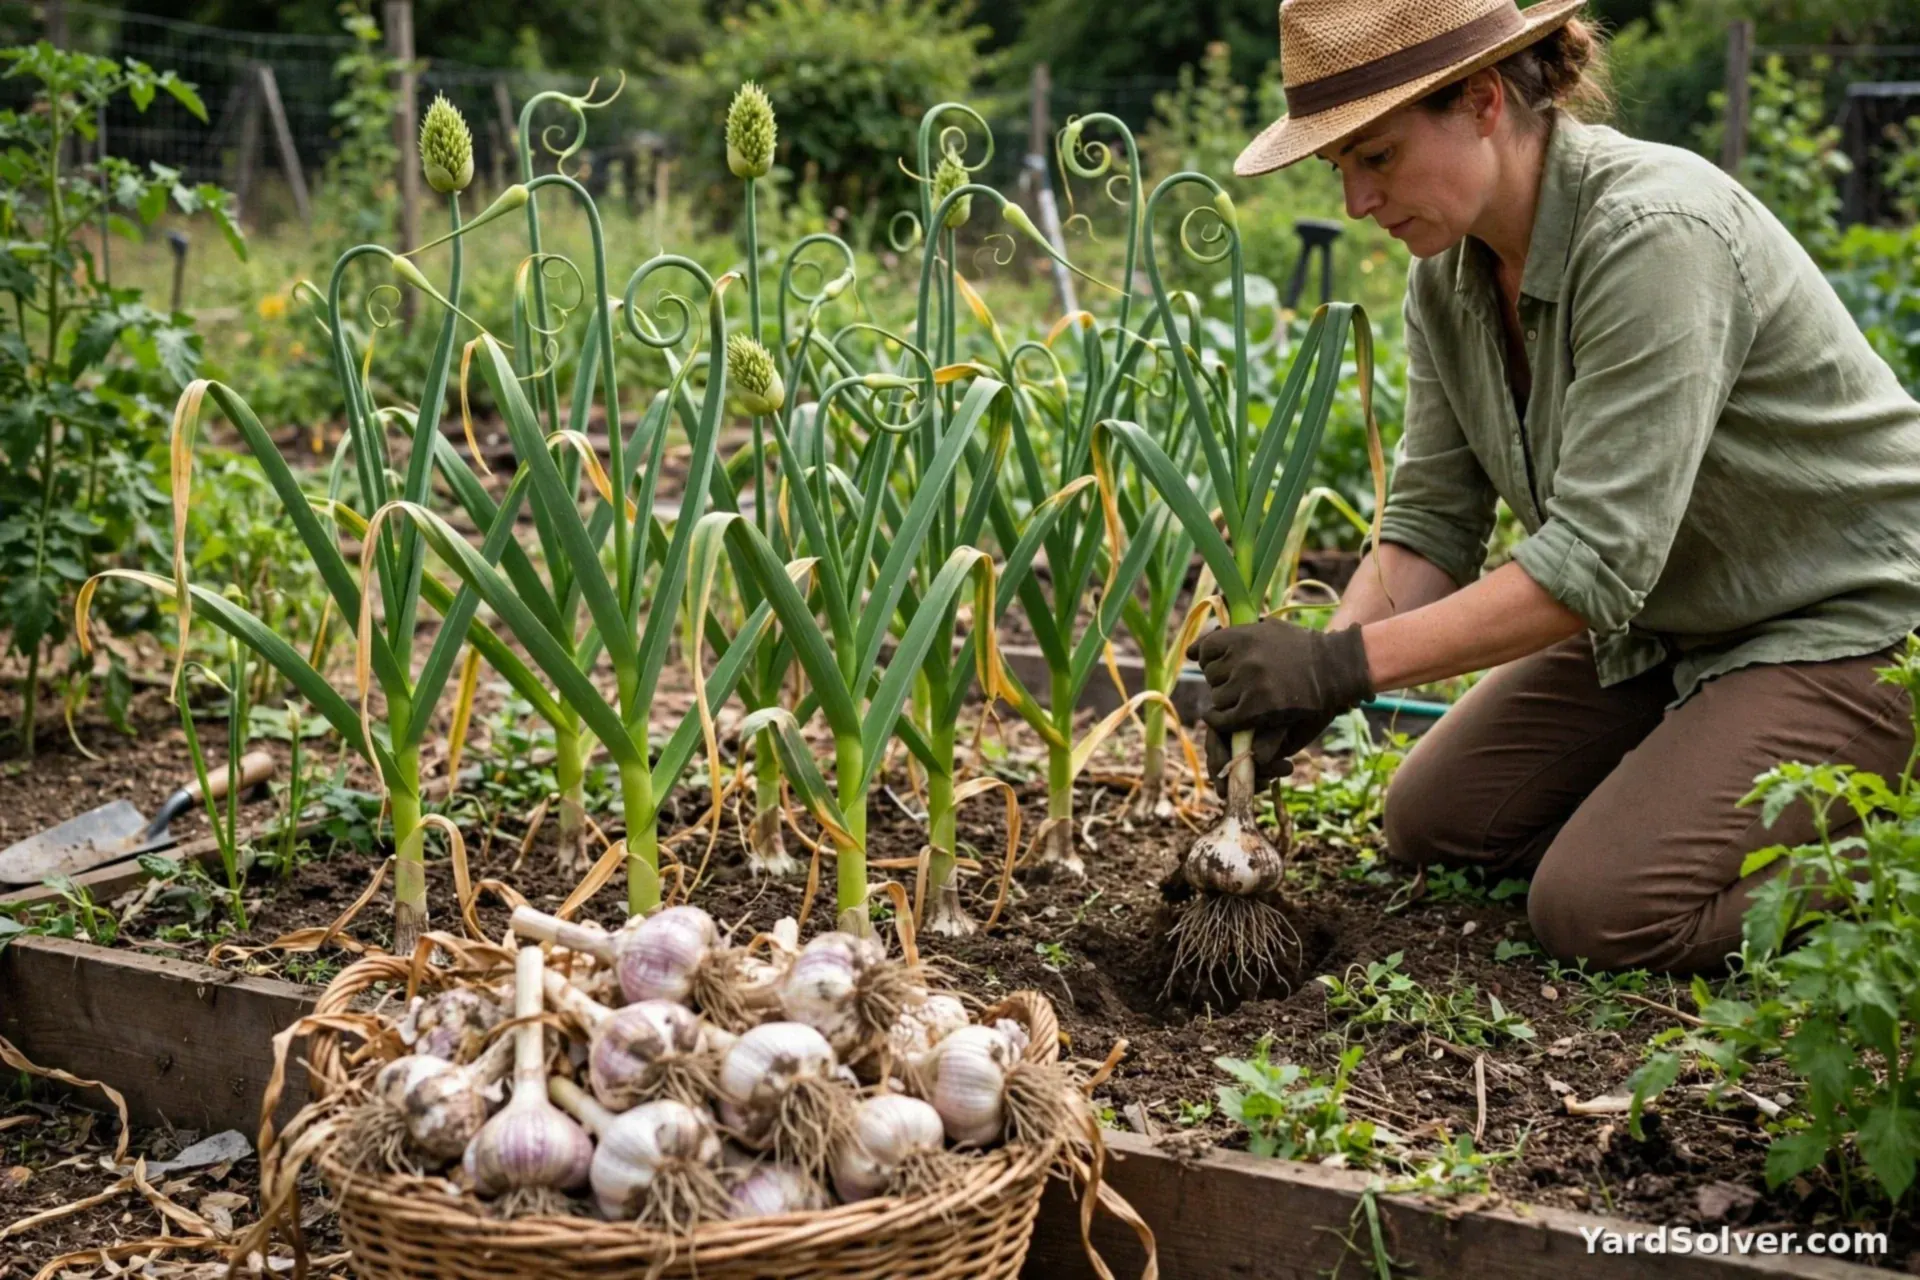
In spring, pull the mulch back a little as shoots emerge, water during dry spells, and cut the scapes when they curl (hardneck types). Harvest the following summer when the bottom 2–3 leaves have yellowed — usually July. Cure bulbs in a shady, airy spot for 2–3 weeks before storing.
Keep going
More fall jobs: Planting Spring Bulbs in Fall and Putting Your Garden to Bed. Garlic's full profile is in the Plant Library.
Questions people ask
Can I plant garlic in spring instead?
You can, but bulbs are usually much smaller because garlic needs a cold period to split into cloves properly. Fall planting is the reliable route in cold and temperate climates.
Can I plant grocery-store garlic?
It sometimes sprouts, but it is often a softneck type unsuited to cold winters and may be treated to delay sprouting. Seed garlic from a garden supplier is named, disease-checked and matched to your climate — it is the safer buy.
How deep in a cold climate?
About 3 to 4 inches deep (to the base of the clove) where winters are severe, under a thick mulch blanket. In milder areas 2 inches is enough.
Comments & ratings
No comments yet.
Be the first to share your experience.