
Guides · Fall cleanup · Published October 31, 2026
Putting Your Garden to Bed: The Fall Cleanup Checklist
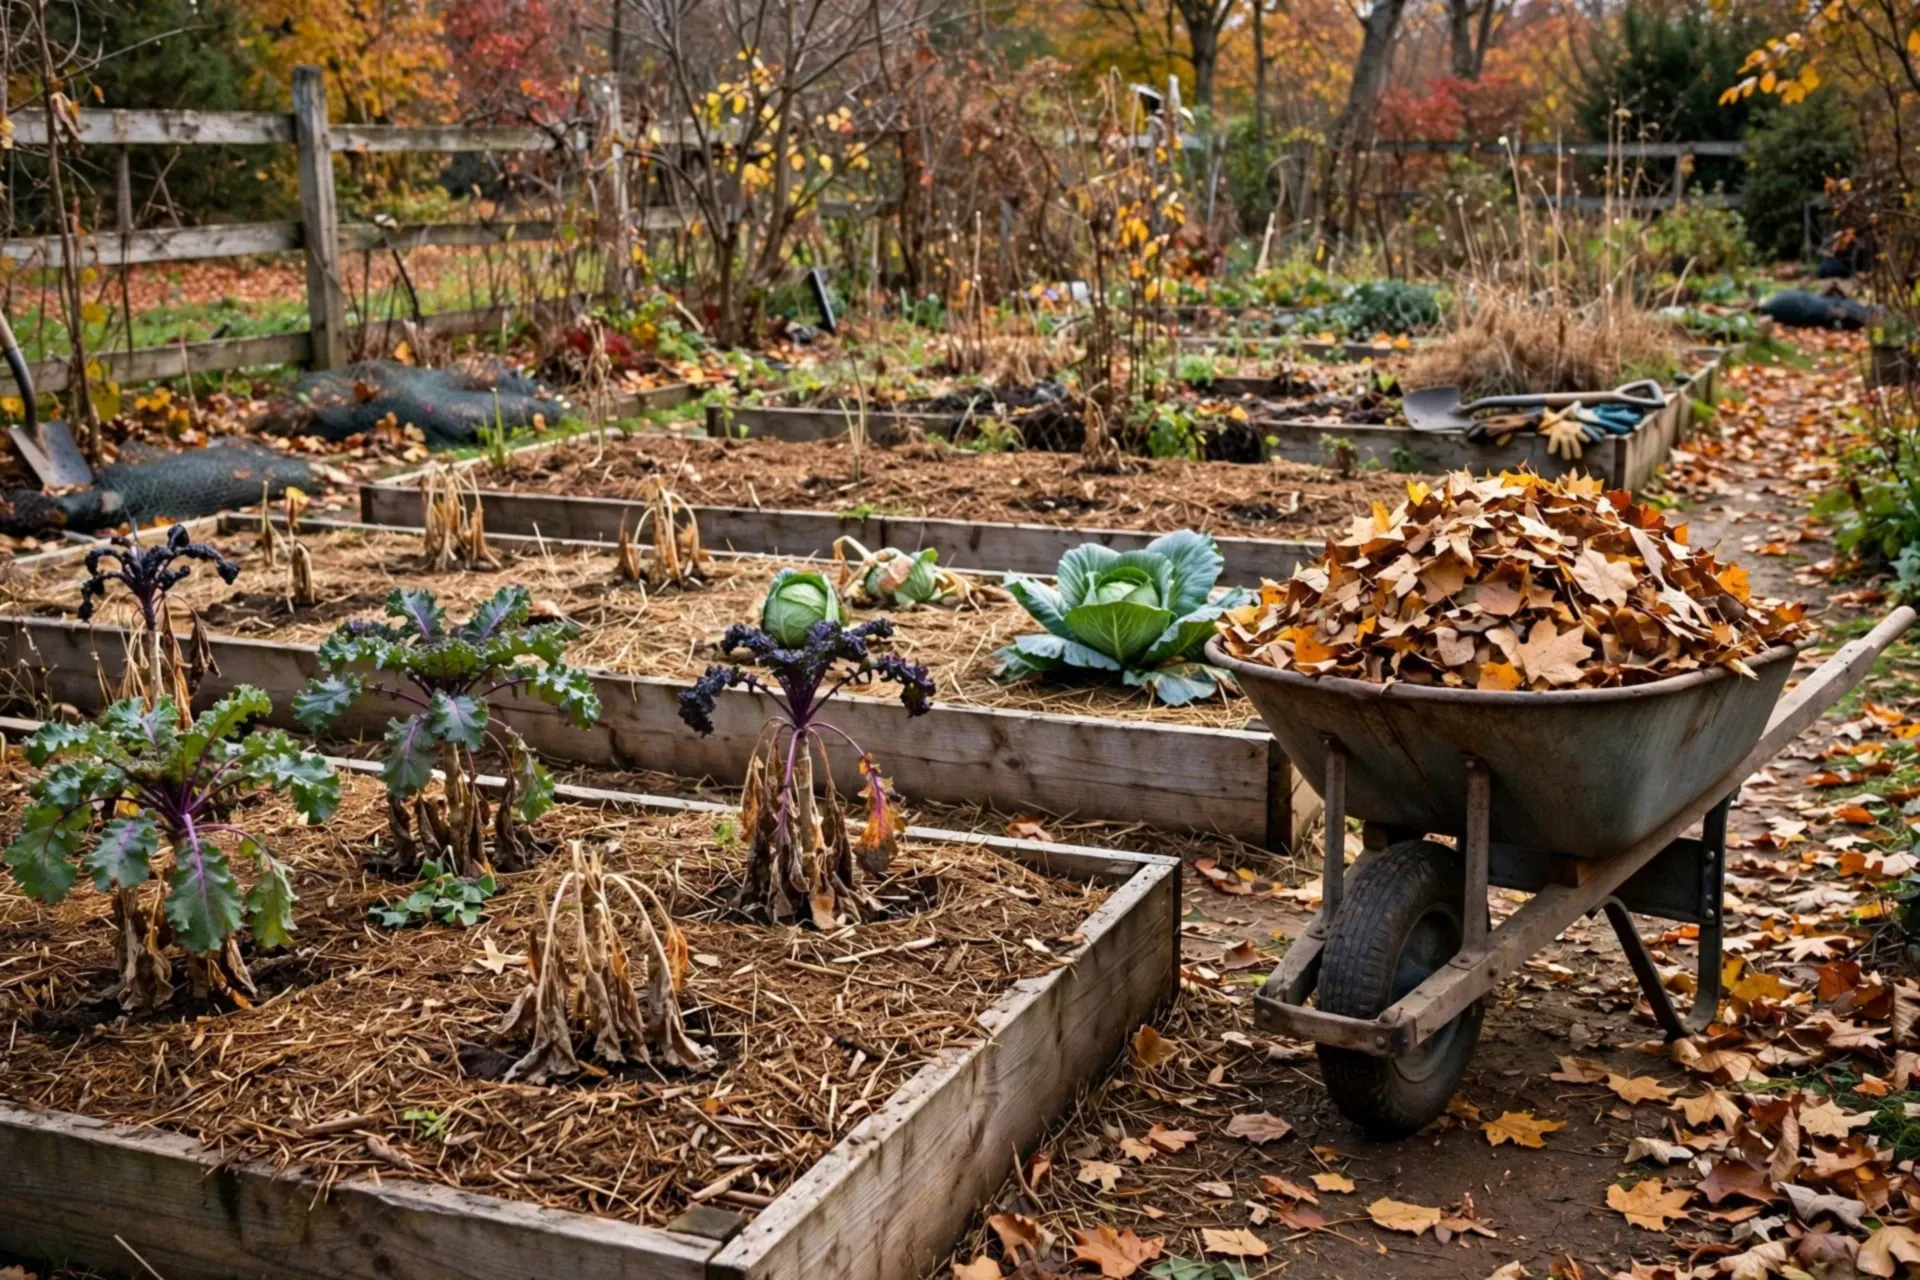
An hour or two of fall cleanup buys you a healthier, easier spring: fewer diseases, fewer weeds, soil that wakes up ready. The trick is doing the jobs in the right order — and knowing what not to tidy. Start after the first hard frost, finish before the ground freezes.
Step 1 — Pull the finished annuals, bag anything diseased
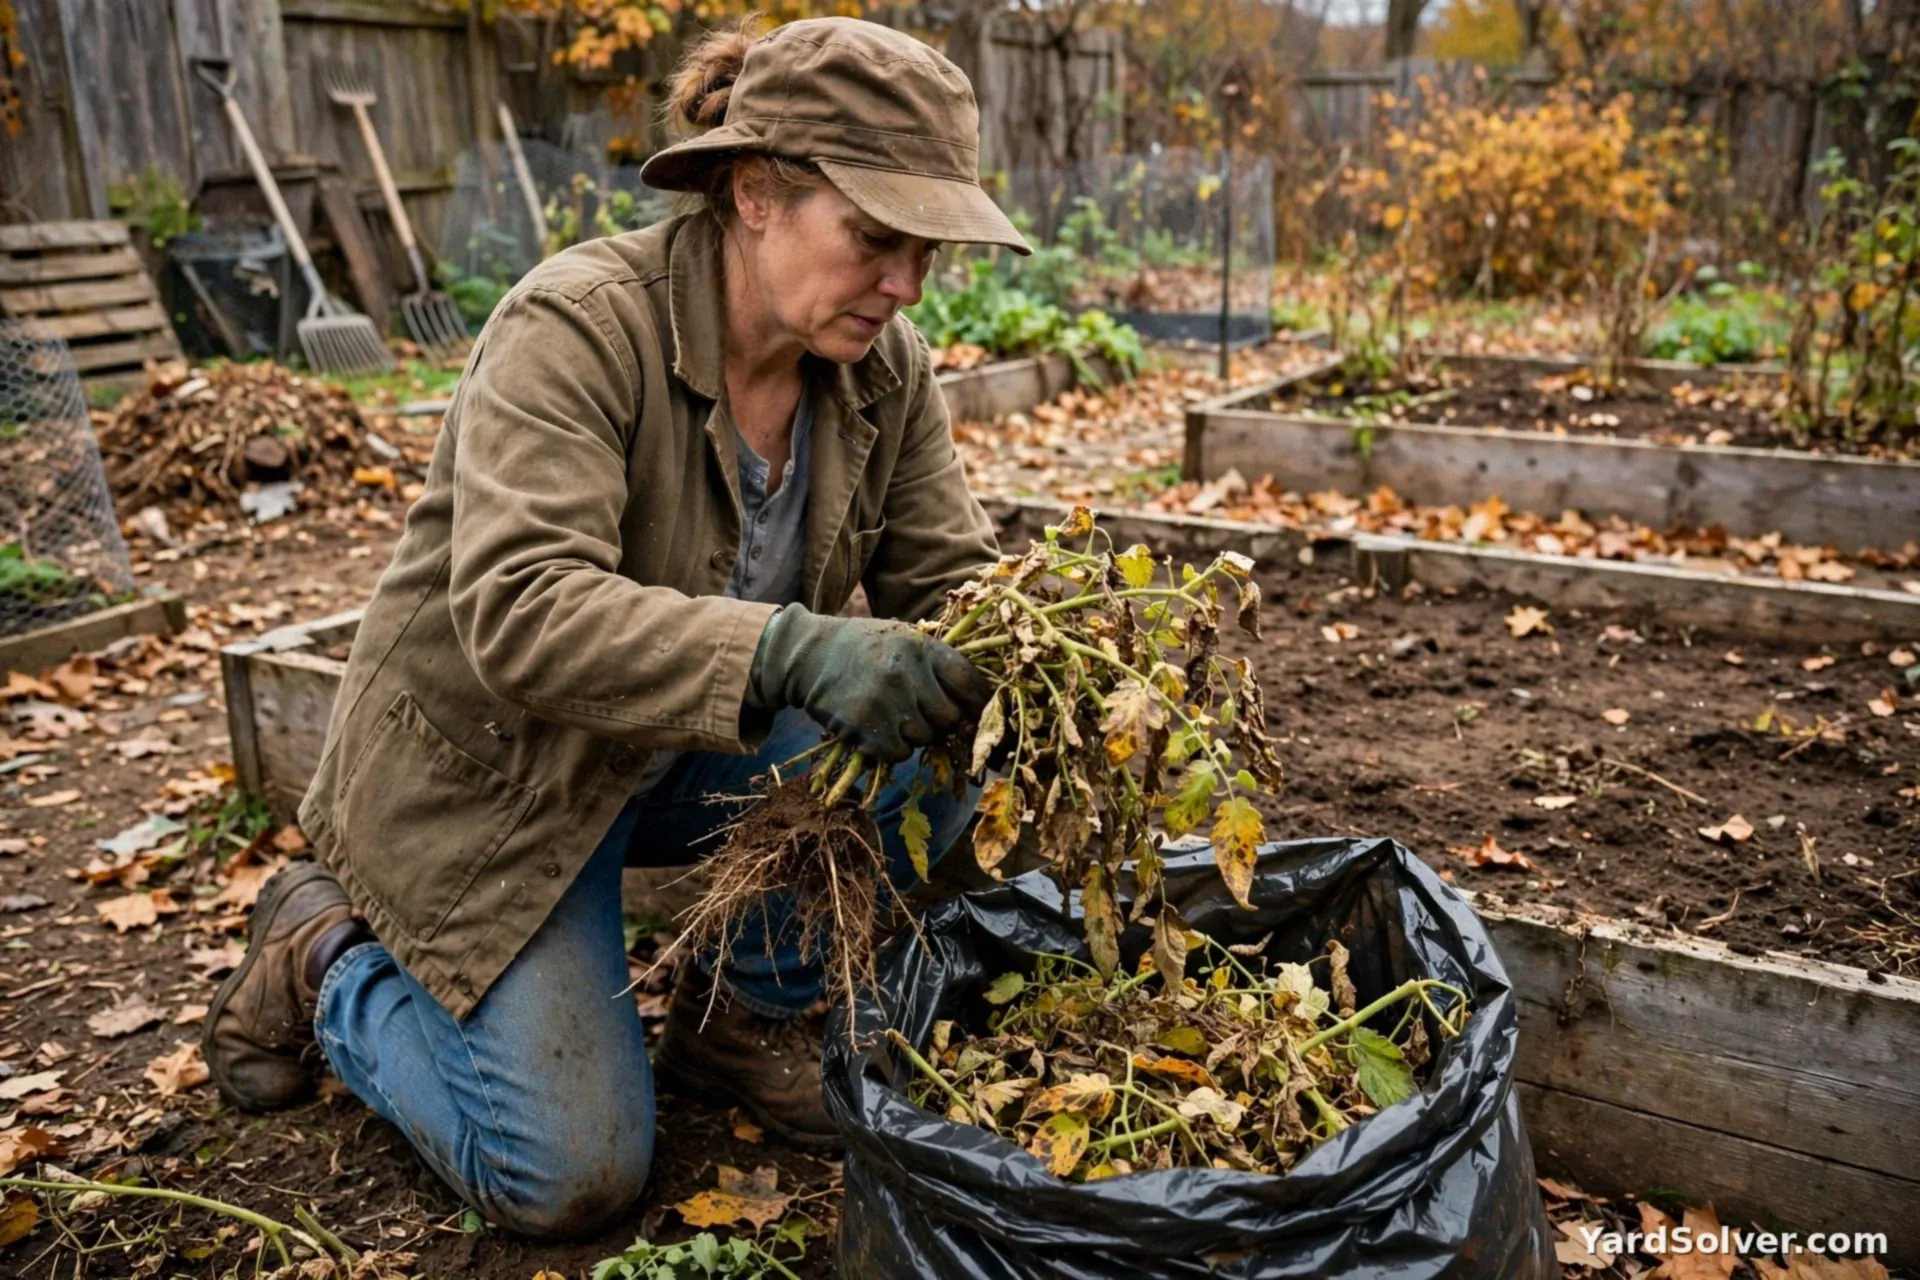
Tomatoes, peppers, beans, squash and other spent annuals come out, roots and all. Healthy material can be chopped and composted; anything with spots, mildew or blight goes in the garbage or municipal green waste — home compost does not get hot enough to kill those diseases, and leaving infected plants standing seeds next year's problems.
Step 2 — Cut perennials selectively, not bare
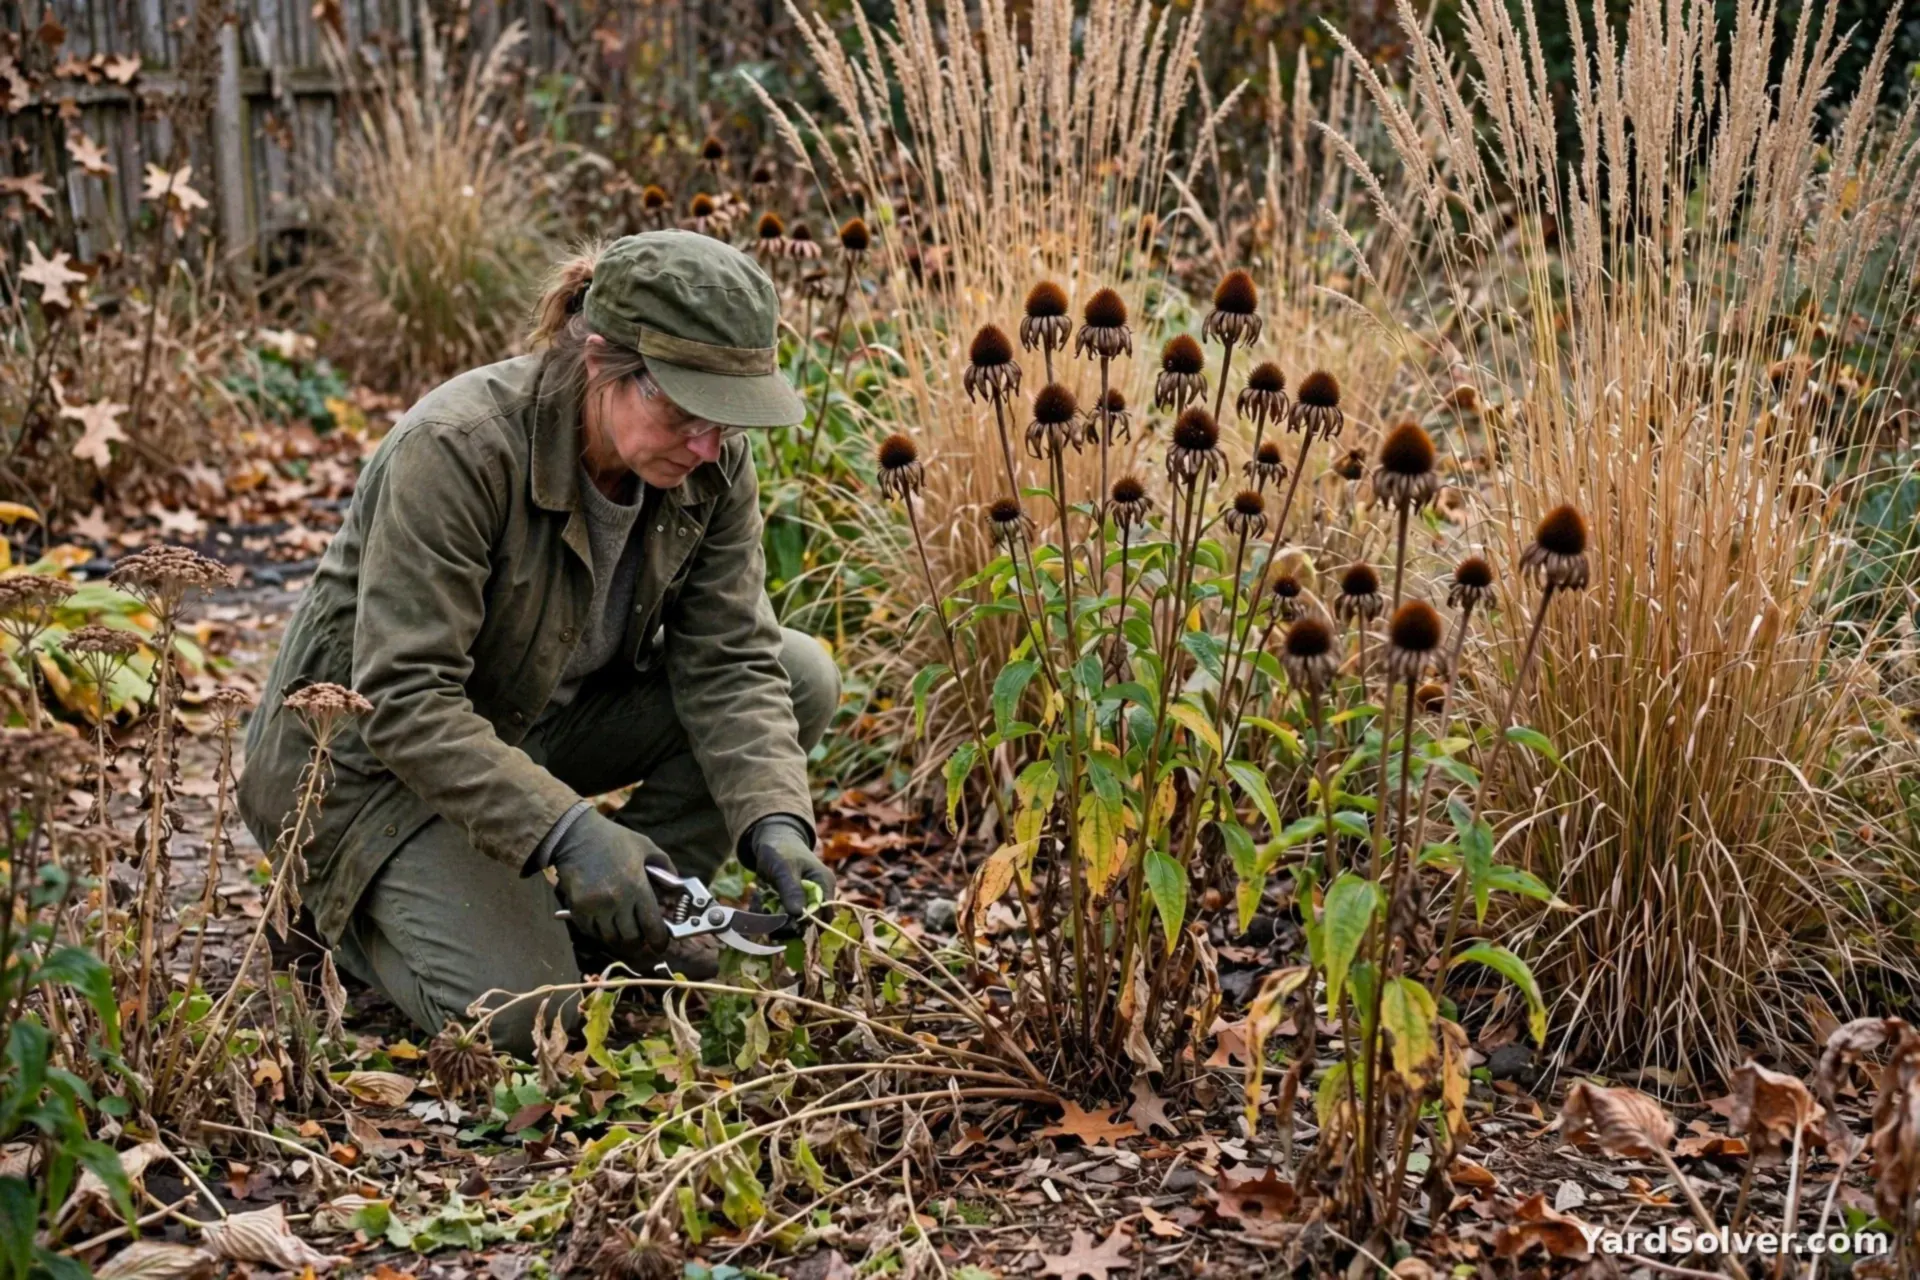
Cut back floppy, soggy or diseased perennial growth. But leave sturdy seed heads and hollow stems standing: coneflowers feed birds all winter, and many native bees sleep inside those stems. A garden put to bed is tidy — it is not scalped.
Step 3 — Weed one last time
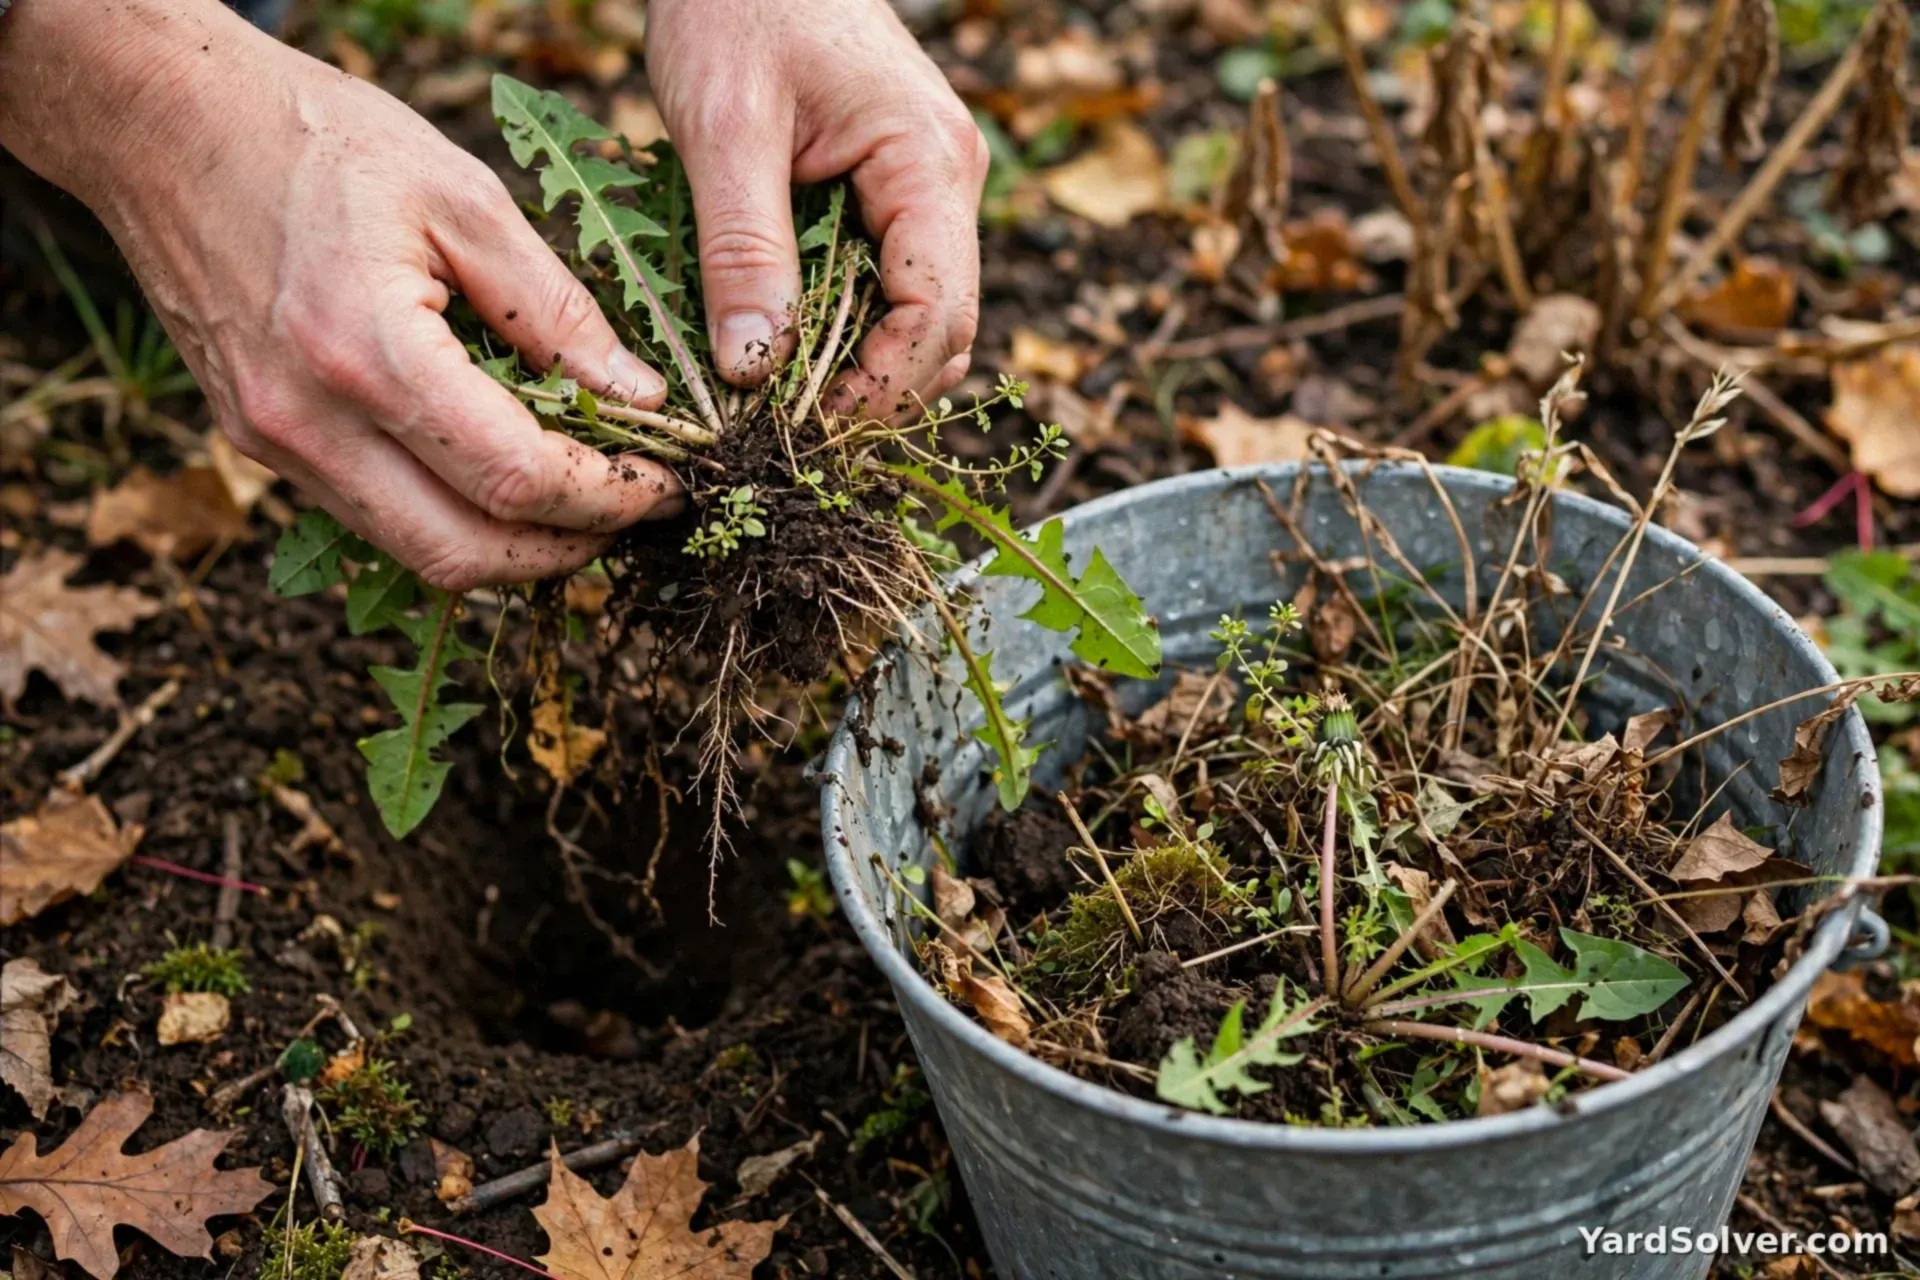
Fall weeds drop seeds that become spring's first chore. One pass now, while the soil is soft, removes thousands of future weeds. It is the highest-value ten minutes of the whole cleanup.
Step 4 — Plant the fall crops into the clean beds
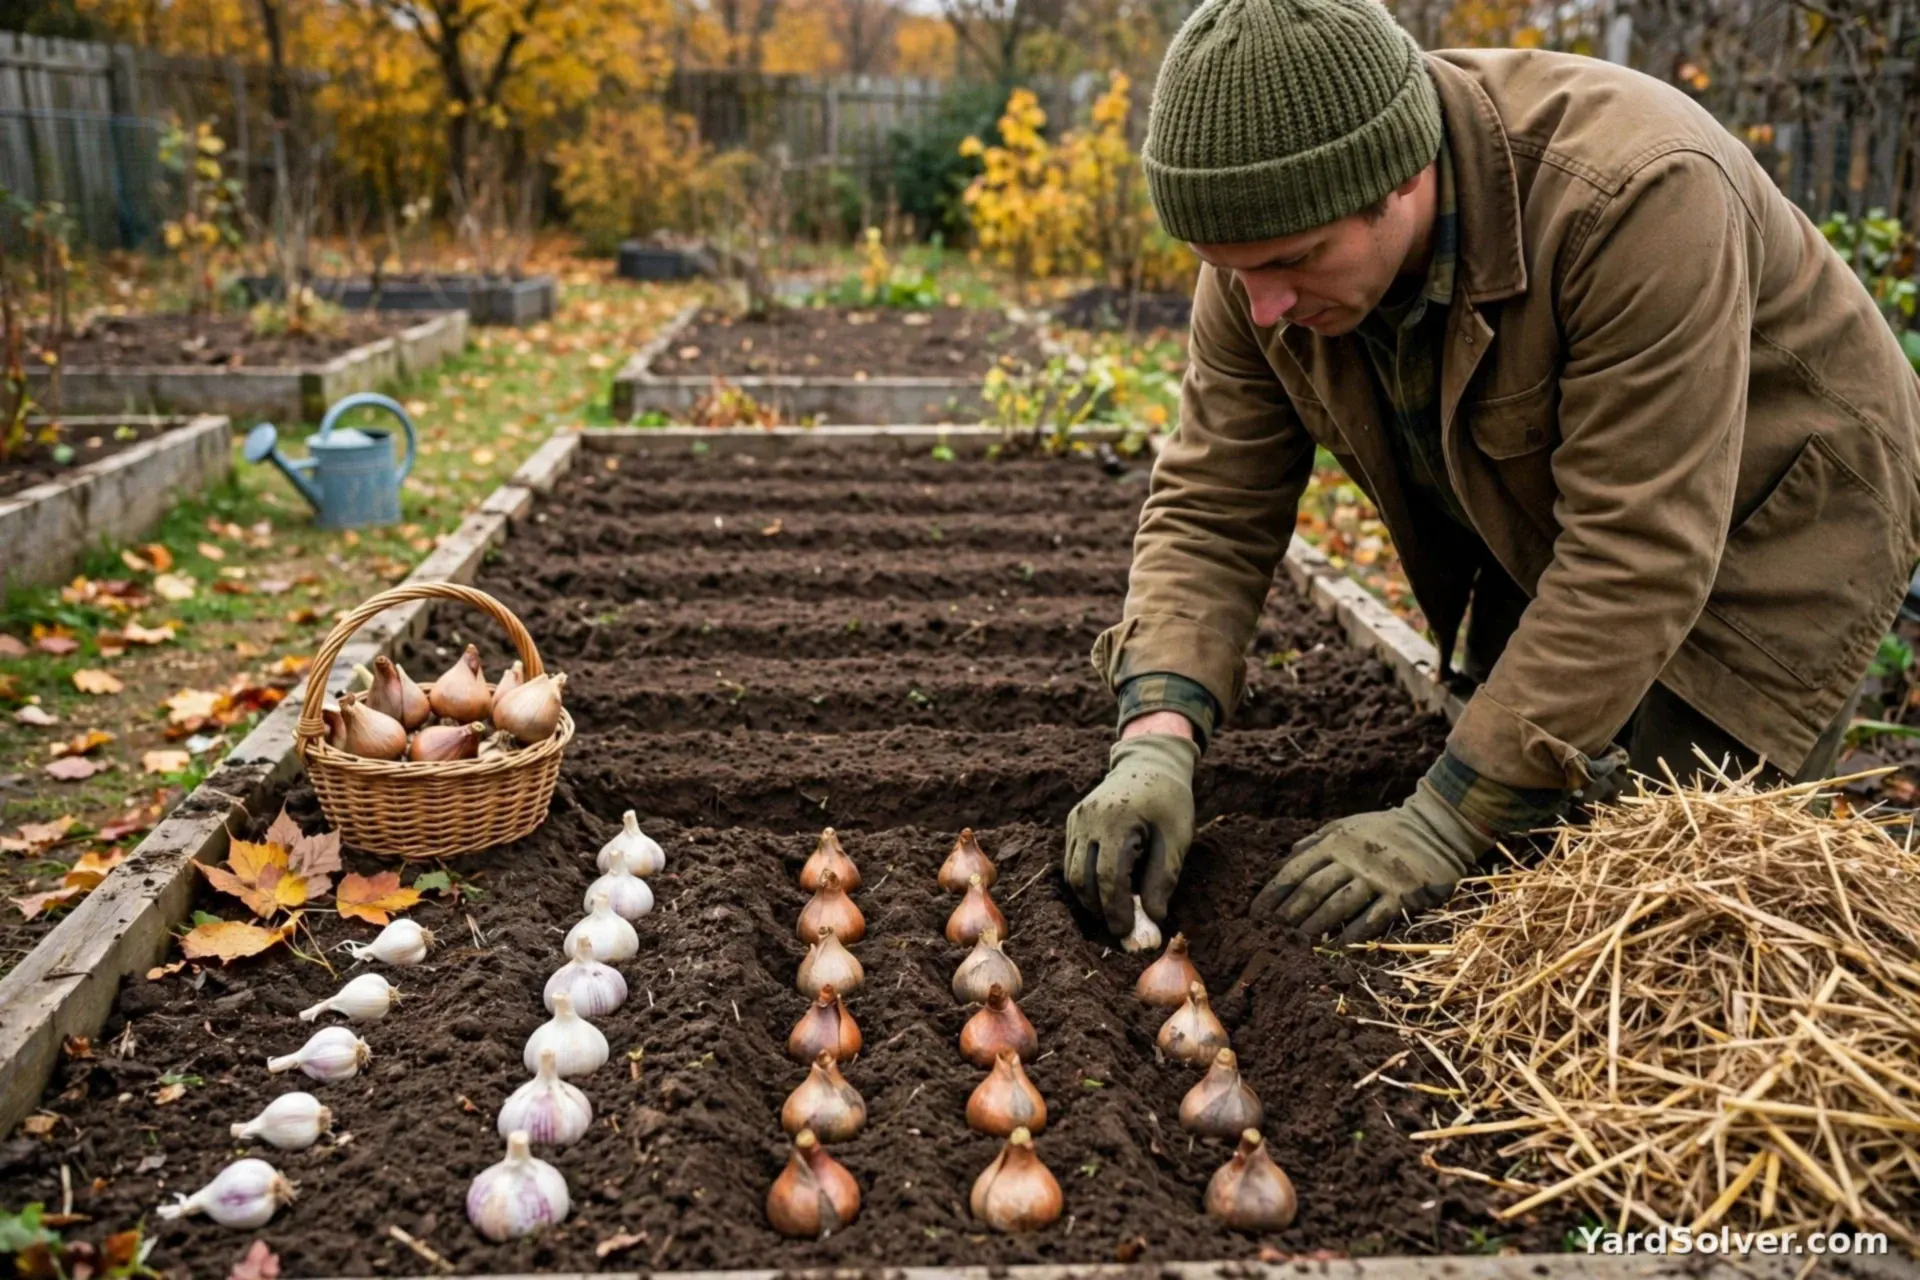
Clean beds are ready for the two best fall plantings: garlic and spring bulbs. Do those before the mulch step.
Step 5 — Mulch the beds 2–3 inches
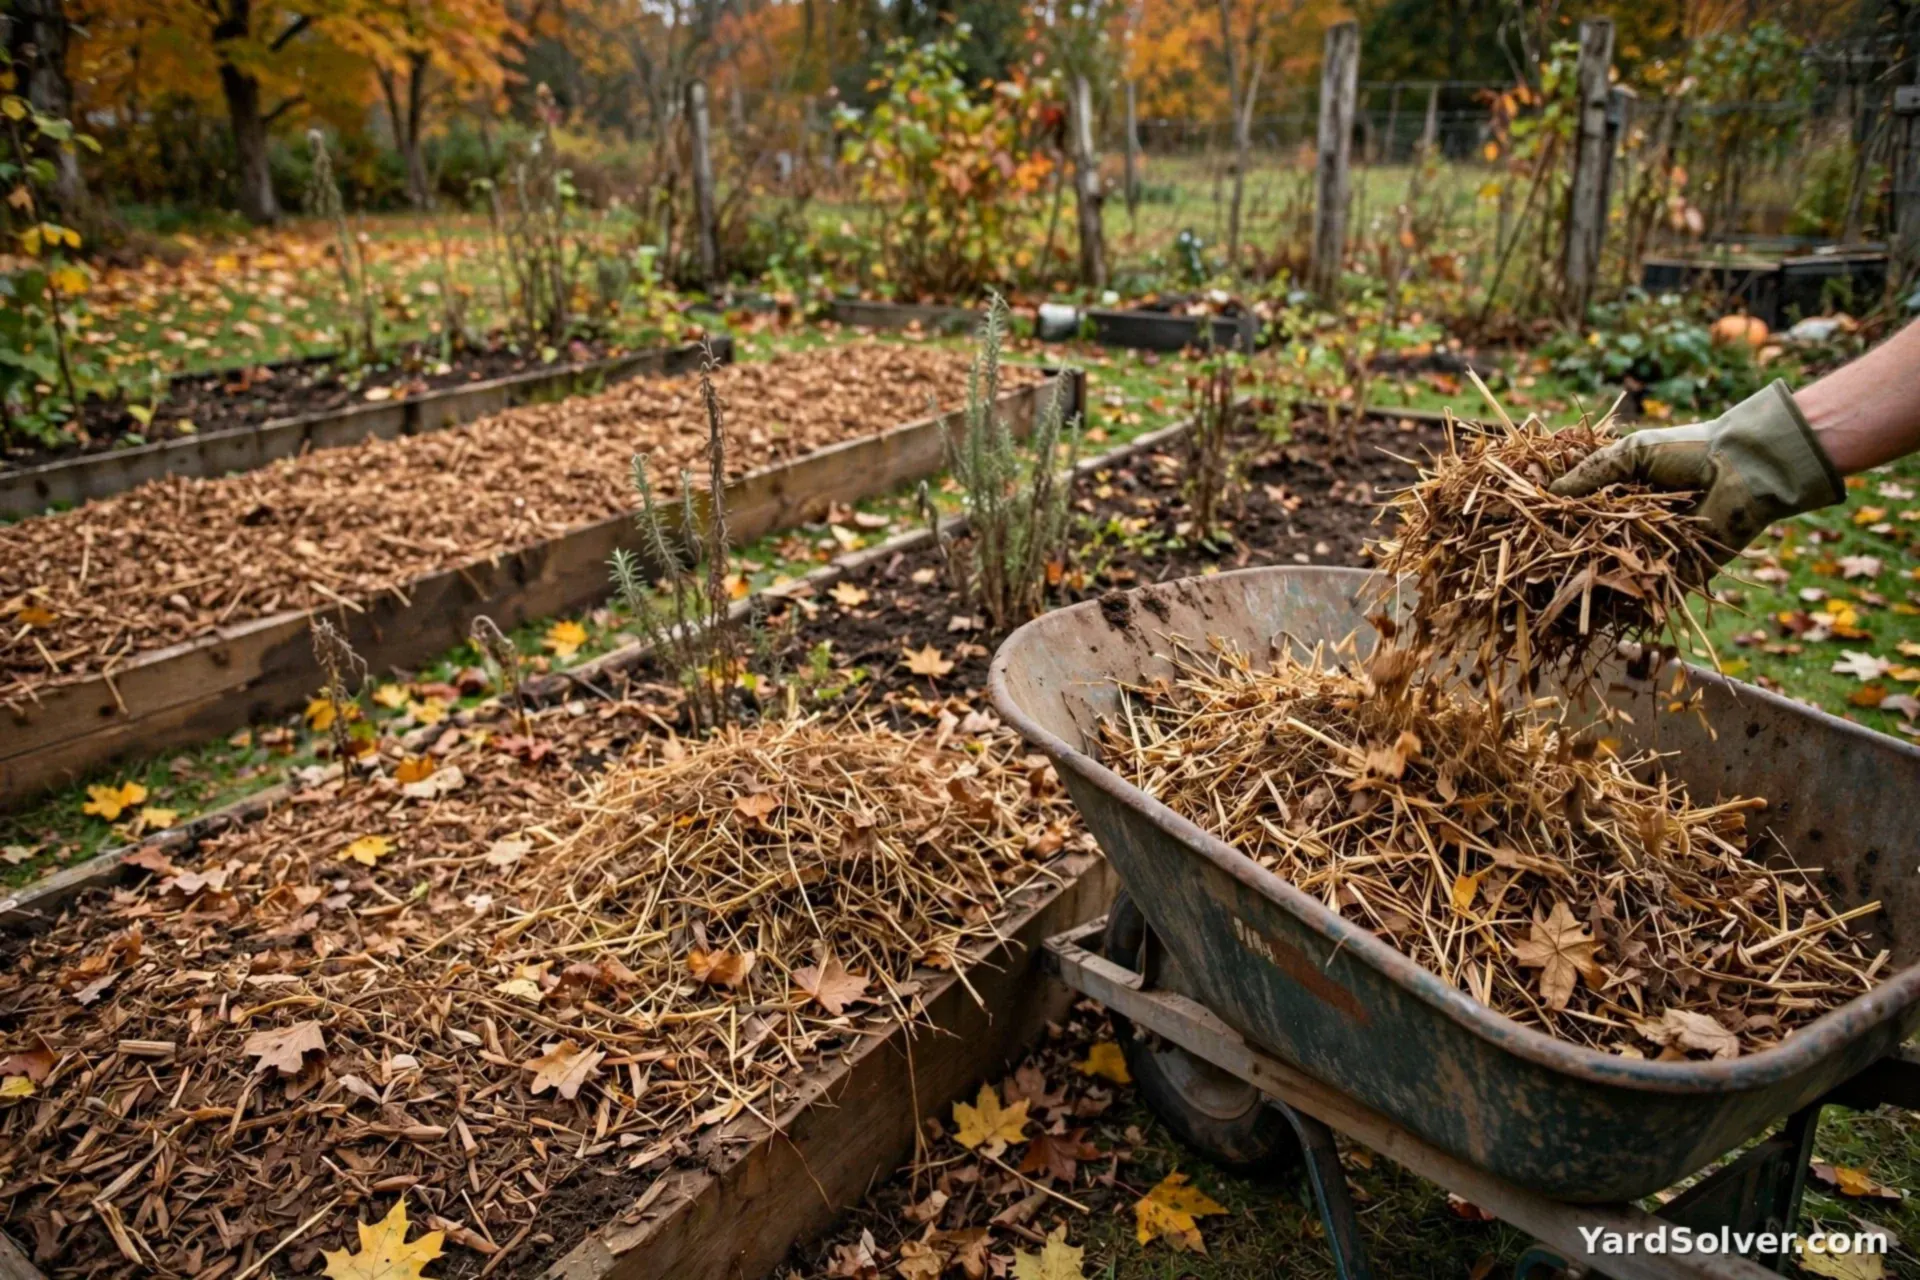
Once the ground starts to cool properly, cover bare soil with 2–3 inches of shredded leaves, straw or wood mulch. It stops erosion, holds moisture and keeps soil life working later into the season. Work out bags and yards with the Mulch Calculator; adding compost under the mulch is even better — amounts from the Compost Calculator.
Step 6 — Water evergreens deeply before freeze-up
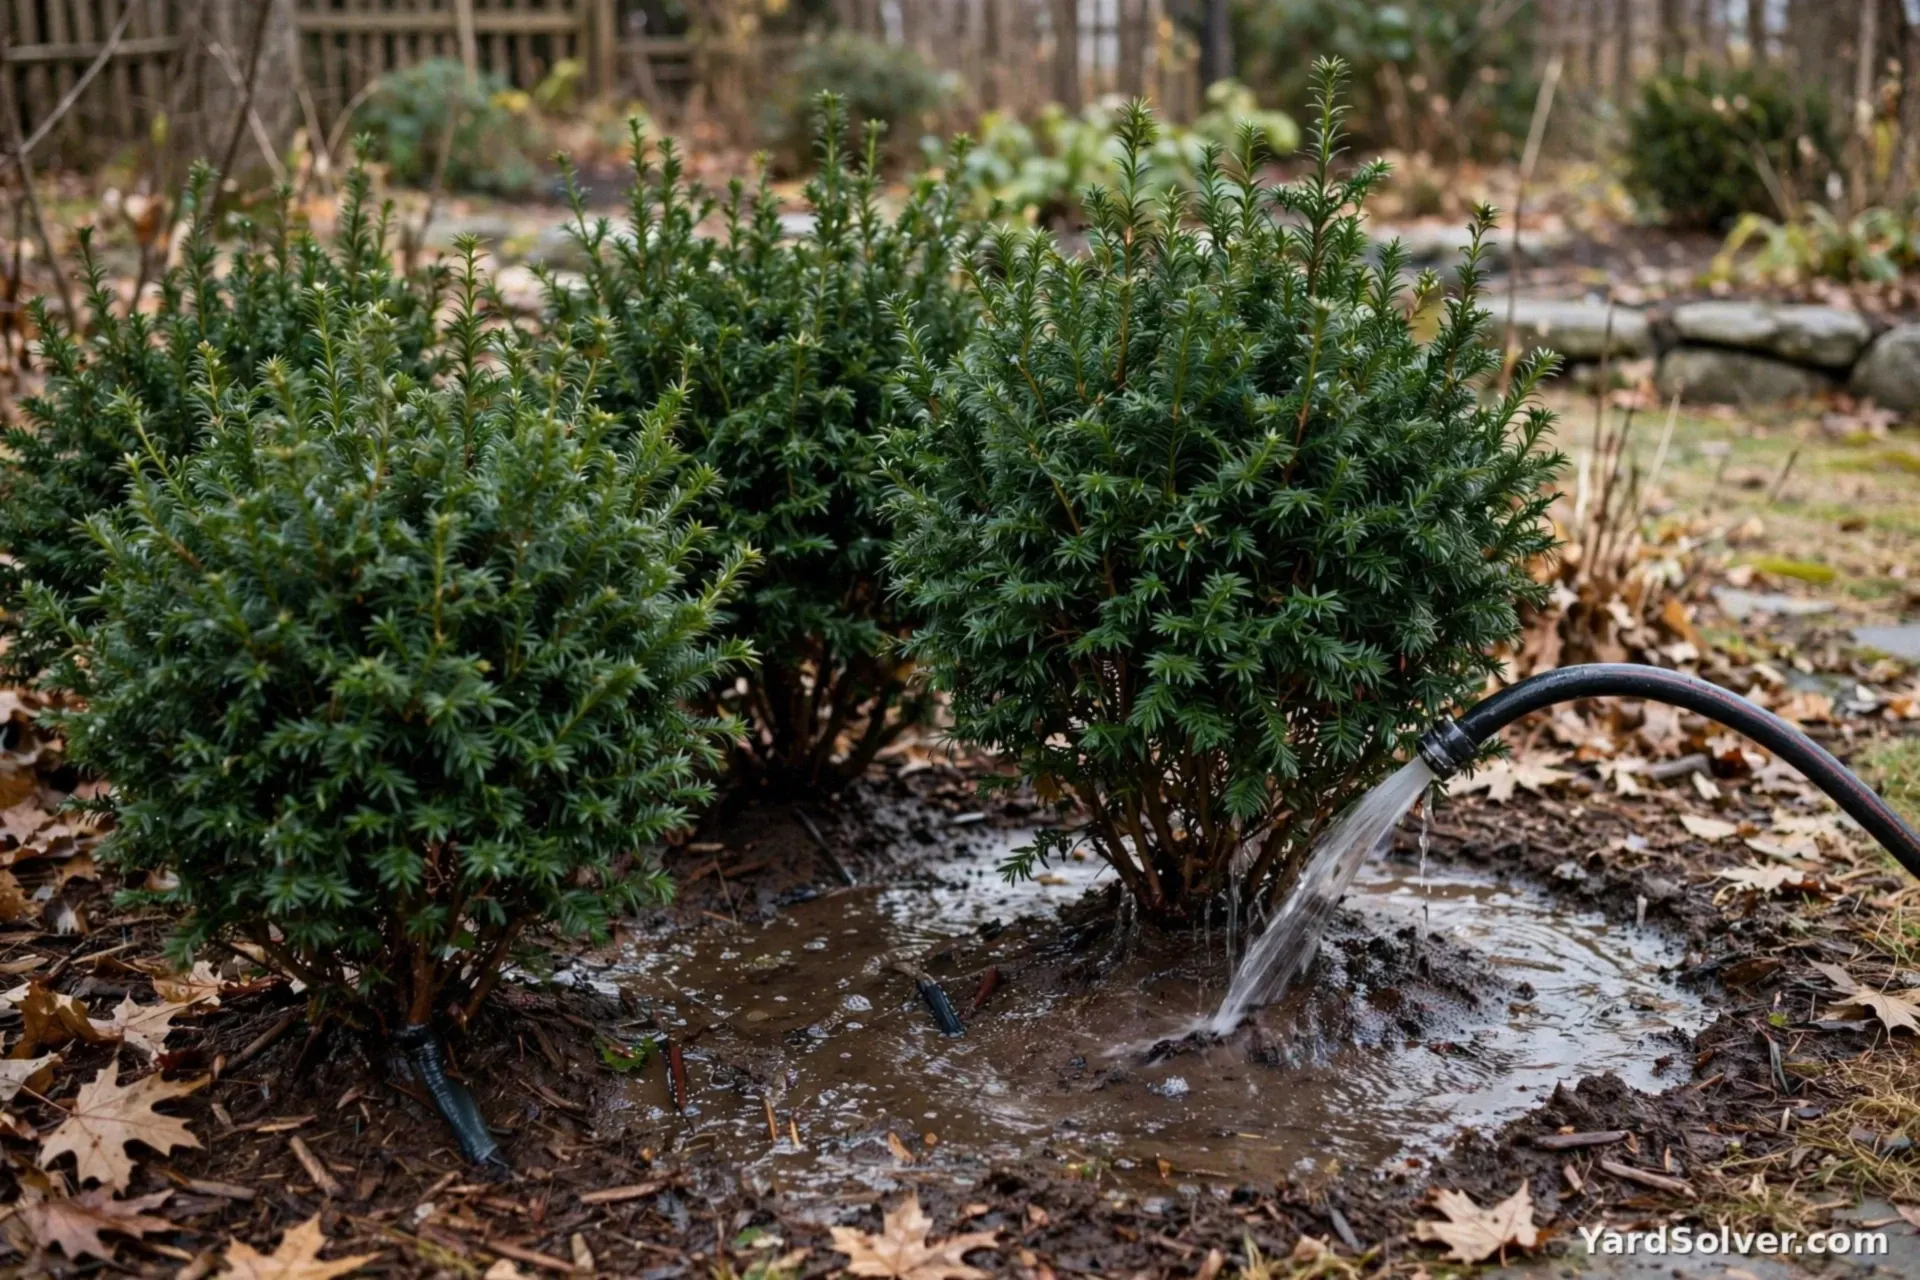
Evergreens keep losing water through winter but cannot replace it from frozen soil — that is what causes brown "winter burn" in spring. One deep watering before the ground freezes is their insurance.
Step 7 — Drain, store and put tools right
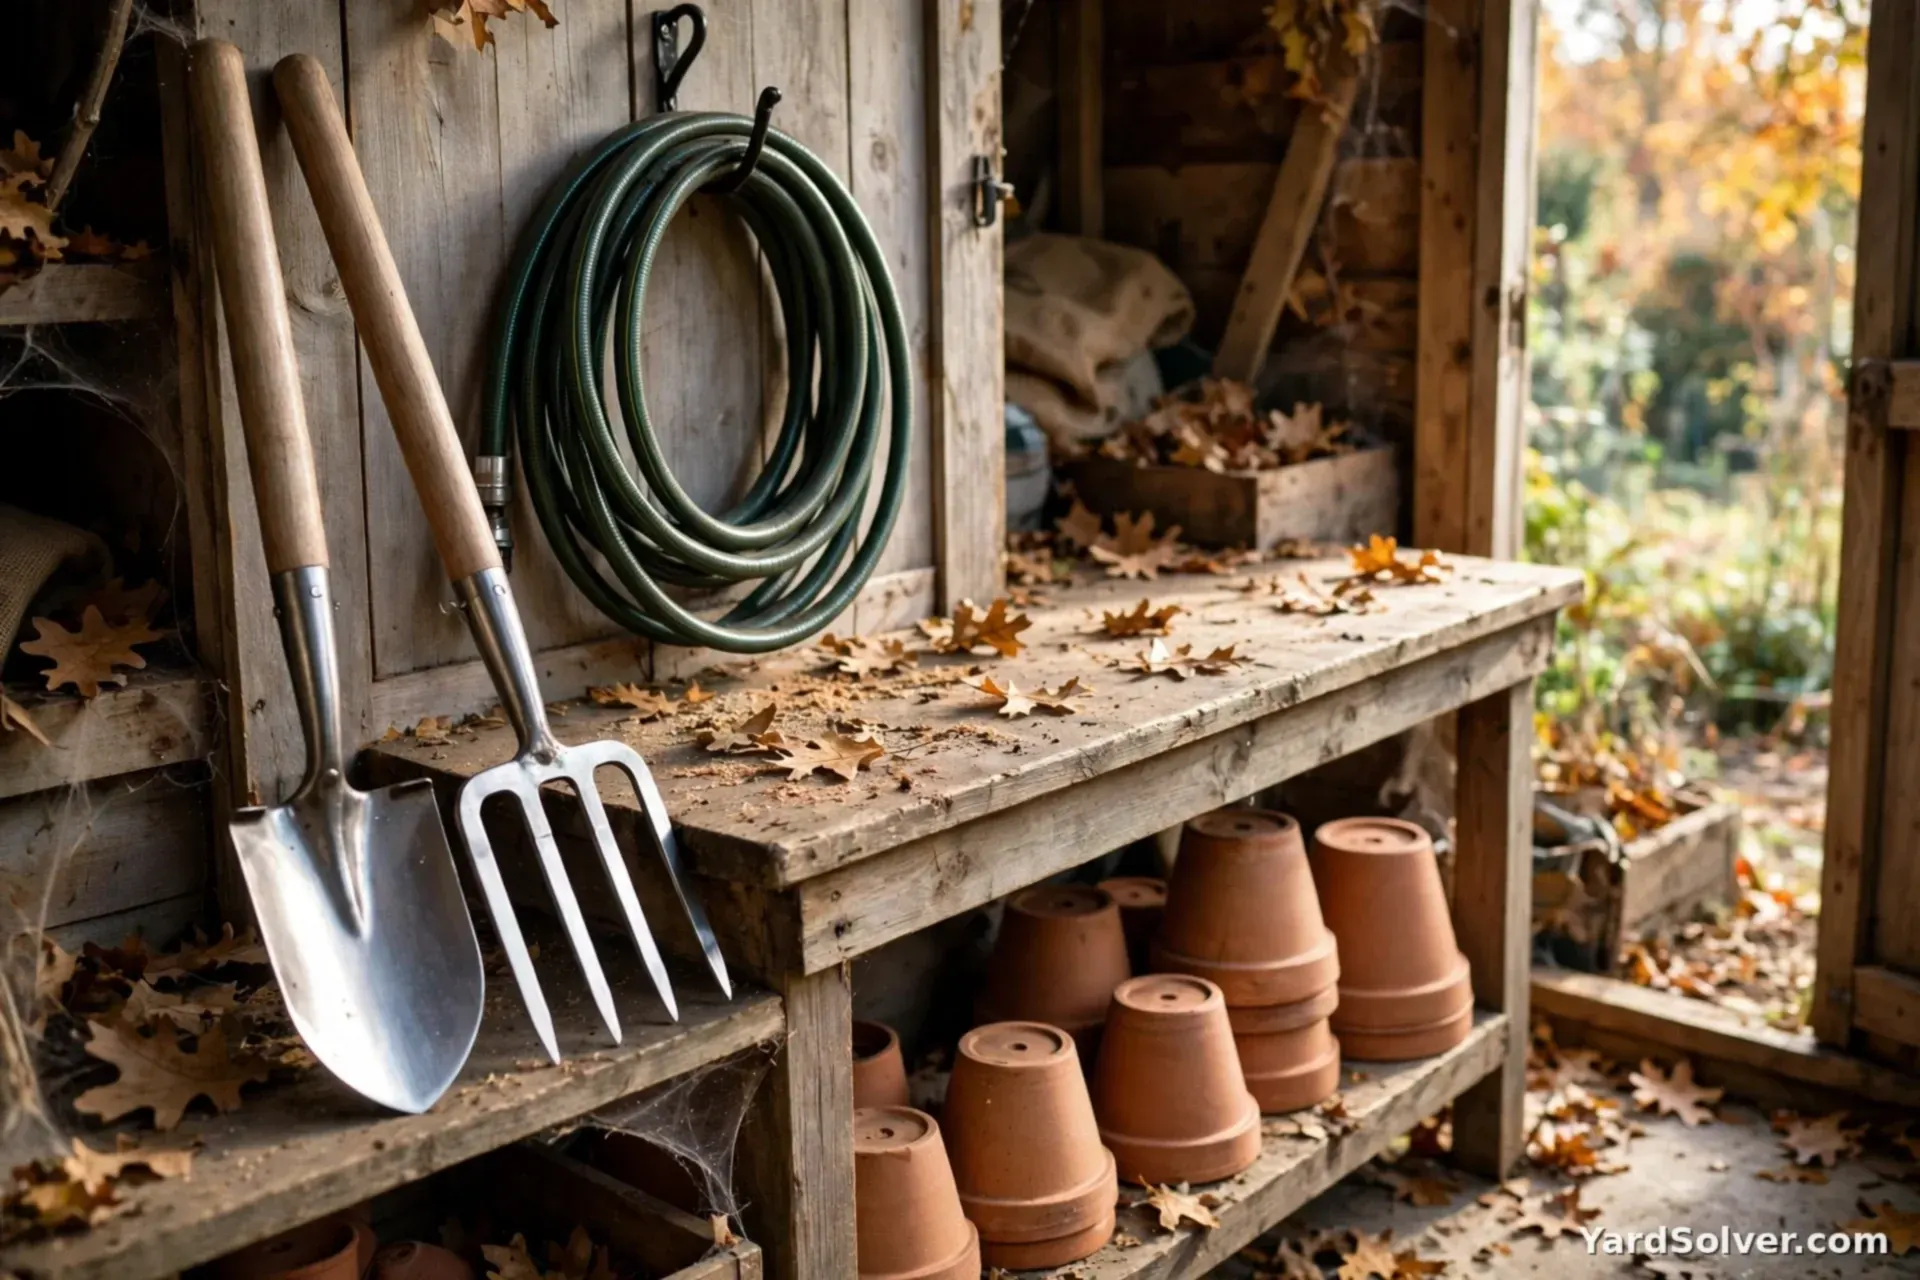
Disconnect and drain hoses, empty and store clay and ceramic pots (they crack frozen), and bring in anything glass or ceramic. Clean soil off tools, sharpen edges, wipe metal with oil, and store them dry — spring-you will be grateful.
Step 8 — Write down what worked

While it is fresh: which varieties produced, which bed struggled, what you ran out of. Five minutes of notes in October saves real money at seed-ordering time in January. Your frost dates for next season are already on the Planting Calendar.
Keep going
Next jobs: How to Protect Plants From Frost and How to Plant Garlic in Fall. And do not leave the empty beds bare — sow them down for winter with Winter Cover Crops Compared.
Questions people ask
Should I cut everything down in fall?
No. Seed heads feed birds and hollow stems shelter overwintering bees. Cut back diseased and floppy growth, but leaving sturdy perennials like coneflowers and ornamental grasses standing does real ecological work — tidy them in spring instead.
Can I compost diseased tomato plants?
No — home compost rarely gets hot enough to kill blight and other pathogens. Bag diseased material and put it in the garbage or municipal green waste, never back on the beds.
When exactly should the cleanup happen?
After the first hard frost has finished the tender crops, and before the ground freezes solid — usually a 3 to 5 week window in cold climates.
Comments & ratings
No comments yet.
Be the first to share your experience.