
Guides · Raised beds · Published November 10, 2026
Build a Low Tunnel: Grow Vegetables All Winter Long
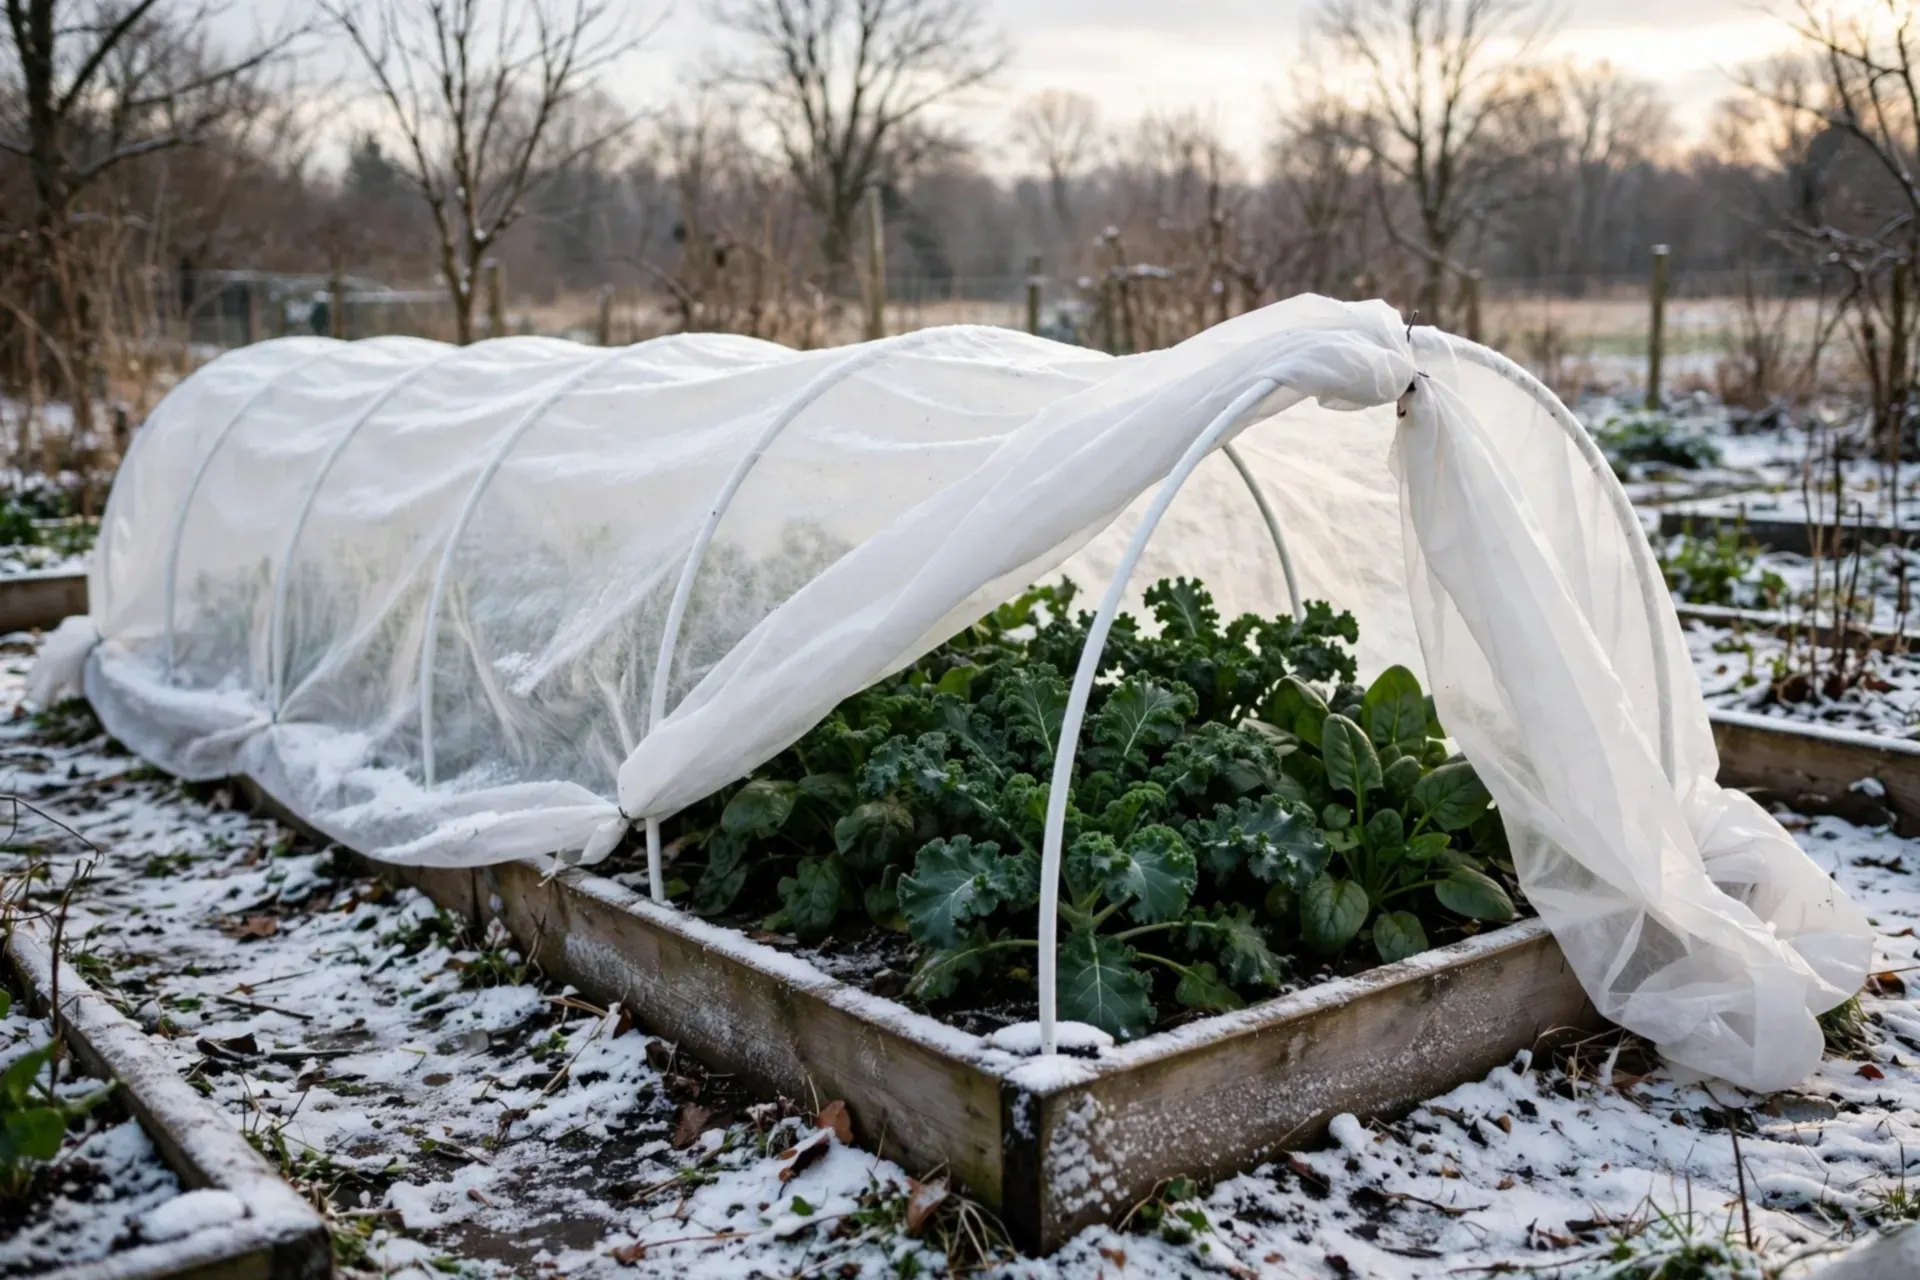
A low tunnel is the cheapest greenhouse there is: a row of hoops over a bed, a cover stretched across them, and a pocket of still air that keeps frost off the leaves. It takes about an hour to build over a raised bed, costs less than a bag of compost per bed in parts, and it changes winter from “the garden is closed” to “the kale is ready when you are.” Hardy greens do not need heat — they need the wind and the worst of the frost kept off them, and that is exactly what a tunnel does. Here is the build, step by step.
The covers, honestly compared
| Cover | Frost held off | Light through | Best use |
|---|---|---|---|
| Light fabric (about 0.5 oz) | 2–4°F | 90% or more | Mostly a pest cover; a whisper of frost help |
| Medium fabric (about 1 oz) | 4–6°F | 70–85% | The fall and spring default — start with this |
| Heavy fabric (1.5–2 oz) | 6–8°F | 30–50% | Cold snaps and overwintering; too dark for weeks on end |
| 6-mil clear plastic, over fabric | Roughly doubles the fabric's | High, but it must be vented | The deep-winter second layer; sheds snow |
Fabric breathes, so a fabric-only tunnel never needs venting. Plastic does not breathe at all — that is the trade you make for the extra warmth, and Step 4 is the rule that keeps it safe.
Step 1 — Fit the hoops to the bed
The classic hoop is a 10-foot length of ½-inch PVC pipe or ½-inch EMT conduit bent over a bed 3 to 4 feet wide, which gives you a tunnel about 2½ to 3 feet tall in the middle — enough for kale and chard, and low enough to stay put in wind. Each hoop stands on a stake: drive 18-inch pieces of rebar into the soil inside the bed edges so 6 to 8 inches stick up, and slide the pipe ends over them. On a wooden raised bed you can skip the rebar and screw short pipe offcuts to the inside walls as sockets. Count your hoops before you buy: one at each end, then one every 3 to 4 feet along the bed — an 8-foot bed takes three. Still building the bed itself? The soil for it is worked out in the Raised Bed Soil Calculator.
Step 2 — Set the hoops in a straight row
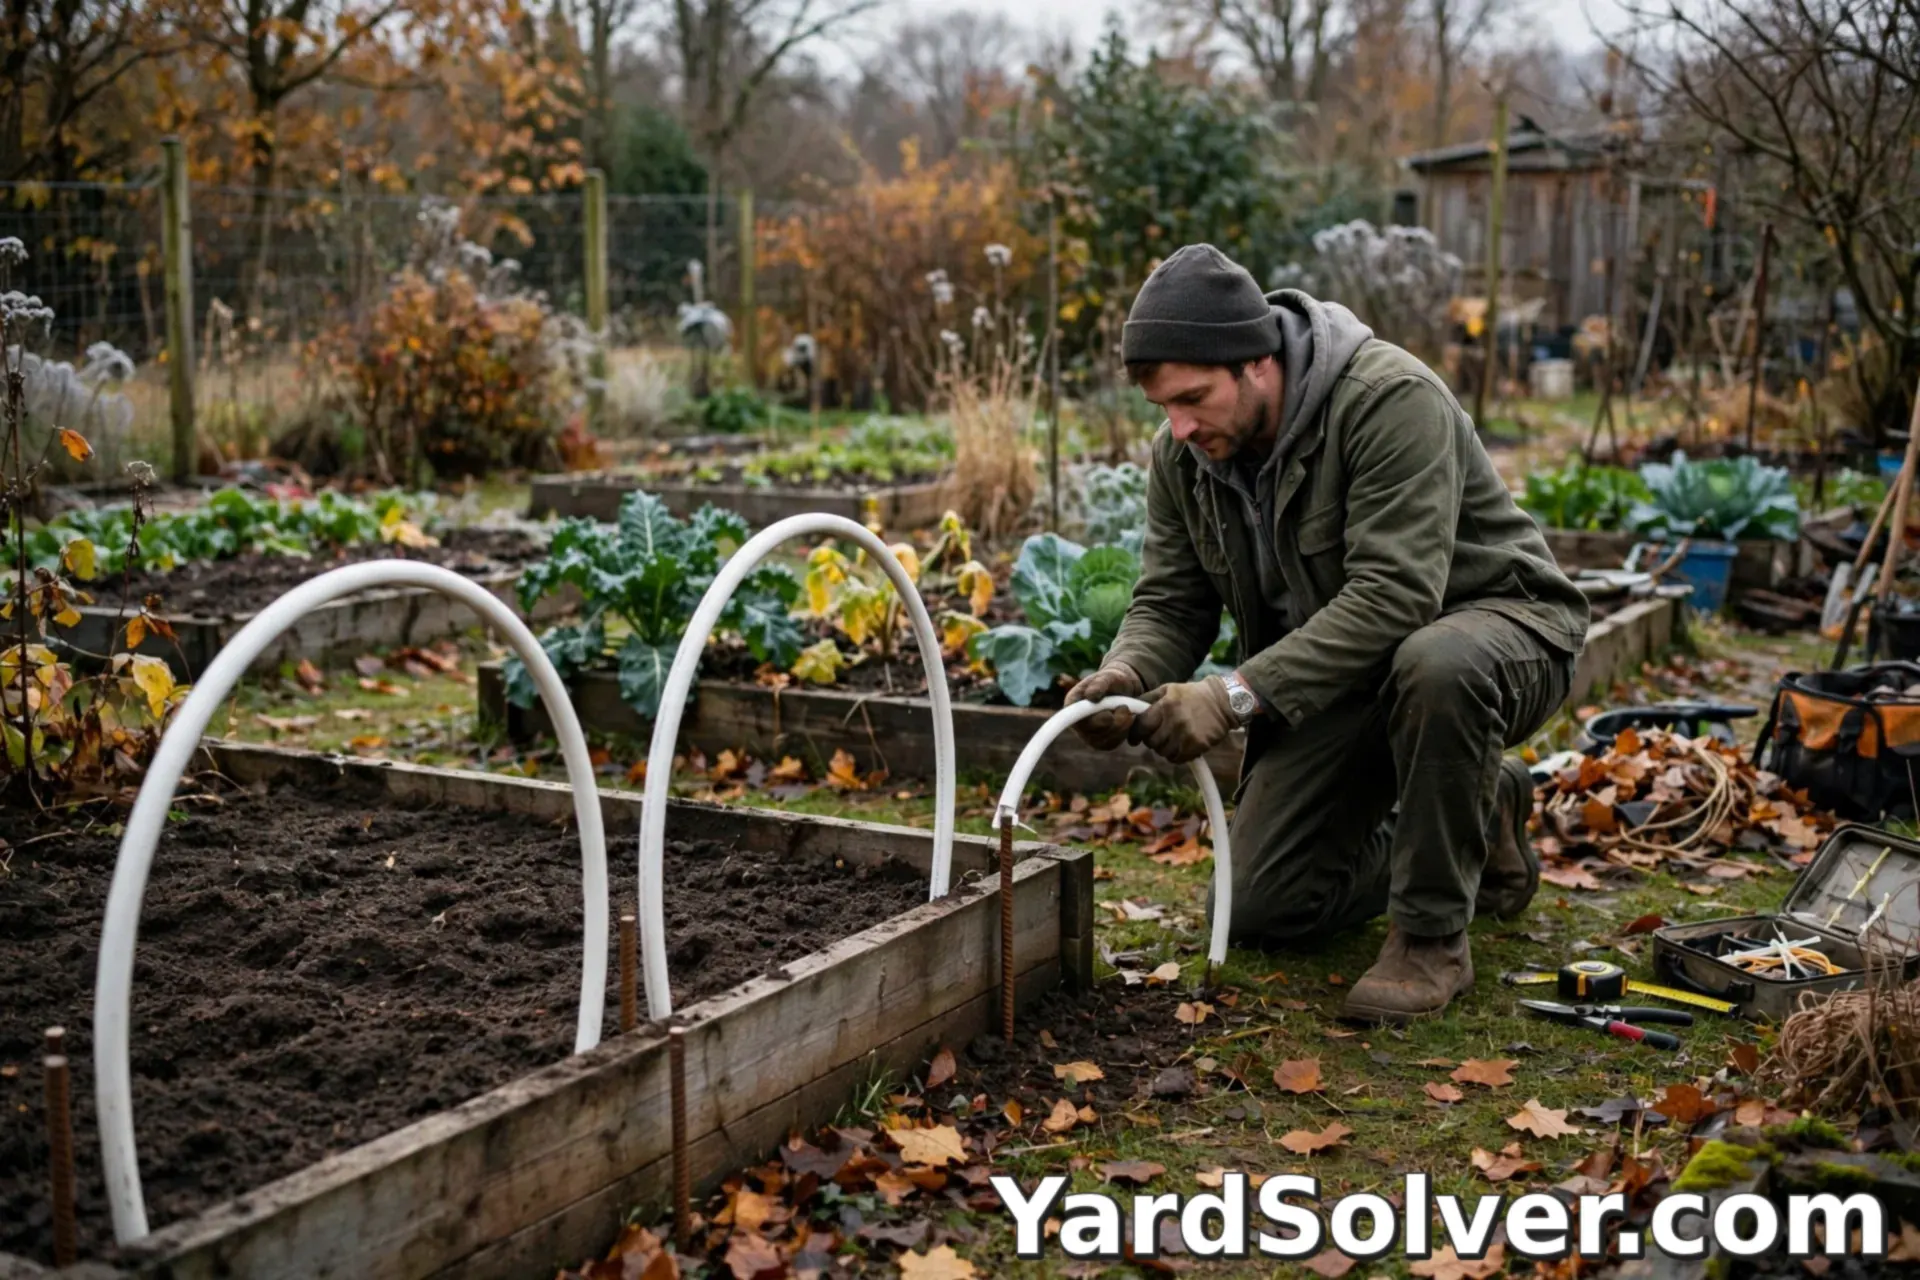
Push or slide each hoop home and sight down the row — a hoop that leans makes the cover sag, and sagging fabric pools rainwater and snow. Go closer than 4 feet apart where snow falls: 3-foot spacing carries a snow load that would flatten a wider span. If a hoop springs loose in soft soil, lengthen the stake rather than pushing the pipe deeper; the arch height is worth keeping.
Step 3 — Drape the fabric and pin the edges
Cut the fabric generously: the cover runs up one side, over the top and down the other, so buy it at least 8 feet wide for a 4-foot bed, and cut the length about 4 feet longer than the bed so you can gather and tie the ends. Drape it smoothly, then pin it down — bricks, soil shovelled along the edges, sandbags, or spring clamps on the hoops all work. Keep one long side easy to lift: that is your door, for harvesting and for venting. Pull the fabric snug but not drum-tight; it should give a little under a snow load instead of tearing.
Step 4 — Vent on sunny days, every time
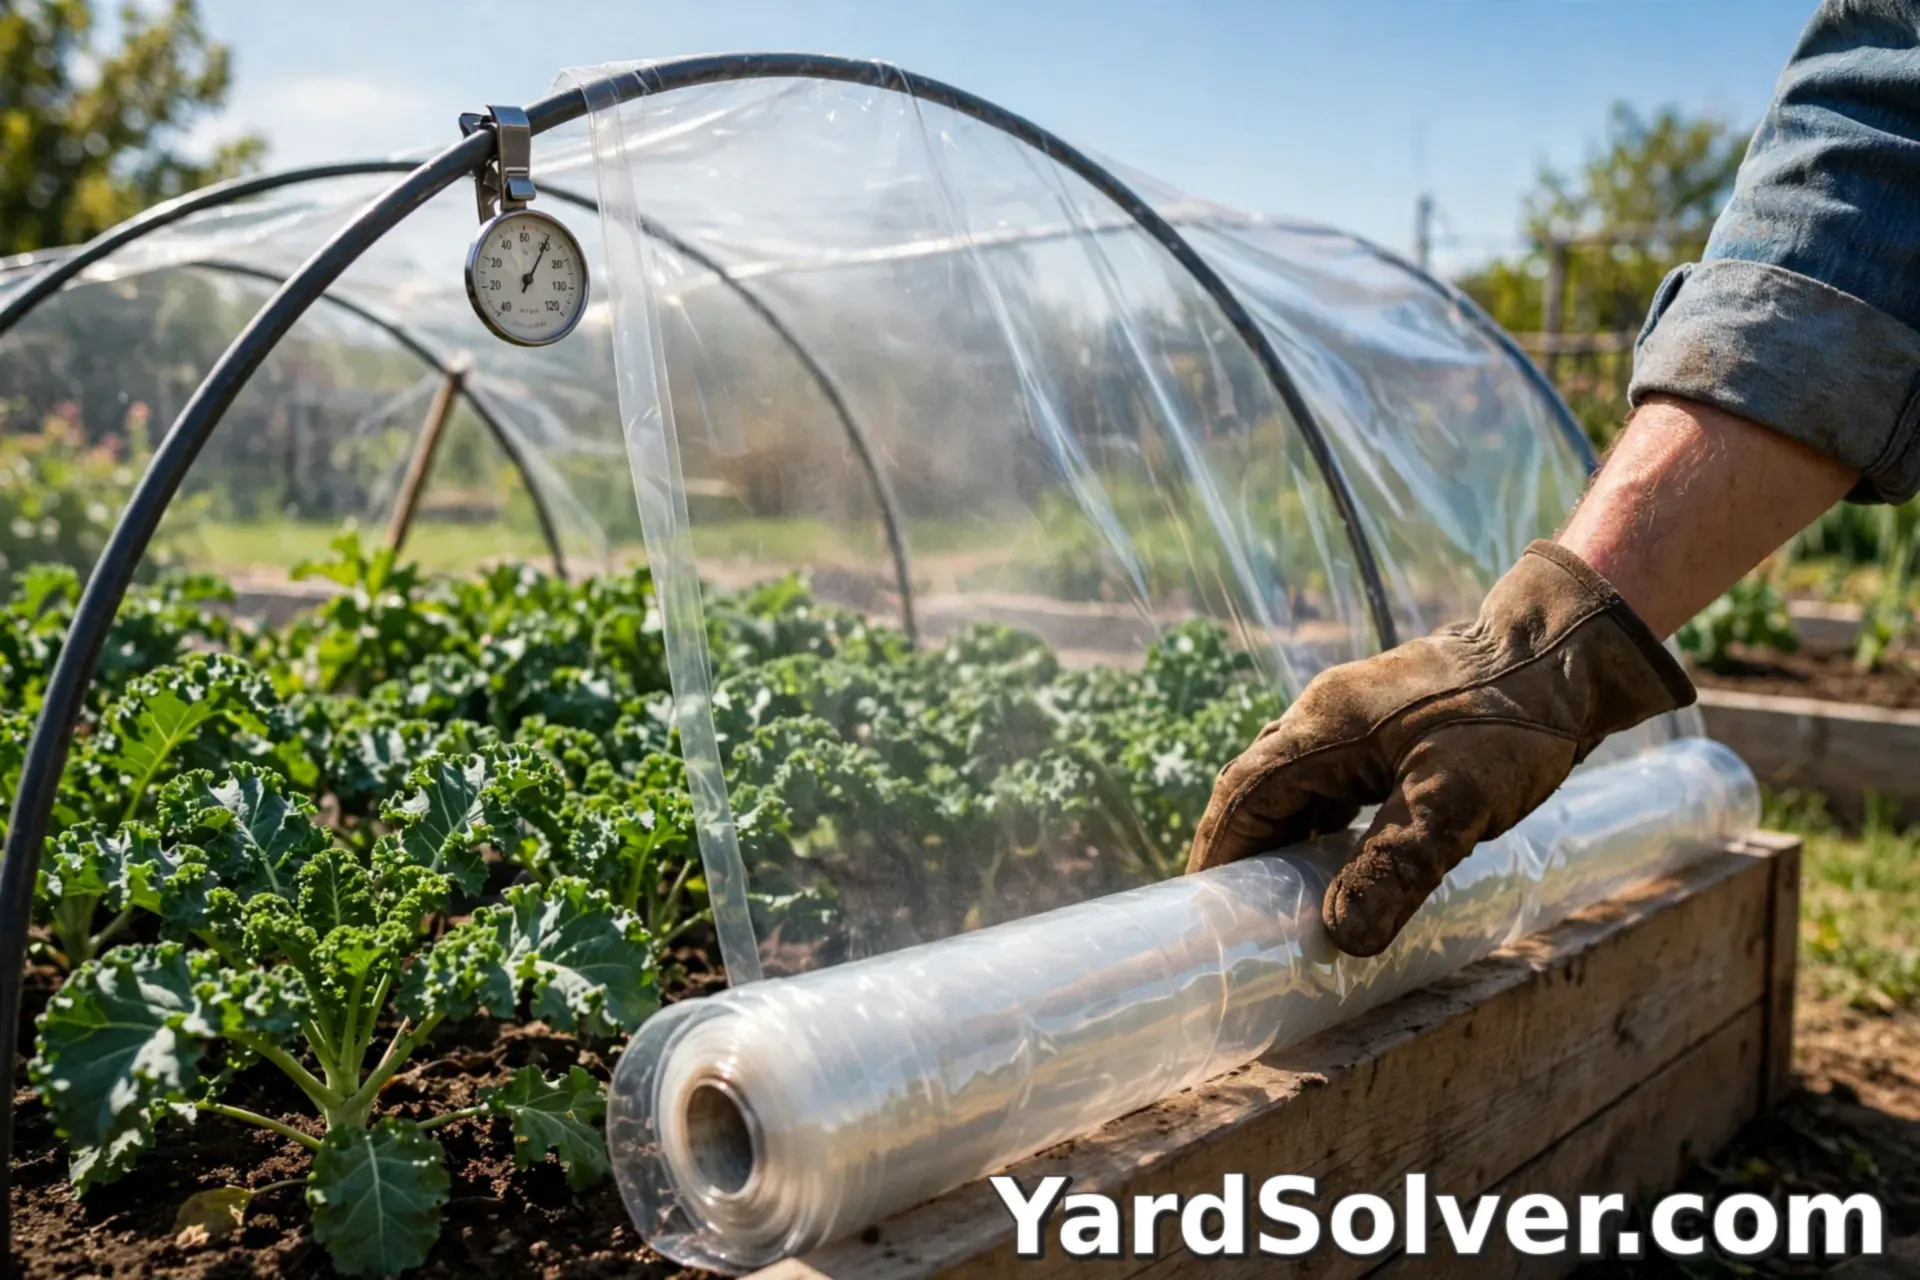
This is the step that decides whether the tunnel helps or cooks. Under clear plastic on a bright day, the air inside can pass 130°F within an hour — hot enough to wilt the very crops you are protecting. Keep the inside under about 90°F: roll one side up a foot or two, or open both ends, on any sunny day that feels mild. A cheap min-max thermometer hung from a middle hoop tells you what actually happened while you were out. Fabric-only tunnels need none of this — one more reason fabric is the default and plastic is the booster.
Step 5 — Add the plastic layer when real cold arrives
When nights start heading for the low 20s, stretch 6-mil clear plastic over the fabric and pin it the same way. Two things change. First, warmth: the double layer traps a blanket of air and roughly doubles the frost protection — enough to keep kale and spinach pickable through weather that would flatten them bare. Second, snow: plastic is slippery, so snow slides off instead of piling on the fabric; still brush off a heavy fall in the morning. Now plant and sow for the tunnel you have: Kale and Spinach are the two best winter tenants, with chard, lettuce and carrots close behind. Sow them from late summer onward so the plants are a good size before the dark weeks — the Planting Calendar gives the dates for your own frost line. A single night's frost blanket work is a different job, covered in How to Protect Plants From Frost.
Keep going
No bed yet? How to Build a Raised Bed is the frame this tunnel sits on.
One cold night at a time instead: How to Protect Plants From Frost covers the evening cover-up routine.
Questions people ask
How much warmer is it inside a low tunnel?
A single layer of medium fabric holds off roughly 4 to 6 degrees of frost on a cold night. Add the plastic layer and you roughly double that — winter gardeners often describe a double-covered tunnel as growing a full zone or more warmer than the garden outside it. It will not save tender crops in a hard freeze, and it is not meant to.
Should the hoops be PVC or metal?
PVC is cheap, light and easy to bend, and it works for years under fabric. Its rough surface and the sun wear plastic film out faster, though, so if you plan to run the plastic layer every winter, use half-inch EMT conduit for the hoops, or wrap tape over the PVC where the film touches it.
What can I actually harvest from a low tunnel in winter?
Kale, spinach, Swiss chard, lettuce, carrots, scallions and Asian greens are the reliable ones. In the darkest weeks they grow very slowly — the tunnel's job is to keep them alive, clean and pickable, so you harvest leaves and roots a few at a time rather than watching plants race.
Comments & ratings
No comments yet.
Be the first to share your experience.