
Guides · DIY build · Published October 31, 2026
How to Build a Raised Bed
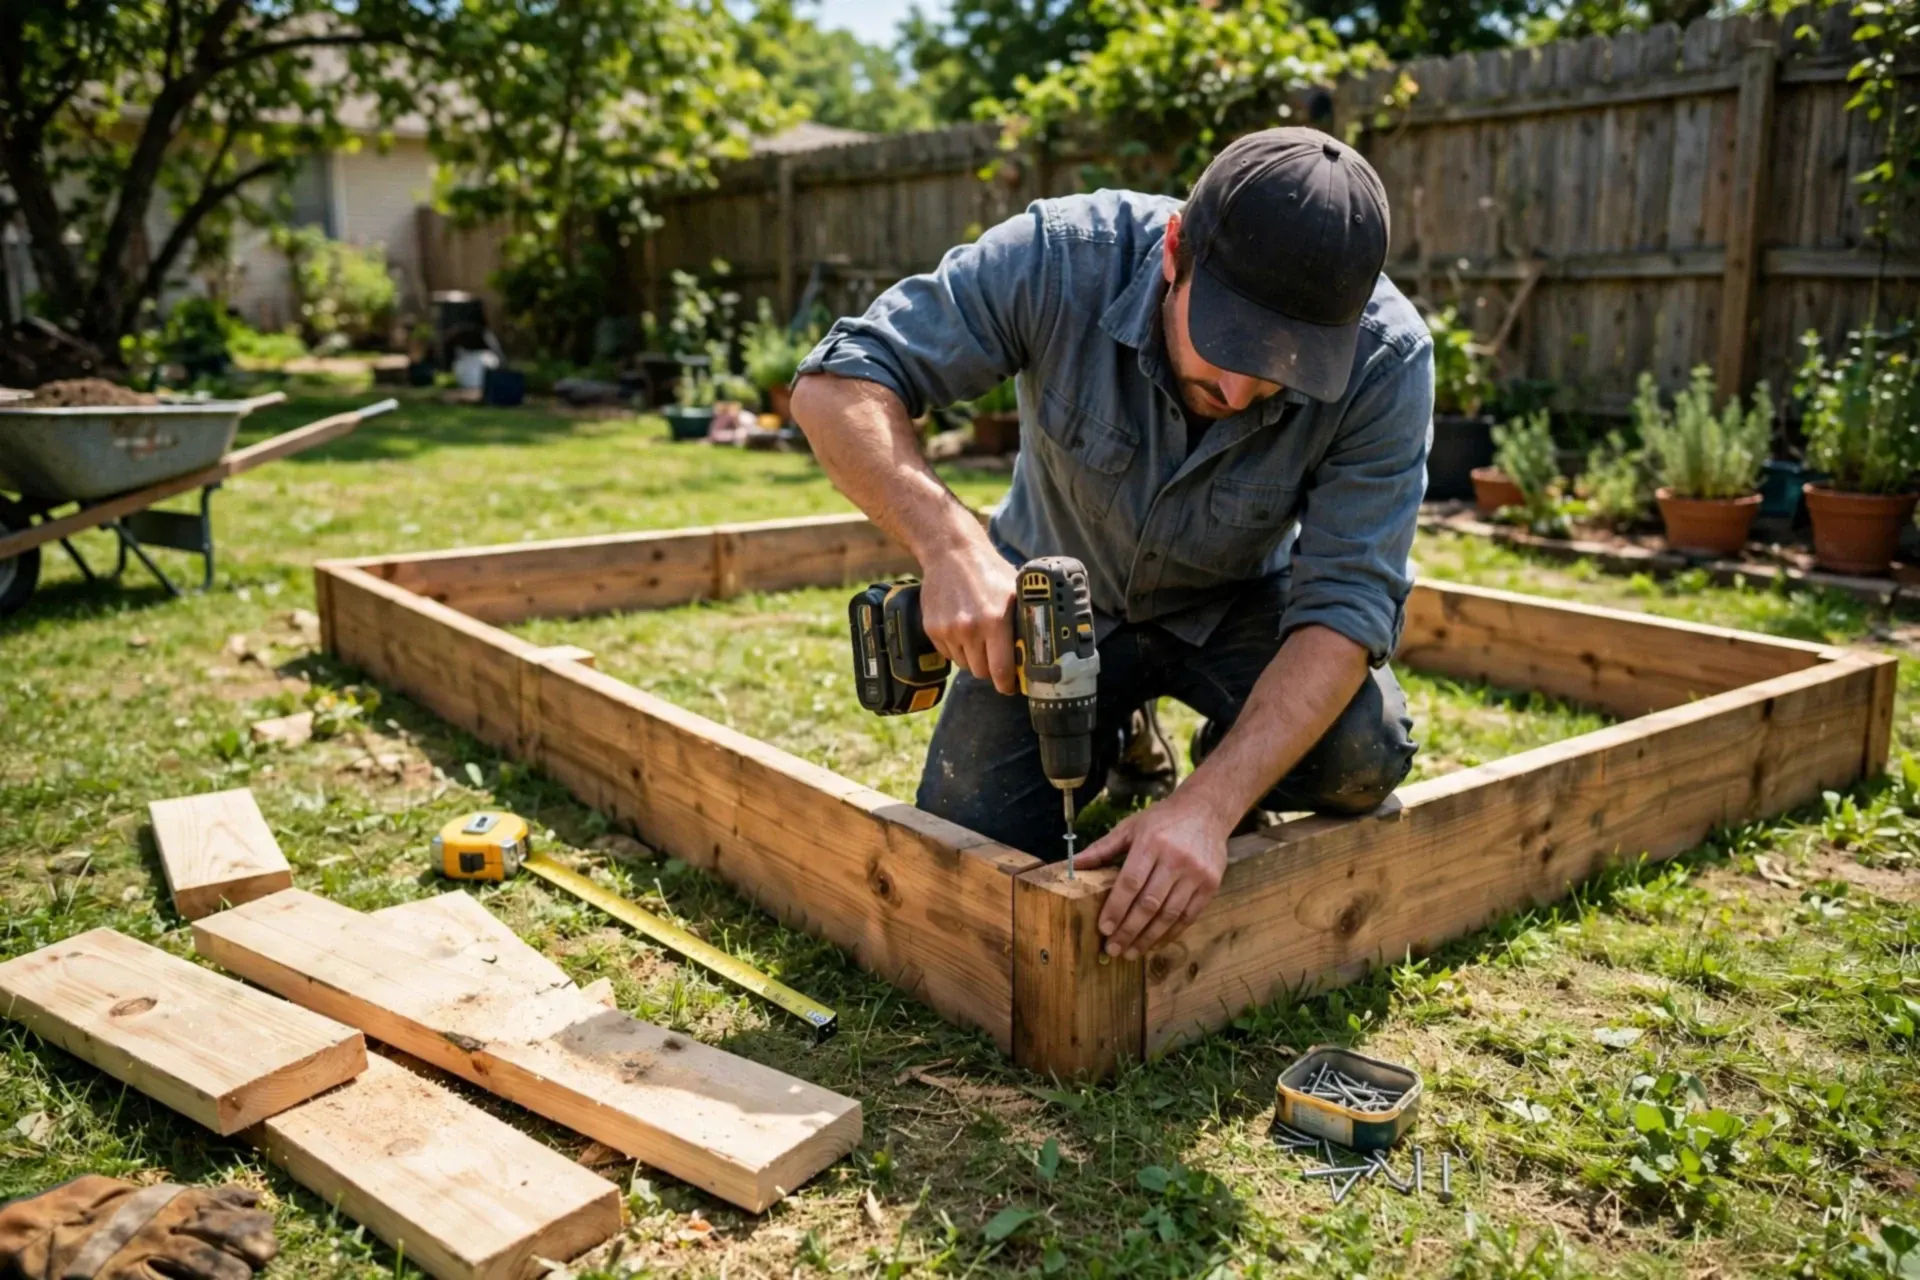
An 8 × 4 raised bed is one afternoon of work with basic tools — if the board list is right and the corners are built to resist soil pressure. This build uses the standard two-board depth, corner posts, and a mid-span brace, the three details that separate a bed that lasts a decade from one that bows apart in year two. New to raised beds entirely? Start with Raised Bed Gardening for Beginners.
The board list (8 × 4 bed, about 11 inches deep)
- Long sides: 4 boards, 2 × 6, 8 feet long (two stacked per side)
- Short sides: 4 boards, 2 × 6, 4 feet long (cut from two 8-foot boards)
- Corner posts: 1 piece of 4 × 4 or 2 × 4, cut into 4 posts of about 11 inches
- Screws: exterior deck screws, 2.5–3 inch — about 24
- Optional but wise: one extra board or a length of strapping as a mid-span cross-tie
Check your lumber maths with the Board Foot Calculator. Cedar lasts longest; standard spruce or pine is the budget route and still gives several seasons.
Step 1 — Cut and pre-drill
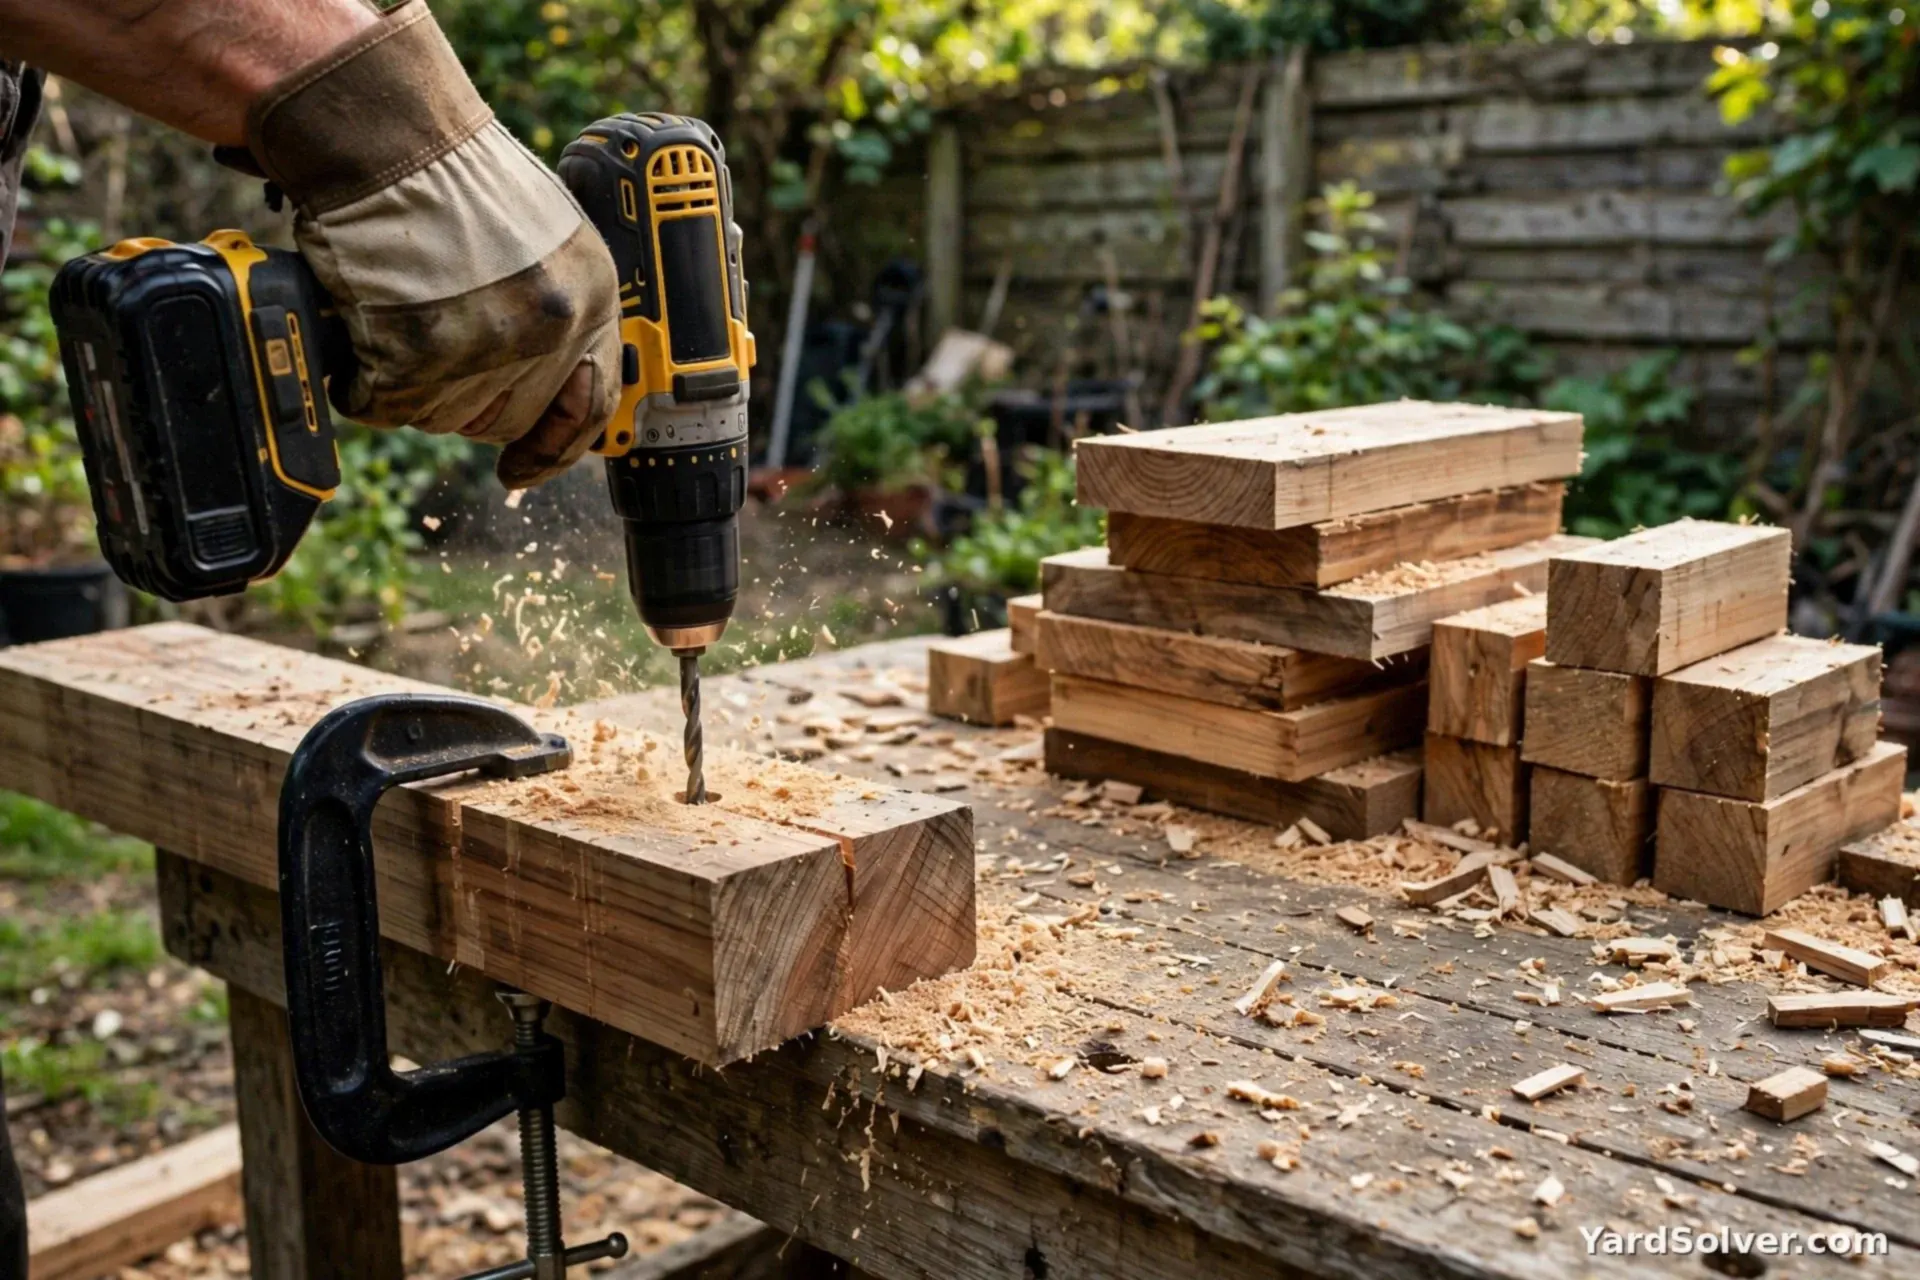
Cut the 4-foot boards and the corner posts. Pre-drill the board ends — boards split at the ends without pilot holes, especially cedar. Lay out each side flat on the ground: two long boards with a post at each end, posts flush with the top edge.
Step 2 — Build the two long sides first
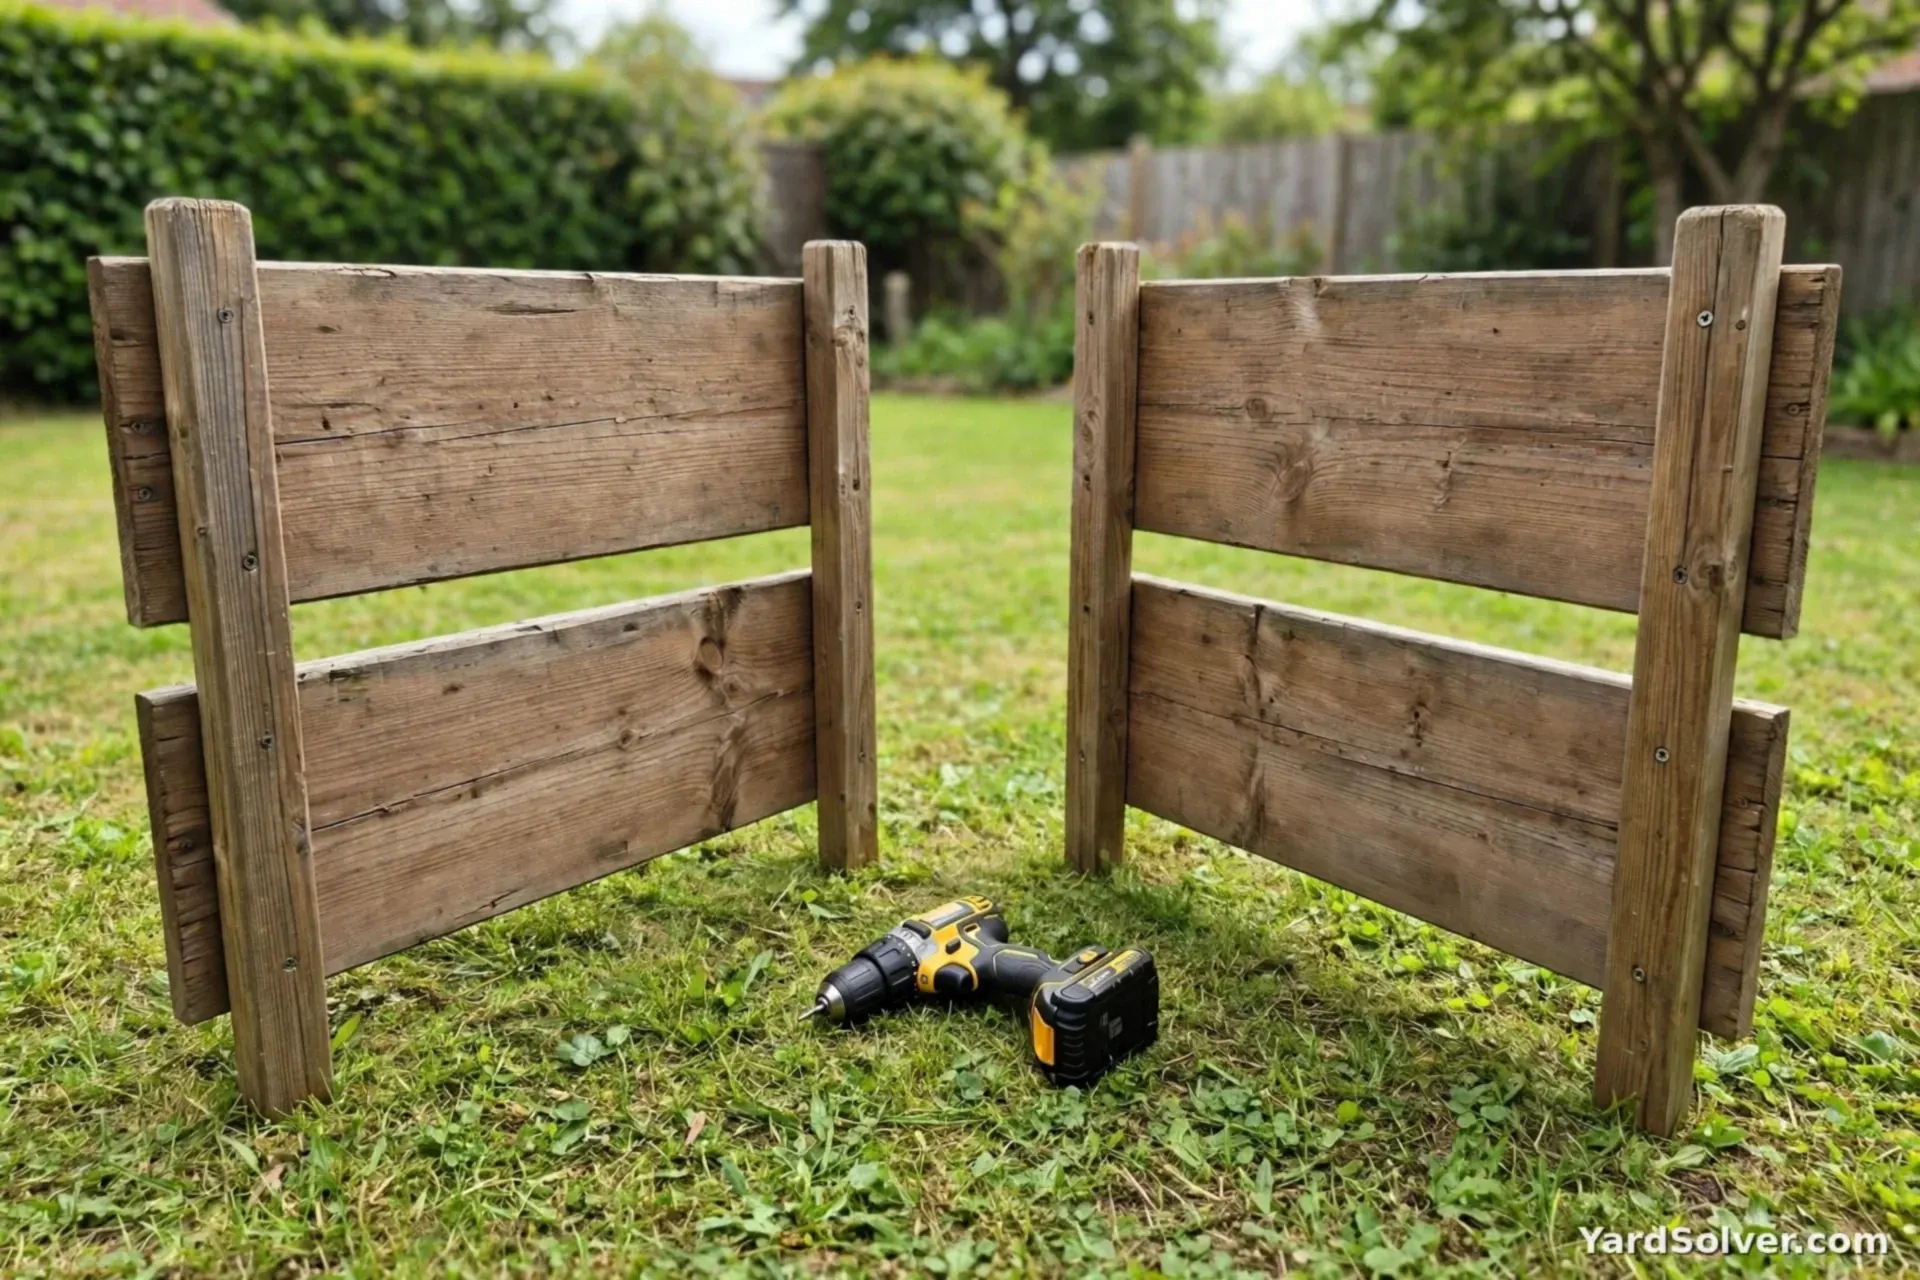
Screw each long side's boards to its corner posts, 2–3 screws per board end, driving from the outside of the board into the post. You now have two rigid panels. Stand them up 4 feet apart where the bed will live.
Step 3 — Add the short sides and square the frame
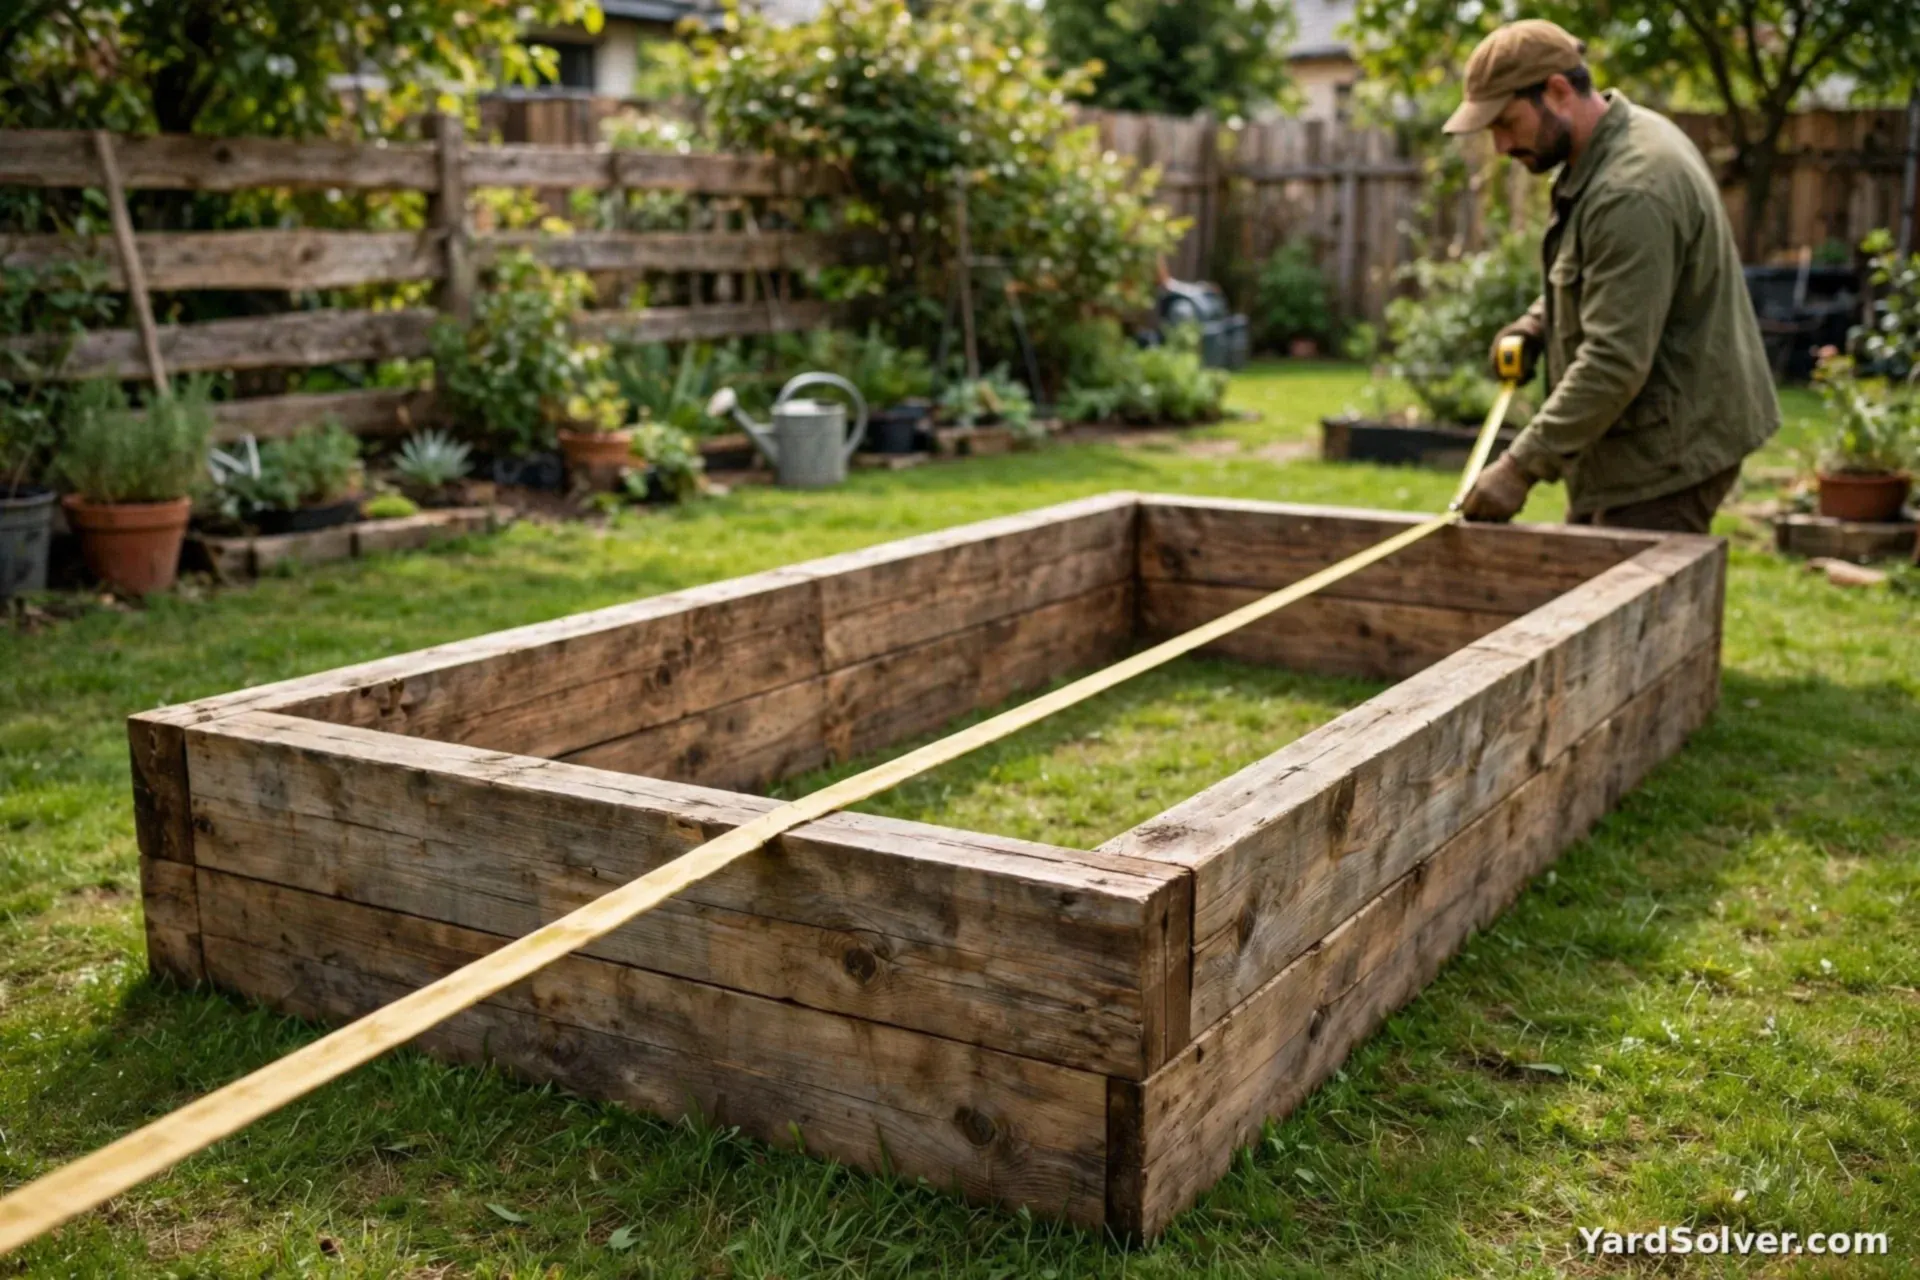
Screw the short-side boards to the corner posts the same way. Then measure the diagonals: equal diagonal measurements mean a square bed. Nudge a corner until they match — this two-minute check decides whether the bed looks built or homemade.
Step 4 — Add the mid-span brace
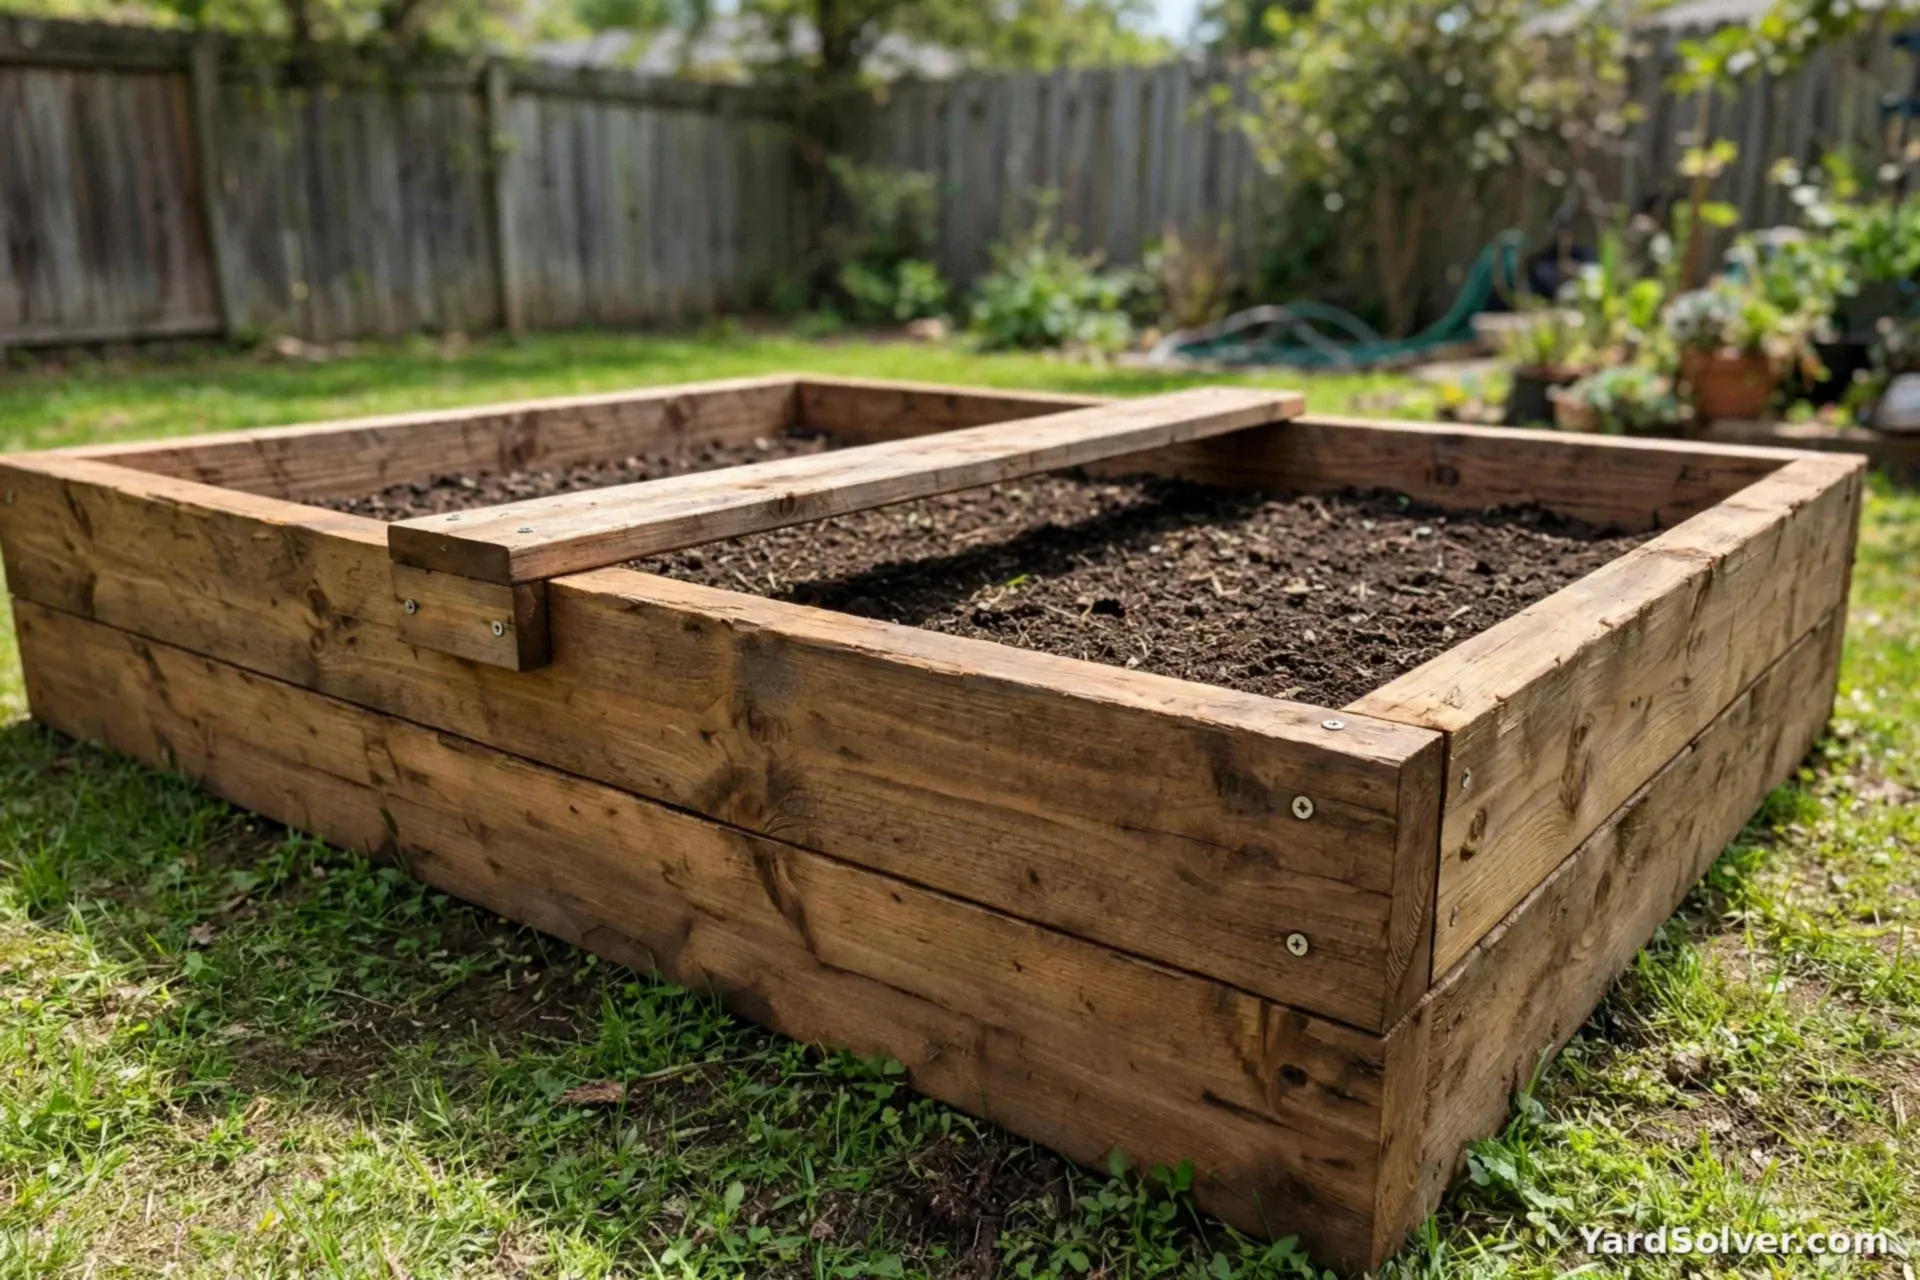
Soil pushes hardest at the middle of the 8-foot sides. Screw a cross-tie board across the top middle of the bed (it doubles as a handy seat and a divider for planting) or strap the two long sides together at mid-height before filling. On beds taller than 12 inches, add an outside stake at each long side's midpoint too.
Step 5 — Level the ground and set the bed
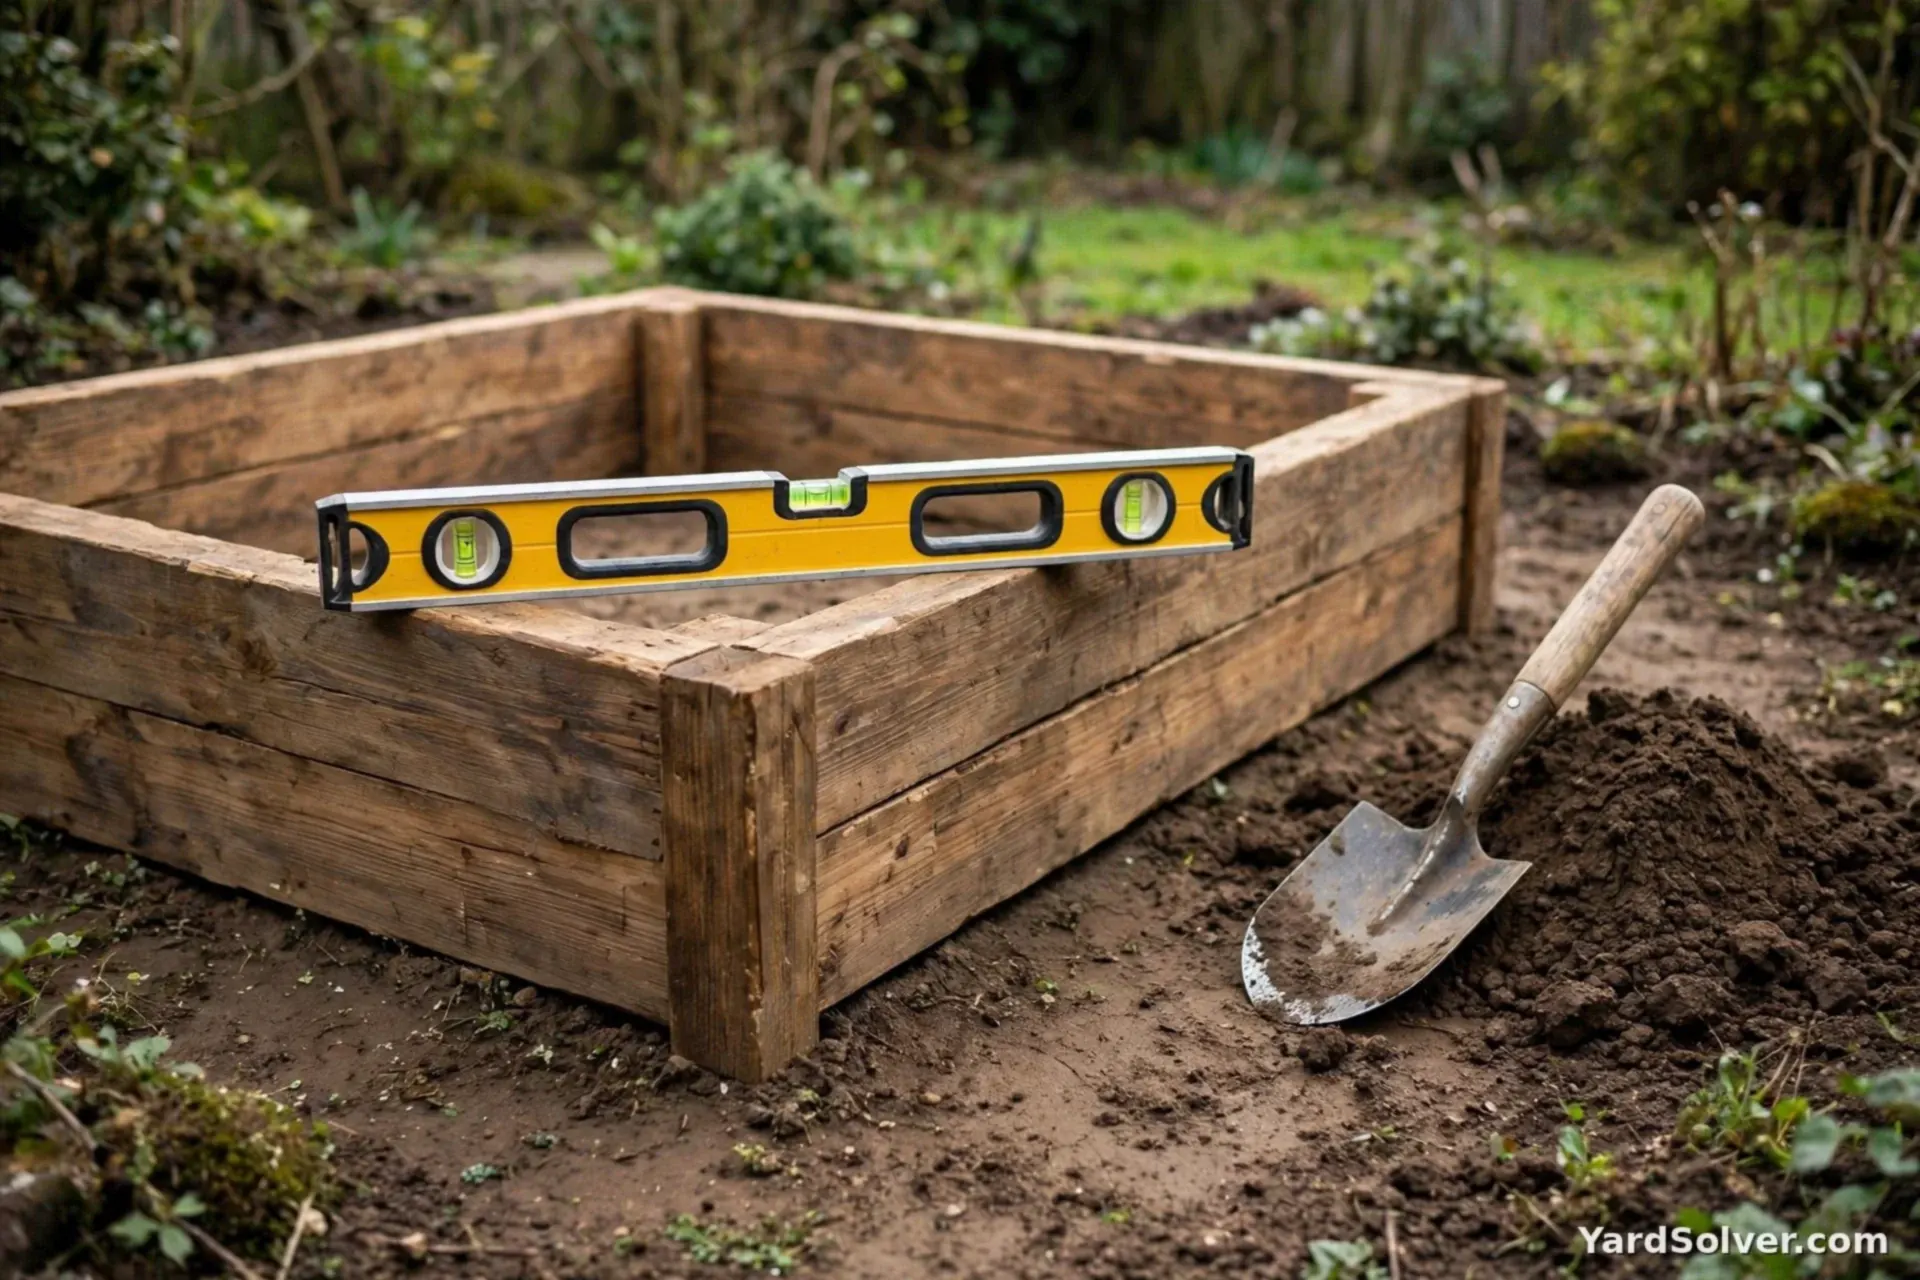
A bed on sloping ground leaks soil at the low corner and waters unevenly. Scrape or add soil until the frame sits level in both directions — check with a level on the top edges. Remove sharp rocks under the frame so it rests evenly.
Step 6 — Cardboard, fill, water, top up
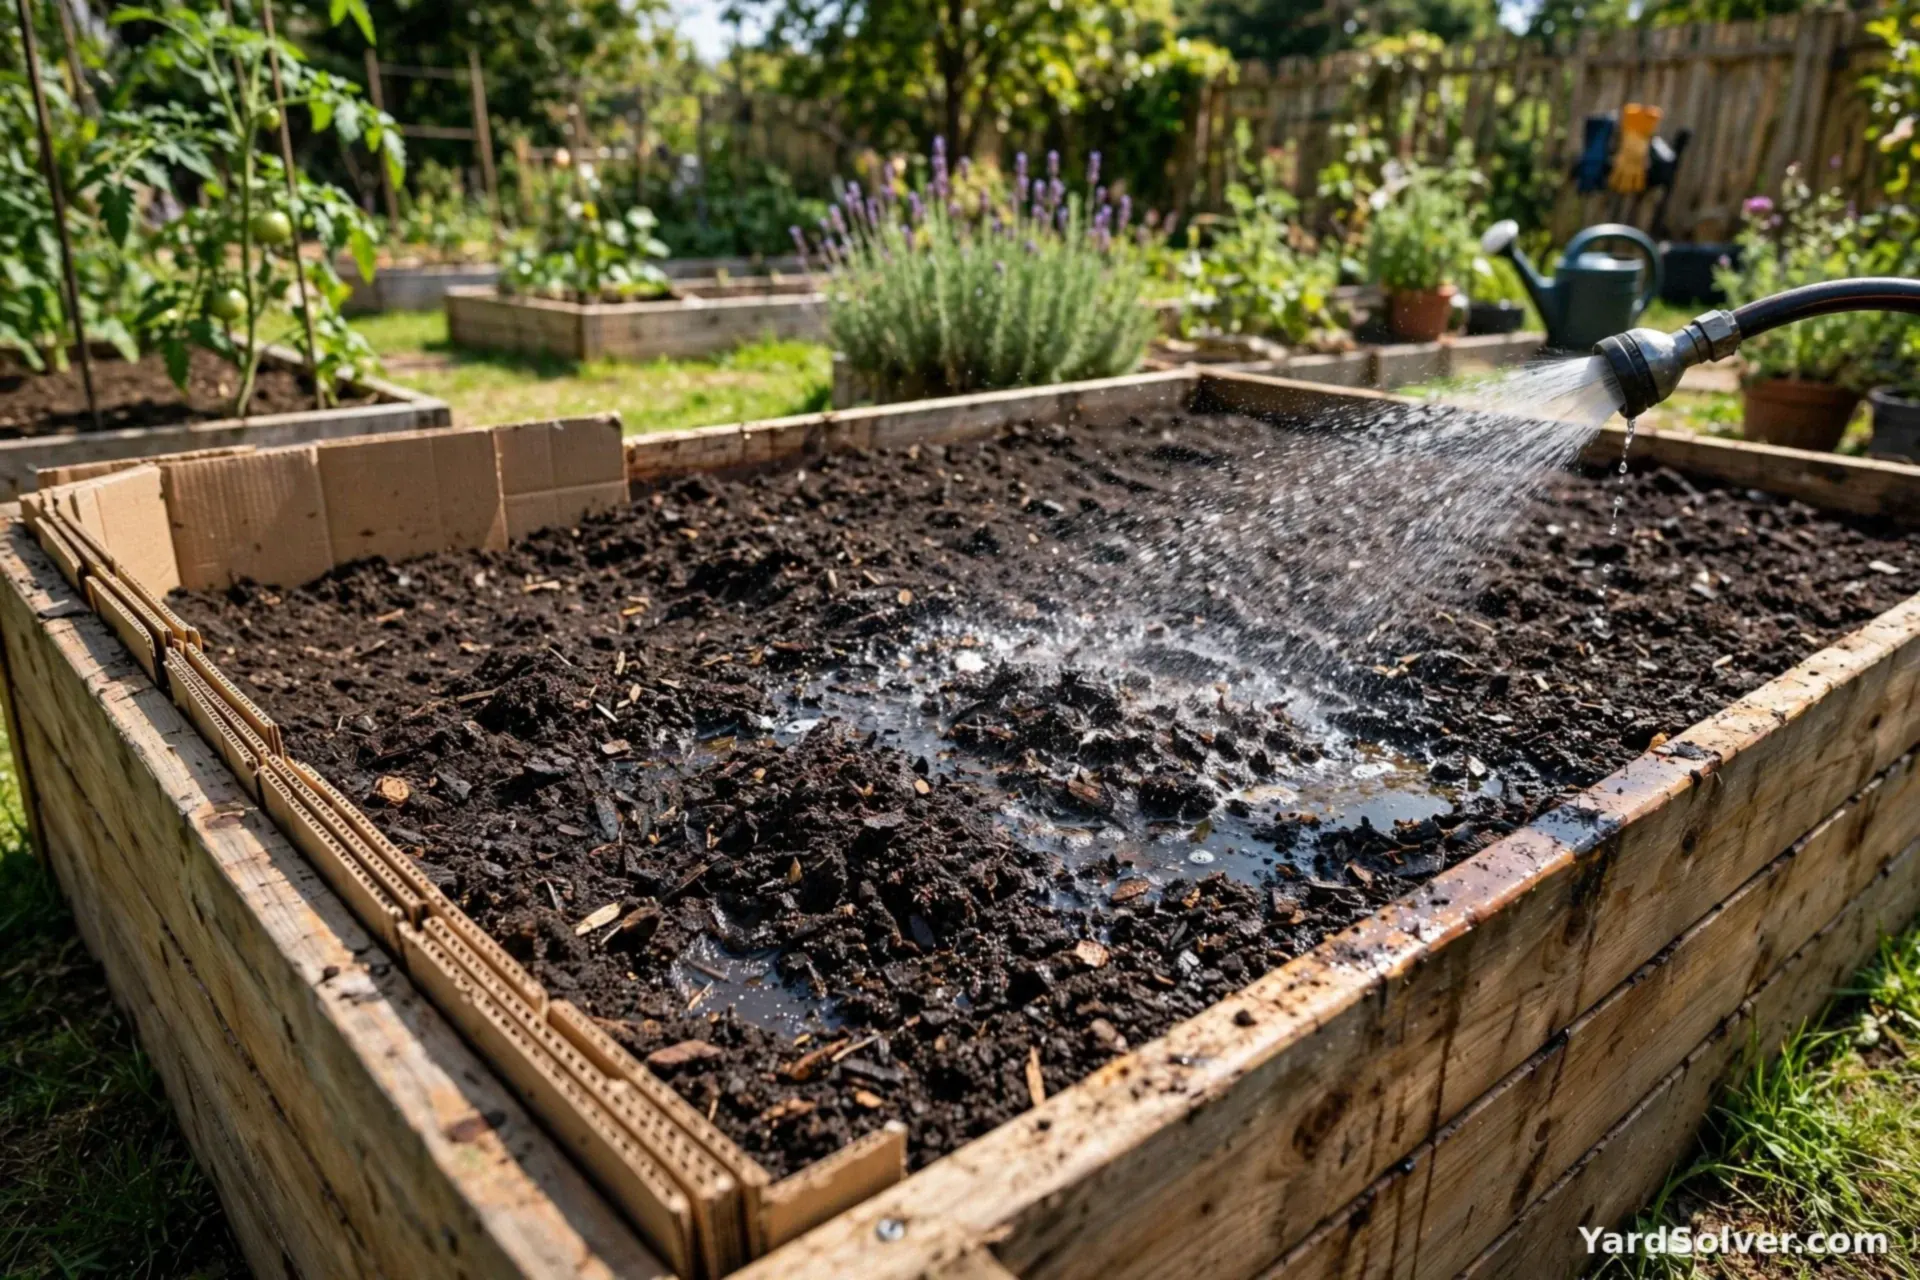
Lay overlapping cardboard over the base to smother grass (it rots away; skip plastic sheeting, which blocks drainage). Fill with your soil mix — for this bed at 11–12 inches deep, that is about 30–32 cubic feet; get your exact number from the Raised-Bed Soil Calculator before ordering. Water deeply, let it settle, and top up to within an inch of the rim. A layer of mulch (quantities here) finishes the job.
Keep going
Using the bed: Raised Bed Gardening for Beginners · How to Prepare Garden Soil in Spring.
Built it deep? Fill it for half the soil with Hugelkultur Raised Beds — logs and branches in the bottom half, bought soil only on top.
Questions people ask
What wood should I use?
Cedar lasts longest; larch and hemlock are regional budget options; plain spruce or pine is cheapest and lasts several seasons. Ground-contact pressure-treated lumber is considered acceptable by most extension services — line the inside walls with landscape fabric if you prefer a barrier.
How deep should a raised bed be?
10–12 inches grows nearly all vegetables. Two stacked 2 × 6 boards give about 11 inches. On concrete or very poor ground, go 16–18 inches.
How do I stop the long sides bowing out?
A mid-span cross-tie or brace, sturdy corner posts, and — on taller beds — an outside stake at each long side's midpoint.
Comments & ratings
No comments yet.
Be the first to share your experience.