
Guides · Potatoes · Published October 31, 2026
How to Grow Potatoes in Bags
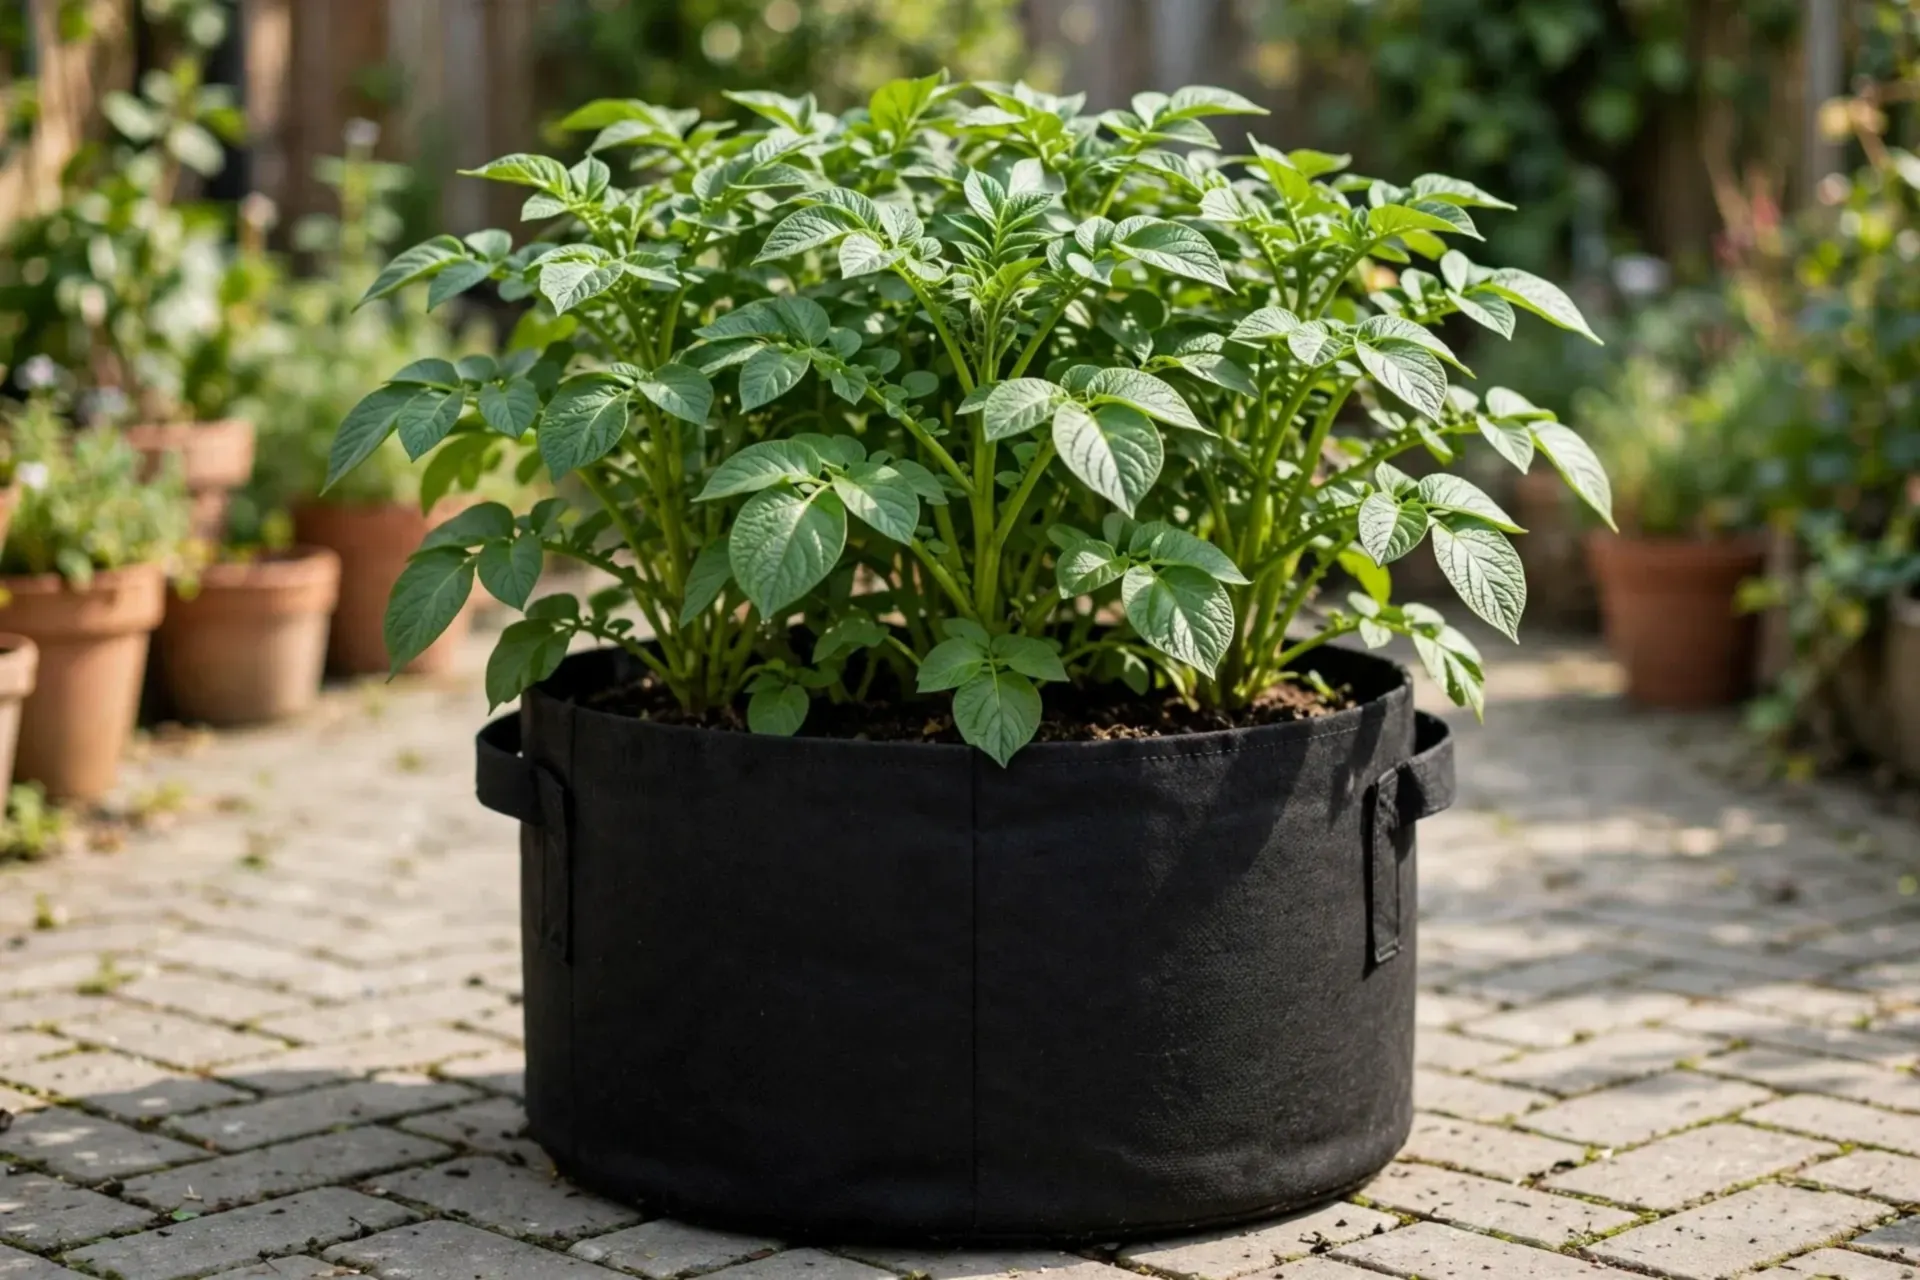
Potatoes are one of the few heavy crops that do not need a garden at all. A bag on a patio, balcony or driveway gives clean, pest-light potatoes with the easiest harvest in gardening: tip the bag out. The method works because potatoes form tubers along their buried stems — and a bag lets you keep burying the stem, layer by layer.
What you need
- A container: a 10-gallon (about 40 L) fabric grow bag is ideal; a sturdy bucket, old compost bag (inside-out) or any deep container with drainage works
- Seed potatoes: certified seed potatoes — 3–4 per bag; early varieties are fastest, maincrop gives the biggest yield
- Fill: a mix of multipurpose compost and garden soil, roughly half and half — the Compost Calculator helps with larger batches
- Sun and water: the sunniest spot you have, and a watering routine — bags dry out faster than beds
Step 1 — Chit the seed potatoes first (optional, worth it)
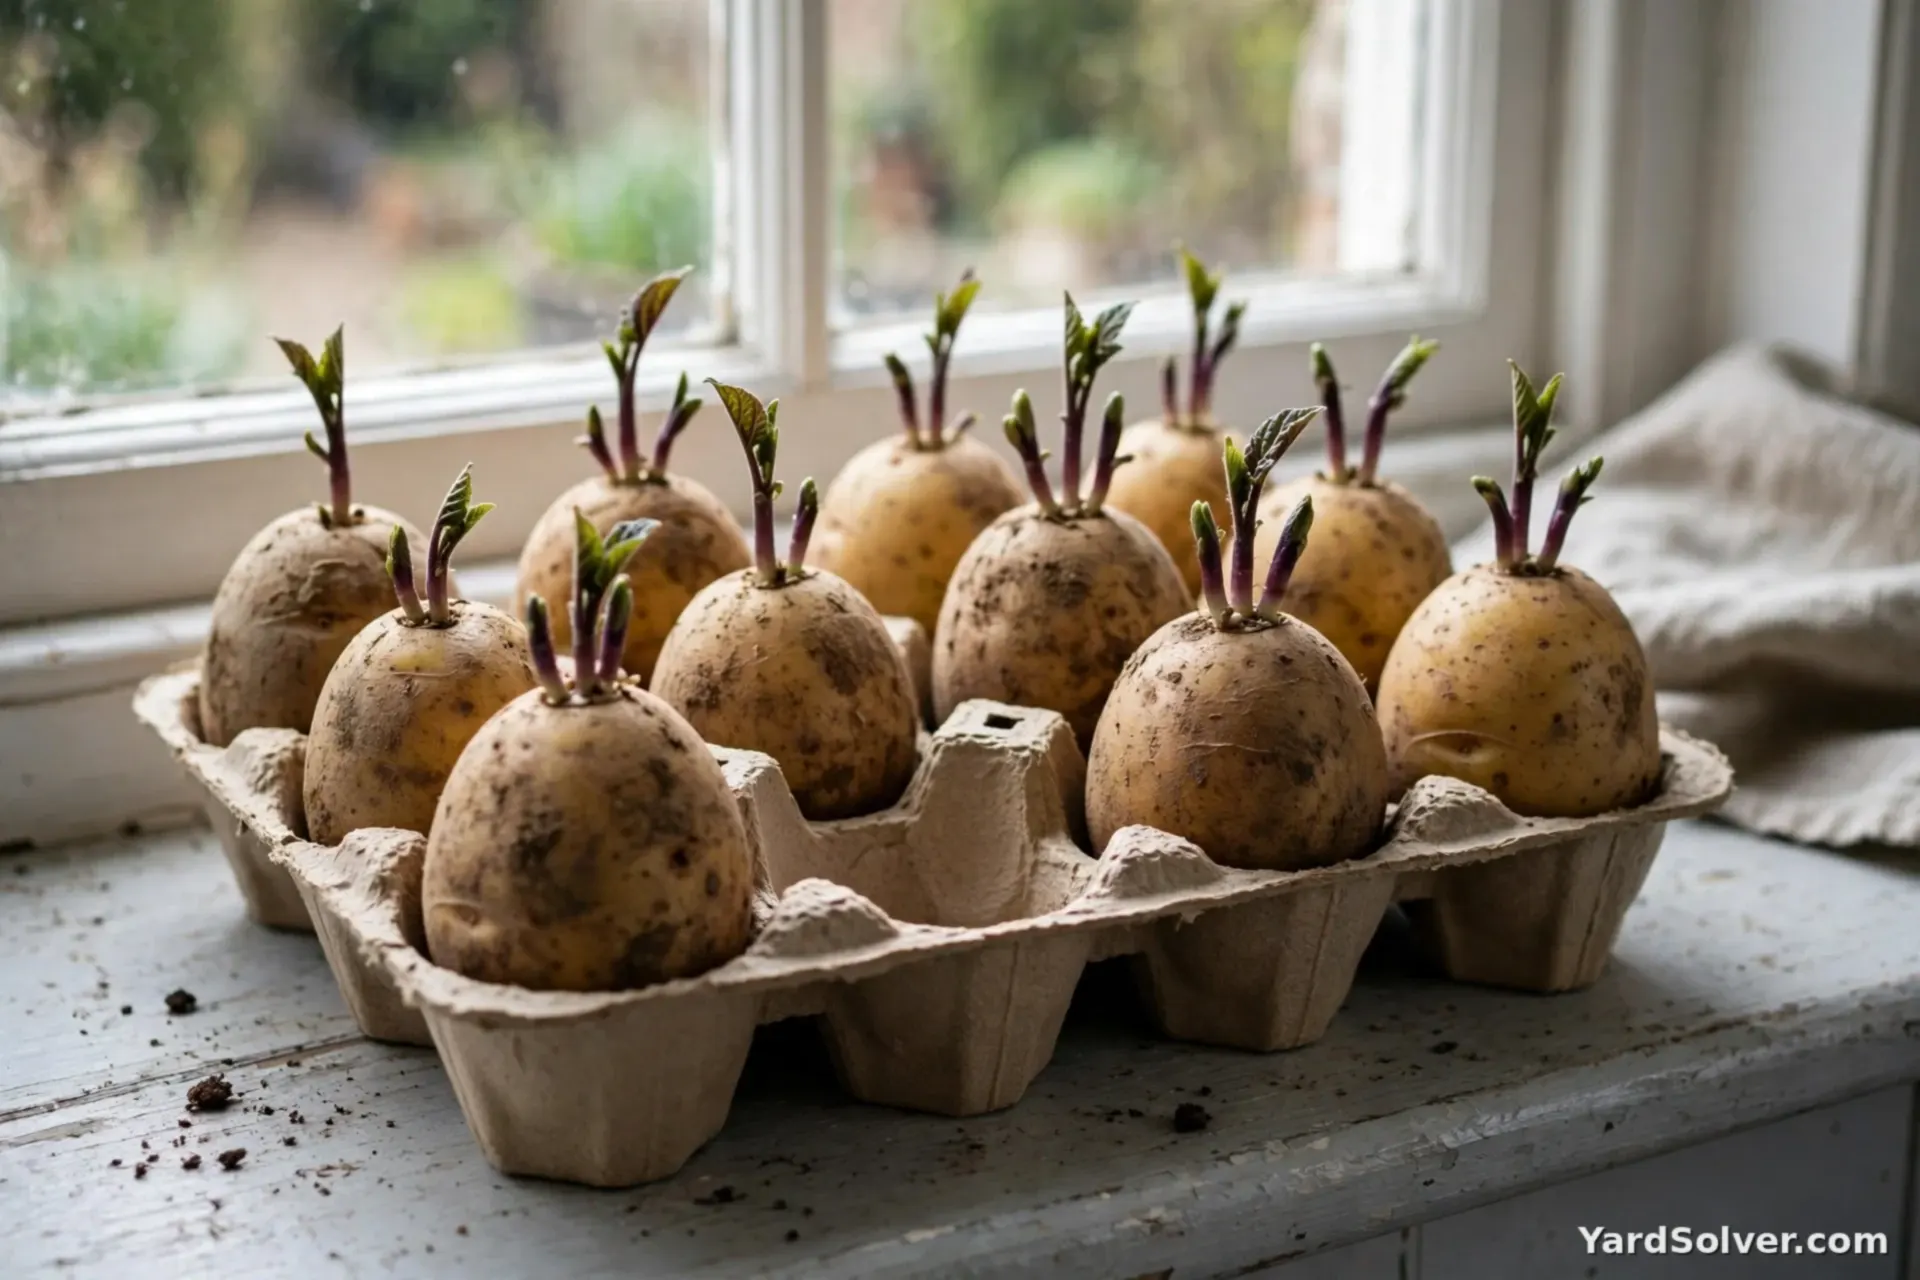
Two to three weeks before planting, stand seed potatoes in an egg box, eyes up, in a cool bright room. Short, sturdy green-purple sprouts form. Chitting buys you a head start of about two weeks on the harvest. Plant bags outdoors a few weeks before your last frost — potatoes tolerate light cold, and the Planting Calendar gives your dates.
Step 2 — Start with a shallow layer, not a full bag
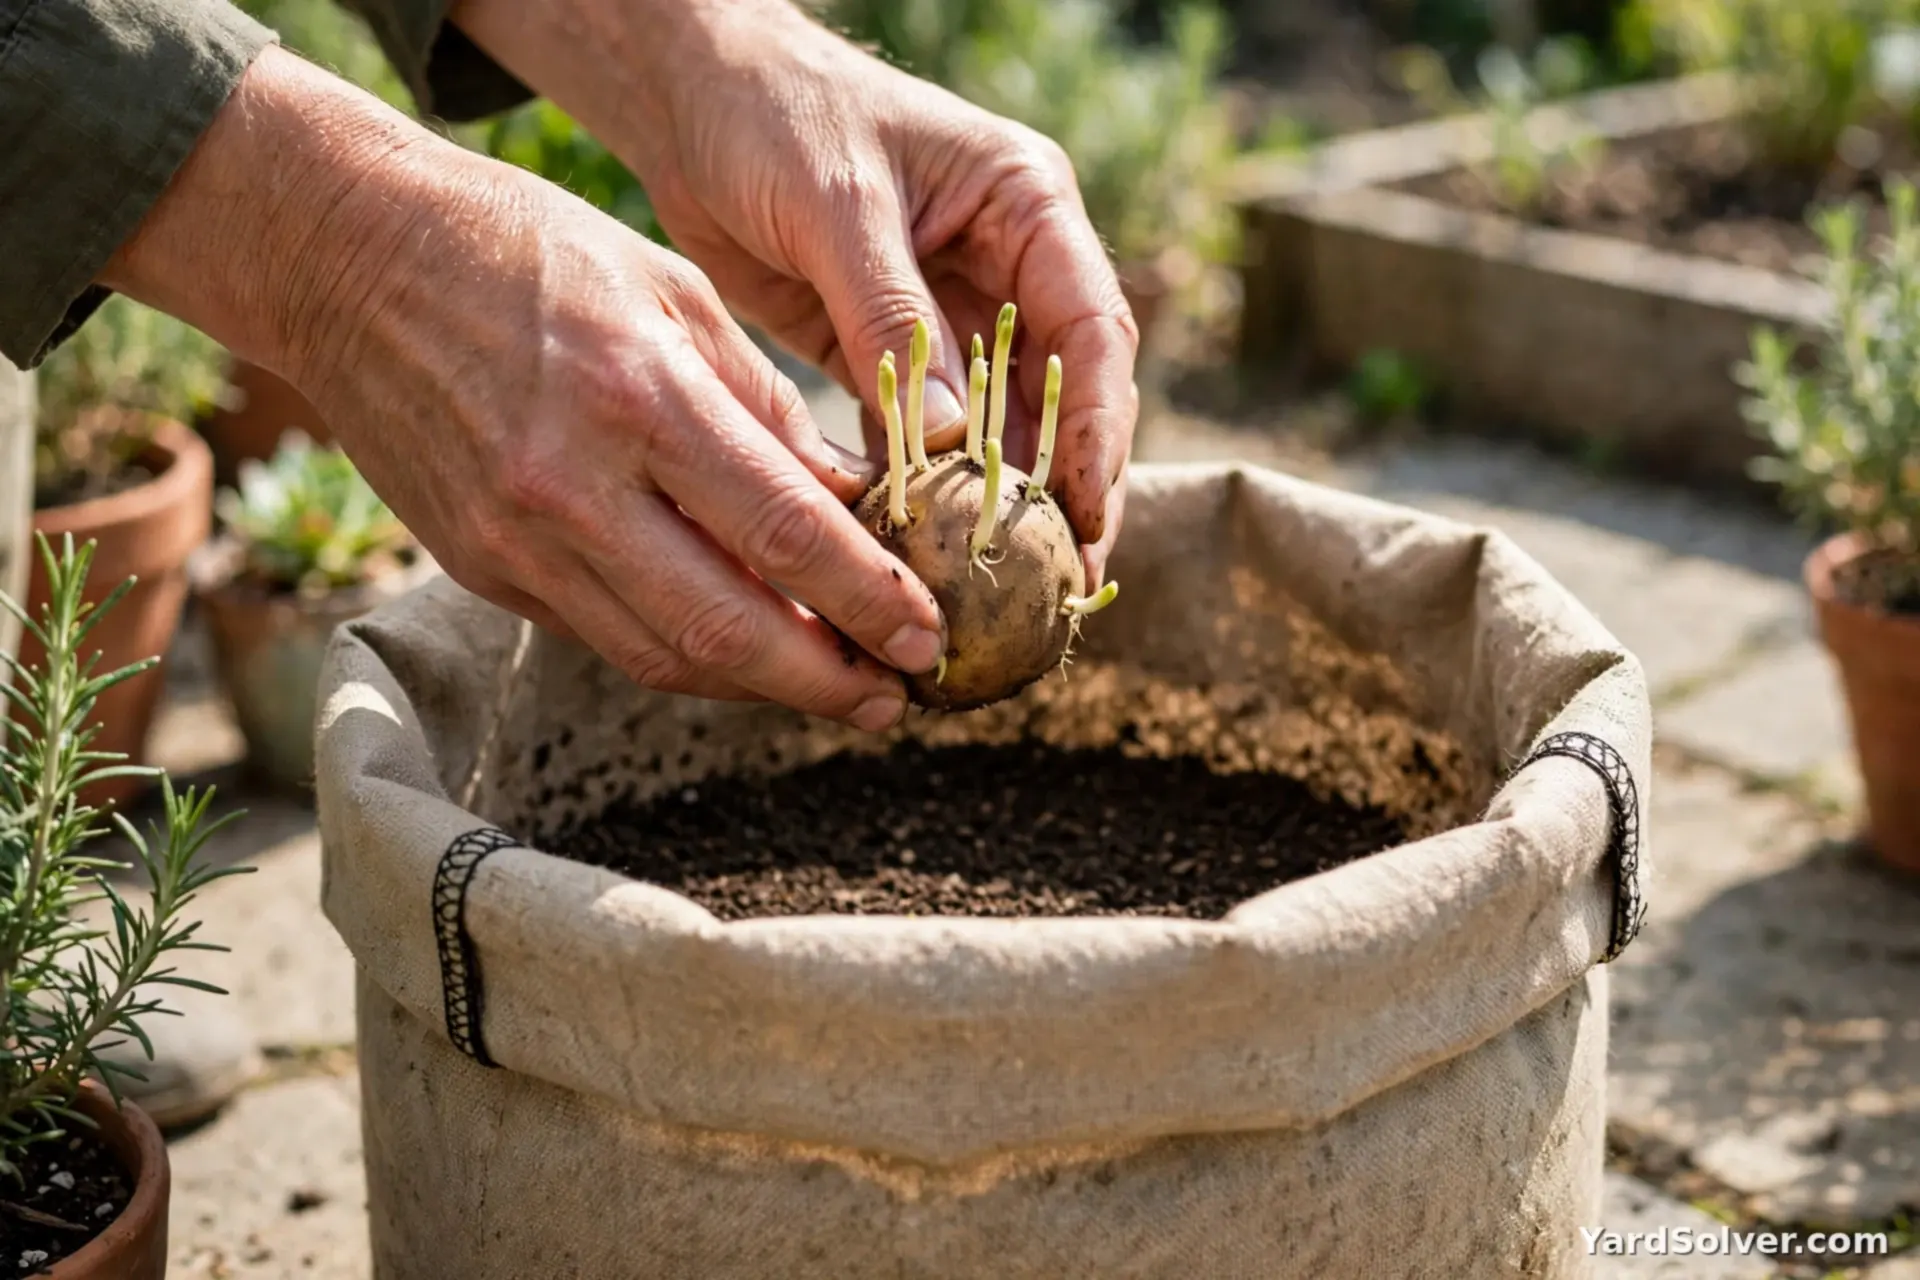
Roll the bag's sides down and put just 4–6 inches of your mix in the bottom. Set 3–4 seed potatoes on it, sprouts up, and cover with another 3–4 inches of mix. Water well. The bag starts low on purpose — you will fill it as the plants climb.
Step 3 — Hill up as the stems grow (the heart of the method)
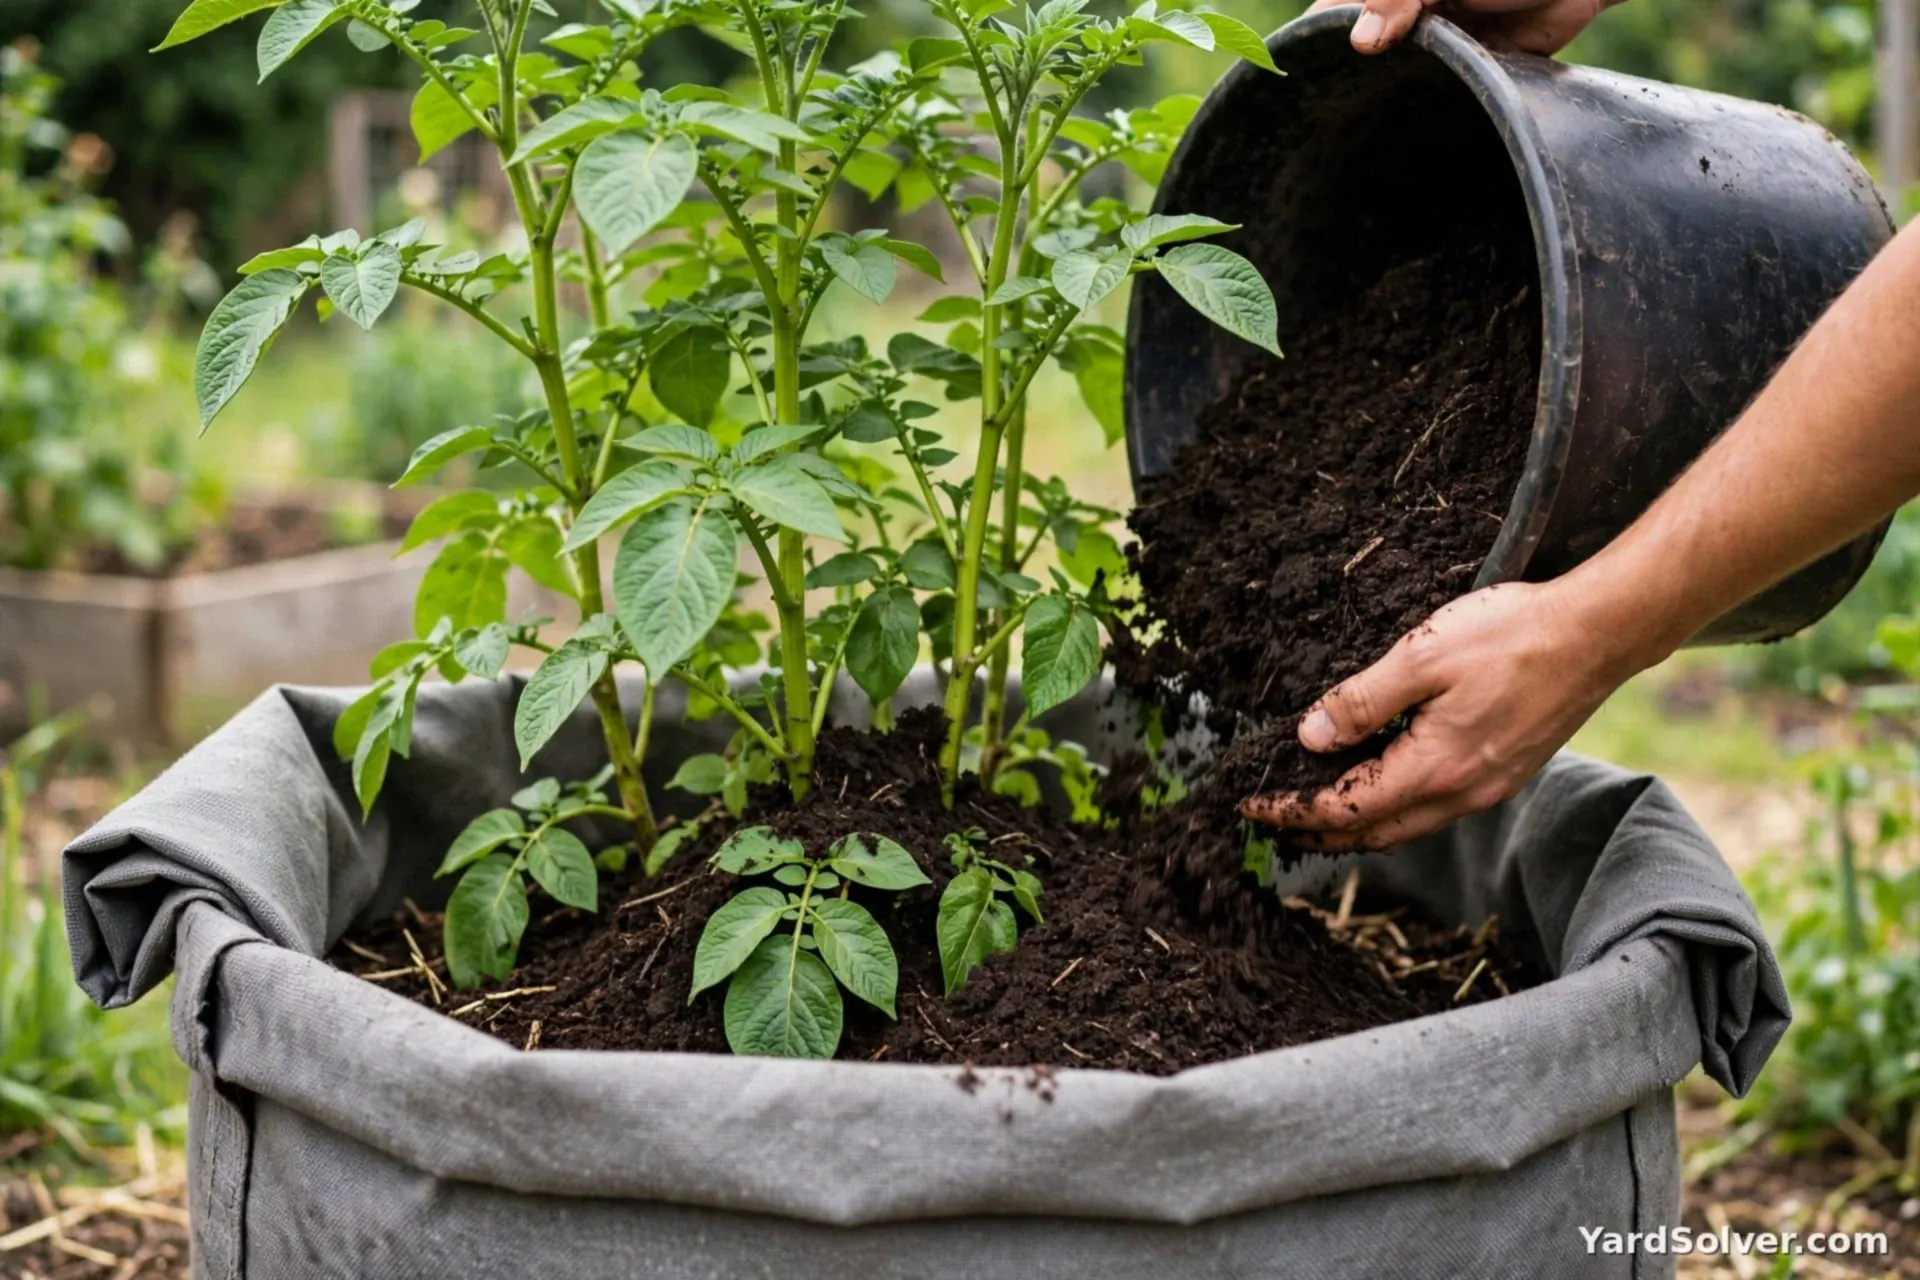
When the green shoots are about 6–8 inches tall, add mix up the stems, leaving just the top few inches of leaves showing — unroll the bag as you go. Repeat each time they grow another 6–8 inches, until the bag is full. Every buried section of stem sets more tubers. Never let forming potatoes see sunlight: light turns them green and bitter, and green potatoes should not be eaten.
Step 4 — Water faithfully, feed once
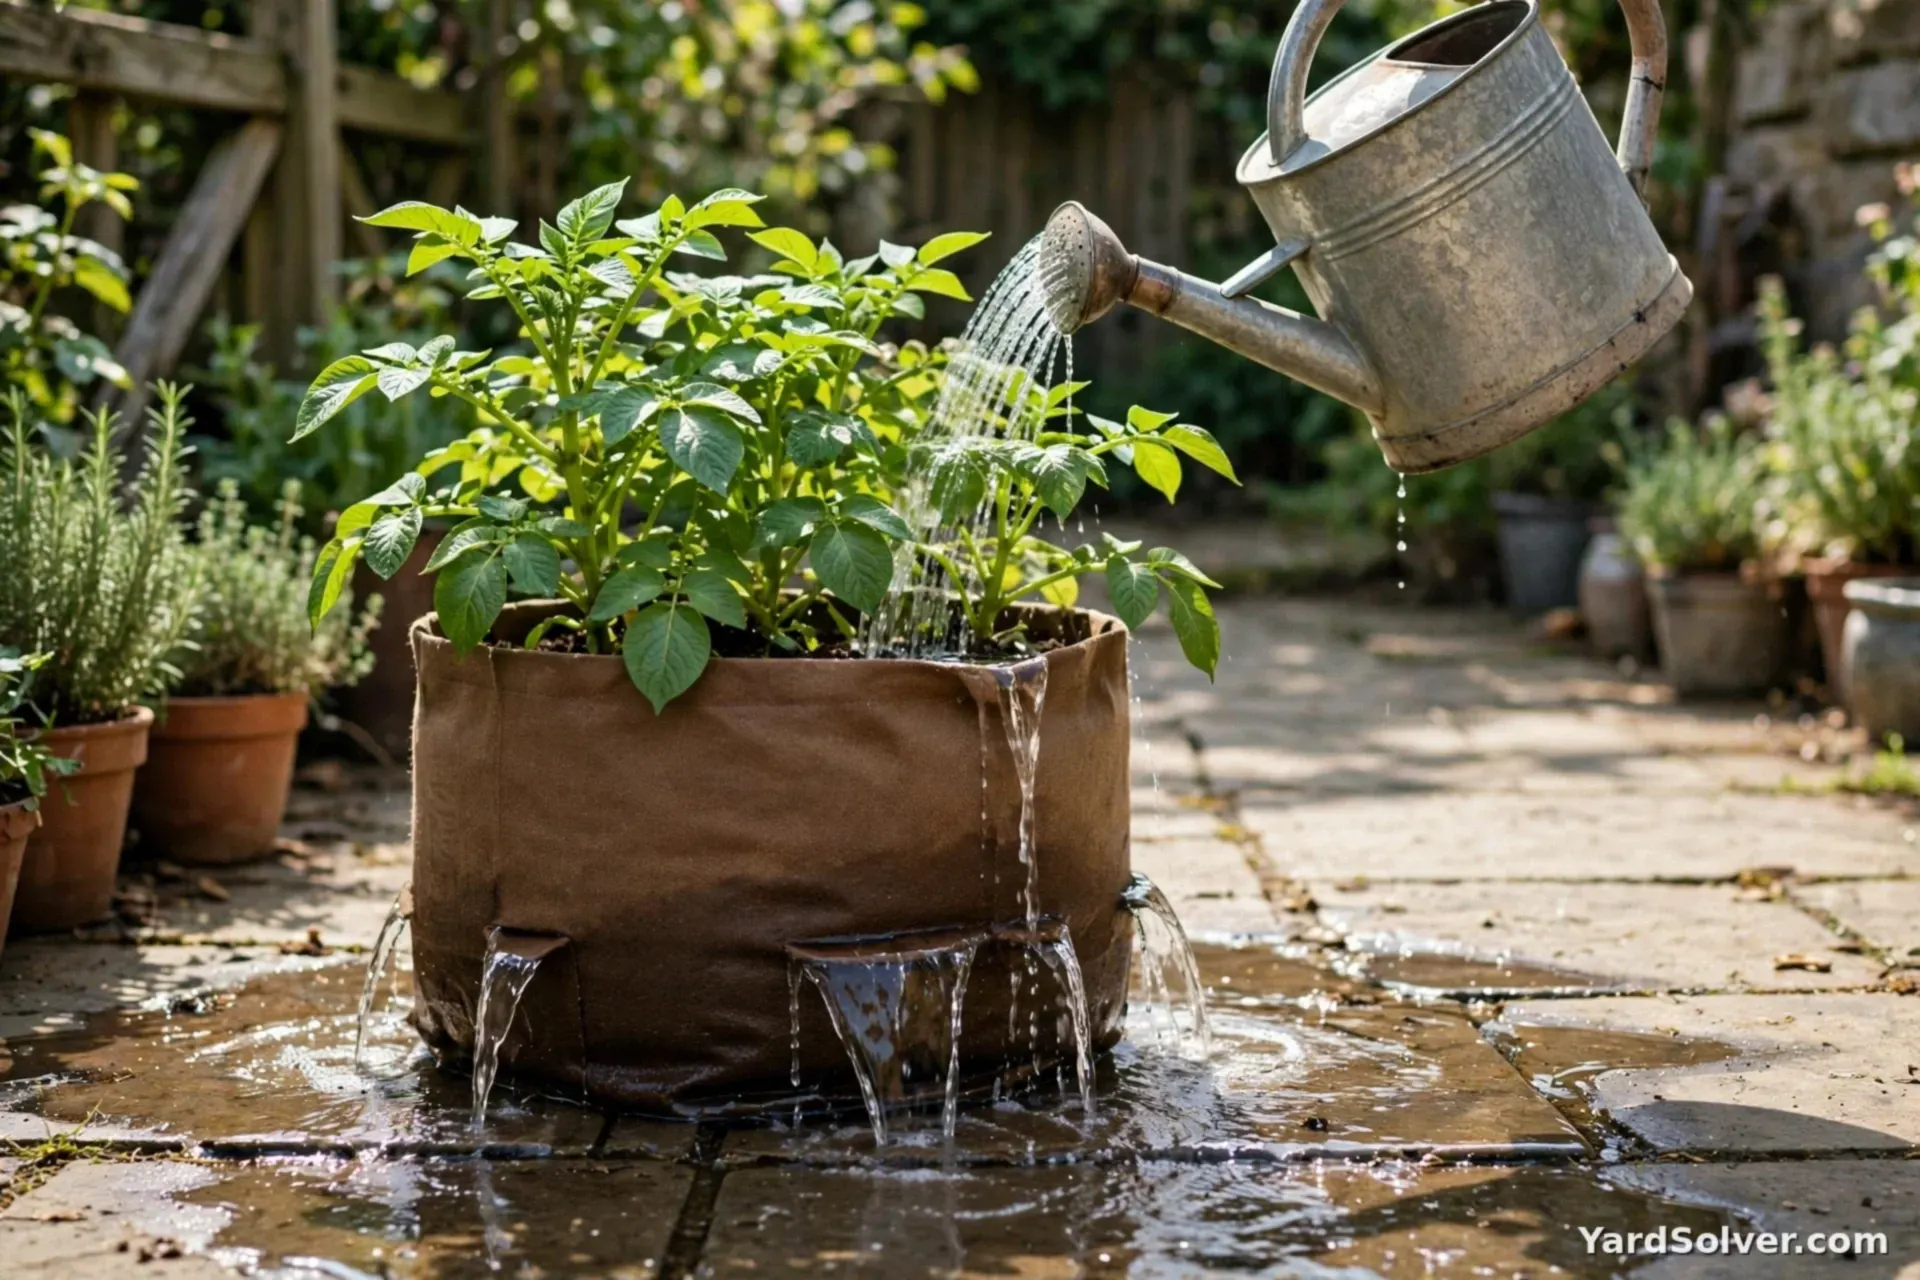
Bags dry out fast in sun and wind — in warm weather, expect to water daily, soaking until it runs from the base. Dry-then-flooded swings cause hollow and cracked tubers, so steady moisture matters. A handful of general fertiliser mixed in at the second hilling is enough for the season; the Fertilizer Calculator covers bed-grown crops.
Step 5 — Harvest by tipping, not digging
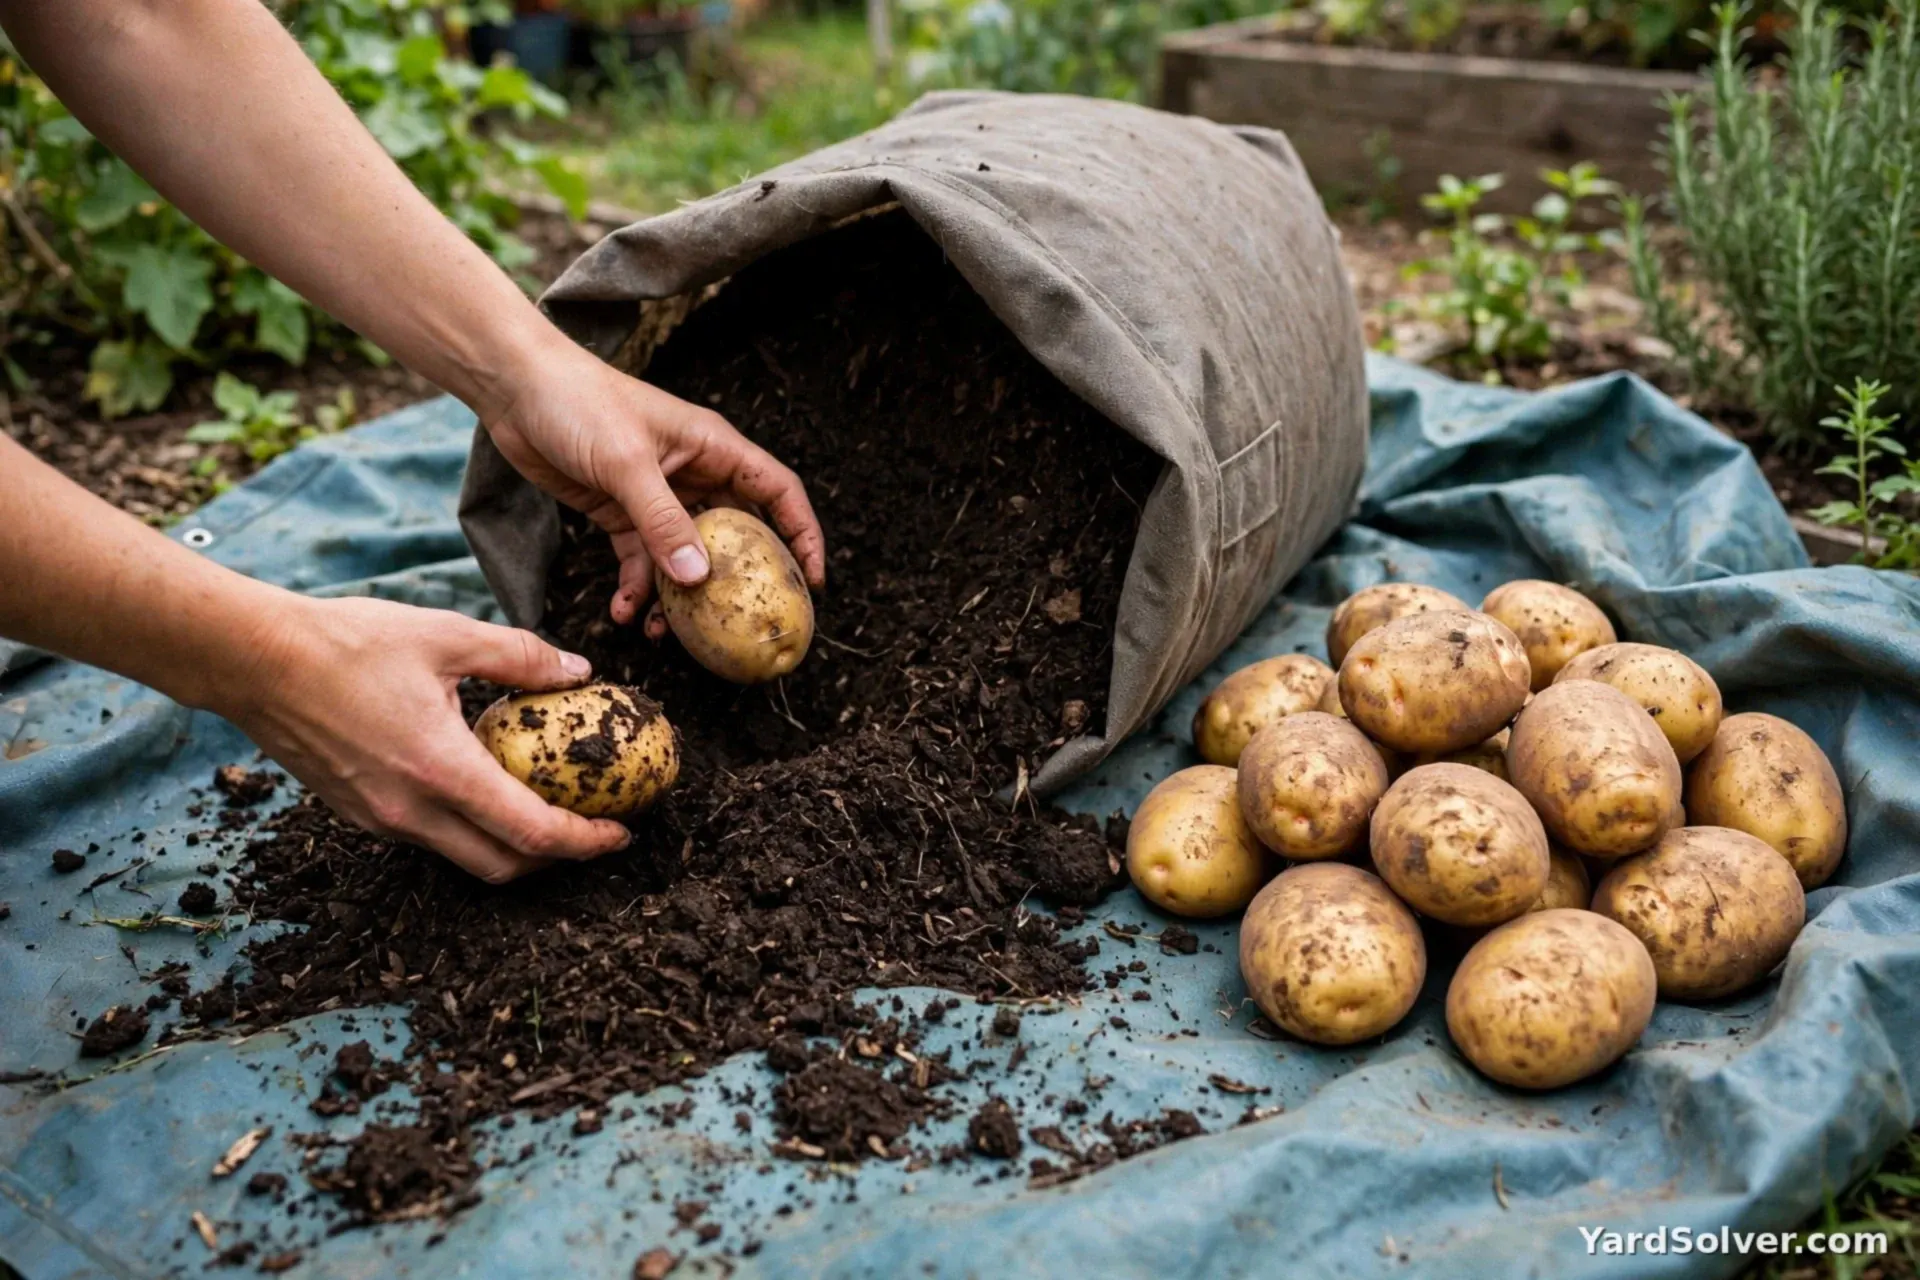
Earlies: about 10–12 weeks after planting, once flowering is done — or reach in and steal a few egg-sized new potatoes and let the rest grow. Maincrop: 16–20 weeks, when the foliage yellows and dies back. Then the best moment in the method: tip the whole bag onto a tarp and pick out the harvest by hand. The spent mix goes on the garden (never reuse it for potatoes, tomatoes or peppers next year — rotation keeps soil diseases down).
Keep going
Small-space growing: Best Vegetables to Grow in a Small Garden · How to Grow Strawberries in Pots.
The Step 1 head start, in full: Chitting Potatoes — egg cartons, a cool bright sill, and sprouts that survive planting.
Questions people ask
How many seed potatoes go in one bag?
3–4 in a standard 10-gallon (about 40 L) bag, spaced evenly, eyes up. More plants means many small potatoes instead of good sizes.
When are bag potatoes ready?
Earlies at 10–12 weeks, after flowering. Maincrop at 16–20 weeks, when the foliage yellows and dies back. For new potatoes, feel into the bag for egg-sized tubers.
Can I use supermarket potatoes?
Often works, but certified seed potatoes are disease-inspected and not sprout-suppressed — the safer buy, especially where blight is common.
Comments & ratings
No comments yet.
Be the first to share your experience.