
Guides · Pothos · Published November 9, 2026
How to Propagate Pothos: Water & Soil Cuttings That Actually Root
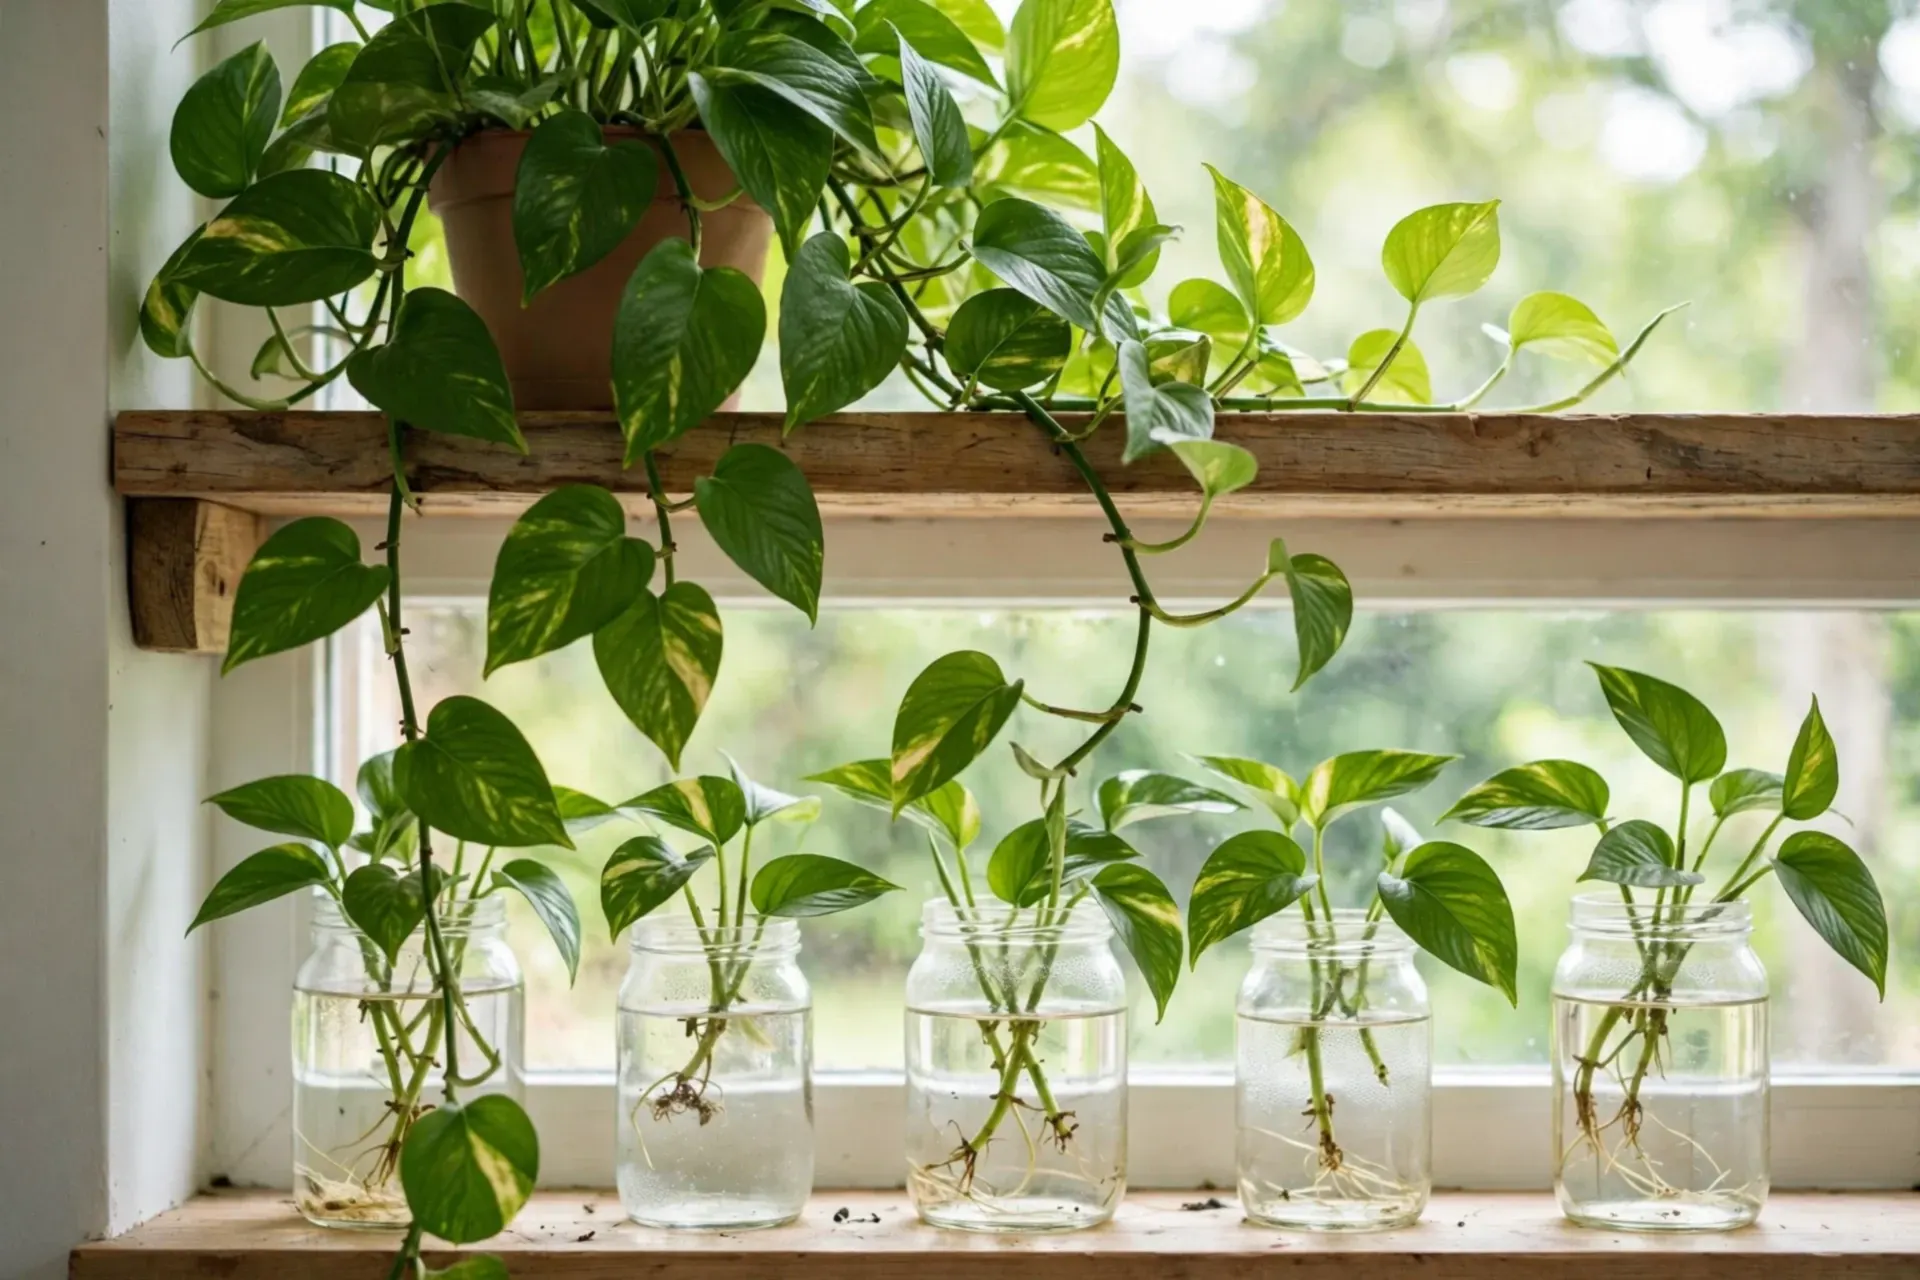
If snake plants are the slowest propagation on the shelf, pothos is the fastest — weeks instead of months, with roots you can watch growing through the glass. Almost every pothos failure comes from breaking the single rule in Step 1, so this guide starts there, then gives both methods with an honest day-by-day timeline, the right moment to pot up, and the section most guides leave for a separate article: using cuttings to fix the leggy, bare-topped pothos you already own. The mother plant's own care lives on the Pothos plant page.
🎬 Watch: Propagating Pothos — and Fixing a Leggy One
Prefer to watch it happen? In this short animated story, Dan shows Lily how to root cuttings in water — and how to use them to fix her leggy plant.
Step 1 — Find the node: the only rule that matters
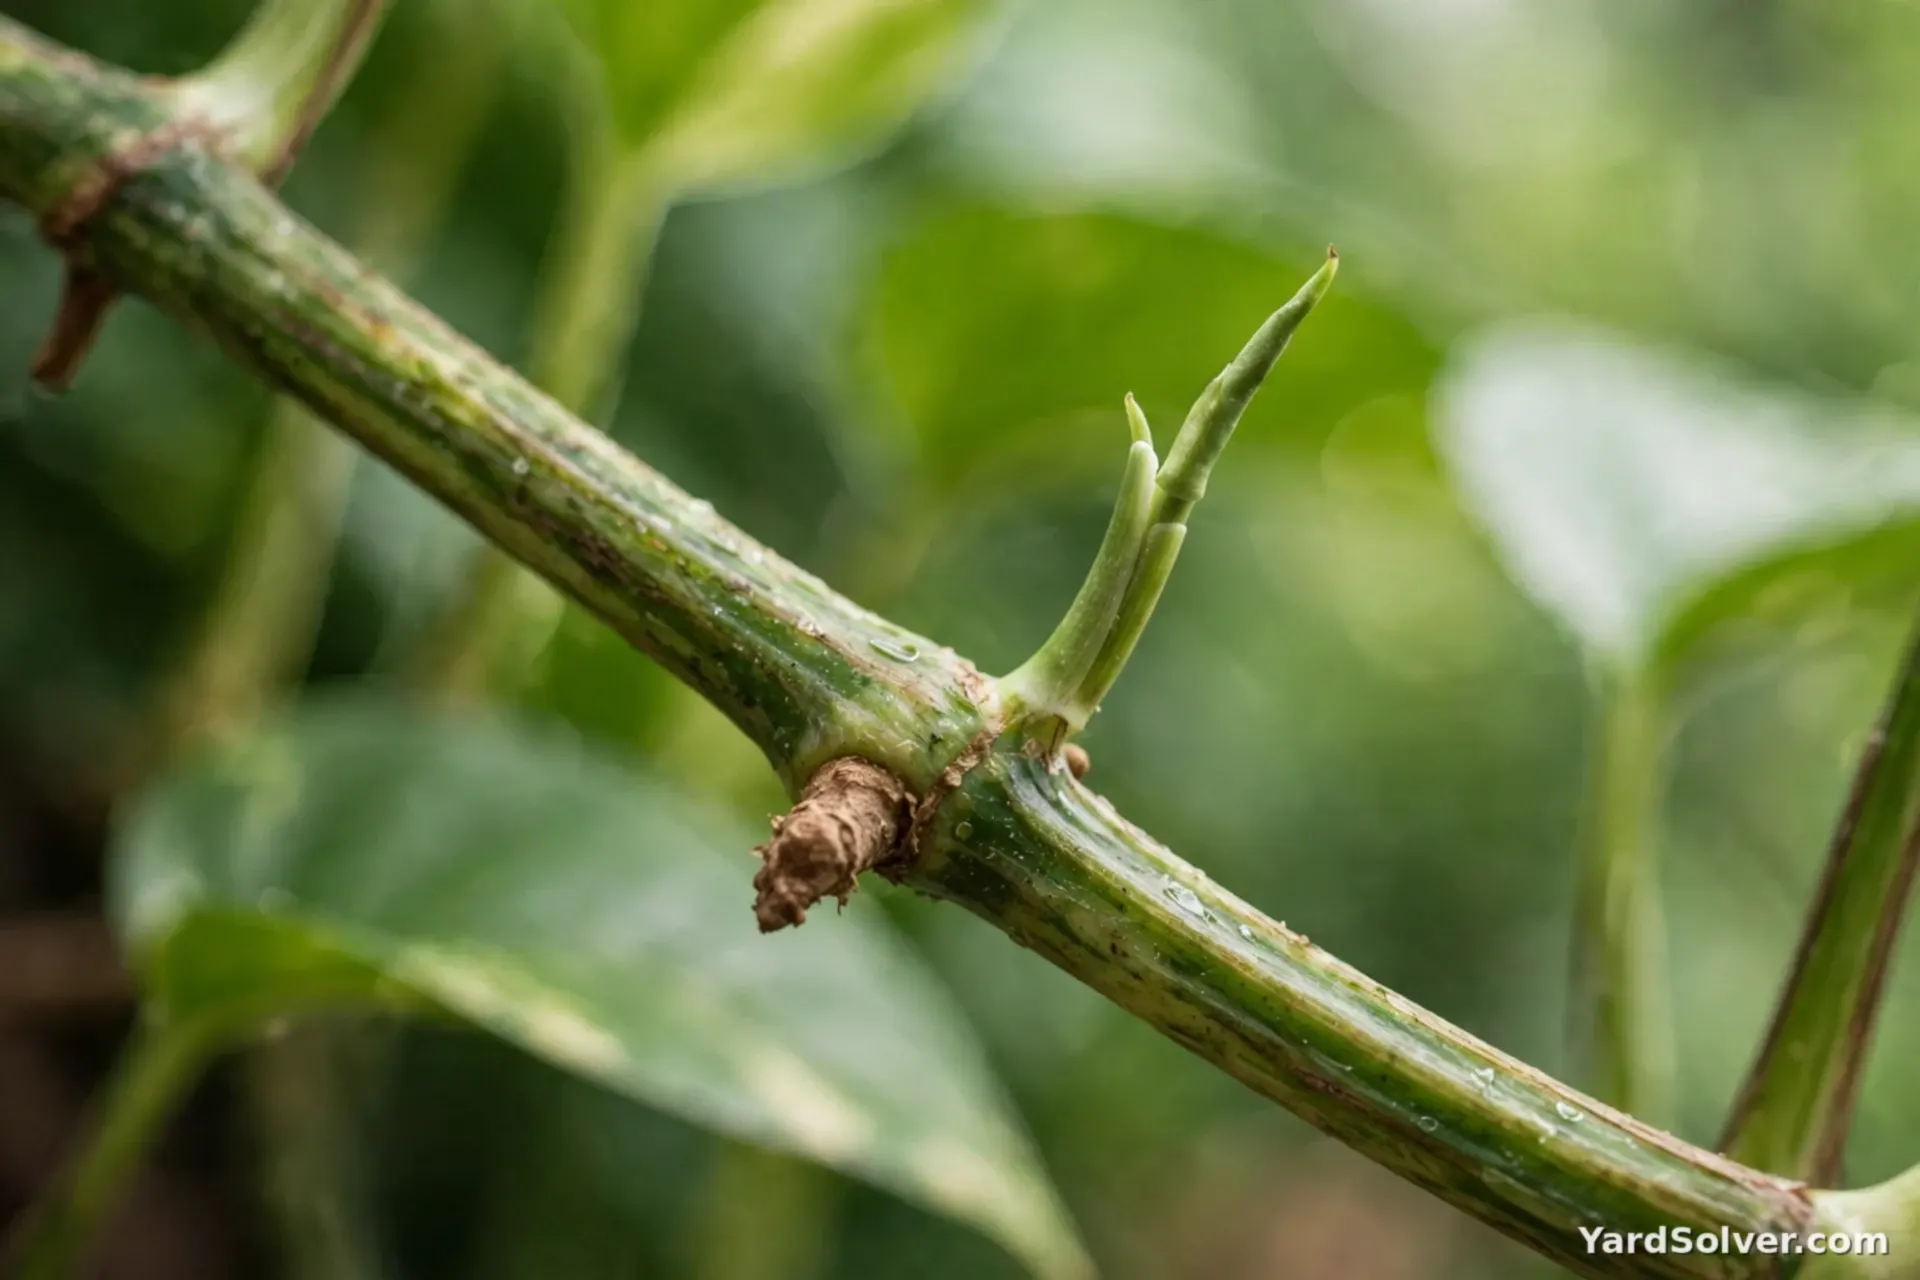
Run a pothos stem through your fingers and you will feel a slight bump at every leaf — that bump is a node, and it is the only place on the plant that can make roots and a new growing point. Many nodes already carry the start of an aerial root: a small brown nub that, in the wild, would grip a tree trunk. A cutting is simply a piece of stem with at least one node on it. Everything else — water versus soil, jars versus pots — is detail. A leaf alone, however healthy, has no node and will never become a plant, even if it stays green in water for weeks (a very convincing fake). Longer cuttings with two or three nodes root fastest and give the new plant a head start.
Step 2 — Take the cutting
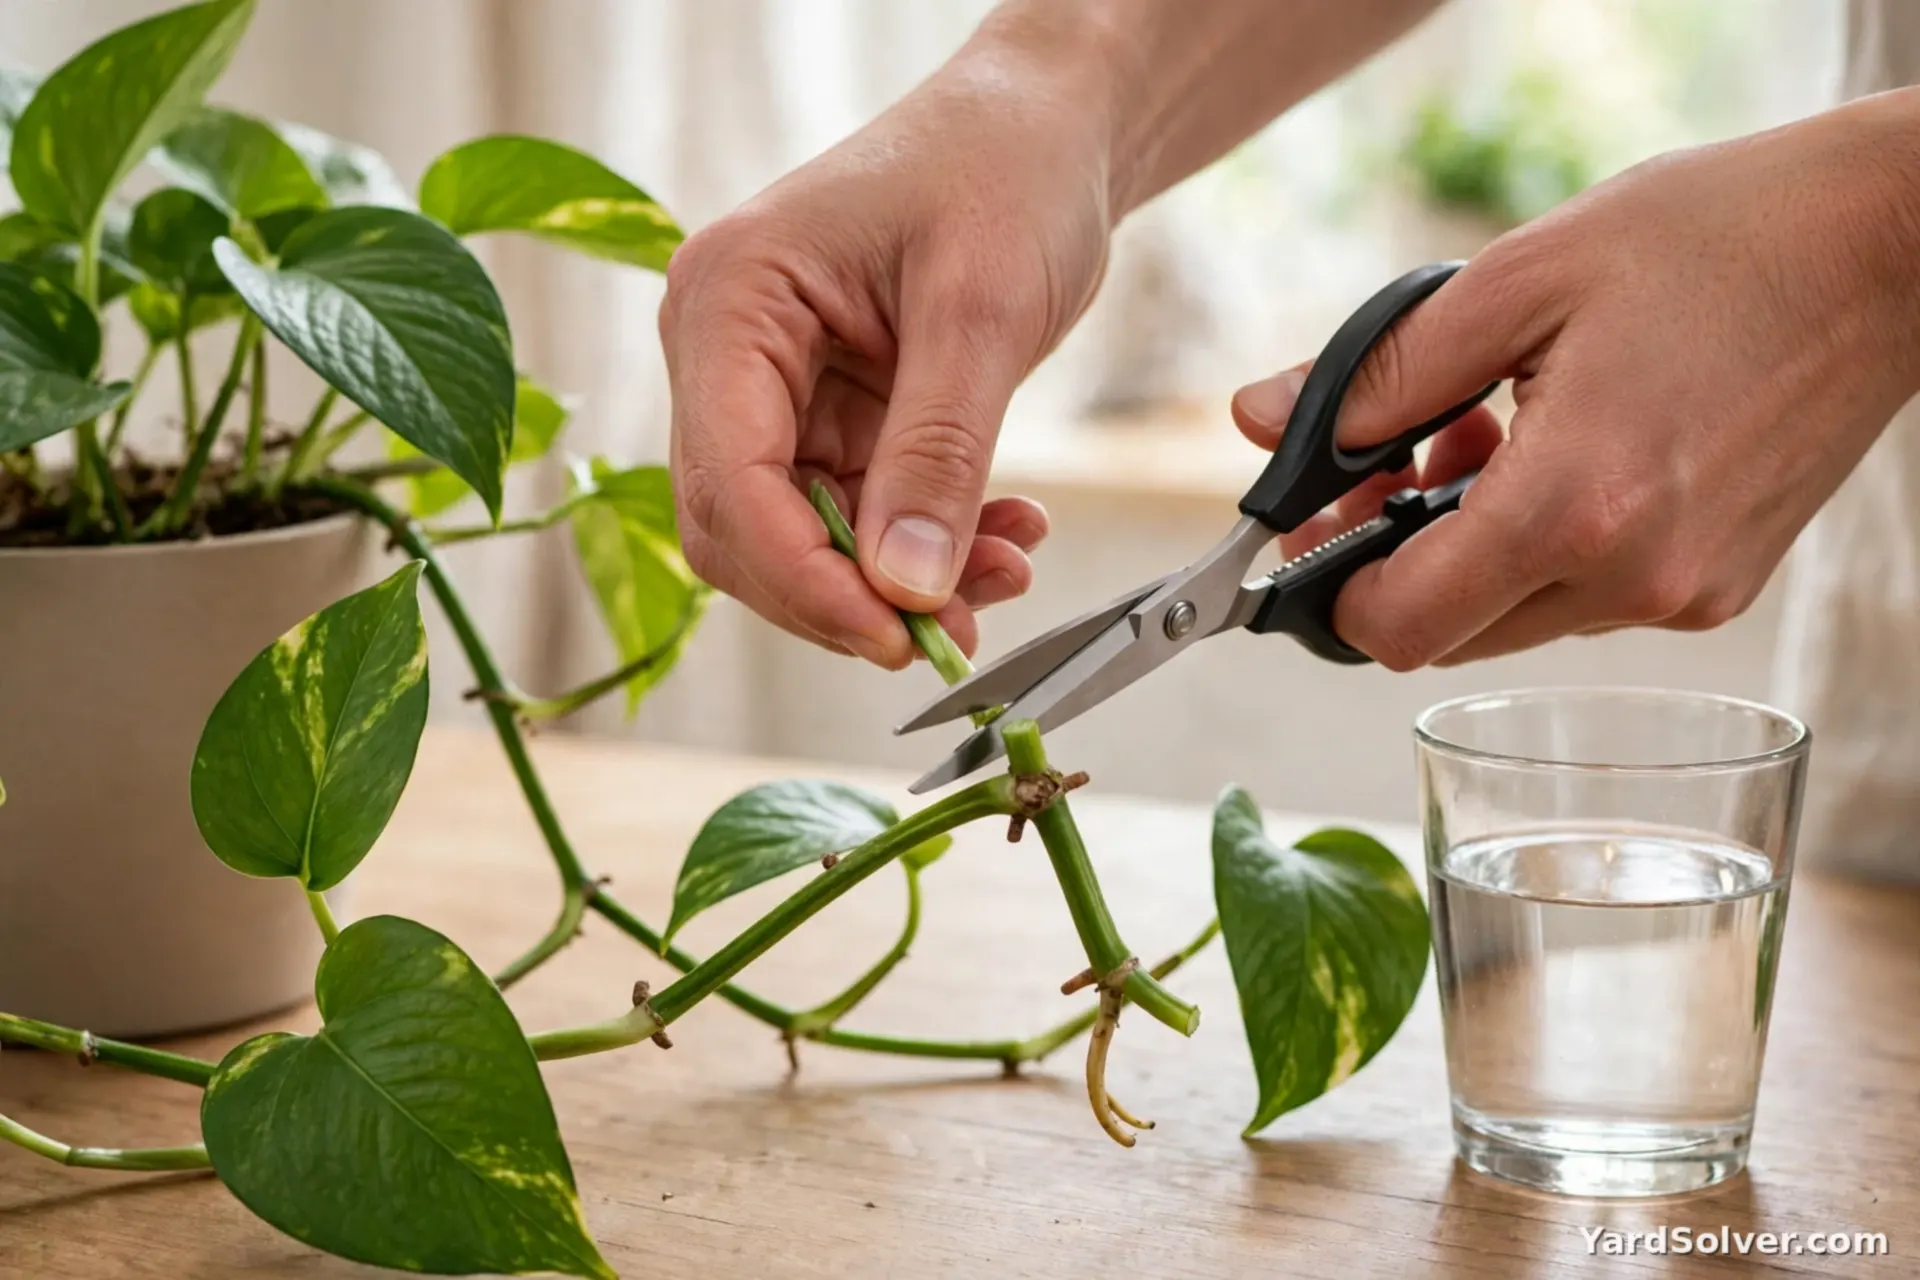
With clean scissors or a sharp knife, cut about a quarter inch below a node. Trim off the leaf nearest the cut if it would sit under water or soil — a buried leaf rots. Work from healthy, green stem: avoid the oldest woody sections near the base (slow to root) and the soft newest tip (quick to wilt). Take more cuttings than you need — most will take, and spares can go straight into the mother plant's pot in Step 6. Cuttings wait happily for a few hours, but the sooner they meet water or soil, the better they root.
Step 3 — The water method, with the rooting timeline
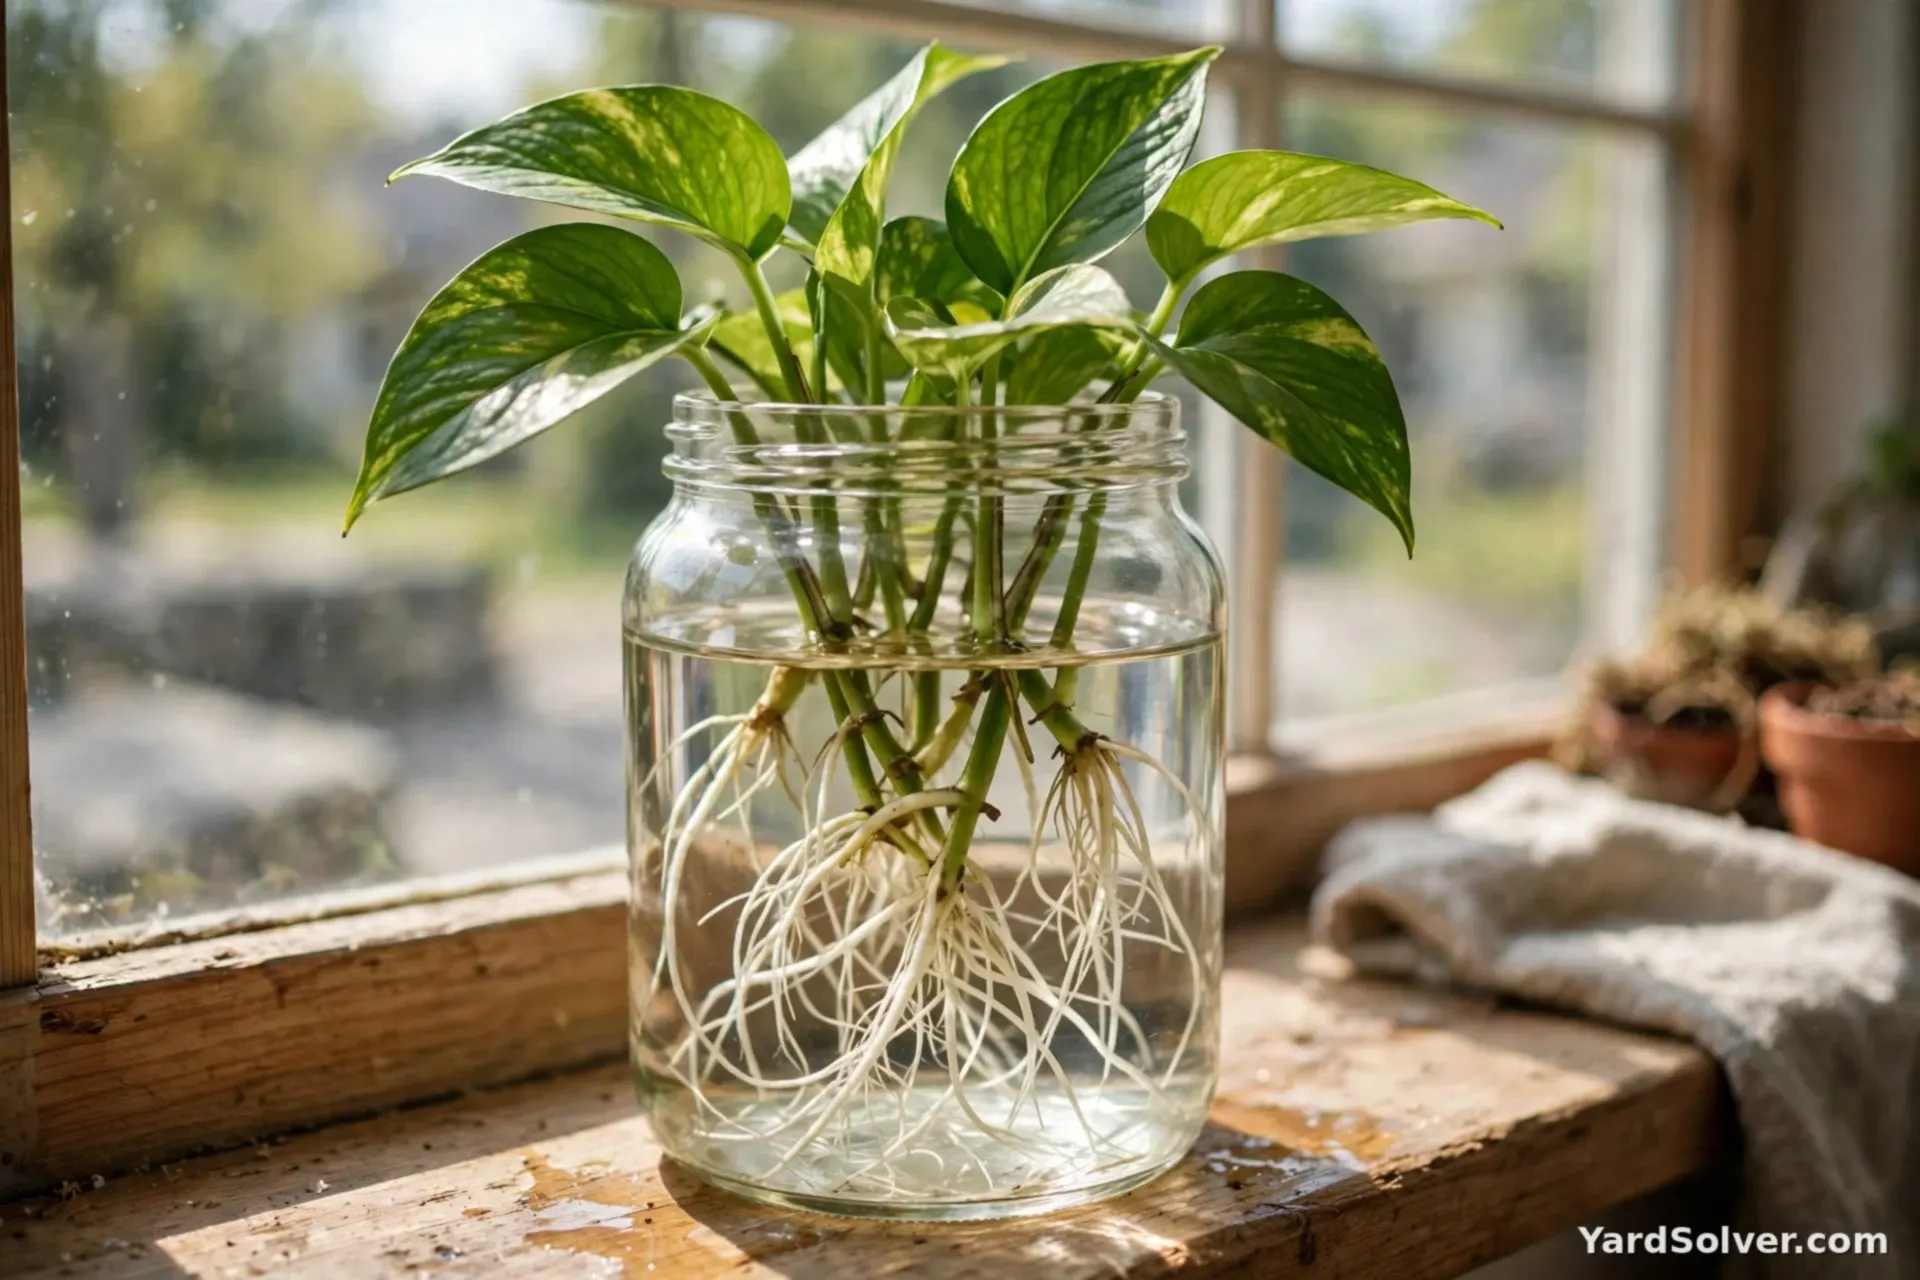
Stand the cuttings in a jar so the nodes are submerged and every leaf is above the waterline, and set the jar in bright indirect light — a windowsill out of direct midday sun is perfect. Change the water every few days; fresh water means oxygen, and oxygen means roots instead of slime. The honest timeline in a warm room: days 4–7, white nubs swell at the nodes; weeks 1–2, roots push out and lengthen; weeks 3–4, roots reach 2–3 inches and start branching — your signal to pot up (Step 5). Winter or a cool room can double those times; that is the season talking, not a failure. No rooting hormone, no additives, no fertiliser in the jar — pothos roots in plain water on its own schedule.
Step 4 — The soil method
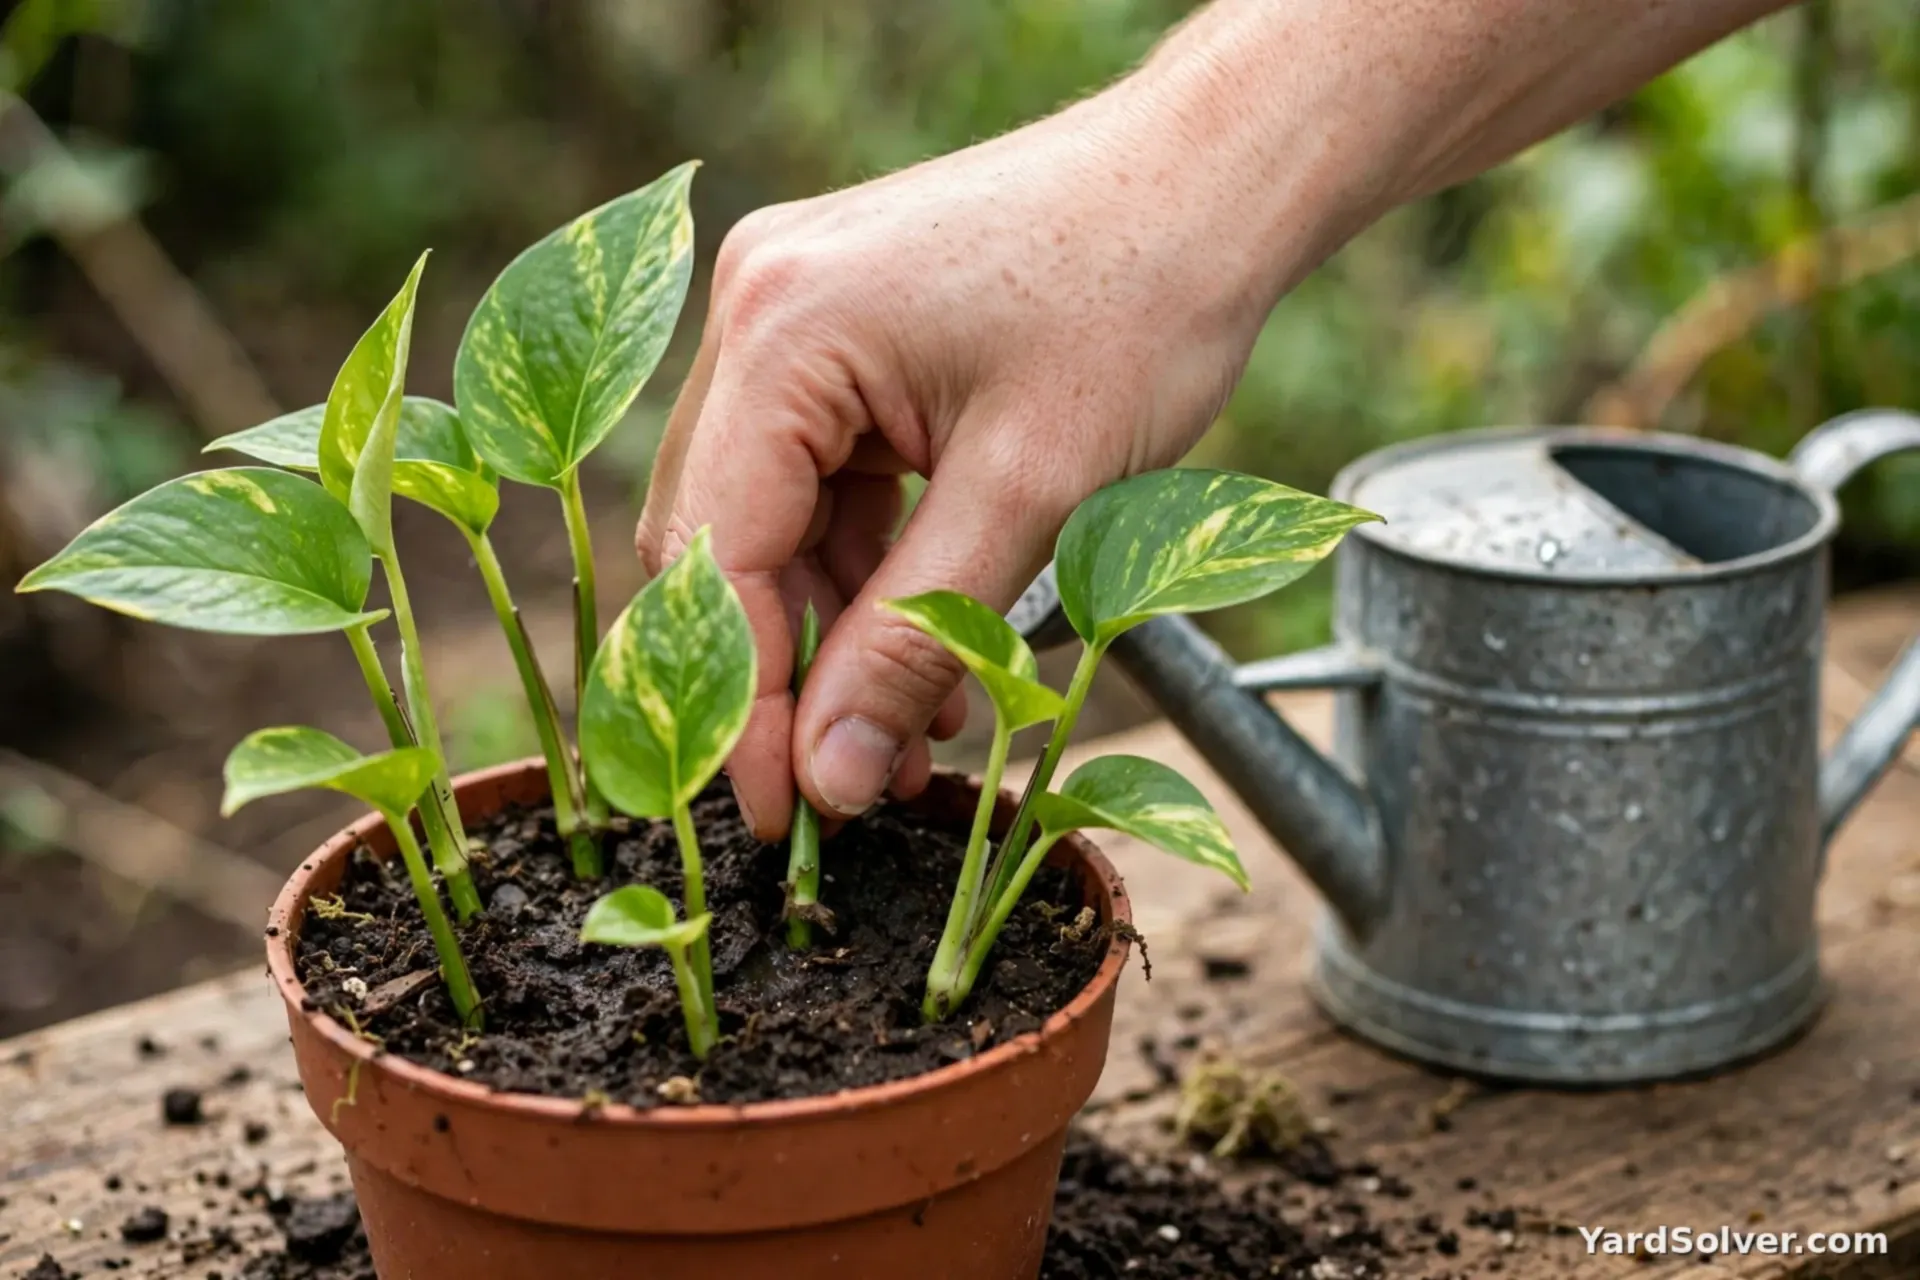
Soil propagation skips the jar entirely. Fill a small pot with ordinary potting mix, poke holes with a pencil, and insert each cutting so at least one node is buried — several cuttings in one pot make a full plant from the start. Water it in, then keep the mix evenly moist, not wet, while roots form over the same 2–4 weeks; a clear bag or lid over the pot holds humidity for the first week and helps wilt-prone cuttings. You cannot watch the roots, so judge by resistance: a gentle tug at week 3 that meets a firm hold means it has taken. The trade-off is honest — water method shows you everything but the roots must adapt when they move to soil; soil method hides the progress but the plant never has to change its life.
Step 5 — Pot up at 2–3 inches of root
The most common water-propagation mistake is leaving cuttings in the jar for months because they look pretty. Water roots are adapted to water; the longer they grow there, the harder the move to soil. Pot up when the roots are 2–3 inches long. Set the cutting in a small pot of mix at the same depth it sat in the water, water it in well, and keep the mix consistently moist — genuinely moist, this once — for the first week while soil roots establish, then ease back to the normal rhythm on the Pothos plant page: let the top of the mix dry between waterings. A cutting that wilts for two days after potting and then perks up is normal; one still flat after a week usually went in with roots too long or too few.
Step 6 — Make the mother plant fuller with its own cuttings
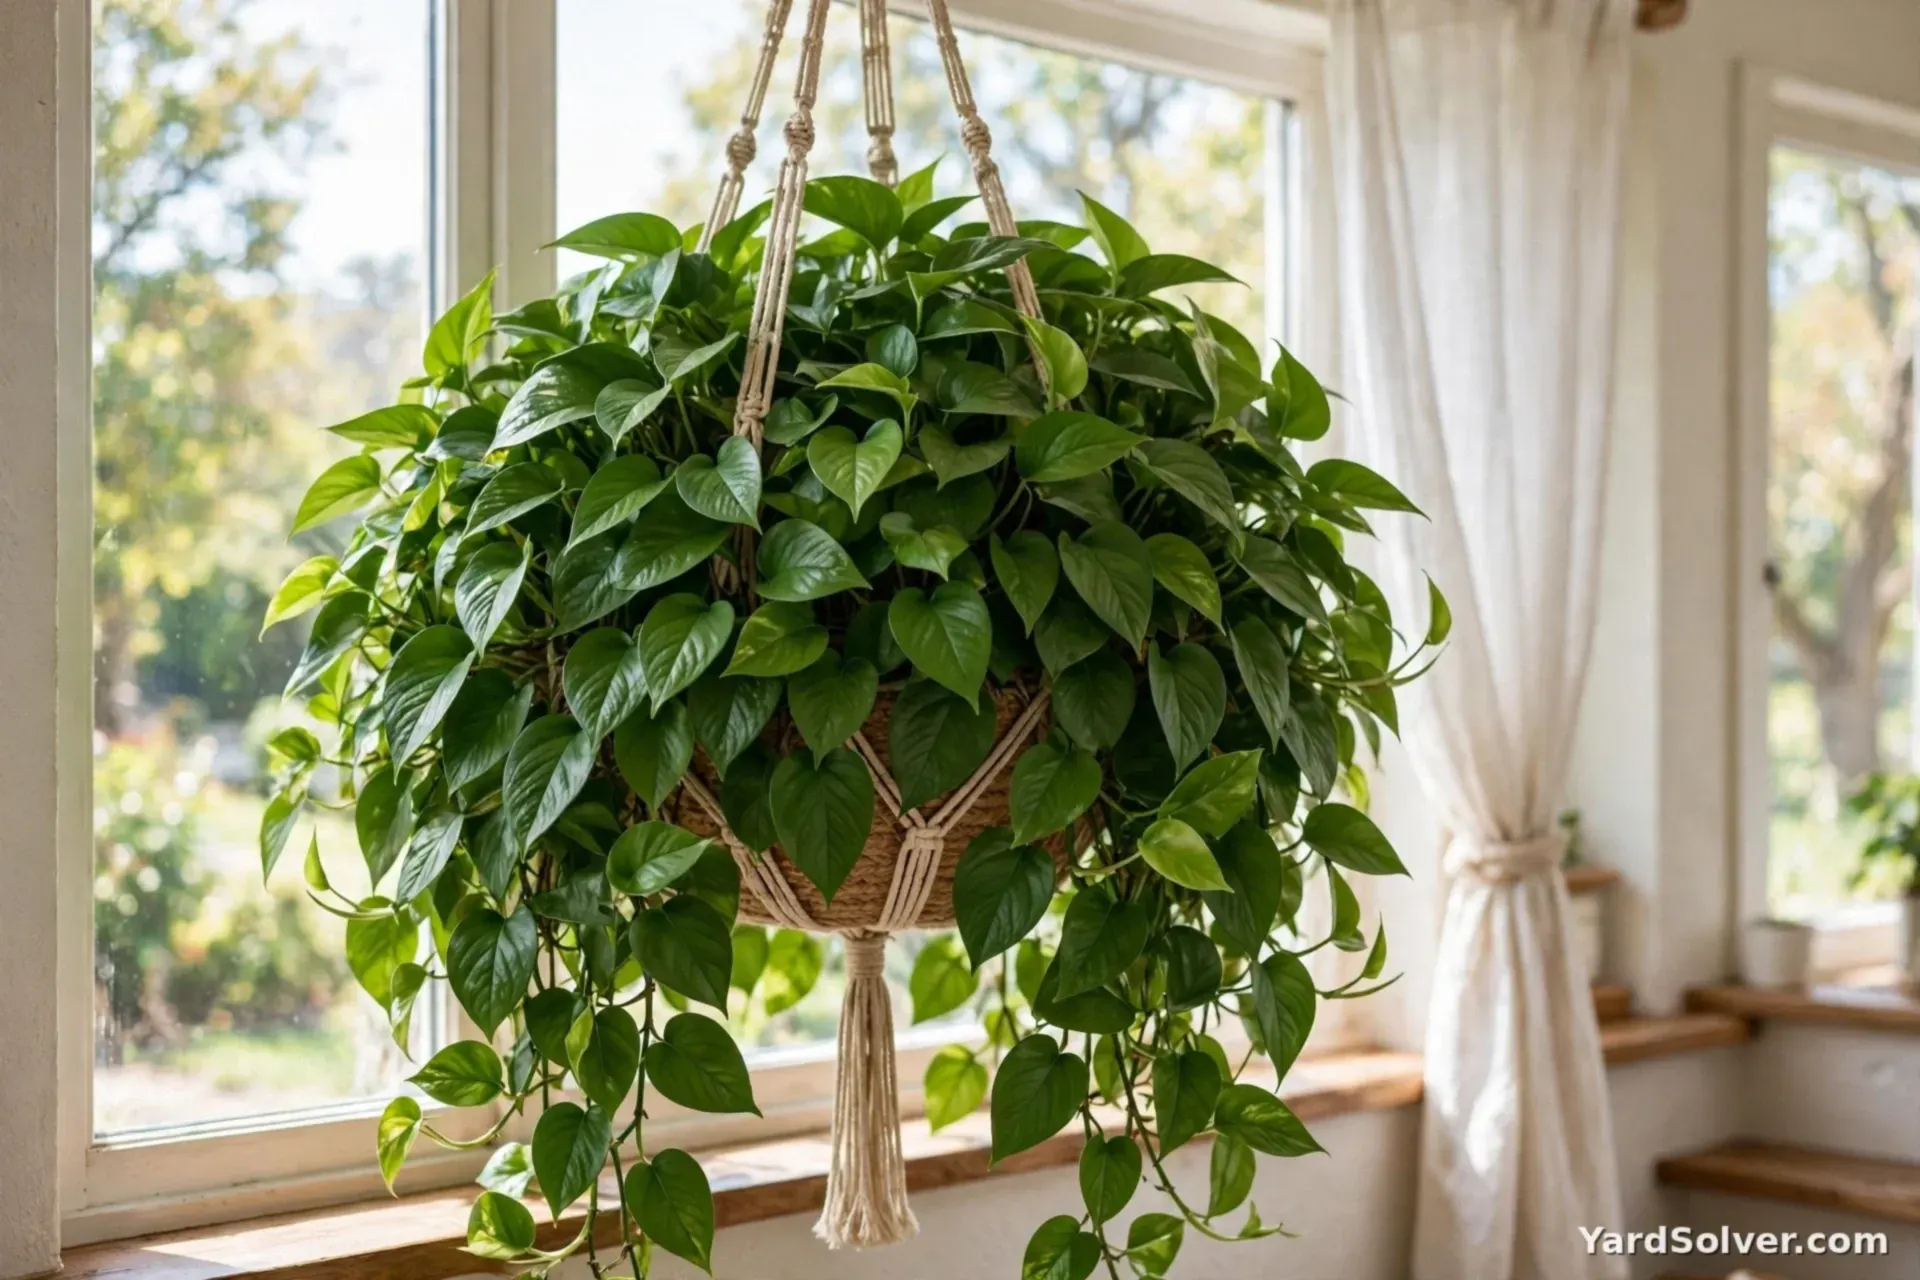
A pothos that has trailed for a year or two usually looks the same sad way: long bare ropes of stem, leaves only at the ends, and a bald patch in the top of the pot. The fix is this whole guide, aimed at the mother plant herself. Prune: cut the bare stems back, leaving a few leaves on each stem near the base — the cut stem usually branches from a node below the cut, so pruning alone adds fullness. Propagate: turn every pruned stem into node cuttings and root them in water (Step 3). Plant back: when the roots reach 2–3 inches, dib them into the bare top of the mother's own pot, spacing them around the crown. Within a couple of months the pot fills from the top while the pruned stems bush out below — one plant, fixed with its own material, at zero cost. Thin, sparse growth afterwards usually means the light is too low: pothos tolerates low light but only grows well in bright indirect light.
Problems, pests & diseases — diagnosis and fixes
Pothos is a forgiving plant, which makes its few problems easy to read:
- White cottony clusters where leaves meet stems, sticky leaves: mealybugs — pothos's most common pest. Fix: dab clusters with rubbing alcohol on a cotton bud, wipe stems clean, repeat weekly; heavy cases get a shower and a leaf-by-leaf wipe.
- Small brown bumps along stems and leaf undersides that scrape off with a fingernail: scale insects. Fix: scrape and alcohol-wipe every bump; check weekly for a month — eggs and crawlers hide along the midrib.
- Stems blackening and going soft at the soil line, leaves yellowing from the base: root and stem rot from mix that stays wet. Fix: cut healthy stem above the rot and re-root it as cuttings (this guide) — the rotted base rarely recovers.
- Black or brown spots on leaves with yellow edges, spreading in wet conditions: bacterial or fungal leaf spot. Fix: remove spotted leaves, keep water off the foliage, space the trails for air, and stop misting.
- Cuttings rotting in the jar: stale water, a submerged leaf, or a soft tip cutting. Fix: trim to firm green tissue below a node, fresh water, leaves above the line.
Ready for the next easy win? The Spider Plant produces ready-made babies on long stems — the only houseplant that propagates itself before you even decide to help.
Keep going
The mother plant's full profile and personal schedule: Pothos — Plant Library.
The slow-motion version, on the other famous unkillable: How to Propagate Snake Plants.
More houseplants to multiply: Spider Plant · Snake Plant · Aloe Vera.
🌱 Stay with us — we'll remind you
A jar of cuttings is easy to forget — and stale water is the one thing that ruins them. Start your pothos with us and its page keeps the schedule with you:
- Open the Pothos page and press "Start Pothos with me": Pothos — Plant Library.
- Step 1 — set your start date. Tell the page the day you took your cuttings. Your plant and its start date are saved on this device straight away.
- Step 2 — take your schedule home. The page turns that date into your personal care schedule — print it, or download calendar reminders (.ics) so your own calendar reminds you to change the water every few days and to check for 2–3 inch roots at 3–4 weeks.
- Step 3 — add your email to be first in line. Email reminders switch on with the new YardSolver accounts; the email you save with your plant today is first in line, and from your start date the reminders follow your plant's own schedule.
Free, and no account is needed today. Your email is for your plant reminders only — one purpose, and every message carries an easy stop.
Questions people ask
How long do pothos cuttings take to root in water?
First nubs at about a week, visible roots by week 2, and 2–3 inch roots ready for potting at roughly 3–4 weeks in a warm, bright spot — longer in winter.
Can you propagate a pothos leaf without a stem?
No. Without a node there is nothing to root from. The leaf may stay green in water for weeks, but it will never become a plant.
Should I change the water for pothos cuttings?
Yes, every few days or at least weekly. Fresh water feeds the forming roots oxygen and prevents slime and rot.
How do I make my pothos fuller instead of leggy?
Cut the bare stems into cuttings, root them, and plant them back into the top of the same pot — while the pruned stems branch below the cuts. Fullness from both directions.
Comments & ratings
No comments yet.
Be the first to share your experience.