
Guides · Fall cleanup · Published November 10, 2026
Winterize Garden Tools and Your Mower in One Afternoon
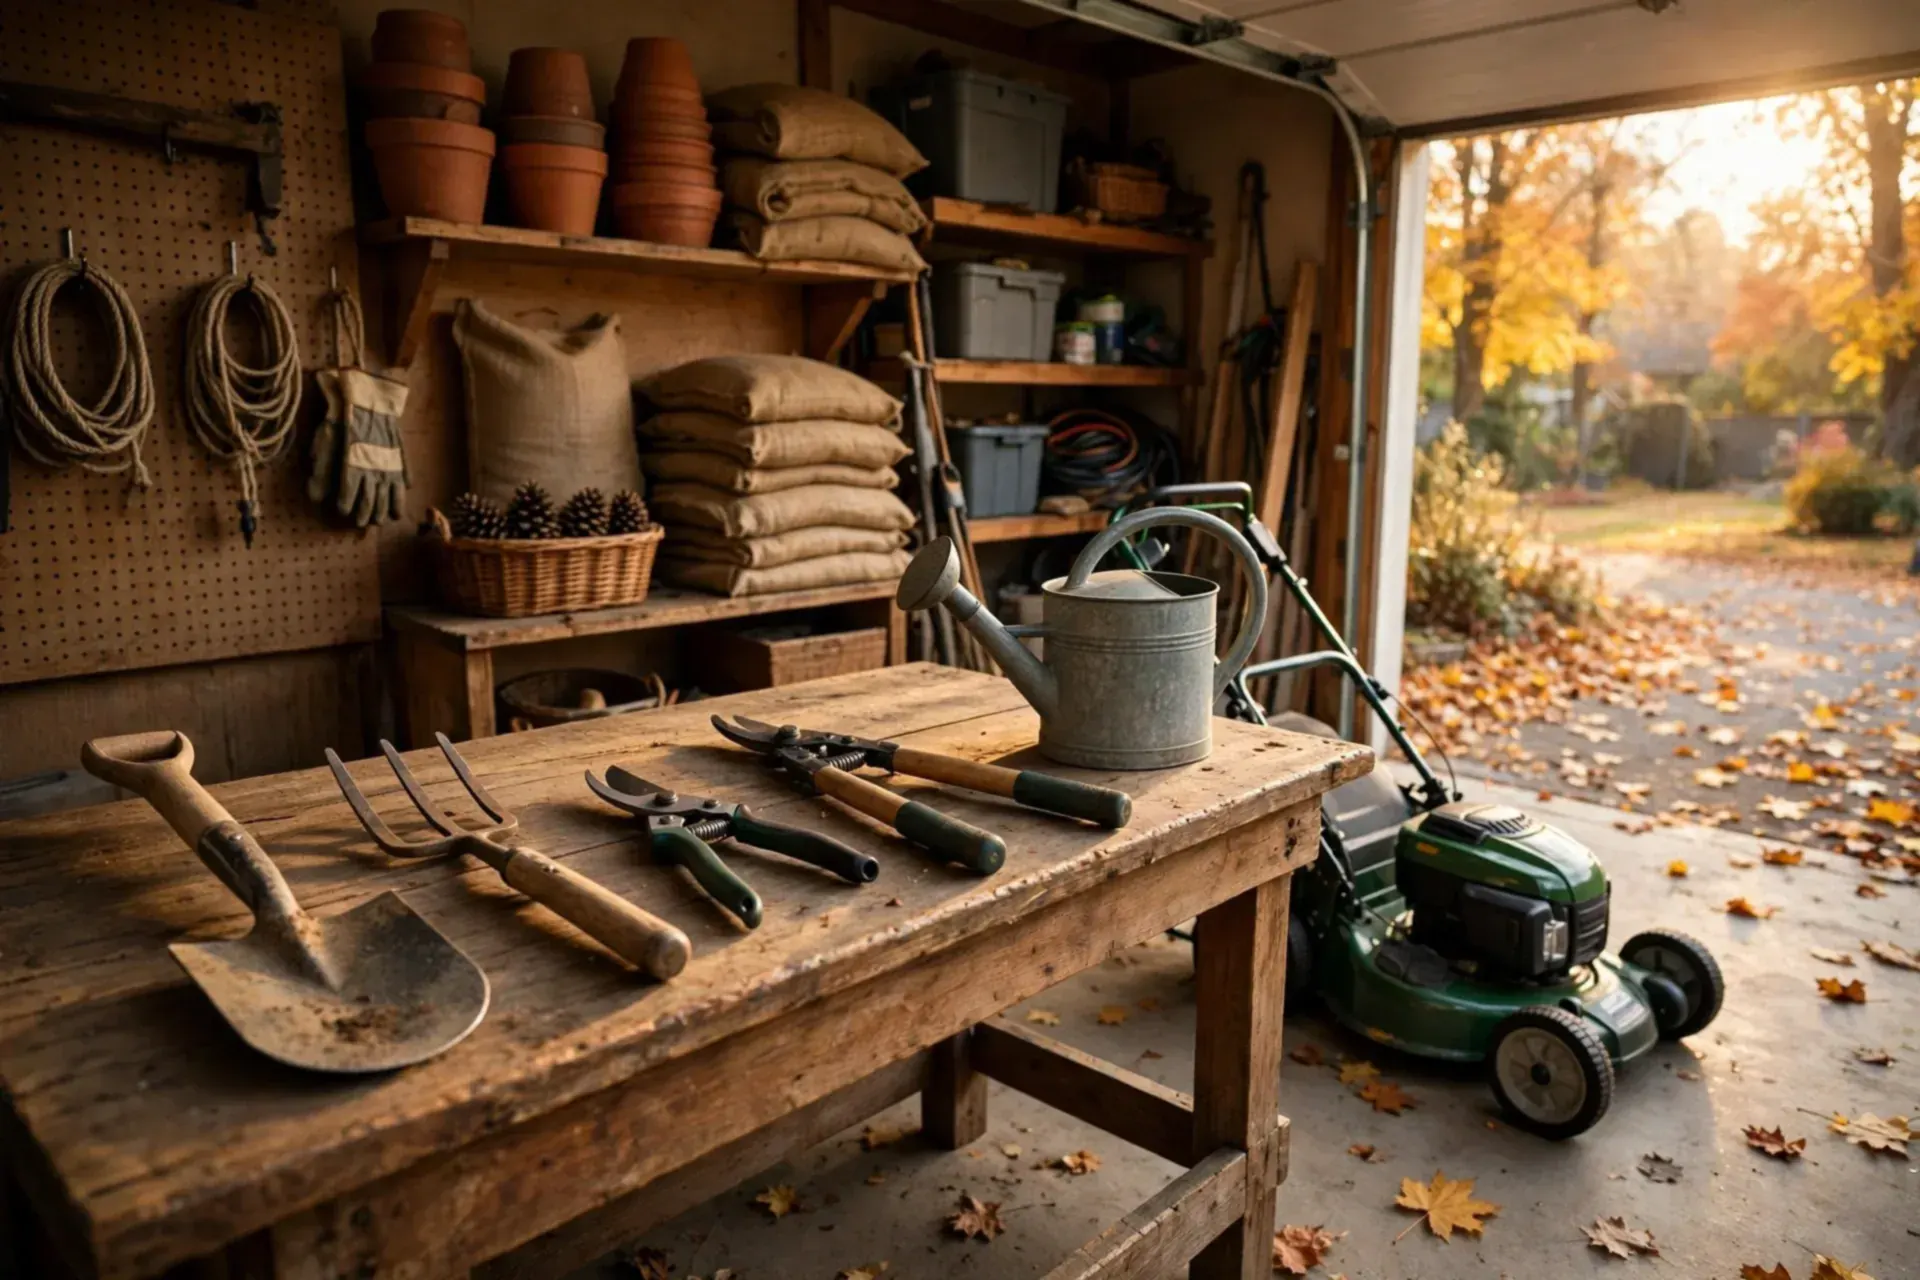
Every spring, the same three things happen in sheds across the country: pruners that will not cut, a spade wearing last October's mud like a coat, and a mower that will not start. None of it is bad luck. It is one skipped afternoon in fall. Tools do not wear out over winter — they rust, dull and gum up, all of which is preventable in about the time it takes to watch a film. Here is the whole job as six steps, in the order that makes sense: hand tools first, mower last, everything put away clean, sharp, oiled and dry. Do it the same weekend you finish Putting Your Garden to Bed and the garden closes properly, all of it.
The afternoon at a glance
| Step | The job | Rough time |
|---|---|---|
| 1 | Scrub every tool clean | 30 min |
| 2 | Sharpen every edge | 30 min |
| 3 | Oil the metal, feed the wood | 15 min |
| 4 | Settle the mower's fuel | 10 min |
| 5 | Clean the deck, sharpen the blade | 30 min |
| 6 | Put it all away dry | 15 min |
You need: a bucket, a stiff brush, a flat file or sharpening stone, an oily rag, and fuel stabilizer if your mower runs on gas.
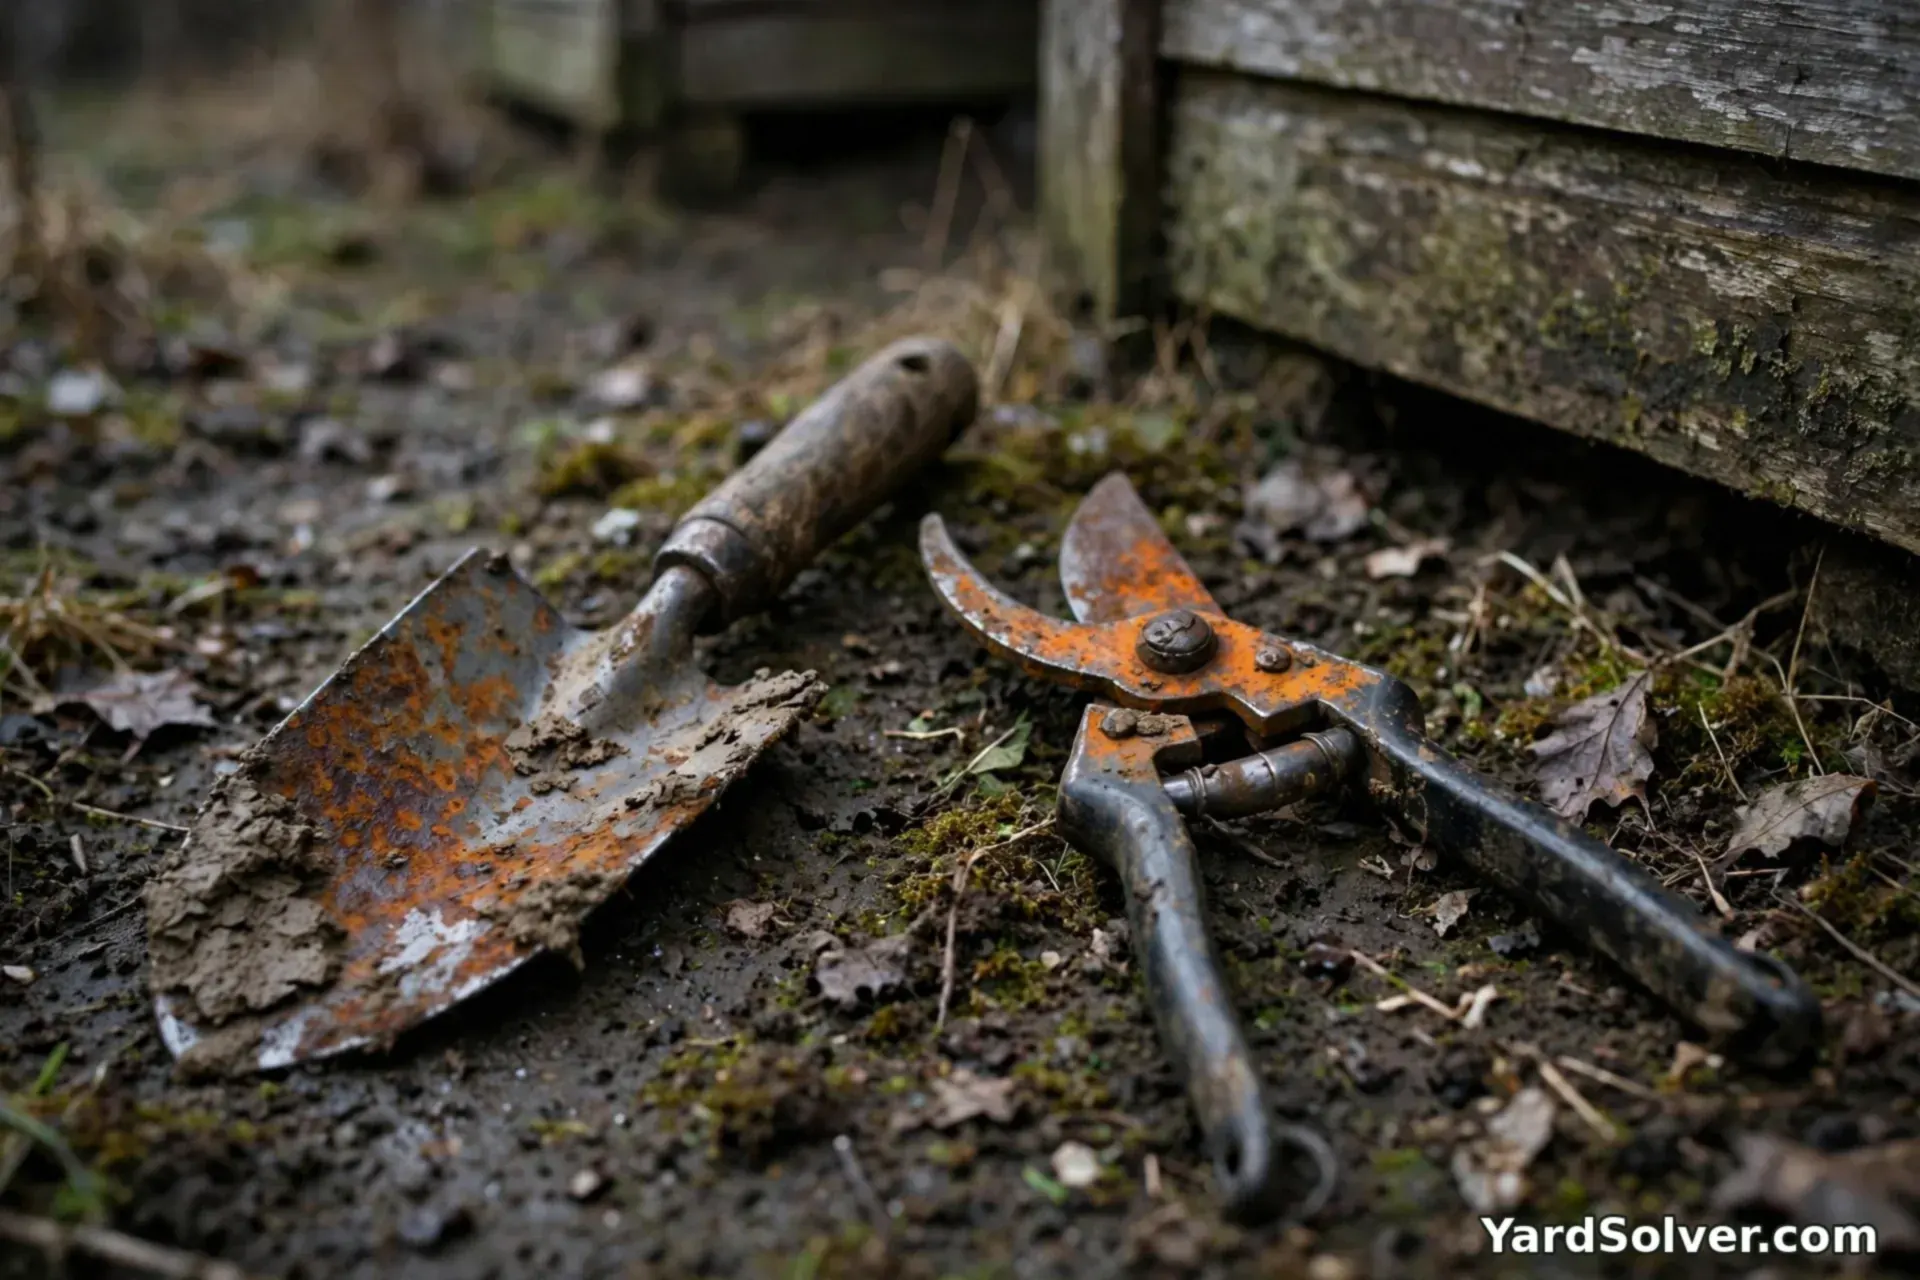
Step 1 — Scrub everything clean
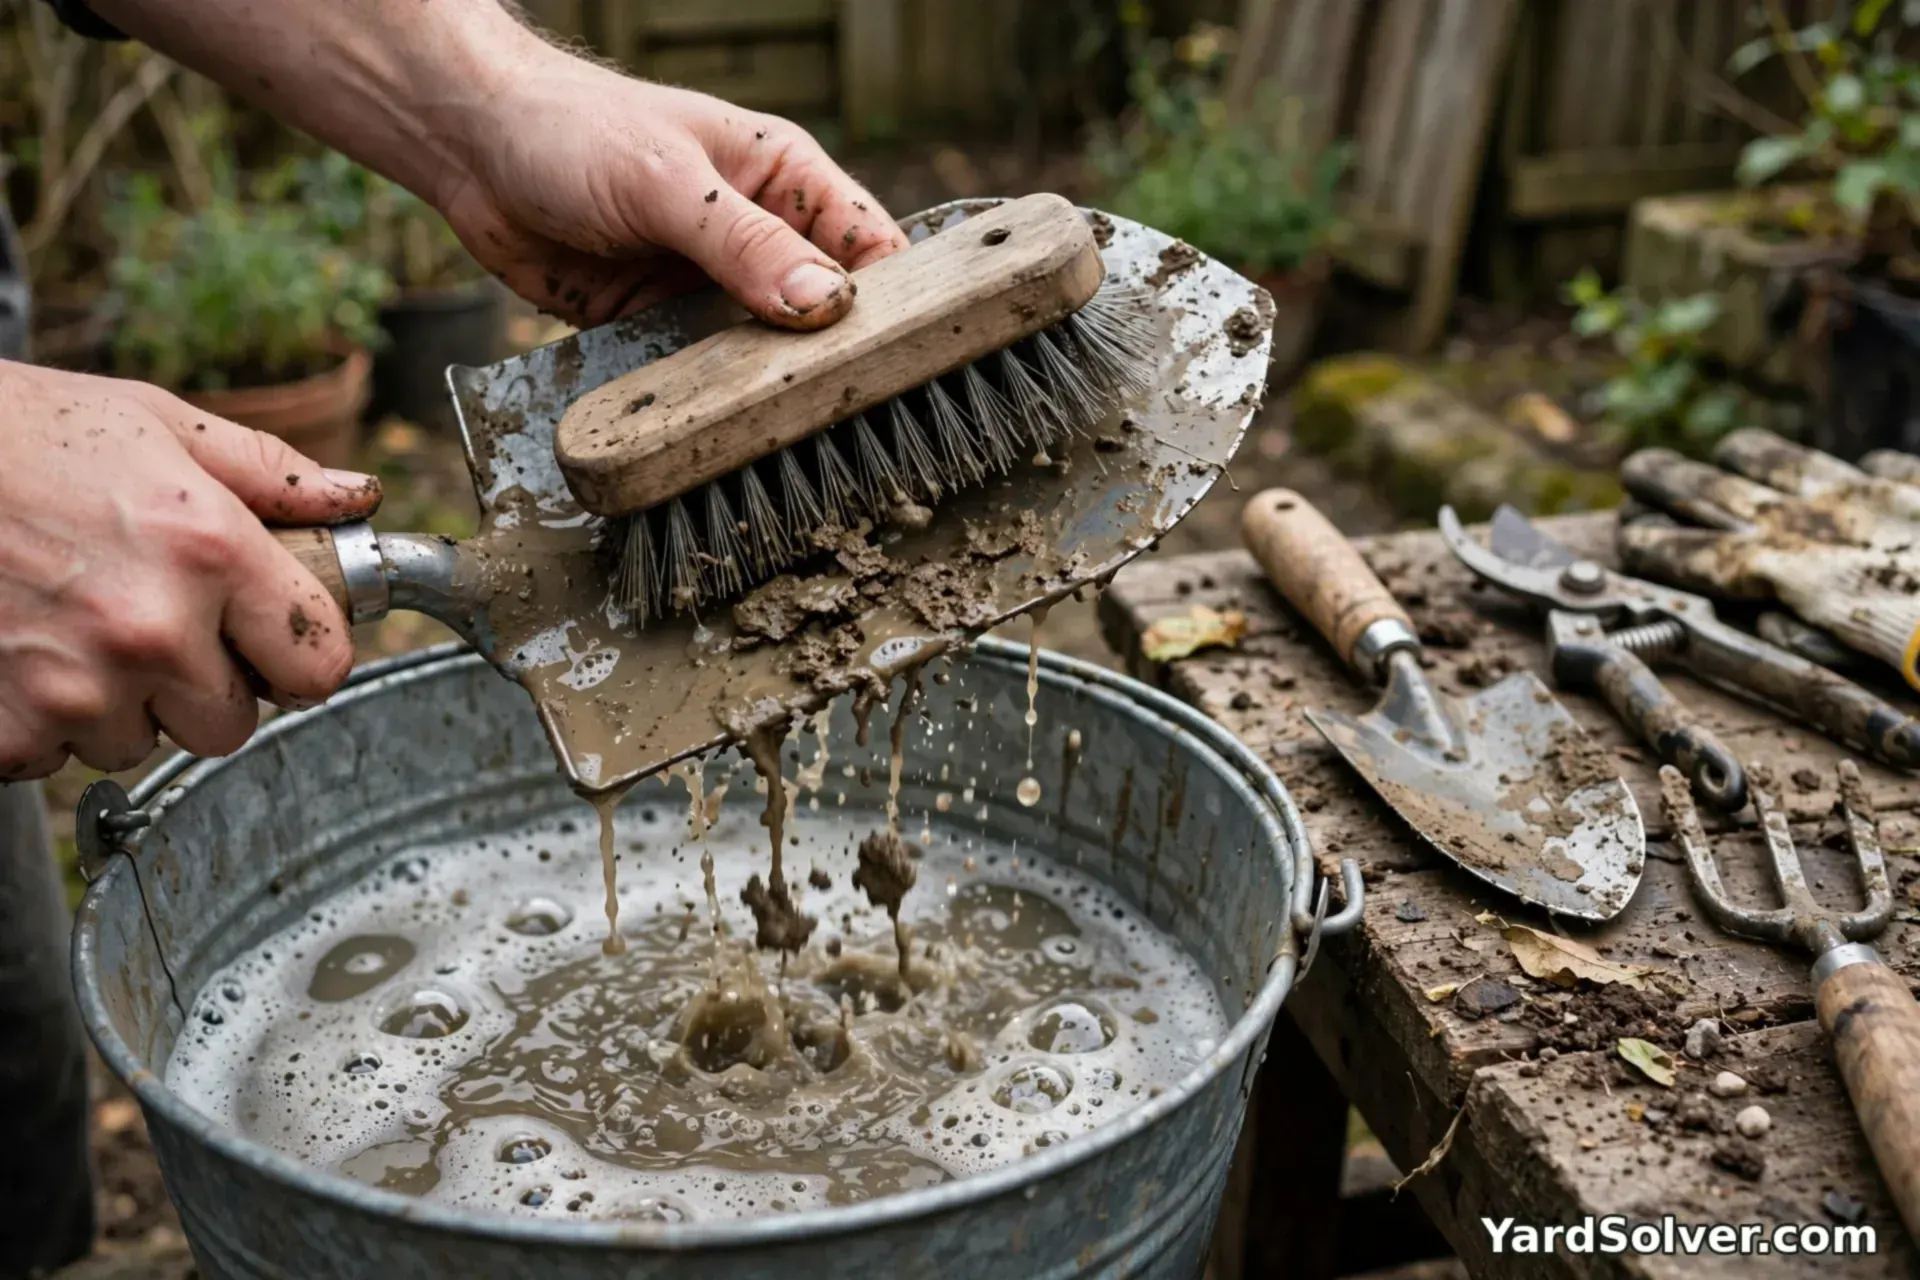
Gather every hand tool you own — spades, forks, hoes, trowels, pruners, loppers, the lot — and line them up on the bench. Knock the loose dirt off, then scrub each one with a stiff brush in a bucket of warm soapy water. Caked soil is the enemy here: it holds moisture against the metal for months, and moisture is rust. Stubborn sap on pruner and lopper blades comes off with a rag and a little vegetable oil or rubbing alcohol. Dry every tool fully with an old towel when it is clean — not air-dry, towel-dry — and check each one as you go. A cracked handle, a loose head or a bent tine is a ten-minute fix now and a broken tool in May if you leave it.
Step 2 — Sharpen every edge
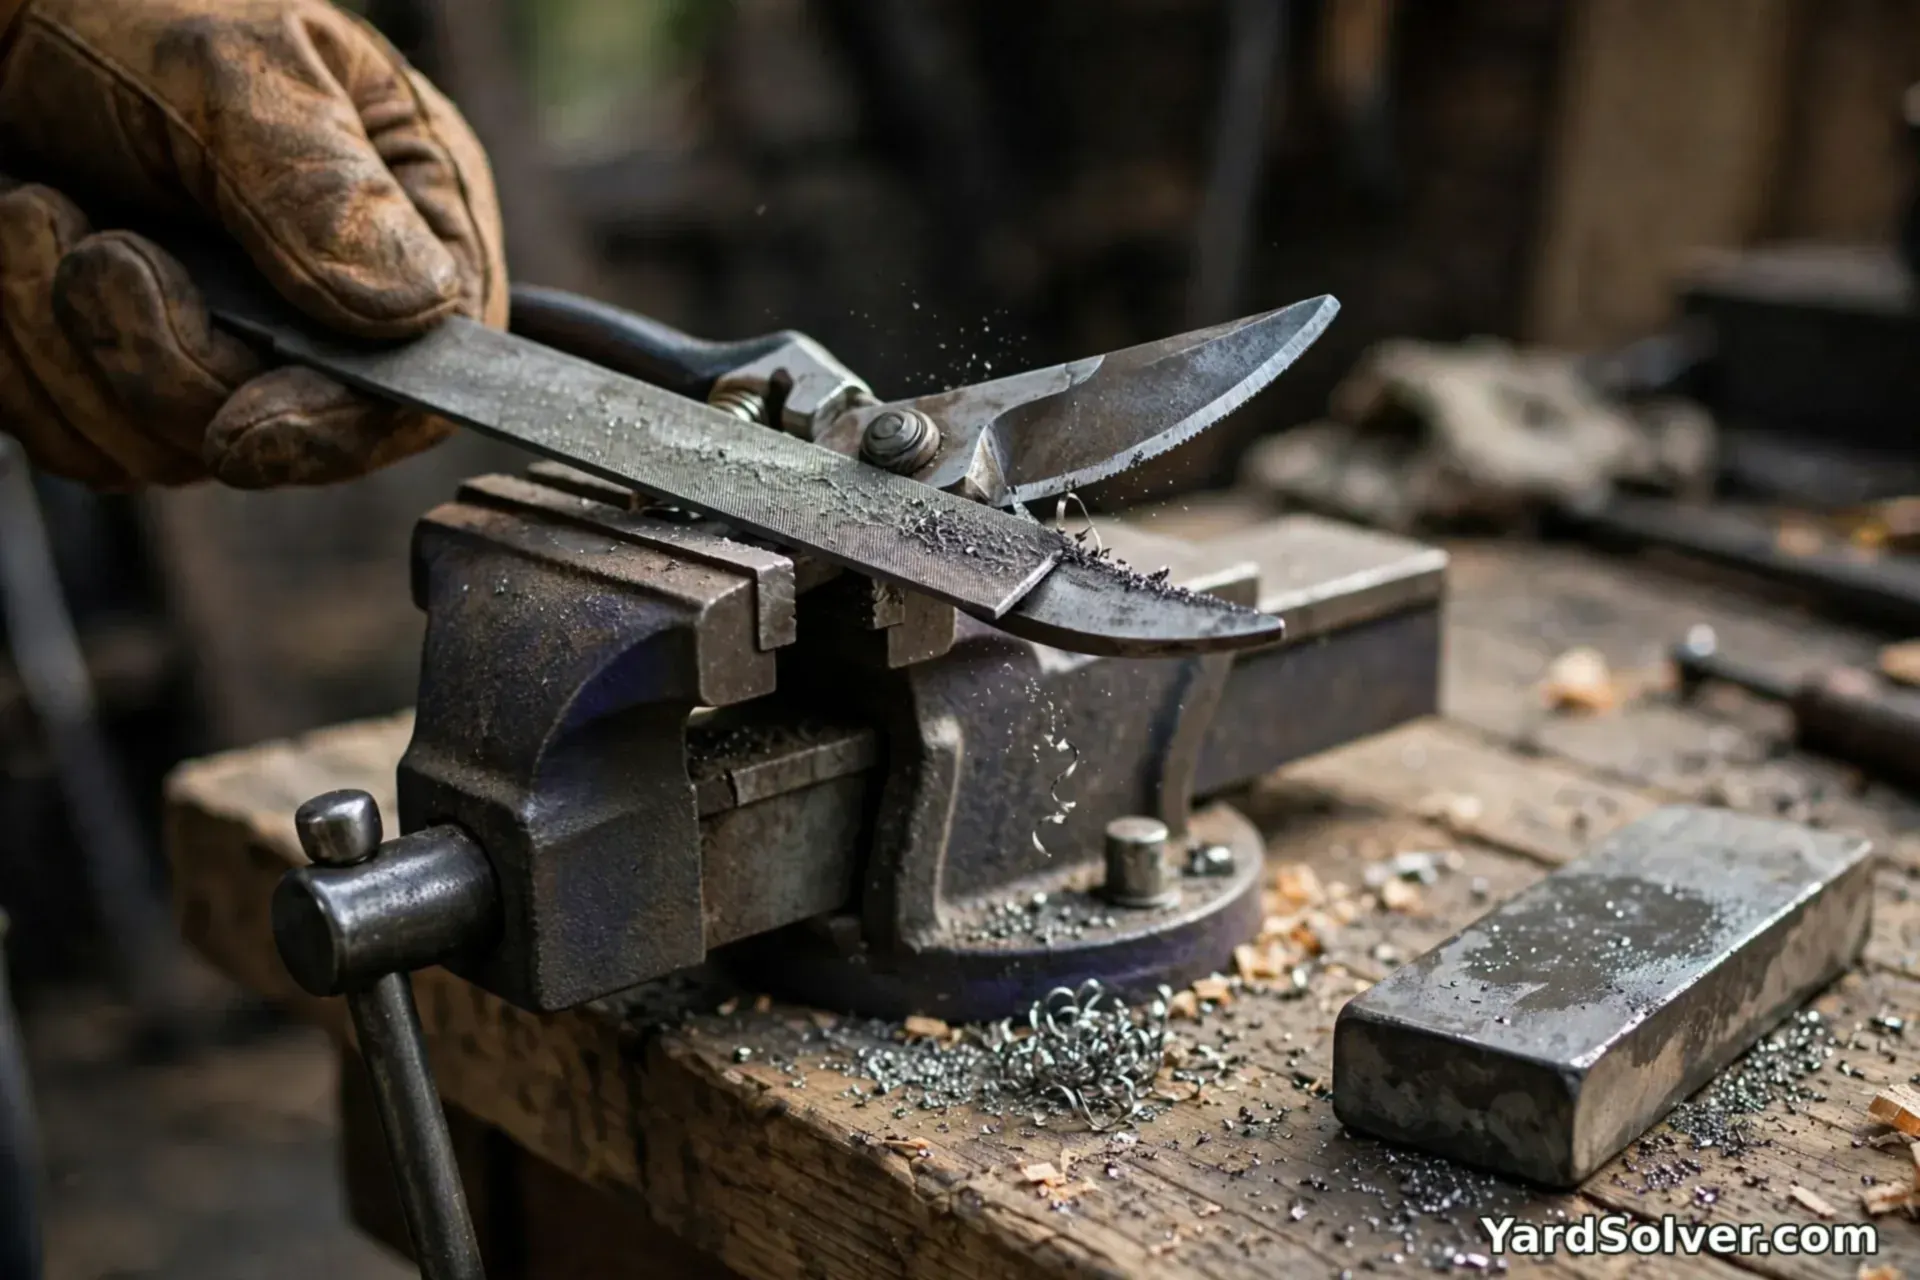
Fall is the right time to sharpen, not the first busy weekend of spring. Work through the cutting tools first: pruners, loppers, hedge shears, axes. A flat file drawn along the bevel — following the angle the blade already has, pushing in one direction — brings an edge back in a dozen strokes. Pruners sharpen on the flat side of the blade only; the bevel does the cutting and the flat side stays flat. Then the digging tools: a spade or hoe with a filed edge slices roots and soil instead of bouncing off them, and you will feel the difference in the first bed you dig. Finish with the mower blade in Step 5 and every edge you own is done for the year.
Step 3 — Oil the metal, feed the wood
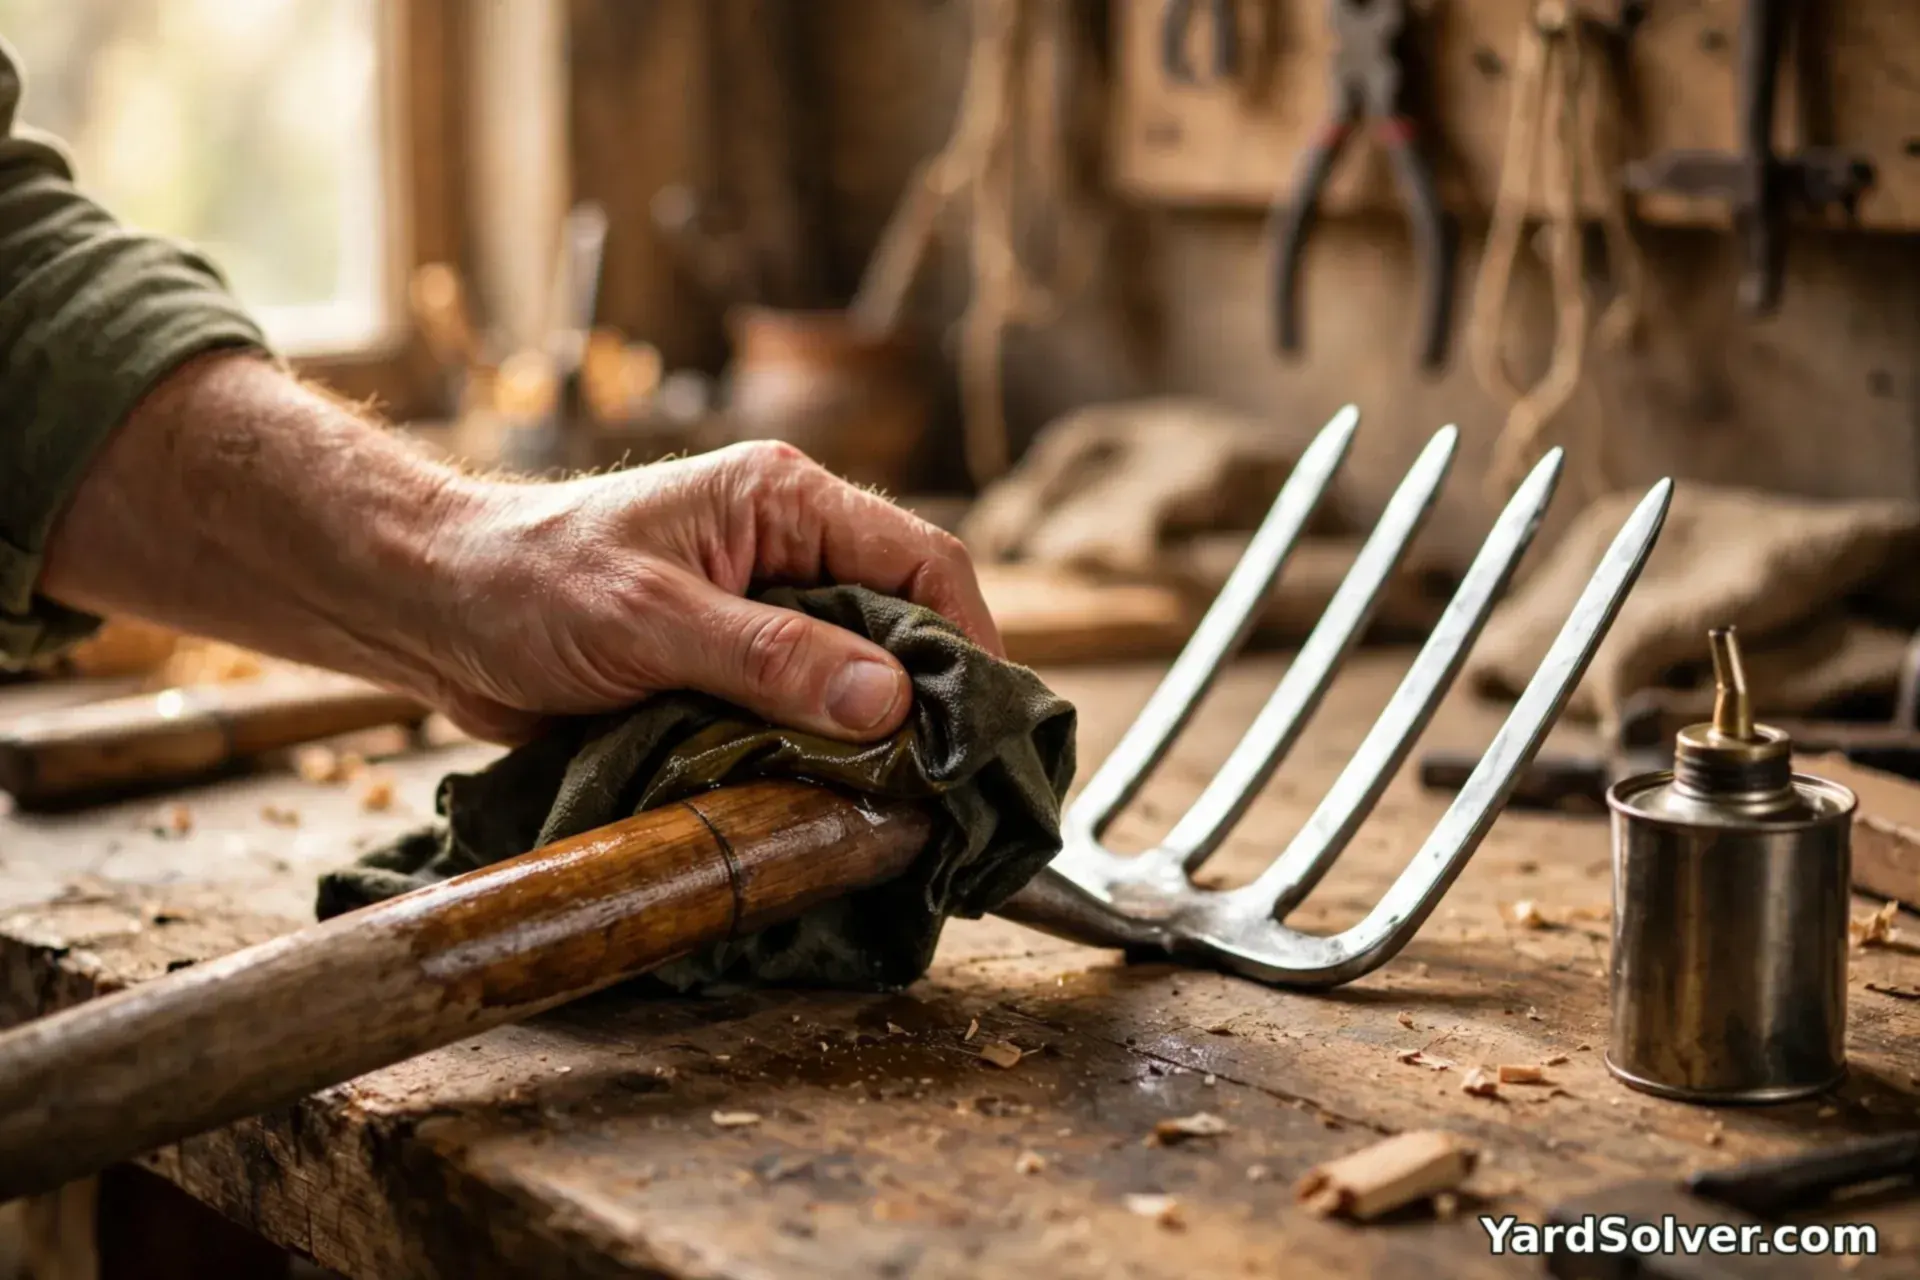
Clean, dry steel still rusts in a damp shed unless something stands between it and the air. Wipe every metal surface with a rag carrying a thin film of oil — almost any light oil works — until the metal shines and the rag comes away only slightly dirty. Wooden handles get their own version of the same care: sand off any rough, splintery patches, then rub in boiled linseed oil, let it soak for fifteen minutes and wipe off what is left. A fed handle stops drinking rain, which is what splits and rots them. Do the moving parts too — a drop of oil in each pruner and lopper pivot, worked open and shut a few times, and they will move in spring like they did in June.
Step 4 — Settle the mower's fuel

More mowers fail in spring over fuel than over everything else together. Gas left untreated in a tank can go stale in as little as a month, and the gummy residue it leaves behind clogs the small passages of the carburetor. You have two good options. If the tank is nearly empty, run the mower until it stops and store it dry. If there is fuel worth keeping, add fuel stabilizer, run the engine for a few minutes so the treated fuel reaches the carburetor, and store the tank full — a full tank leaves little room for the condensation that rusts from inside. Change the oil while the engine is warm from that run, if it is due; check the air filter and spark plug now, while the parts store trip can wait for a quiet day. Electric mower? Simpler: bring the battery indoors and store it partly charged, off the charger, out of the freezing cold.
Step 5 — Clean the deck, sharpen the blade
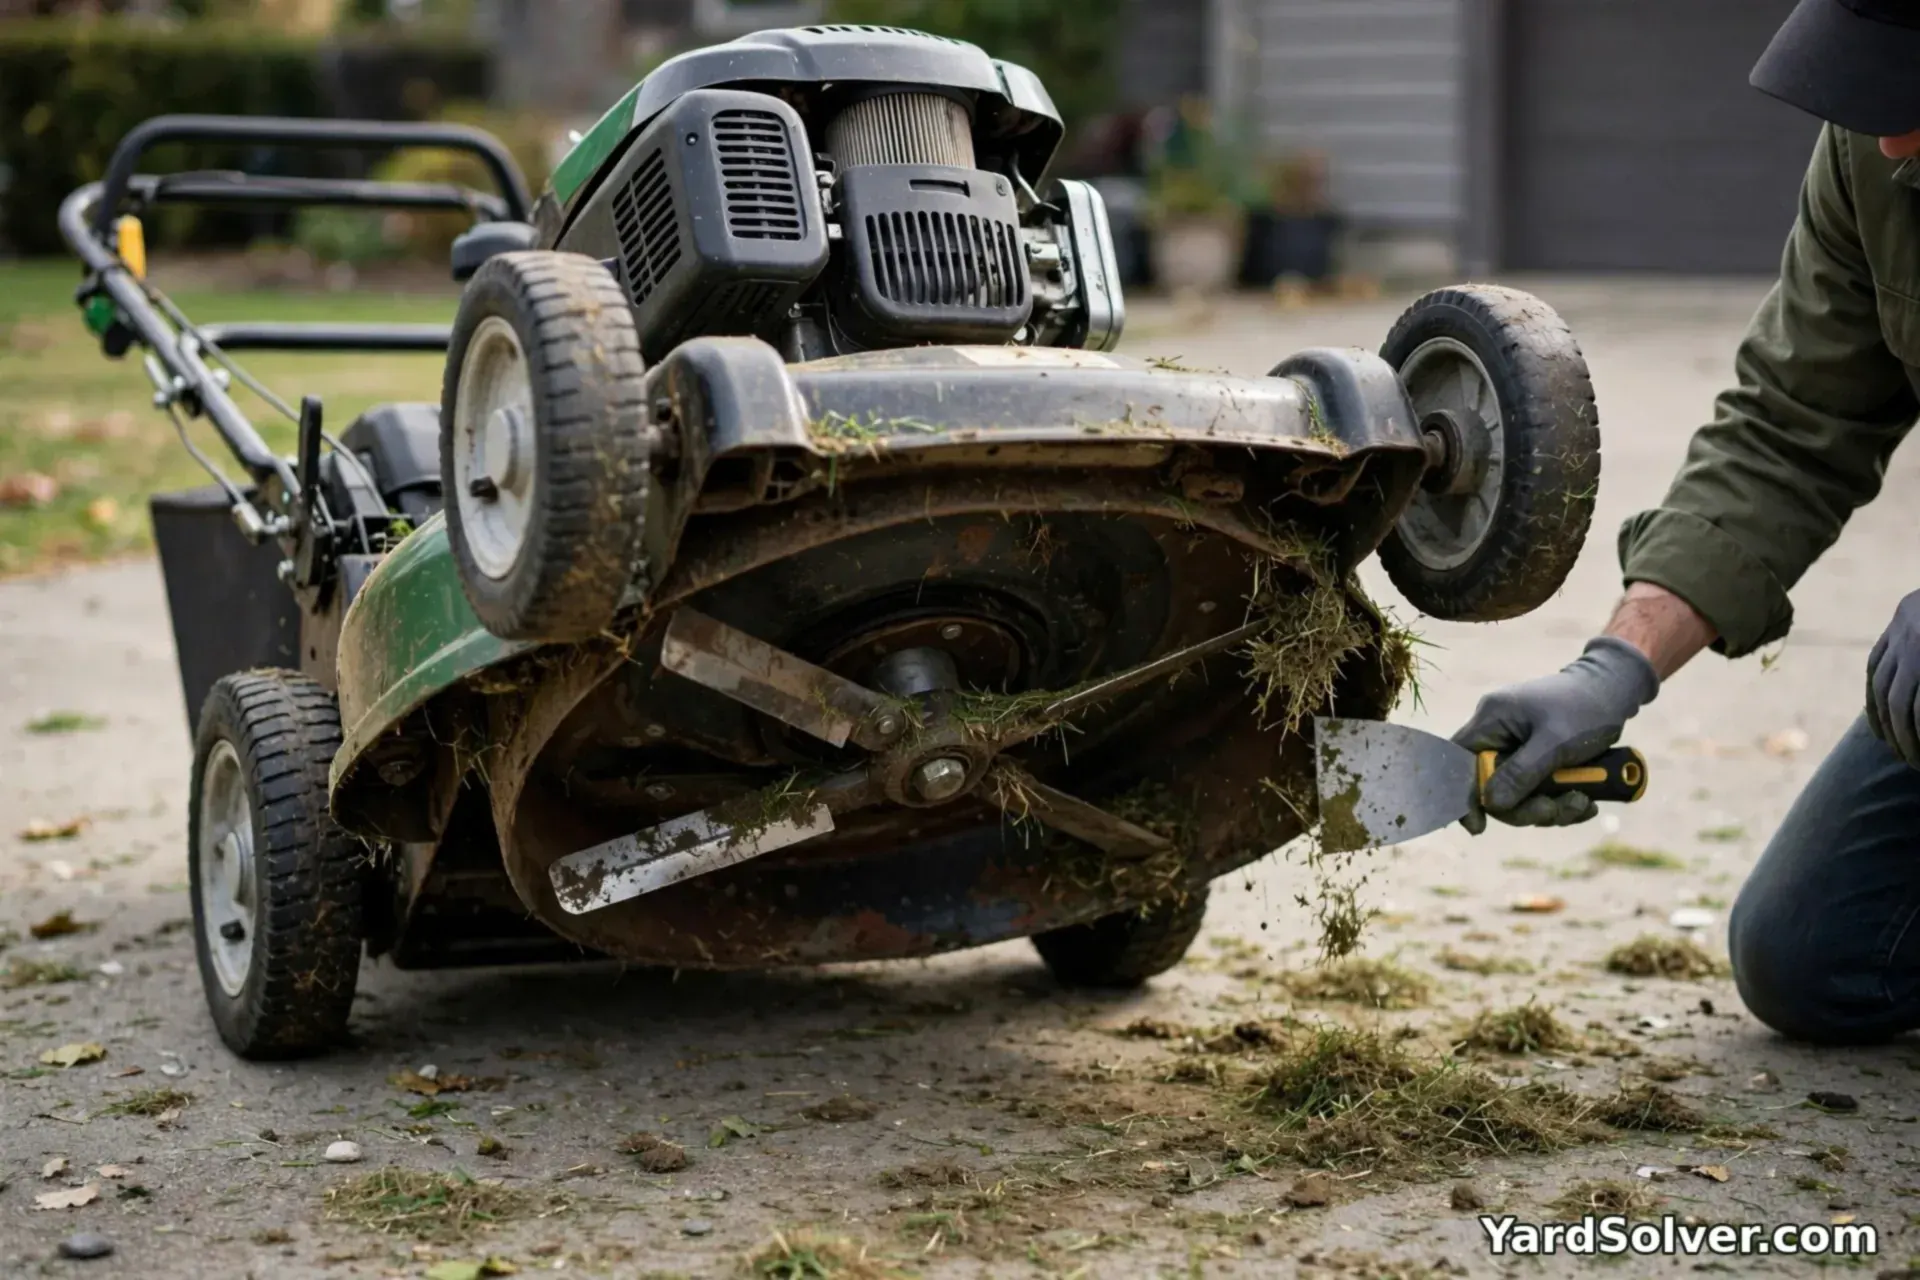
Safety first, every time: pull the spark plug lead off (or remove the battery) before the mower tips for any reason. Tip it with the air filter and carburetor side facing up, so oil and fuel stay out of them. Then scrape the underside of the deck with a putty knife or stiff brush. That green concrete of caked clippings holds moisture against the deck all winter and rusts it from underneath — and it is far easier to remove now than as next spring's fossil. Take the blade off, file or grind its edge back, check it is balanced by hanging it on a nail through the centre hole, and bolt it back snug. Brush the top of the deck and the engine cooling fins clean, and the mower is mechanically done.
Step 6 — Put it all away dry
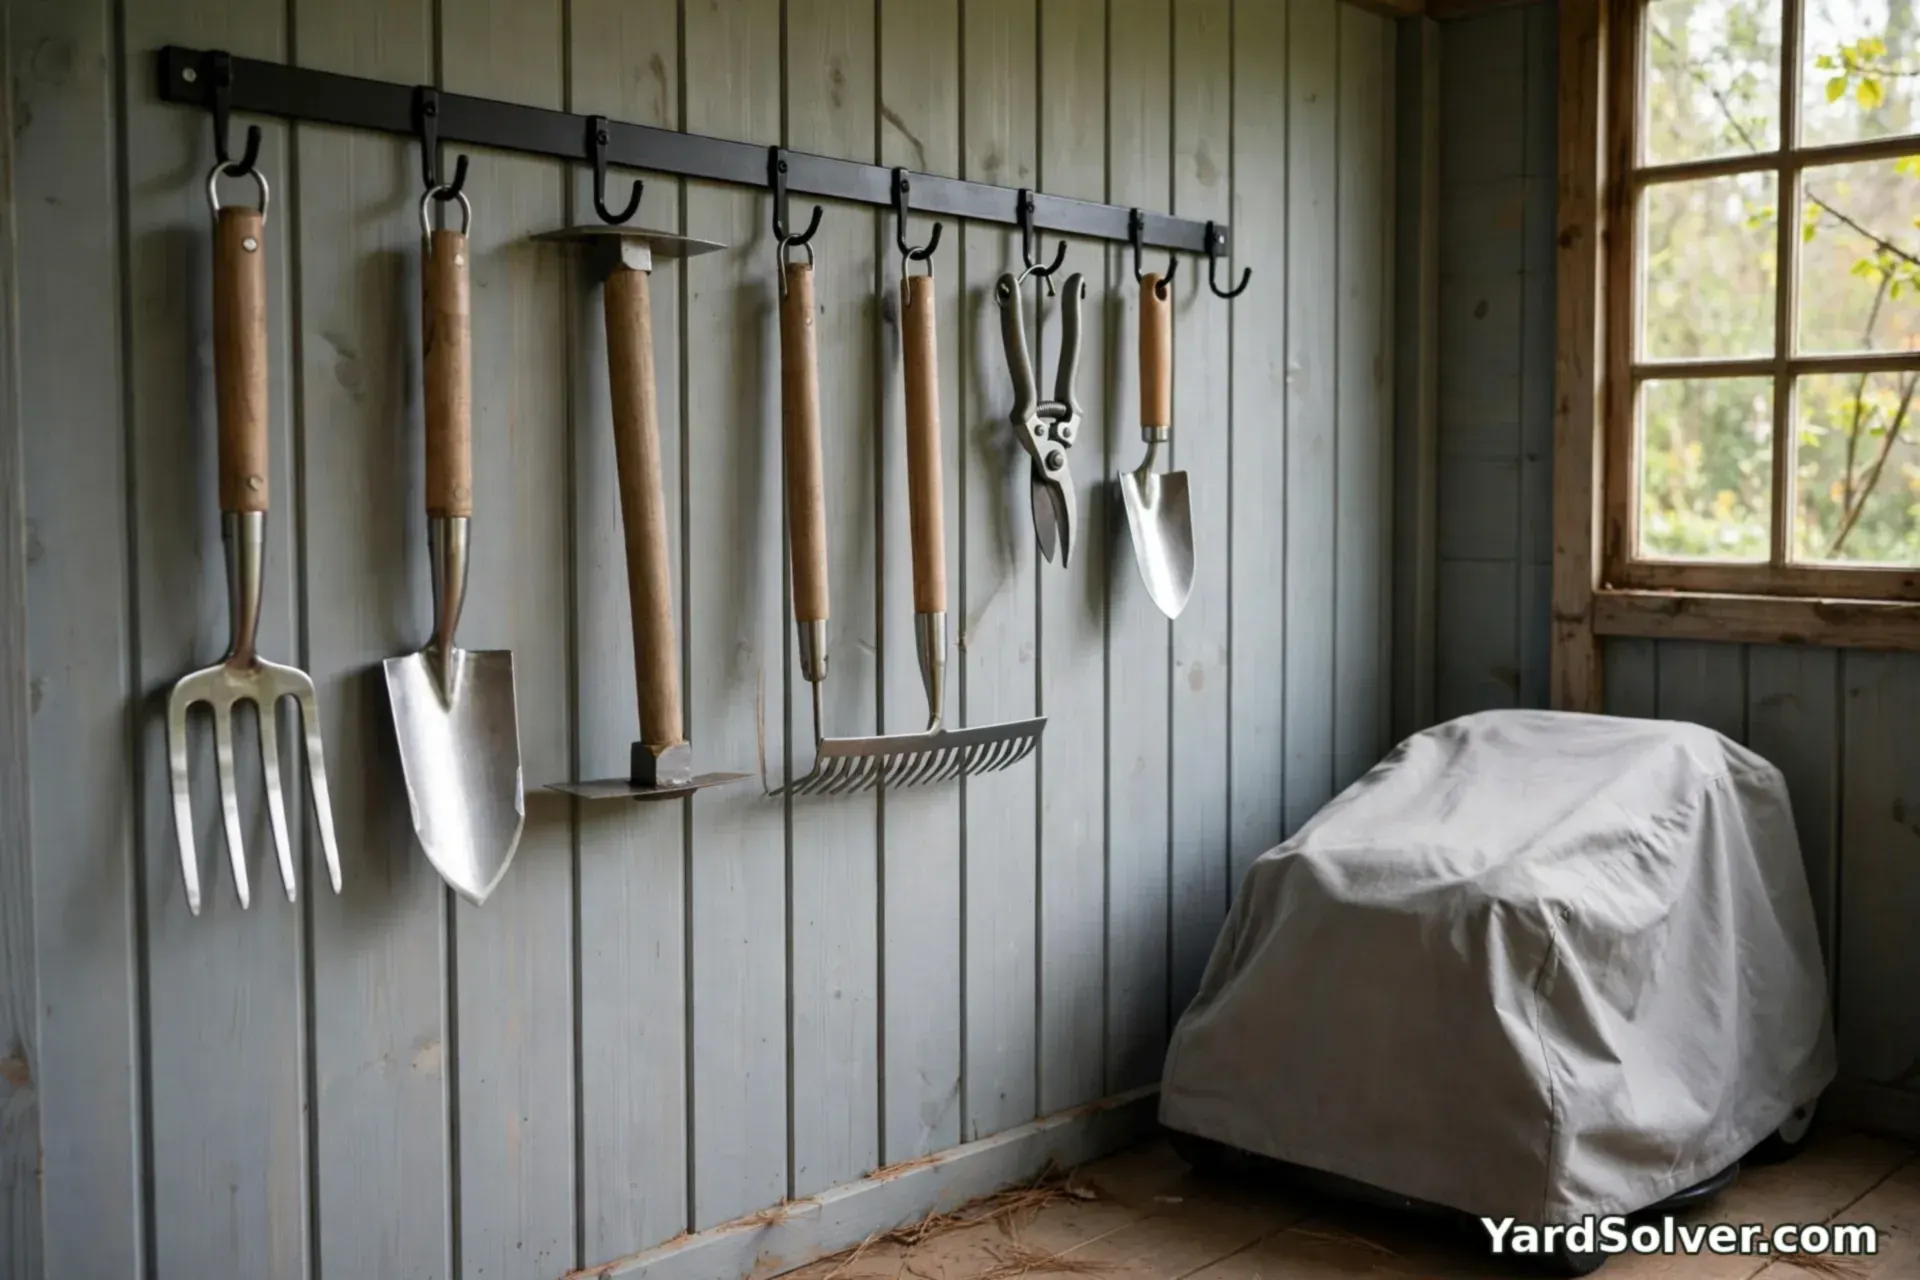
Storage is the last step and the simplest rule of the day: dry and off the ground. Hang hand tools on hooks or a pegboard, or stand them blade-up in a bucket of dry sand if wall space is short. Never leave steel resting on a soil or concrete floor, which wicks damp into it all winter. Park the mower in the driest corner, a simple cover over it if the roof drips. Finish the round with the small fry: drain the garden hose and store it coiled indoors or under cover, empty pump sprayers and rinse them, and bring in anything that freezes and bursts — ceramic pots with wet soil in them included. If you shut the water systems down too, How to Winterize Drip Irrigation is the matching job, and the whole shutdown weekend is worth pencilling into the Planner for next fall, dated to your first frost, so it never sneaks up on you again.
Keep going
The beds are the other half of shutdown: Putting Your Garden to Bed — mulch, cover crops and the last tidy, in the right order.
The water half: How to Winterize Drip Irrigation — drain and blow out the lines before the first hard freeze.
Put next fall's shutdown on the calendar now: the Planner holds the dates so the afternoon never gets skipped again.
Questions people ask
Should I drain the mower's gas or add stabilizer for winter?
Either works; leaving untreated gas sitting is the only wrong answer. Modern gas can go stale in as little as a month, gumming the carburetor that then refuses to start in spring. If the tank is nearly empty, run the mower dry. If there is fuel worth keeping, add stabilizer, run the engine a few minutes to pull it through, and store it full — a full tank leaves less room for condensation.
What oil should I use on garden tools?
Almost any light oil you already own works on the metal: a drop of 3-in-1 style oil or a wipe of boiled linseed oil keeps rust off blades all winter. Use boiled linseed oil on wooden handles too — rub it in, let it soak, wipe off the excess. Skip waste motor oil; it is dirty to handle and hard on the soil the tool goes back into.
Can tools stay in an unheated shed all winter?
Yes — cold does not hurt tools; wet does. A dry unheated shed is fine storage. What ruins tools is sitting damp: on a soil floor, under a drip, or left outside under a tarp that traps condensation. Hang tools or stand them blade-up off the floor, and the shed can be as cold as the weather likes.
When is the best time to winterize tools?
On the last working day of the season, whenever that falls — usually the same weekend the beds get put to sleep. The tools are already out, the mower is already warm from its last cut, and sharpening now means spring starts with tools that are ready instead of a repair list.
Comments & ratings
No comments yet.
Be the first to share your experience.