
Guides · Watering · Published November 10, 2026
How to Winterize Drip Irrigation Before the First Freeze
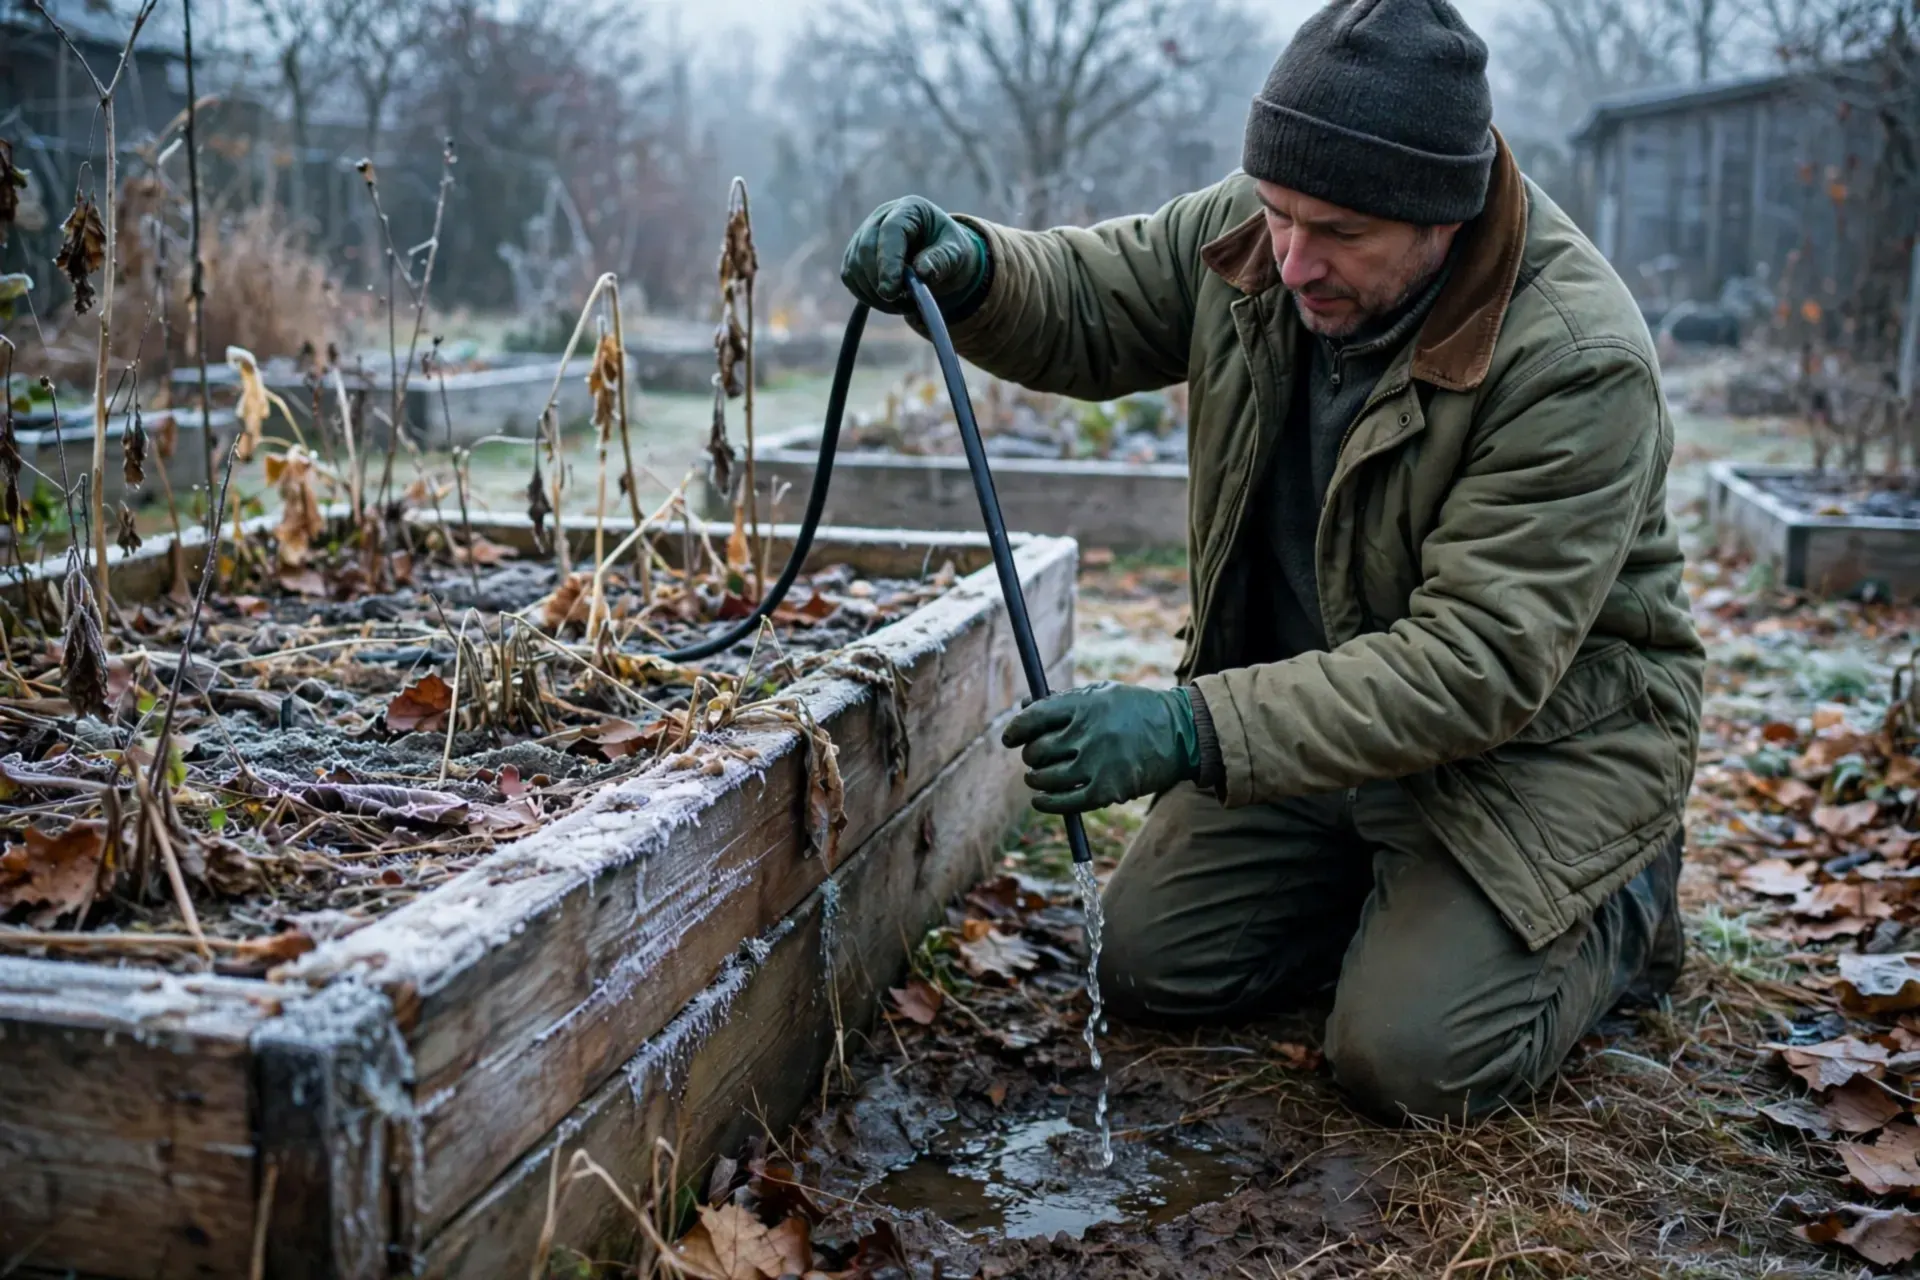
Drip tubing itself is forgiving stuff — it flexes, and a little frozen water rarely hurts it. What winter actually kills is everything attached to it: the filter bowl, the pressure regulator, the timer, and any low spot in a line that stays full of water. One calm hour in autumn, before the first hard freeze, saves you the spring ritual of finding the split fitting by the puddle it makes. This is the shutdown that goes with How to Set Up Drip Irrigation — same system, other end of the year.
What winter kills, in the order it kills them
- The filter bowl — a cup of water in thin plastic, outdoors. The number one casualty.
- The timer — batteries and electronics left out in freezing weather rarely wake up in spring.
- The pressure regulator and backflow preventer — small chambers that trap water even when the lines are drained.
- Low spots in the lines — any dip in the tubing that holds water all winter.
- End caps and fittings left under tension — minor, but cheap to prevent.
Step 1 — Shut the water off at the tap
Turn the garden tap off for the season — at the indoor shut-off valve if you have one, so the standpipe itself drains too. Open the garden tap afterwards to let that short run empty, then close it again. If your setup has a backflow preventer with little test cocks, crack them to a 45-degree angle so trapped water can weep out, and leave them there all winter. Finish by slipping a foam tap cover or a wrapped towel over the outdoor tap. Five minutes, and everything upstream of your drip header is safe.
Step 2 — Bring the header parts indoors
Unscrew the whole header stack — timer, backflow preventer, filter, regulator — as one piece if it comes apart that way, and take it inside. Take the batteries out of the timer. Unscrew the filter bowl, tip out the water, rinse the mesh, and let it dry before you box it all up: a dry filter stored indoors lasts for years, while the same filter left screwed on the tap is the crack you find in April. Nothing here needs tools beyond your hands and maybe a pair of pliers for a stubborn bowl. Label the box if your shed is anything like mine — spring-you will be grateful.
Step 3 — Open the ends and let gravity drain
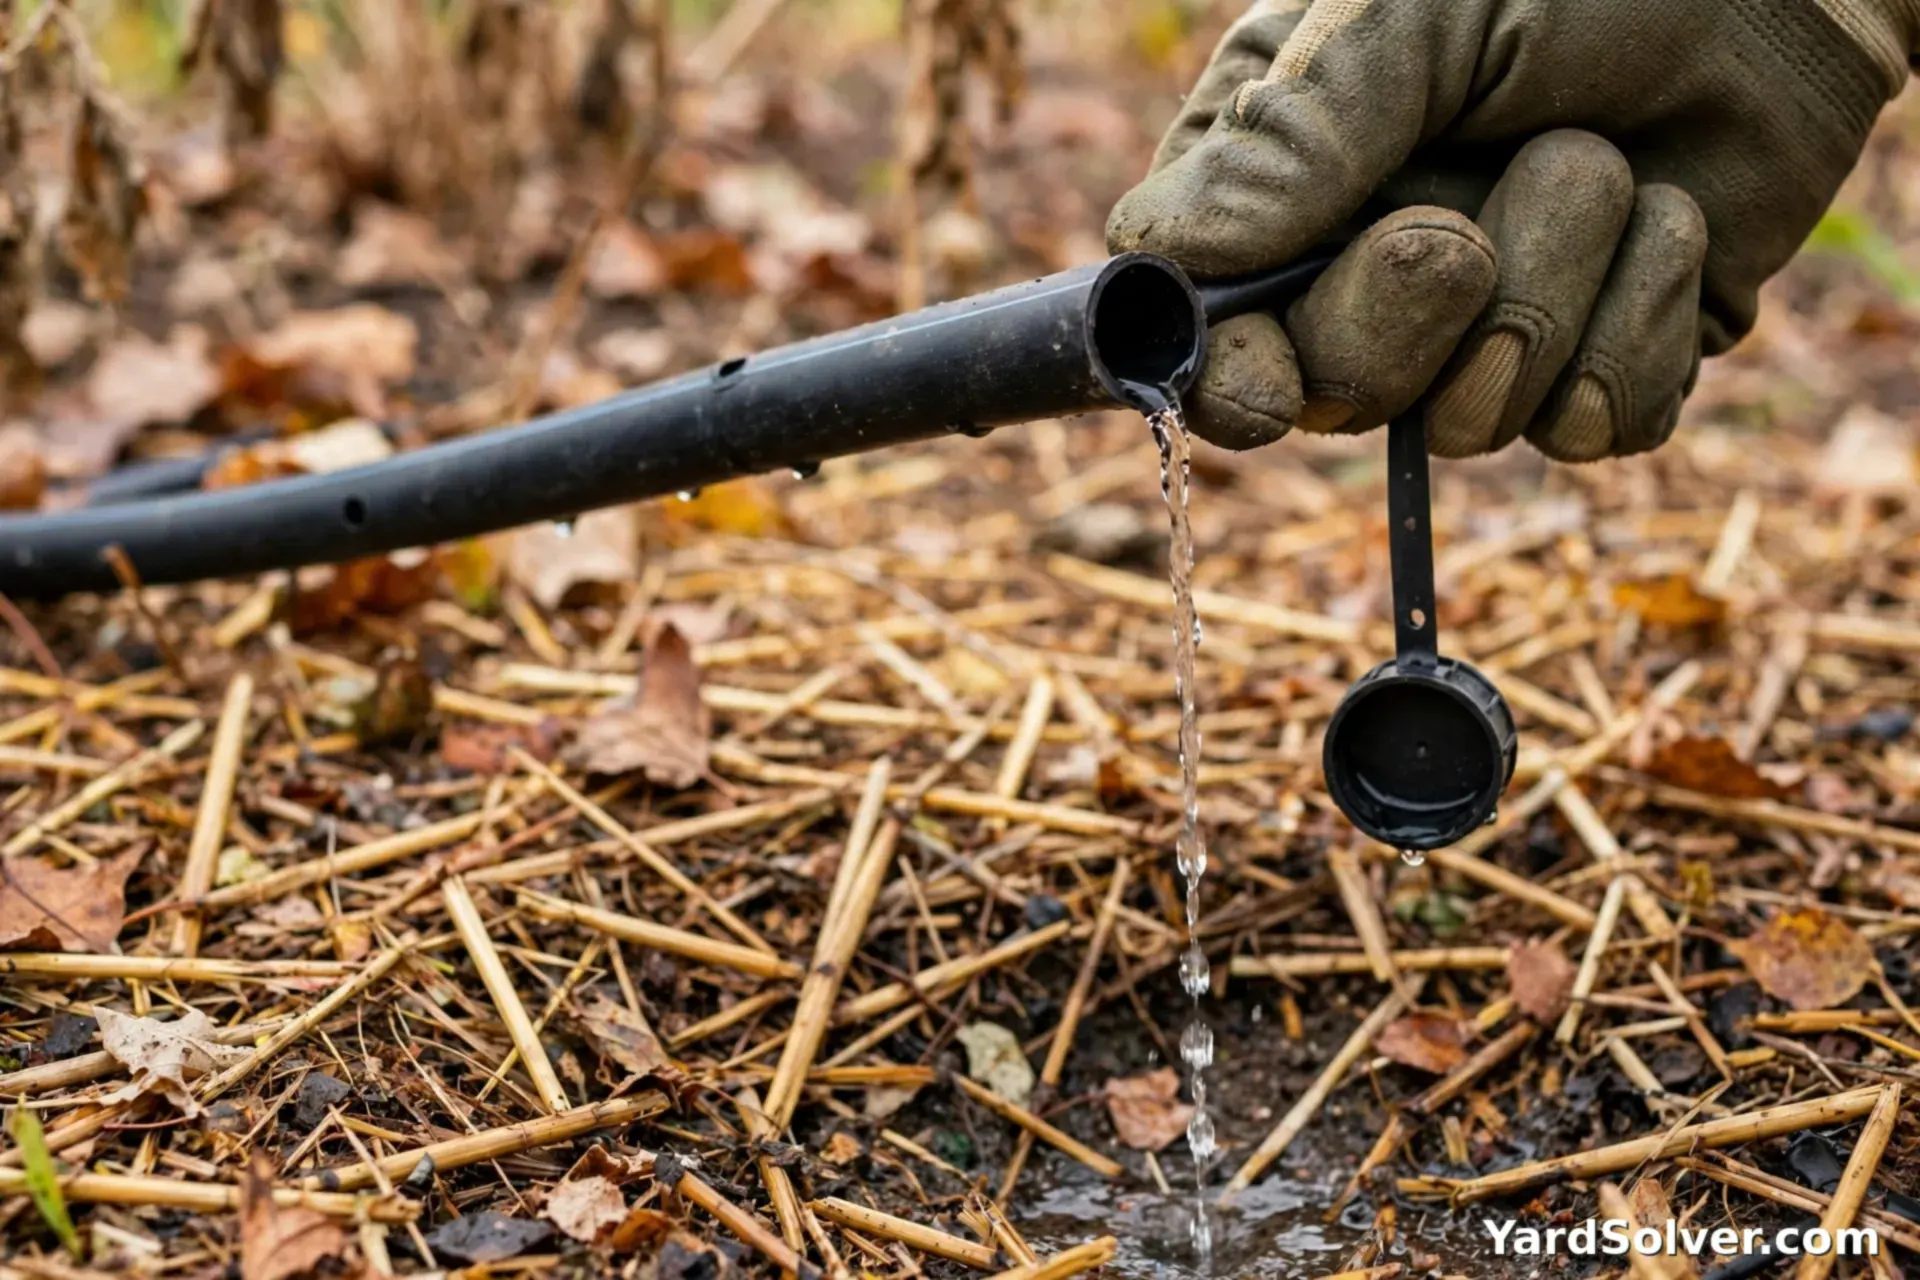
Pop the end cap or fold-over off every mainline and walk each line, lifting it section by section so the water walks downhill and out. Open any drain valves at low points. Lines that cross a dip hold a cup or two in the sag — lift, wait, move on. This slow drain does 90 percent of the whole job on its own. If your system is fed from a rain barrel, drain and store the barrel now too, tap open, stored upside down or under cover — the Rain Barrel Calculator page is the place to plan next year's bigger setup while this year's is drying on the patio.
Step 4 — Blow out what is left, gently
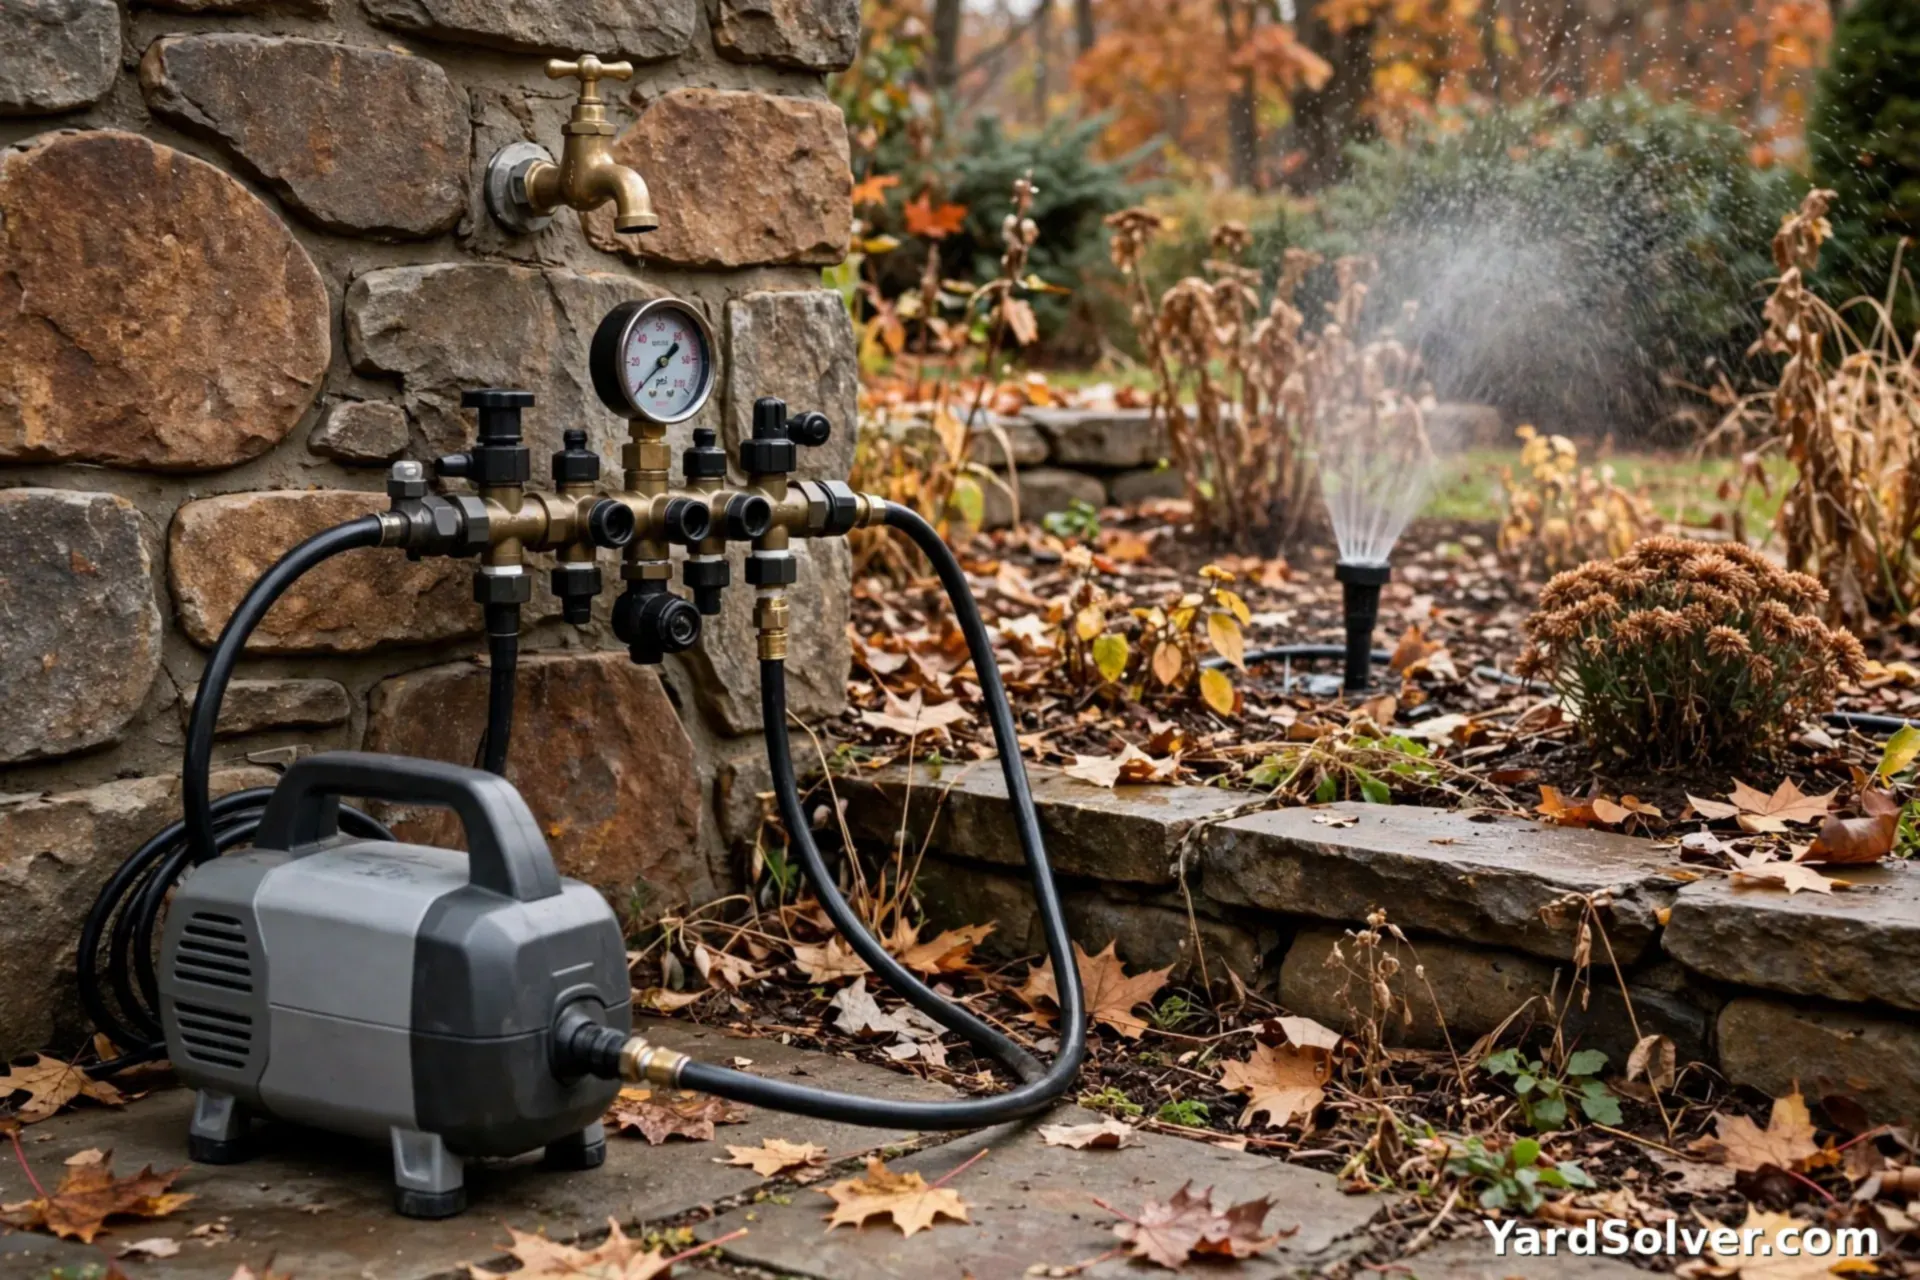
In zone 6 and colder — or anywhere a line runs above ground — follow the drain with air. This is the step to respect: drip is a low-pressure system and a compressor is not. Set the regulator to 30 psi or less before you connect anything. Fit the compressor to the header, open one zone, and blow in short bursts. Water sprays, then spits, then only mist comes from the emitters — that zone is done. Move to the next. Never blow through the filter or regulator (they are already indoors, which is the point of Step 2), and never leave a zone blowing while you go and make tea: a dry line at pressure just heats the air and stresses the fittings. No compressor? In mild zones the Step 3 drain alone is an accepted method — just be extra careful with the low spots.
Step 5 — Leave it open, and write the spring note
Leave the end caps off for winter, in a zip bag tied to the tap where you will find them in spring. Open lines cannot trap water, and passing insects are a smaller problem than ice. Coil any above-ground feeder lines loosely on the bed rather than leaving them stretched tight. Then do the last, most skipped step: add the restart to your Garden Planner — "reconnect drip header, flush lines, pressure-test" on your first spring watering week. The spring restart itself is five minutes: header back on, ends open, flush, caps on, walk the line checking emitters — exactly the commissioning step from the setup guide, done in reverse order of today.
Keep going
Putting in a new system next year instead? How to Set Up Drip Irrigation starts with the bucket test that sizes the whole thing.
Doing the rest of the autumn shutdown too? Putting Your Garden to Bed covers the beds themselves. And do not forget the barrel: winterize your rain barrel before the first hard freeze.
Questions people ask
Can I just drain my drip lines without blowing them out?
In mild-winter areas (zone 7 and warmer), careful draining is usually enough: drip tubing is flexible and forgives a little frozen water. In zone 6 and colder, or anywhere lines run above ground or across low spots that hold water, blow out as well — a cracked filter bowl or split fitting costs more than the ten minutes the blowout takes.
What air pressure is safe for blowing out drip lines?
30 psi or less — drip tubing and emitters are built for low pressure, nothing like a sprinkler system. Set the compressor regulator before you connect it, work one zone at a time, and use short bursts until the emitters mist instead of spray. More pressure does not clear the line faster; it just pops fittings off.
Should the timer and filter really come indoors?
Yes. The timer's electronics and batteries hate a freezing shed wall, and the filter bowl is the single most common freeze casualty on a drip system — it holds a cup of water in thin plastic. Unscrew the bowl, rinse the filter, let both dry, and store the whole header stack in a box indoors. It goes back together in minutes in spring.
Comments & ratings
No comments yet.
Be the first to share your experience.