
Guides · Composting · Published November 10, 2026
Indoor Worm Bin: Vermicomposting Through Winter
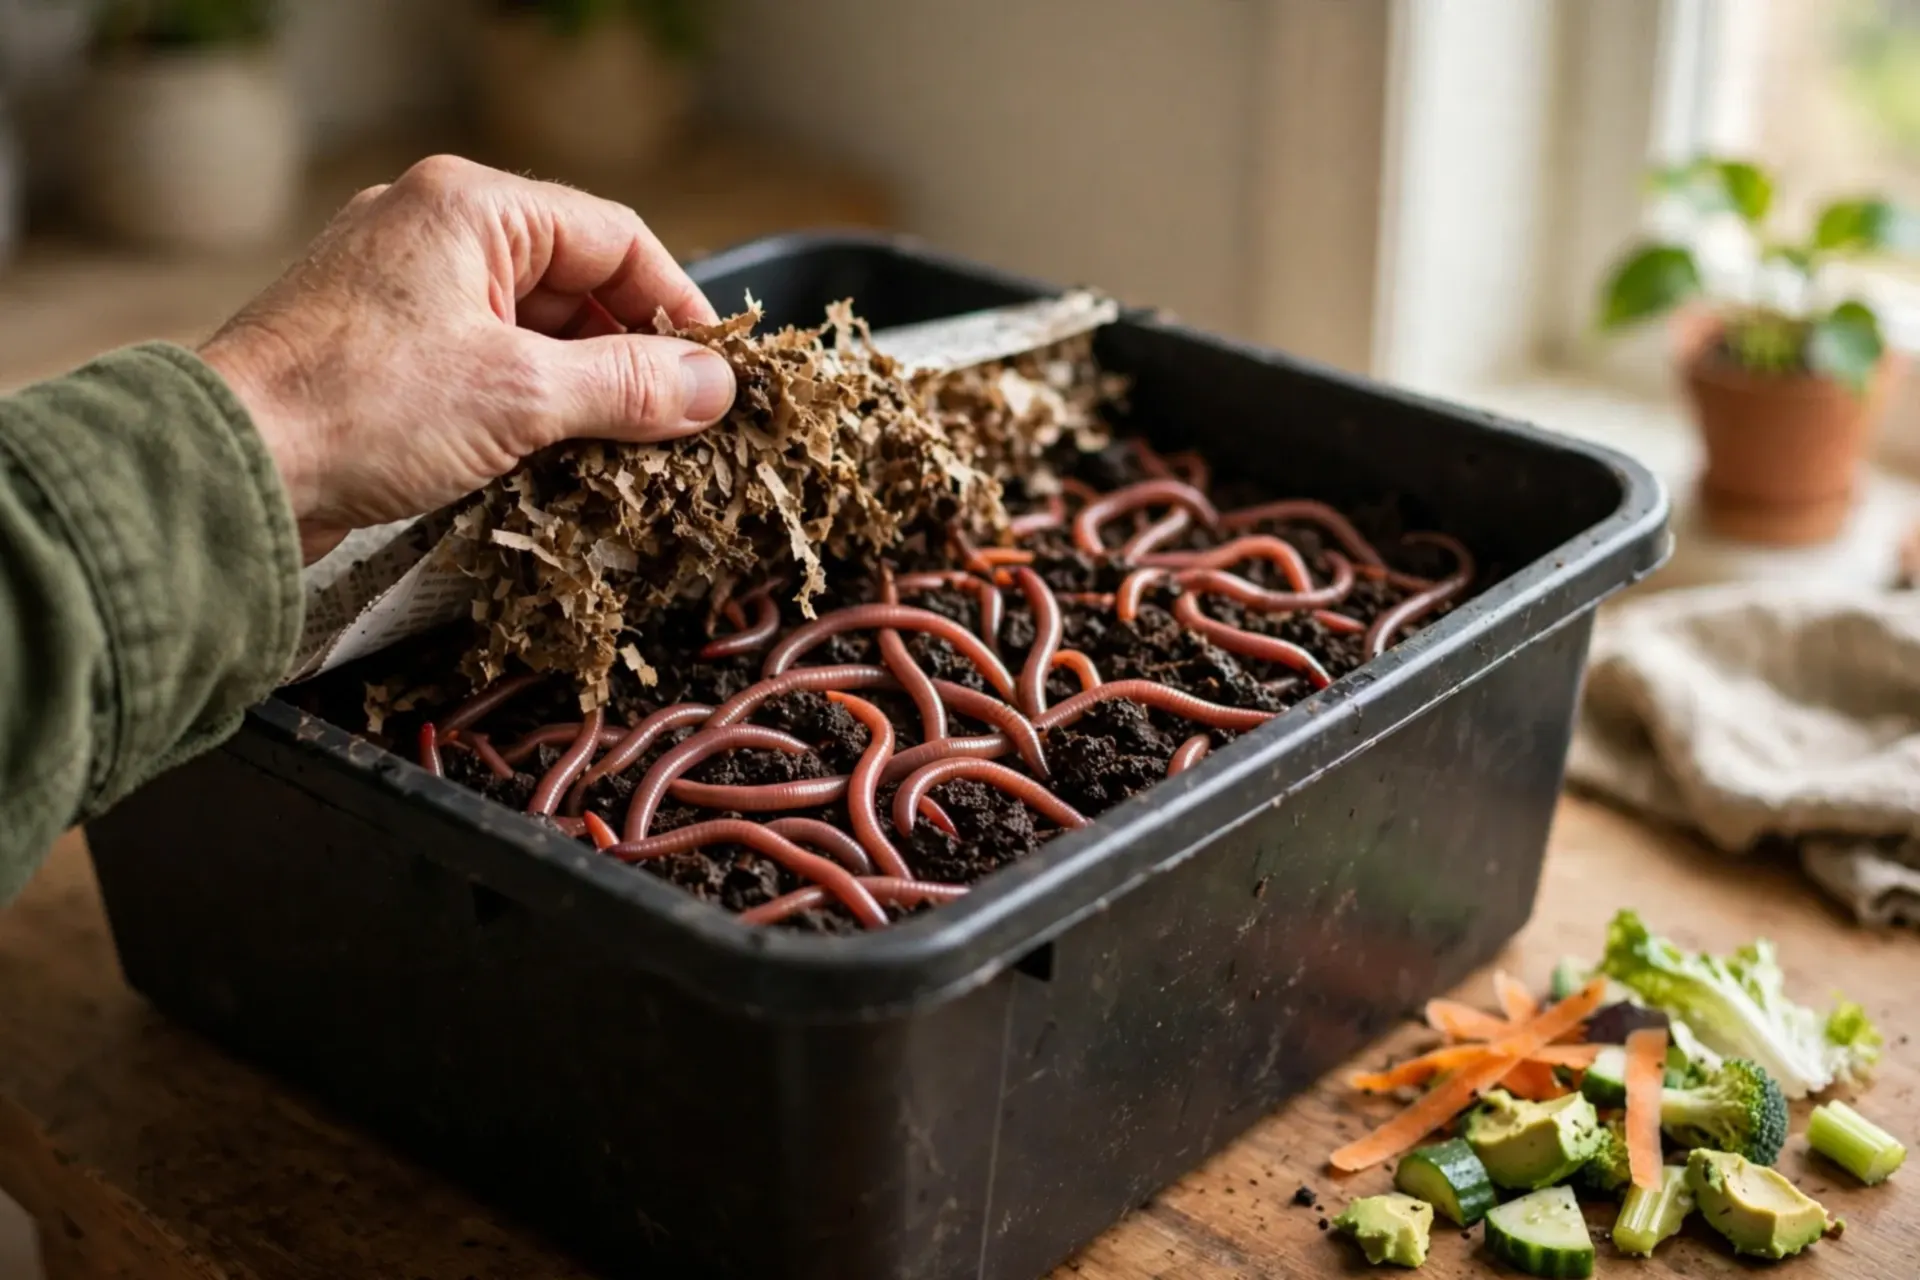
When the outdoor compost pile freezes solid, most gardeners stop making compost until spring. A worm bin does not stop. It sits in a corner of the basement, a closet or under the kitchen sink, quietly turning coffee grounds and vegetable peelings into castings — the richest soil food most of us will ever own — all winter long. The setup takes an afternoon, the weekly care takes five minutes, and there is no smell when it is run right. Here is the whole job, in order.
The bin at a glance
| Part | The simple choice | Why |
|---|---|---|
| Bin | Dark plastic tote, 10–18 gallons | Worms hate light; a tote is cheap, light and easy to drill |
| Worms | Red wigglers, about 1 lb per sq ft of surface | They live at the surface and eat scraps fast; garden earthworms do not suit a bin |
| Bedding | Shredded newspaper or cardboard, damp | It is their home and their first food |
| Temperature | 55–77°F — an ordinary room | Below 40°F they stop; above 85°F they are in trouble |
| Moisture | Like a wrung-out sponge | Dry bedding starves them; soup drowns the air out |
That short list is genuinely the whole system. Everything below is just doing each line of it properly.
Step 1 — Soak the bedding and fill the bin
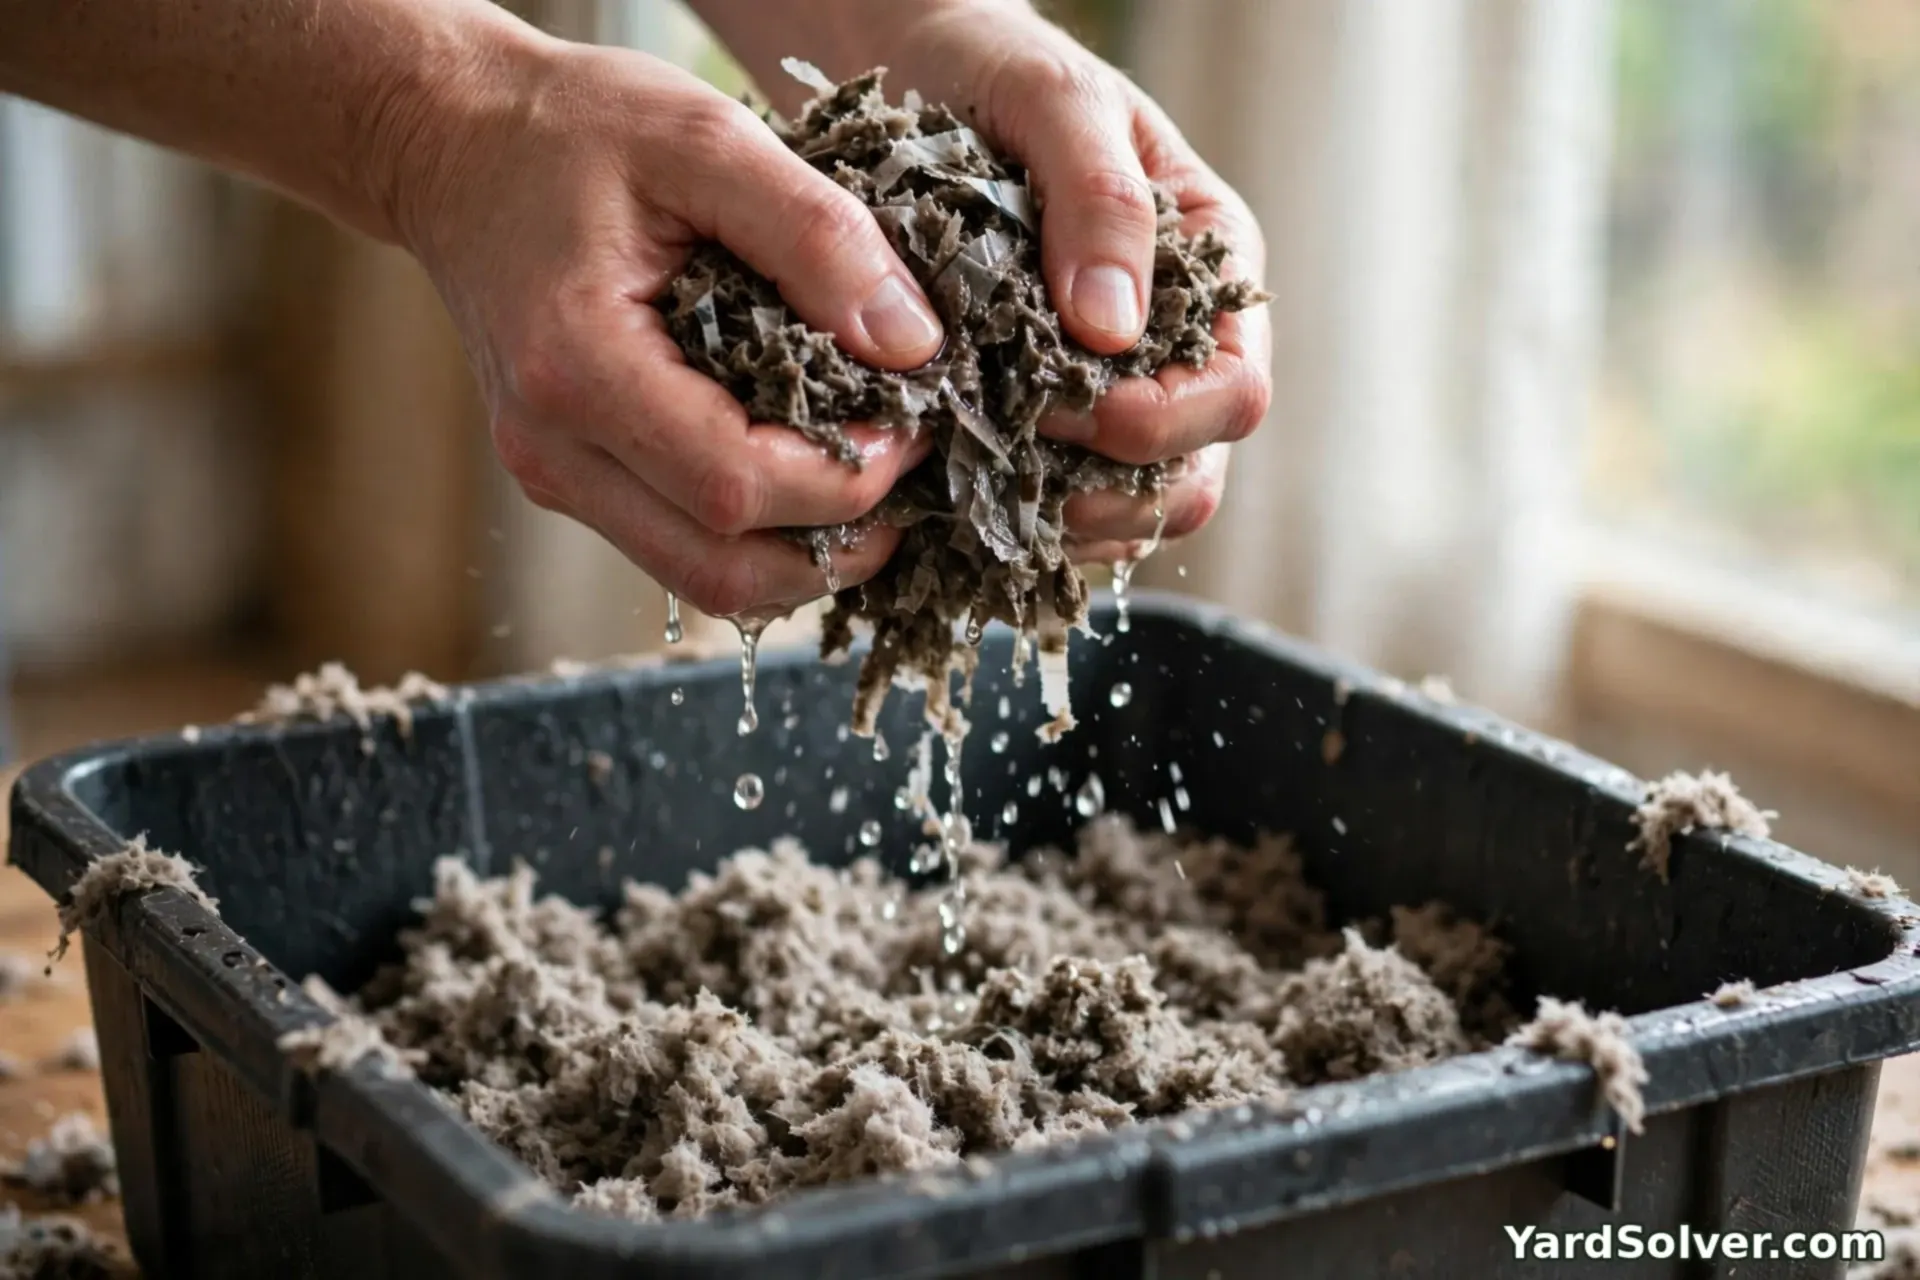
Drill a ring of small air holes around the top edge of the tote and a few in the lid. Then shred newspaper or plain cardboard into strips — avoid glossy paper — soak the pile in a bucket of water for ten minutes, and squeeze it out handful by handful until it feels like a wrung-out sponge. Fill the bin about two-thirds full, fluffed loose, and mix in a handful of garden soil: it brings the grit worms need in their gut and the microbes that start the whole process. Leave the bin to sit a day before the worms arrive if you can; bedding that has rested a day settles at the right dampness.
Step 2 — Settle the worms in
Tip the red wigglers onto the bedding in a gentle pile and leave the lid off under a light for the first hour or so. Worms flee light, so they burrow down and settle instead of wandering up the walls looking for an exit. Use the surface rule when you order: about 1 pound of worms — roughly 1,000 — per square foot of bin surface. Depth does not count, because wigglers live and feed in the top few inches. A standard tote has 2 to 3 square feet of surface, so a single pound is an honest start for one household; the population doubles every couple of months in a happy bin and then levels off at what the food supply can carry.
Step 3 — Put the bin in its winter corner
Worms work best between 55 and 77°F, which is simply room temperature — a basement corner, a laundry room, a cupboard under the stairs. Keep the bin away from radiators and hot-water pipes, and never in a garage that freezes: under 40°F the worms go still, and a hard freeze kills them. A sheet of cardboard laid on top of the bedding keeps the surface dark and damp, which is how worms like it. If fruit flies ever appear, that cardboard plus a thicker blanket of dry bedding on top is the fix — flies come for exposed food, and buried food under dry bedding gives them nothing.
Step 4 — Bury the first feeding
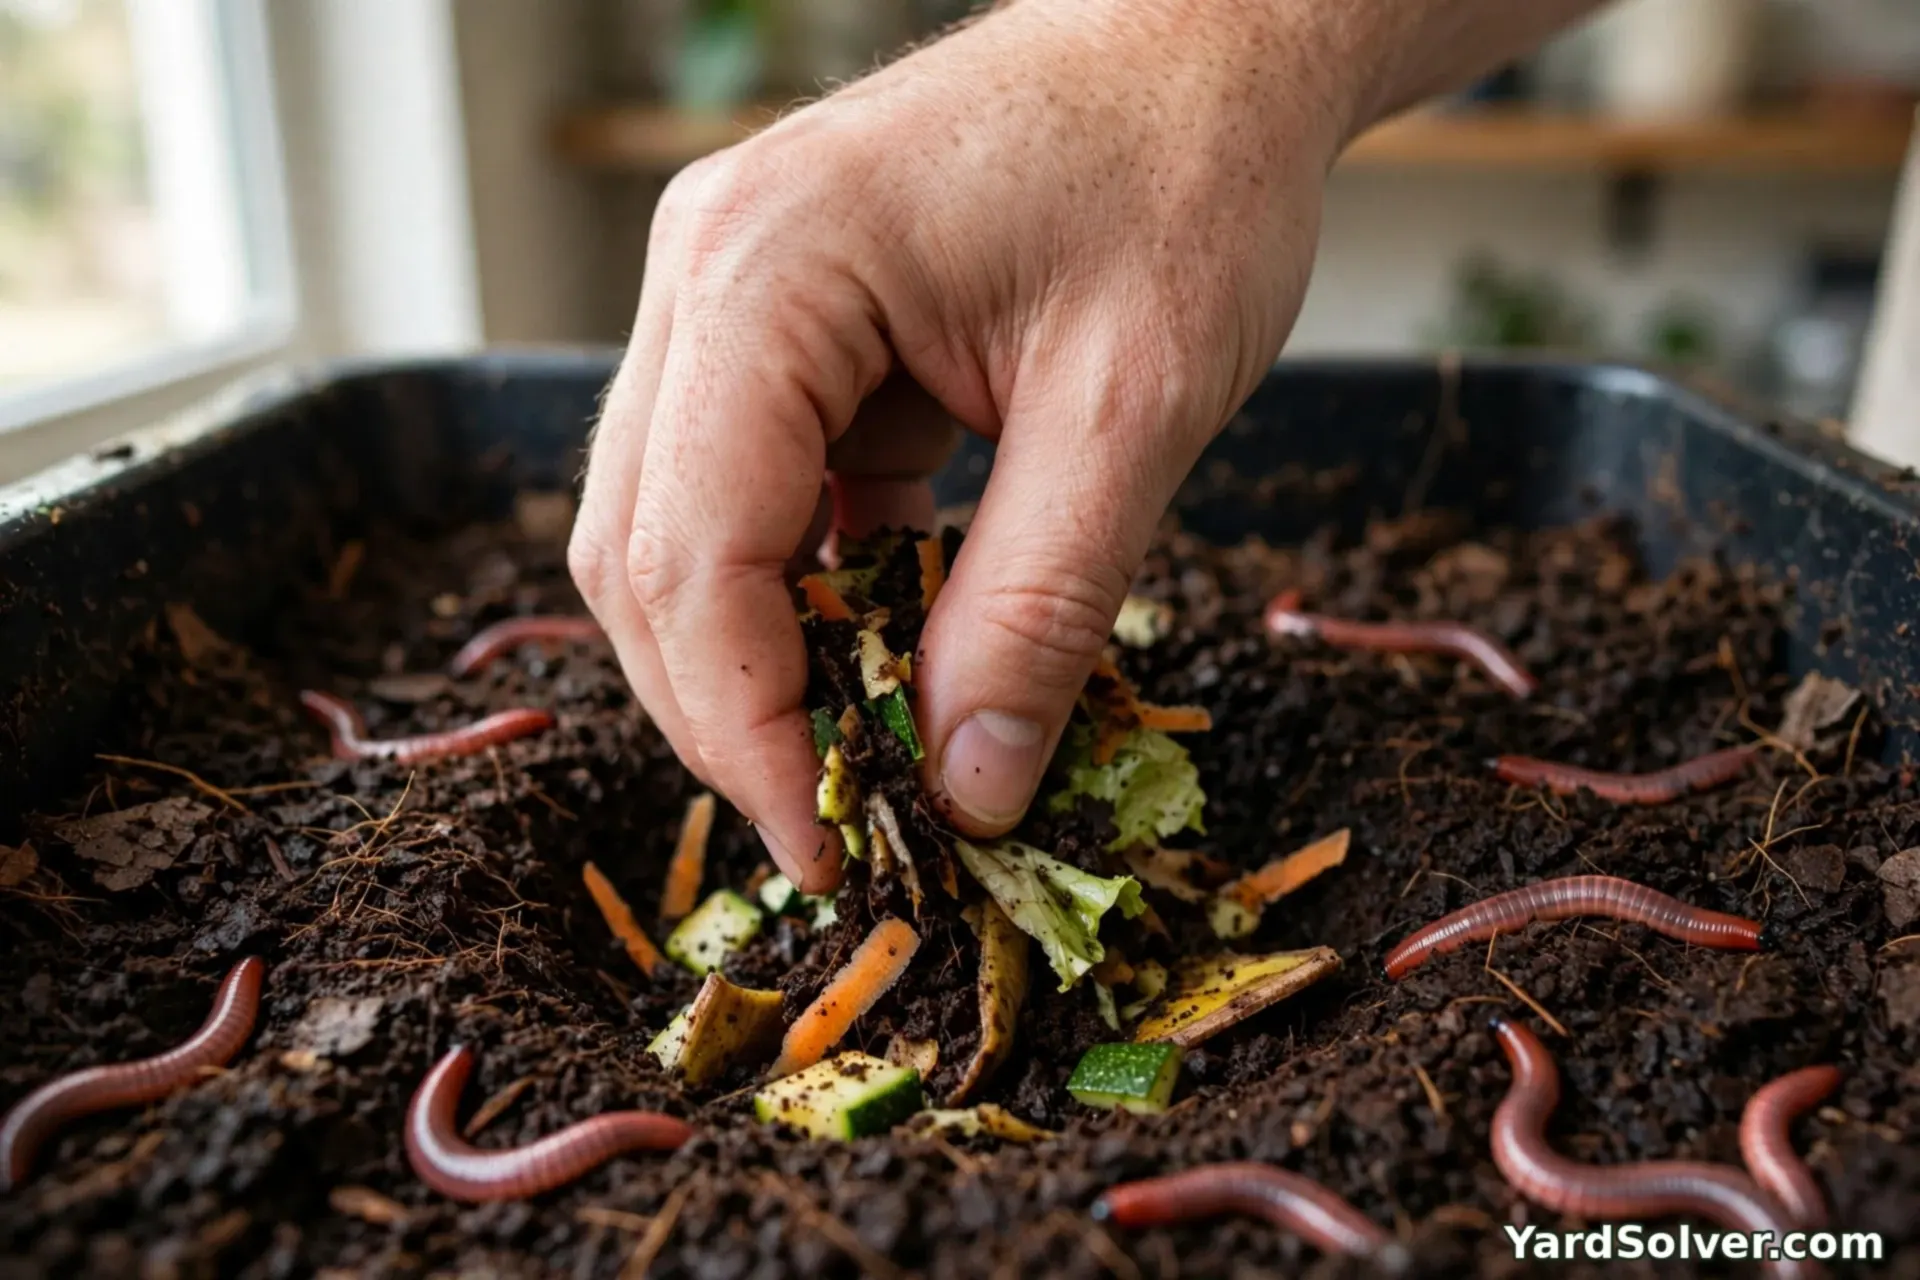
Give the worms two or three days to settle, then feed a modest first meal — a couple of handfuls. Dig a shallow pocket in one corner, drop the scraps in, and cover them with bedding. Next feeding, use a different corner, and work your way around the bin: buried food never smells and never draws flies, and the rotation stops one spot getting overloaded. A pound of worms eats roughly half a pound of scraps a day once settled, but start slower than that and let the bin tell you the pace — when the last pocket is mostly gone, feed again. The safe list is plain and wide: vegetable and fruit scraps, coffee grounds with the paper filter, tea leaves, crushed eggshells, plain bread and cardboard. Keep out meat, fish, dairy, oils and saucy cooked food, and go easy on onion, garlic and citrus peel.
Step 5 — Harvest the castings in spring
After three to six months, the bedding has mostly become dark, crumbly castings. Push the finished material to one side of the bin and put fresh damp bedding and the next feedings on the other side only. Over two or three weeks the worms move across to the food, and you can lift out a harvest with hardly a worm in it. Work the castings into seed-starting mix, side-dress the hungriest beds, or blend them into your wider compost plan — the Compost Calculator works out volumes for the garden. If you are new to compost in general, How to Start Composting covers the outdoor pile this bin sits alongside, and Composting in Winter explains what the frozen pile outside is doing while the worms work on indoors.
Keep going
The outdoor half of the system: How to Start Composting — the simple first pile, layering and the wrung-out-sponge test.
What the frozen pile is doing meanwhile: Composting in Winter.
Questions people ask
Does an indoor worm bin smell?
A healthy bin smells like a forest floor — earthy, not bad. Smell is the bin telling you something is off: too much food at once, food left exposed on the surface, or bedding that has gone soggy. Bury every feeding, hold back for a week, and add a thick layer of dry shredded bedding, and the smell clears.
How many worms do I need to start?
The working rule is about 1 pound of red wigglers — roughly 1,000 worms — per square foot of bin surface. A standard 10 to 18 gallon tote has about 2 to 3 square feet of surface, so 1 pound is a sensible start for most households; the worms breed up to the size of the bin and the food supply on their own.
What should I never feed the worms?
Keep out meat, fish, dairy, oils and cooked food with sauce on it — those are what bring smells and pests. Go easy on onion, garlic and citrus peel, which worms dislike in quantity. Plain vegetable scraps, fruit, coffee grounds with the filter, tea leaves, crushed eggshells and plain cardboard are the safe everyday list.
When can I harvest the first castings?
In about three to six months the lower bedding turns dark and crumbly and the original paper is mostly gone — that is finished vermicompost. Push it to one side, put fresh bedding and food on the other, and the worms move across in a couple of weeks, leaving you a nearly worm-free harvest.
Comments & ratings
No comments yet.
Be the first to share your experience.