
Guides · Composting · Published October 31, 2026
Composting in Winter: What Actually Works
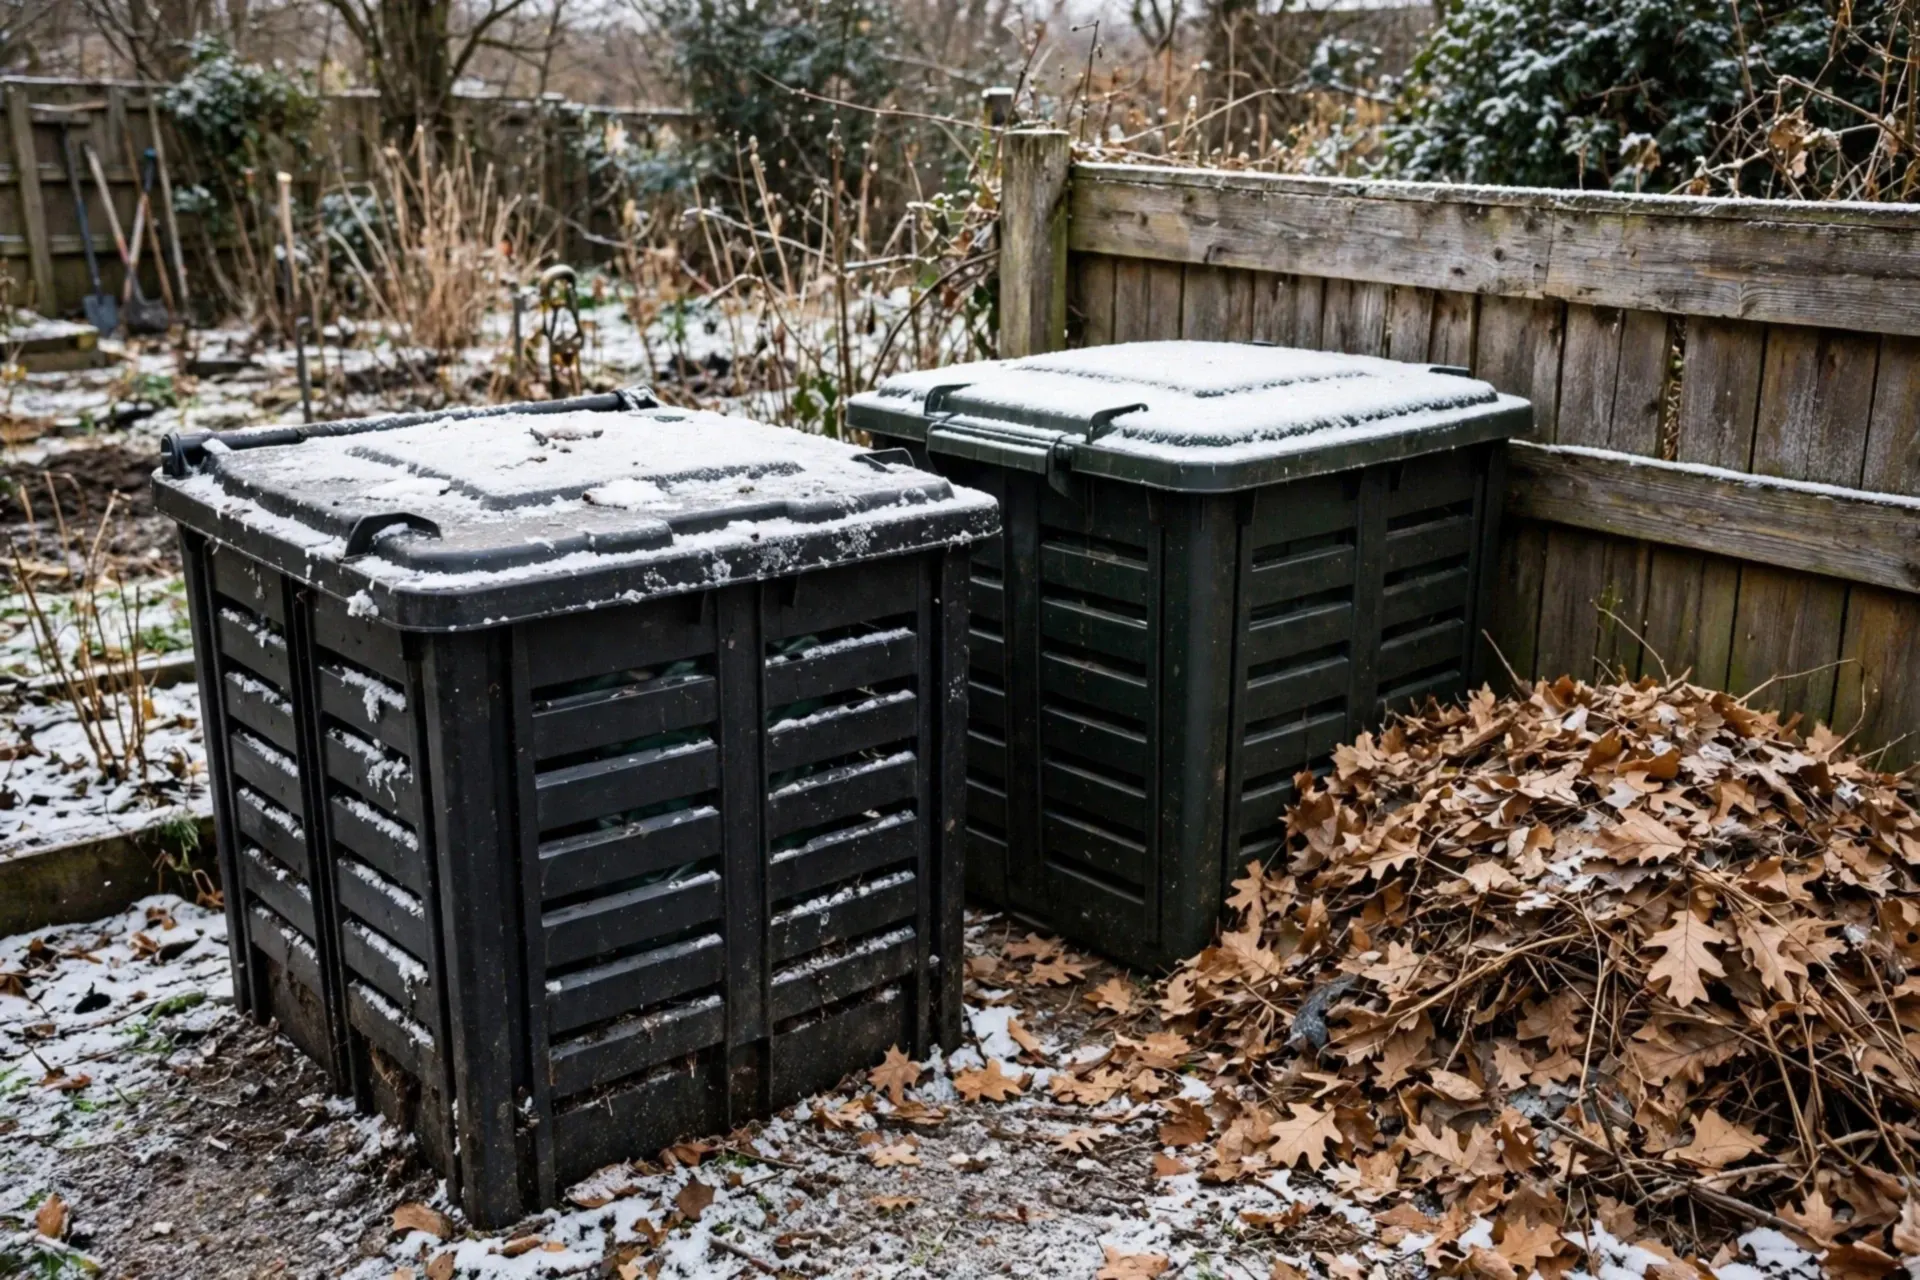
Here is the honest truth first: a compost pile in winter slows down — and that is fine. Decomposition is done by microbes, and microbes work slowly in the cold. But slow is not stopped, and a pile managed the winter way gives you a head start in spring instead of a bin of frozen peelings and regret.
What actually happens to your pile in the cold
- Big piles keep working: a pile at least 3 × 3 × 3 feet holds heat in its centre, which can stay active long after the surface freezes
- Small piles freeze solid: nothing is harmed — the material simply waits, preserved, and breaks down quickly when warmth returns
- Freeze–thaw helps you: repeated freezing cracks cell walls in scraps and leaves, so spring decomposition is faster than you expect
Step 1 — Stockpile dry browns before the snow (the whole secret)
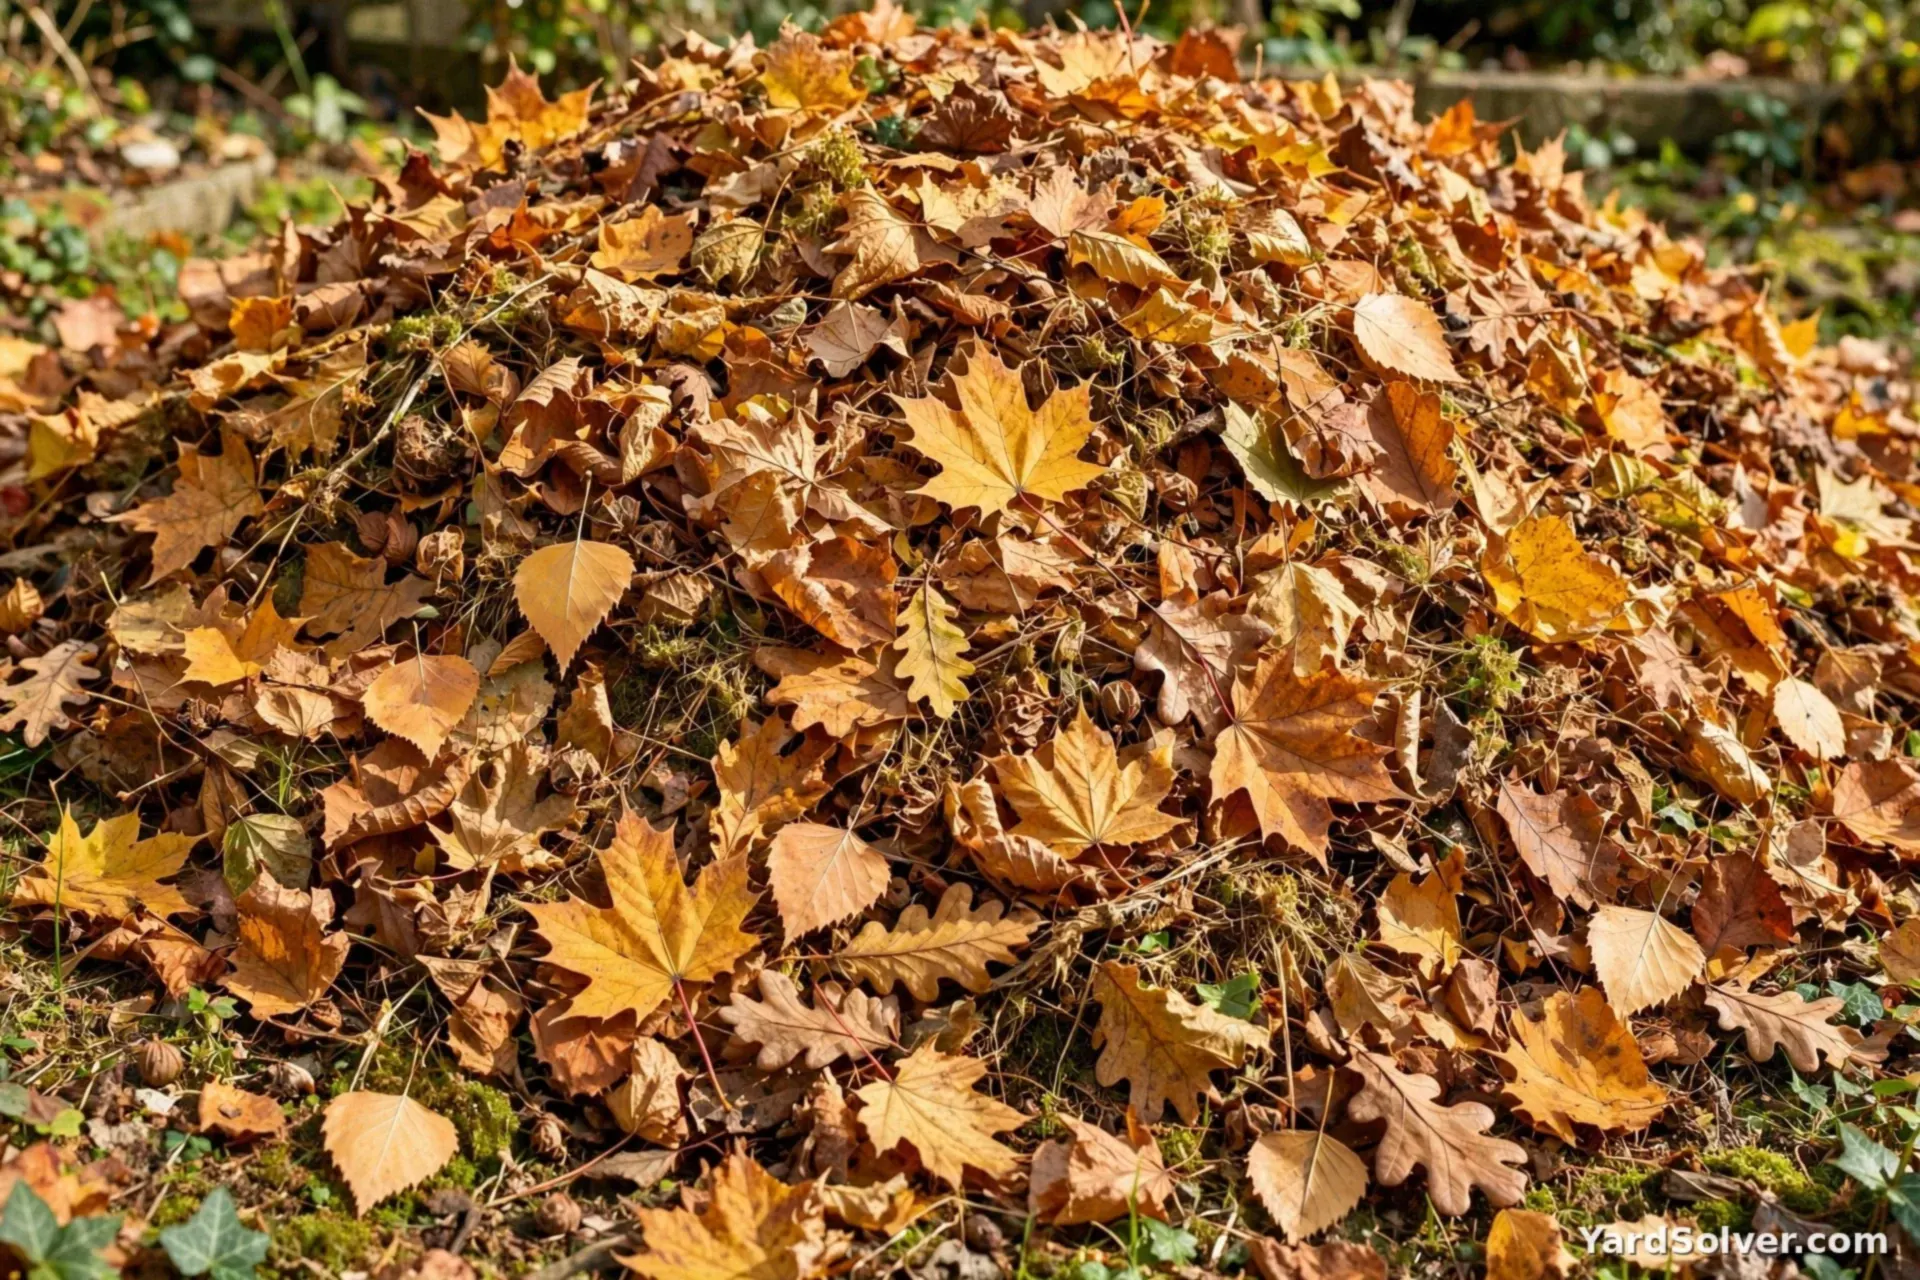
Winter composting succeeds or fails on one thing: dry brown material. Kitchen scraps in winter are wet and heavy; without dry leaves, shredded cardboard or straw to mix in, the pile turns slimy. In fall, bag up dry leaves and store them under cover next to the bin. Every bucket of scraps you add all winter gets buried under a generous layer of those leaves. Run short? The Compost Calculator shows the green-to-brown balance for any pile size.
Step 2 — Chop everything small
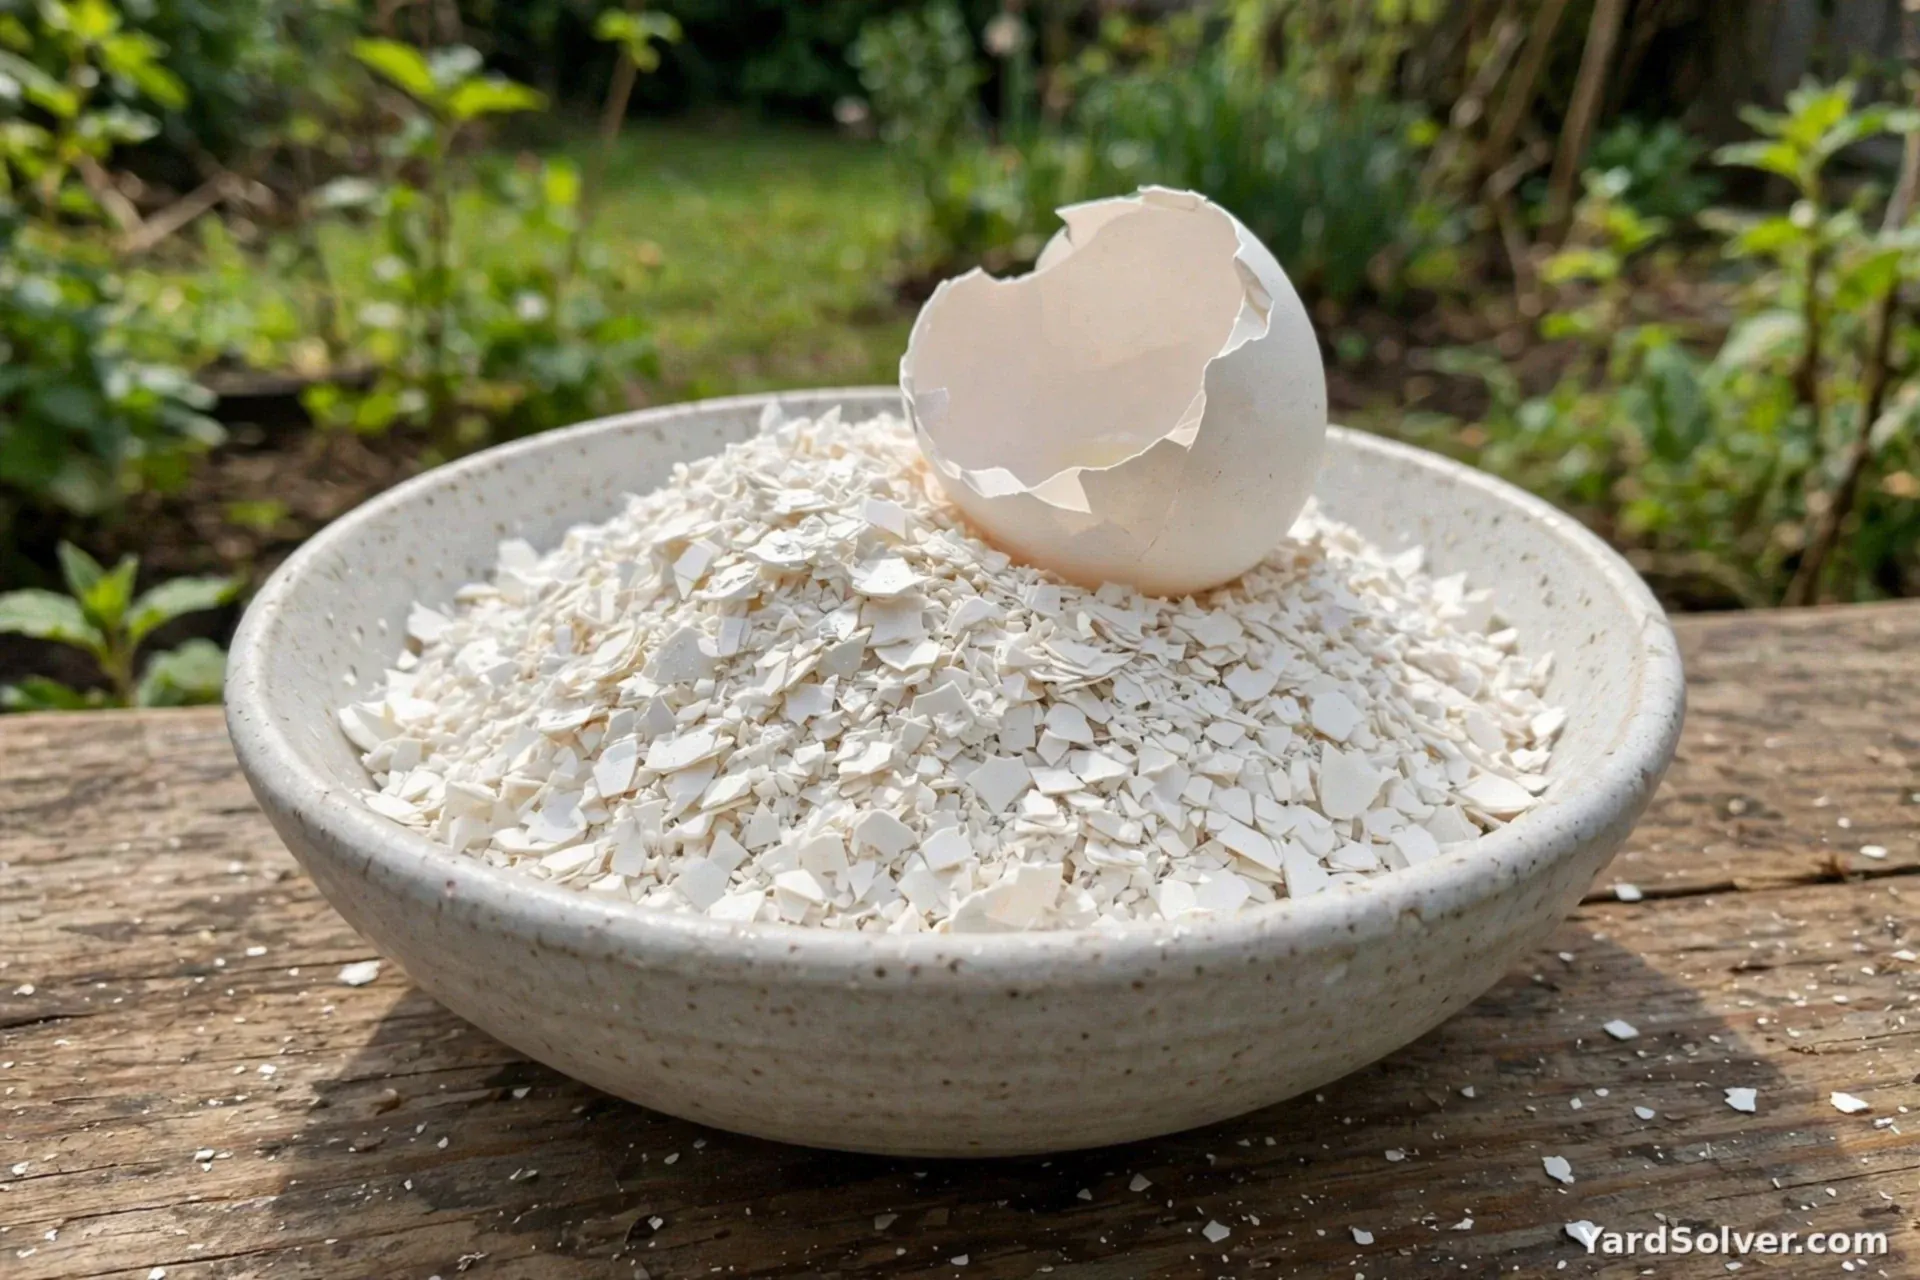
Cold microbes work slowly, so give them easy work: chop scraps, crush eggshells, shred paper. Small pieces freeze and thaw faster, mix better, and disappear quickly in spring. Whole corn cobs and intact pumpkins will still be recognisable in April.
Step 3 — Keep adding scraps all winter
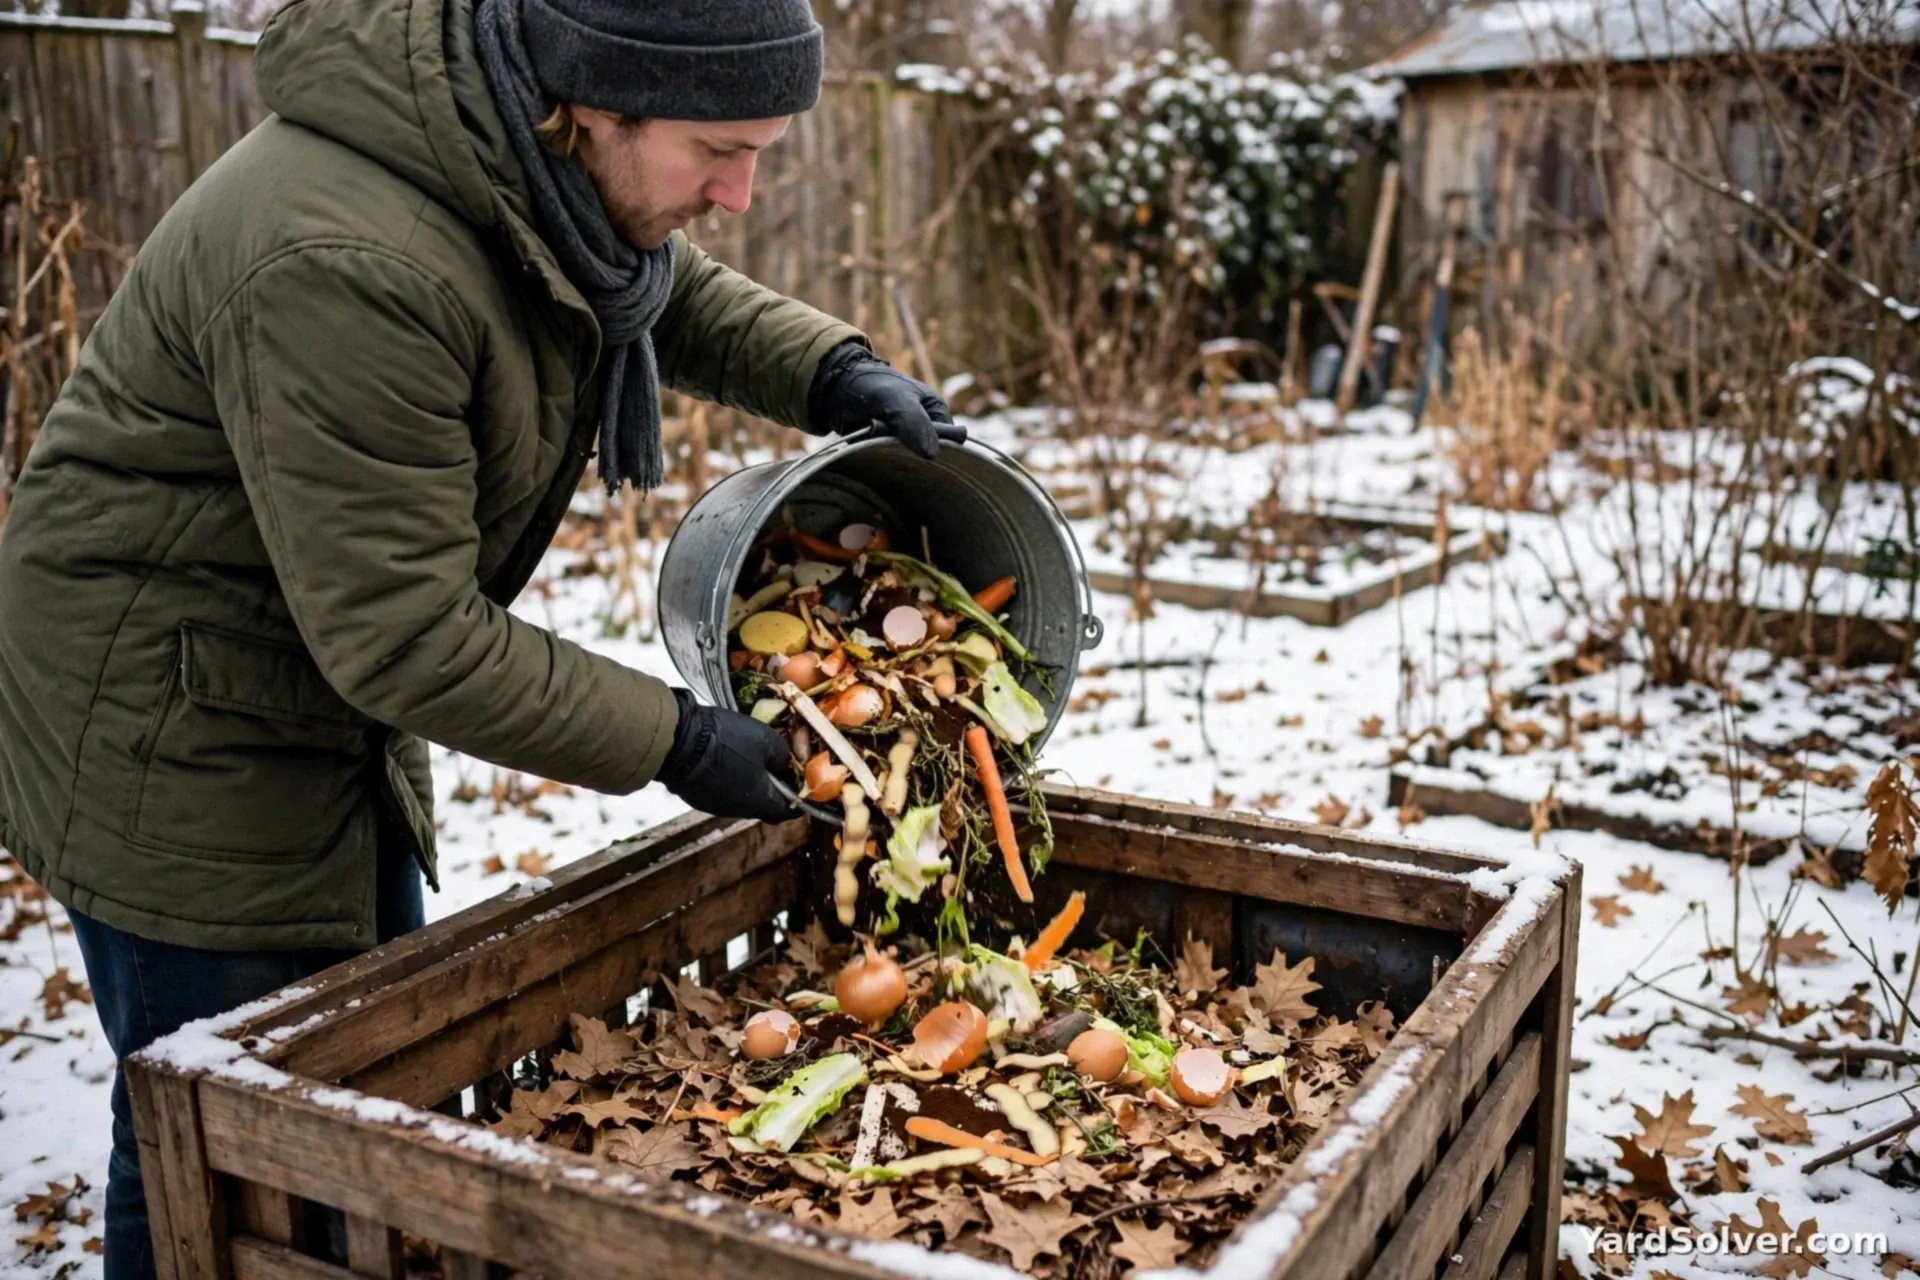
Do not stop feeding the pile — and do not leave scraps sitting on top, where they attract visitors. Dig a small hollow in the centre, empty the bucket, and cover with your stored dry leaves. Skip meat, dairy, oils and pet waste, as always: in winter they sit unprocessed for months.
Step 4 — Insulate the pile and manage moisture
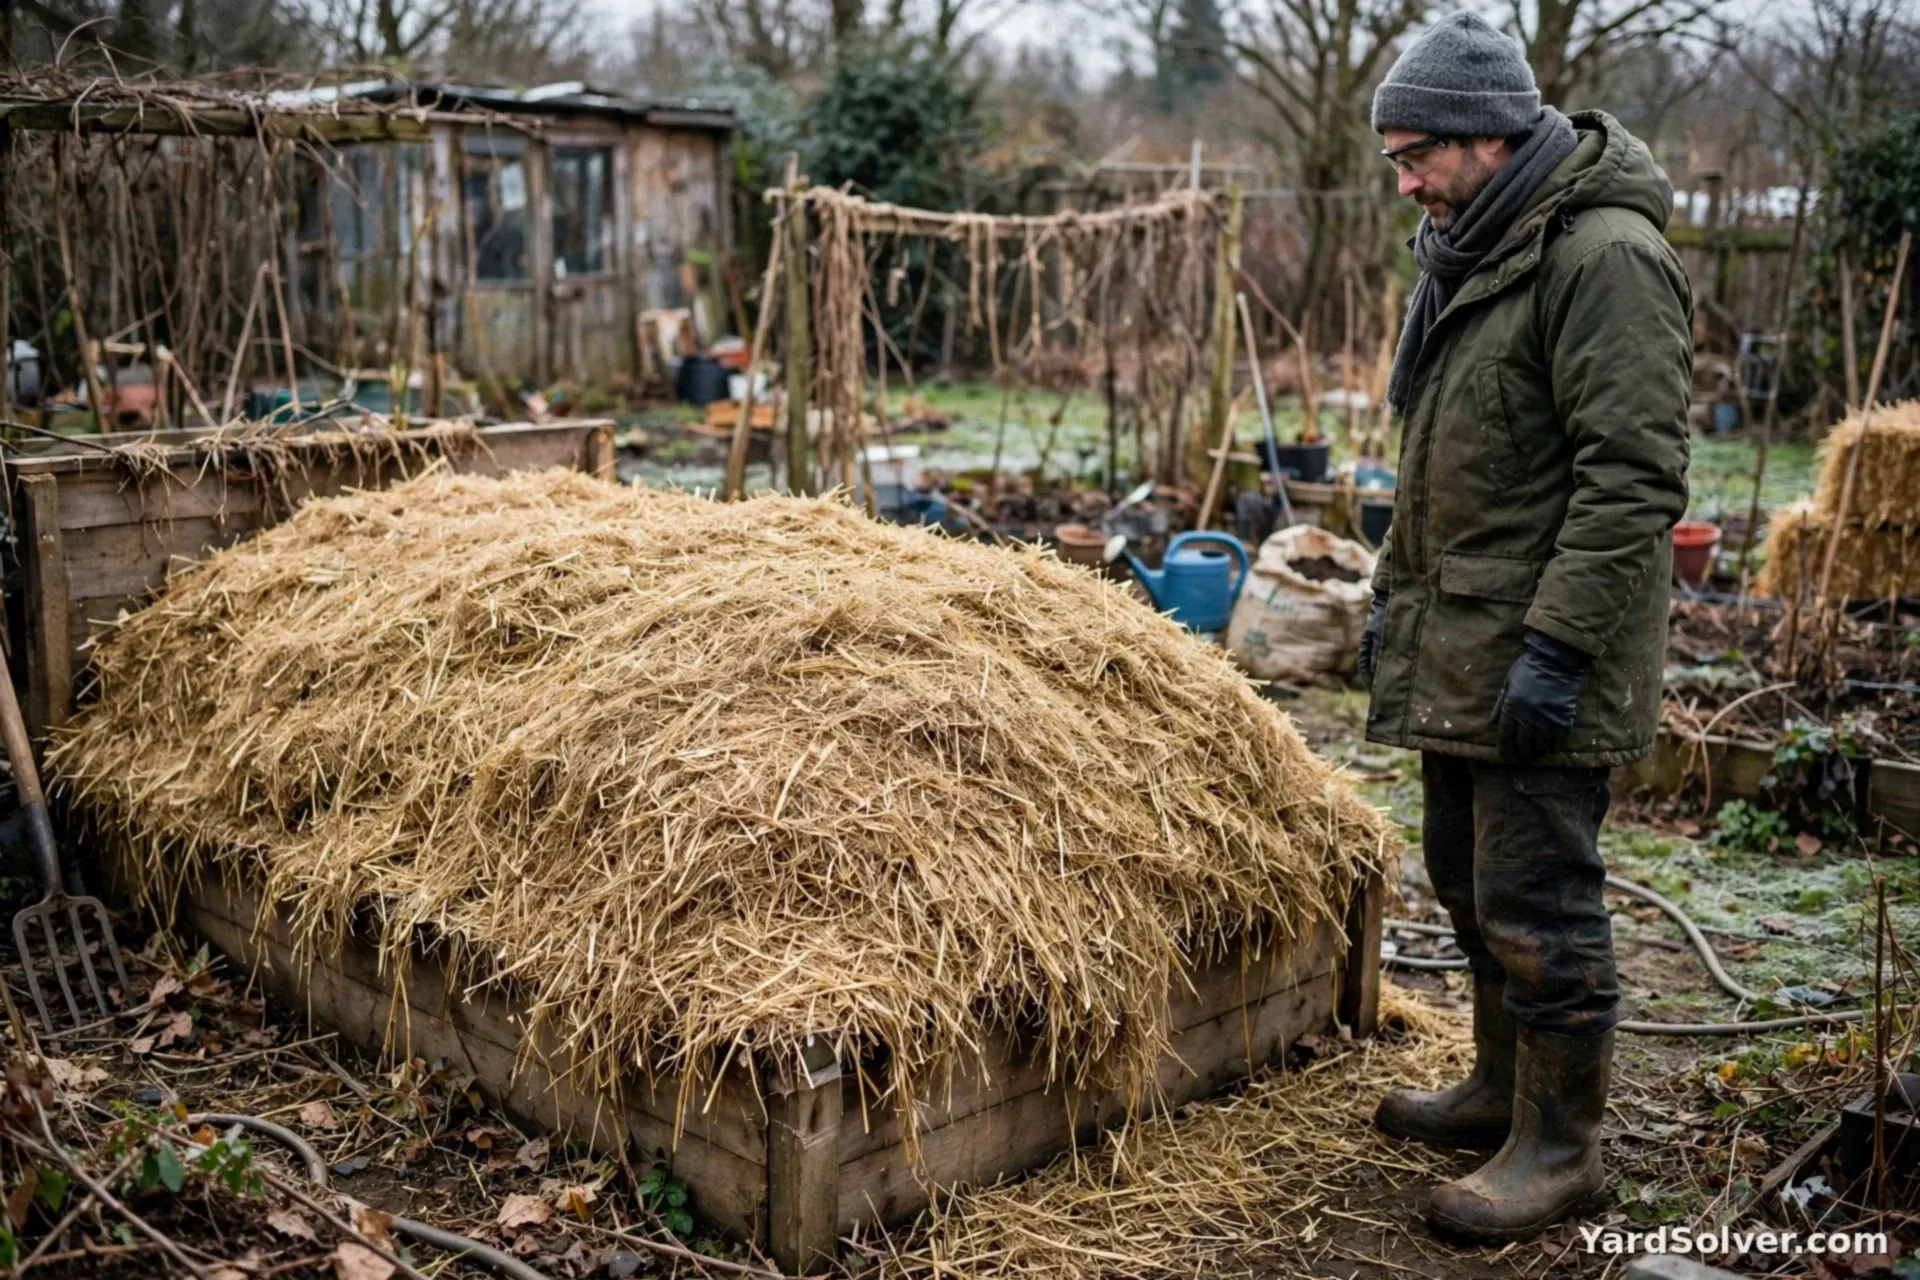
A thick blanket of straw or leaves over the top, or a sheet of old carpet, holds the centre's heat in. Keep a lid on the bin so snowmelt and winter rain do not drown the pile — the target is the moisture of a wrung-out sponge. If a thaw leaves it soggy, fork in more dry browns.
Step 5 — Turn rarely, and do not worry
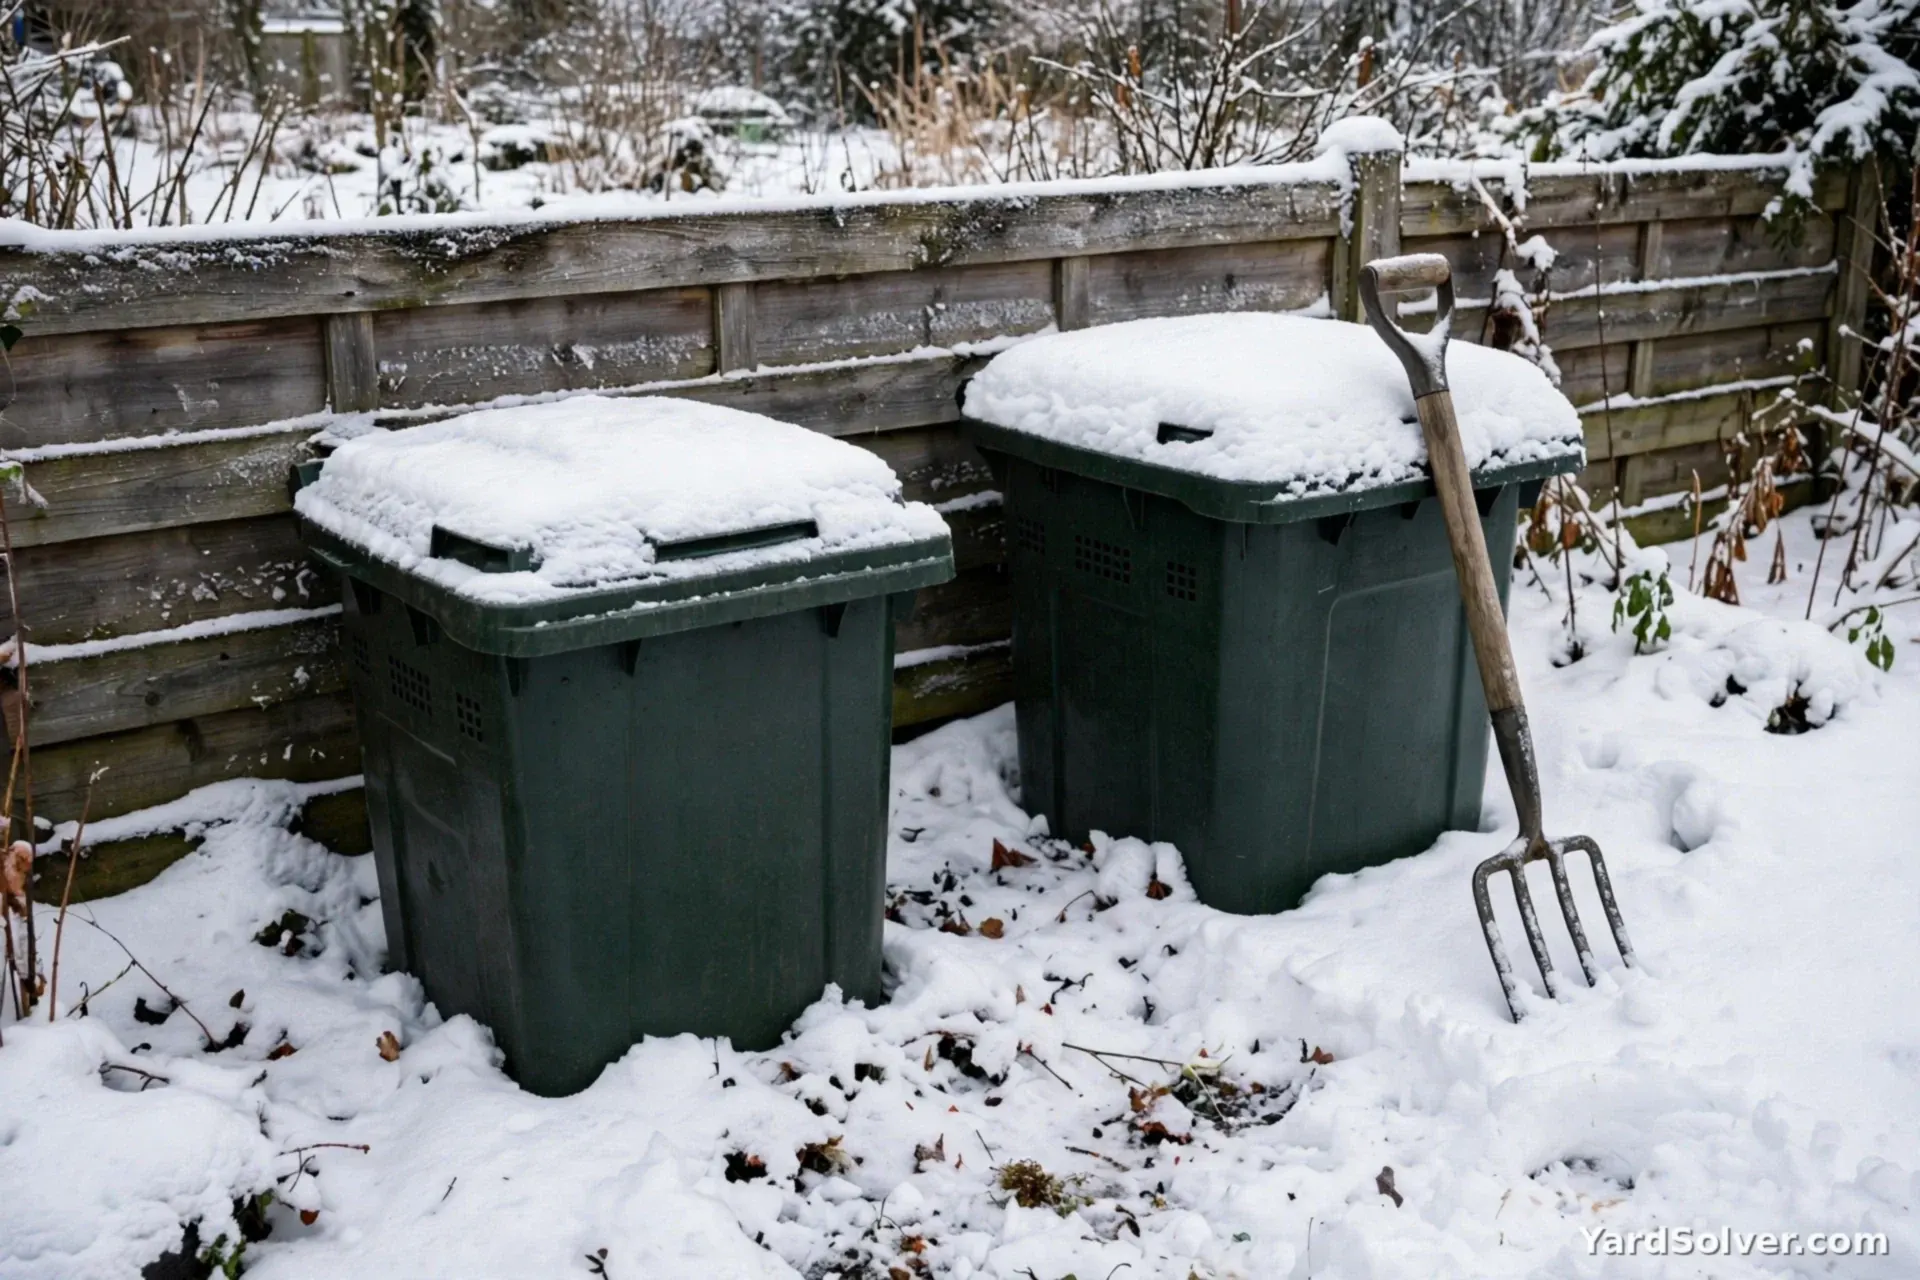
Turning a frozen pile is hard work for little gain. One turn on a mild mid-winter day is plenty; many gardeners simply leave the pile alone until spring. A frozen, quiet pile is not a failed pile.
Step 6 — The spring restart (where winter pays off)
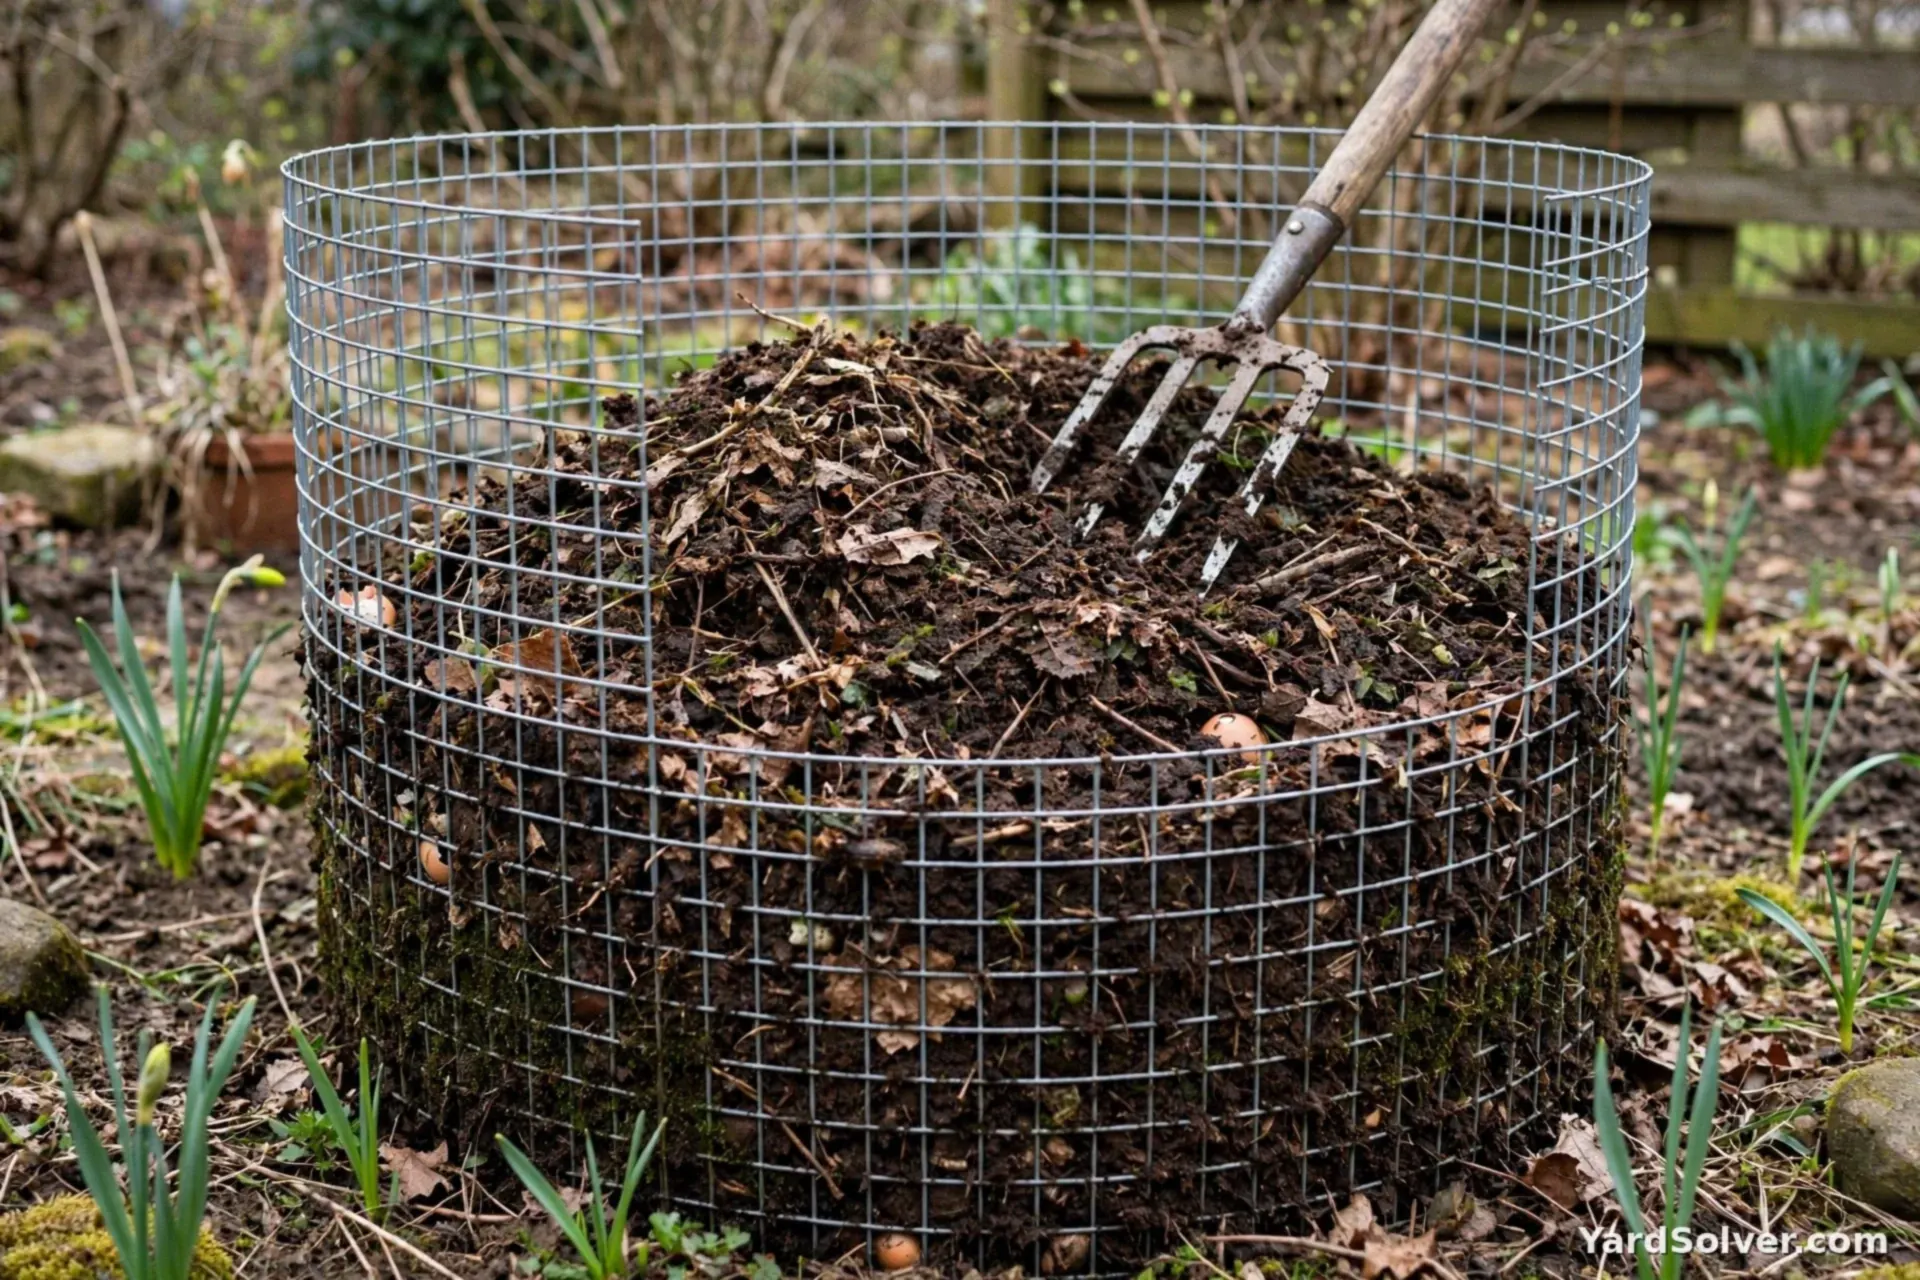
When daytime temperatures recover, turn the whole pile, mixing the frozen outer layer into the warming centre. Add a fresh bucket of greens — grass clippings or kitchen scraps — to wake the microbes, and check moisture. A winter-fed pile often finishes weeks ahead of one started from scratch. Finished compost goes on the beds as you prepare your garden soil in spring; the Mulch Calculator covers the beds once planting starts.
Keep going
More cold-season projects: Putting Your Garden to Bed · Winter Sowing in Milk Jugs.
Questions people ask
Does composting stop completely in winter?
The surface freezes and work slows, but the centre of a pile at least 3 feet in every direction can stay active well into the cold. Even a fully frozen pile is not ruined — it breaks down quickly once spring returns.
Should I keep adding kitchen scraps all winter?
Yes — chopped small and buried under dry leaves or shredded paper. Frozen scraps wait in the pile and decompose fast in spring. Skipping winter additions means starting spring with an empty bin.
Why does my winter compost smell or turn slimy?
Too many wet greens, too few dry browns. Mix a generous handful of dry leaves, shredded cardboard or straw with every bucket of scraps, and keep a lid on the pile.
Comments & ratings
No comments yet.
Be the first to share your experience.