
Guides · Compost · Published November 1, 2026
How to Start Composting for Beginners
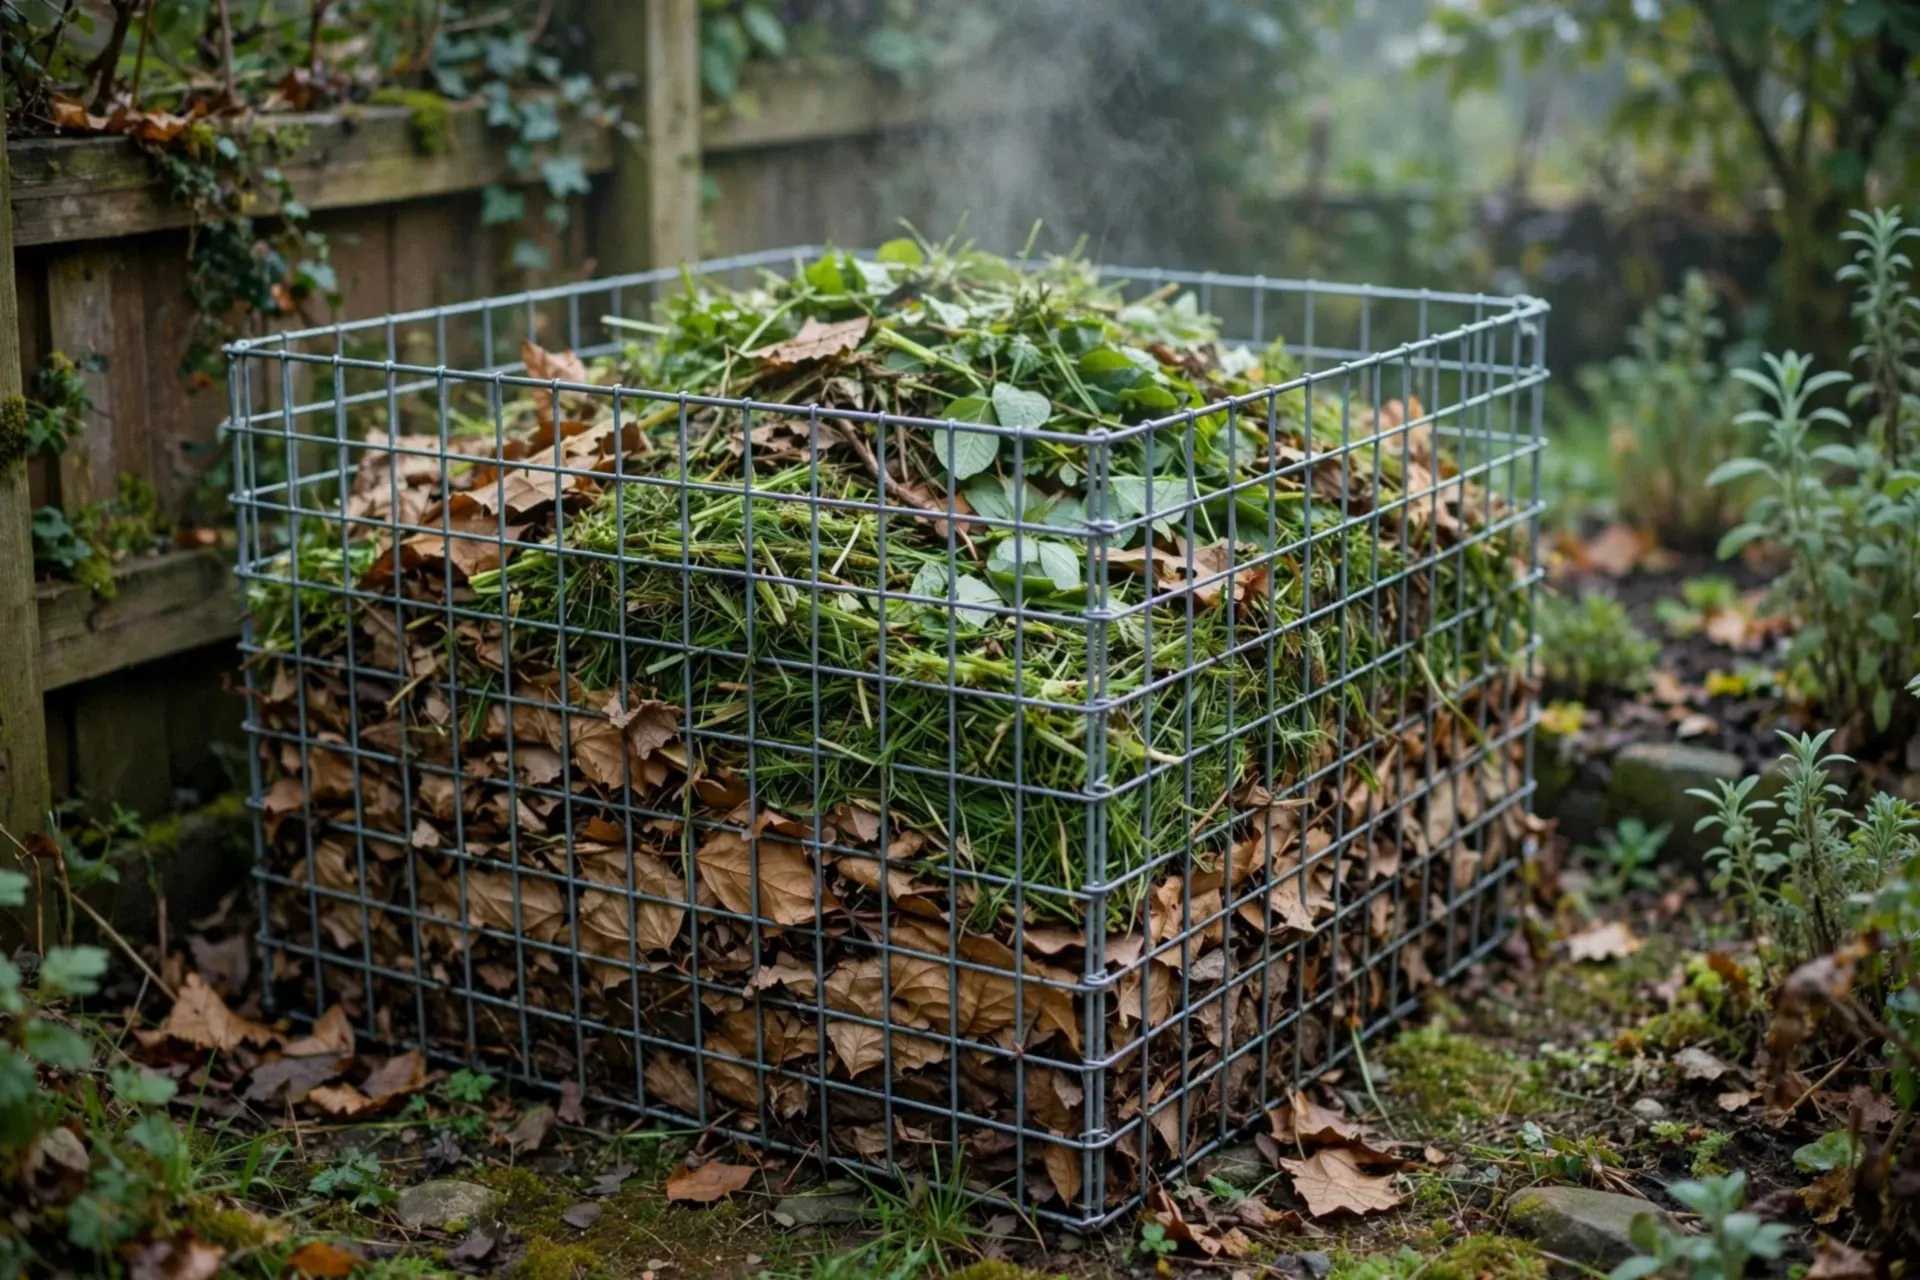
Composting has a reputation problem: it sounds like chemistry, smells like a warning, and the internet argues about ratios like it is religion. The beginner truth is simpler — a pile of roughly three parts dry browns to one part fresh greens, kept damp and loosely stacked, will rot down into compost whether you fuss over it or not. This guide builds that first pile in an afternoon and covers the four judgements that keep it sweet instead of sour.
The only recipe you need to start
- Browns (carbon, dry): fallen leaves, straw, shredded cardboard, wood chips, dry grass — the pile's structure and energy store
- Greens (nitrogen, fresh): kitchen scraps, coffee grounds, fresh grass clippings, garden trimmings — the pile's spark
- Roughly 3:1 browns to greens by volume — err on more browns; a brown-heavy pile is slow but pleasant, a green-heavy pile is fast and foul
- Never in: meat, dairy, oils, pet waste from carnivores, diseased plants, weed seed heads, glossy paper
Step 1 — Pick the spot and the bin (simple wins)
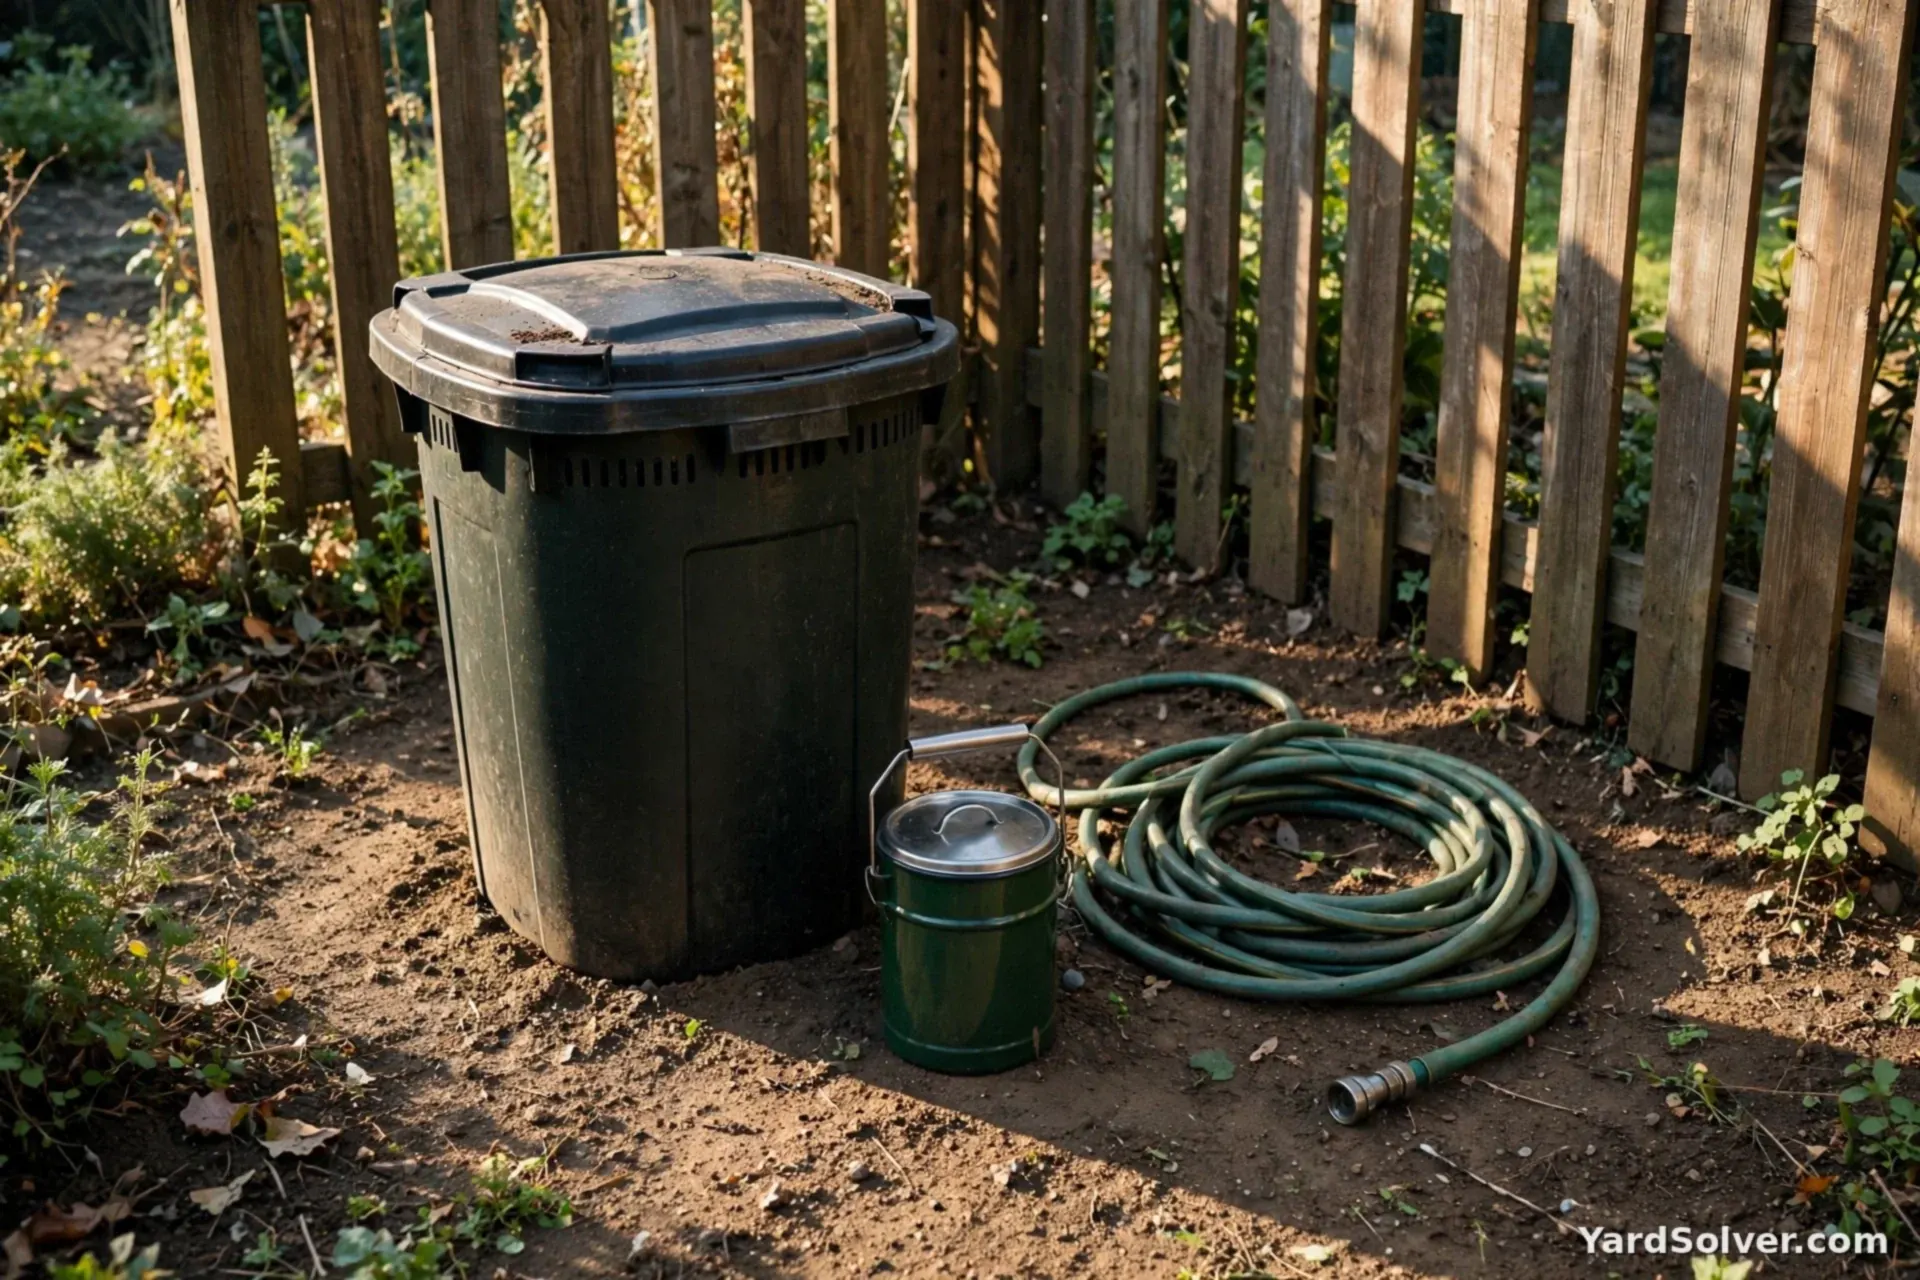
Put the pile on bare soil (worms and microbes move up into it; a slab blocks your workforce), in a spot that drains rather than puddles, with sun for part of the day to help it warm. Near the hose and not far from the kitchen door — a beautiful bin at the far fence that you never visit loses to an ugly one you pass daily. For the bin itself, a circle of wire mesh, three pallets wired into a U, or any commercial bin all work; what matters is size: about 3 × 3 × 3 feet (1 m³) is the smallest pile that heats up reliably, and a second bay for finished compost is a luxury you will want by year two.
Step 2 — Start with a brown base
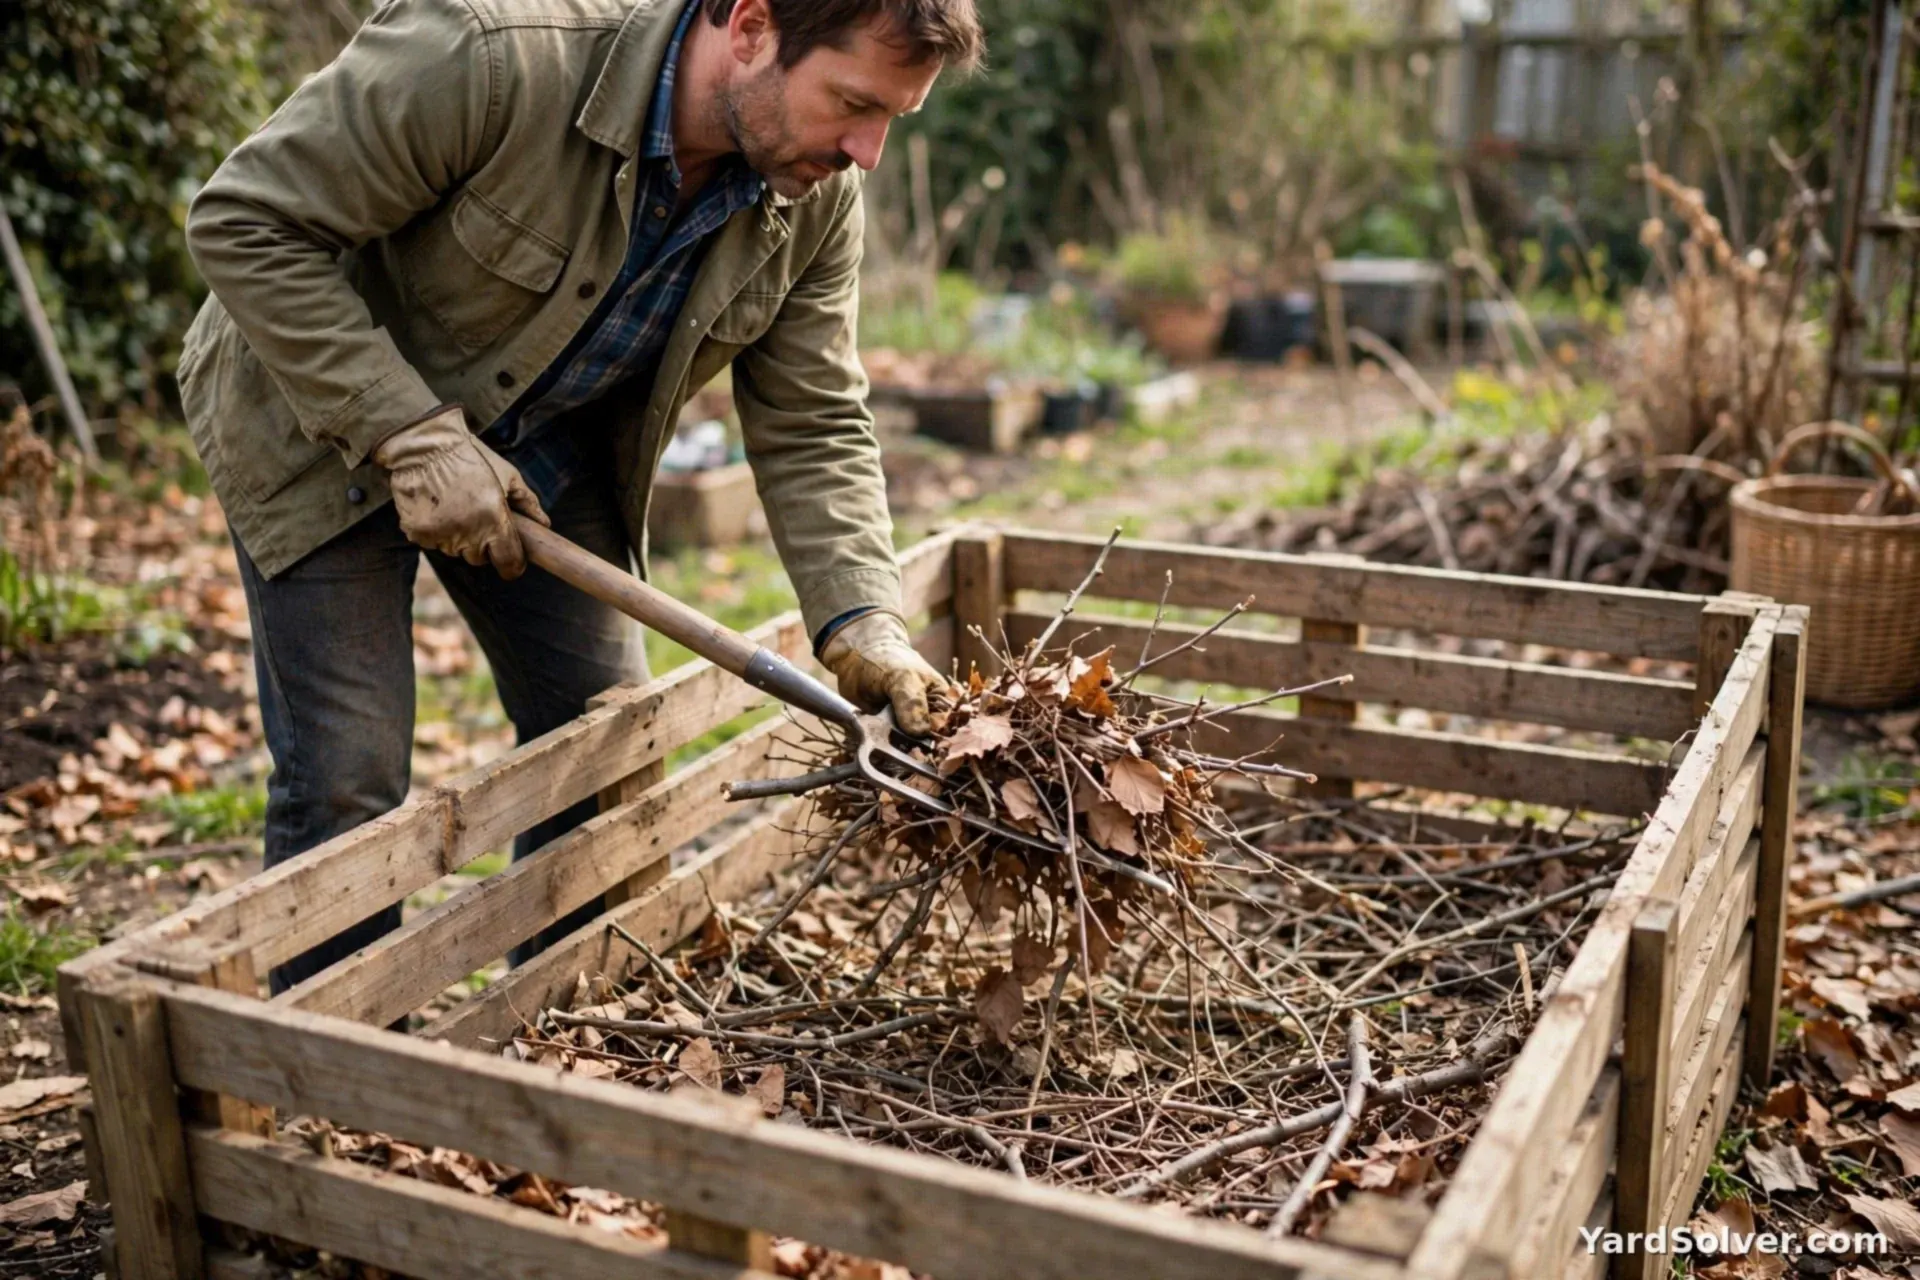
Lay a 4–6 inch (10–15 cm) base of coarse browns — twigs, corn stalks, straw, a thick pad of dry leaves. This springy layer is the pile's lung: air enters from below and percolation keeps the bottom from going slimy and airless, which is where compost smells are born. Every layer you add from here alternates on top of this base. If your garden makes more leaves than you can use each fall, this base is also where they go — the stockpile habit is the same one that makes Composting in Winter possible when everything else is frozen.
Step 3 — Layer greens and browns as you go
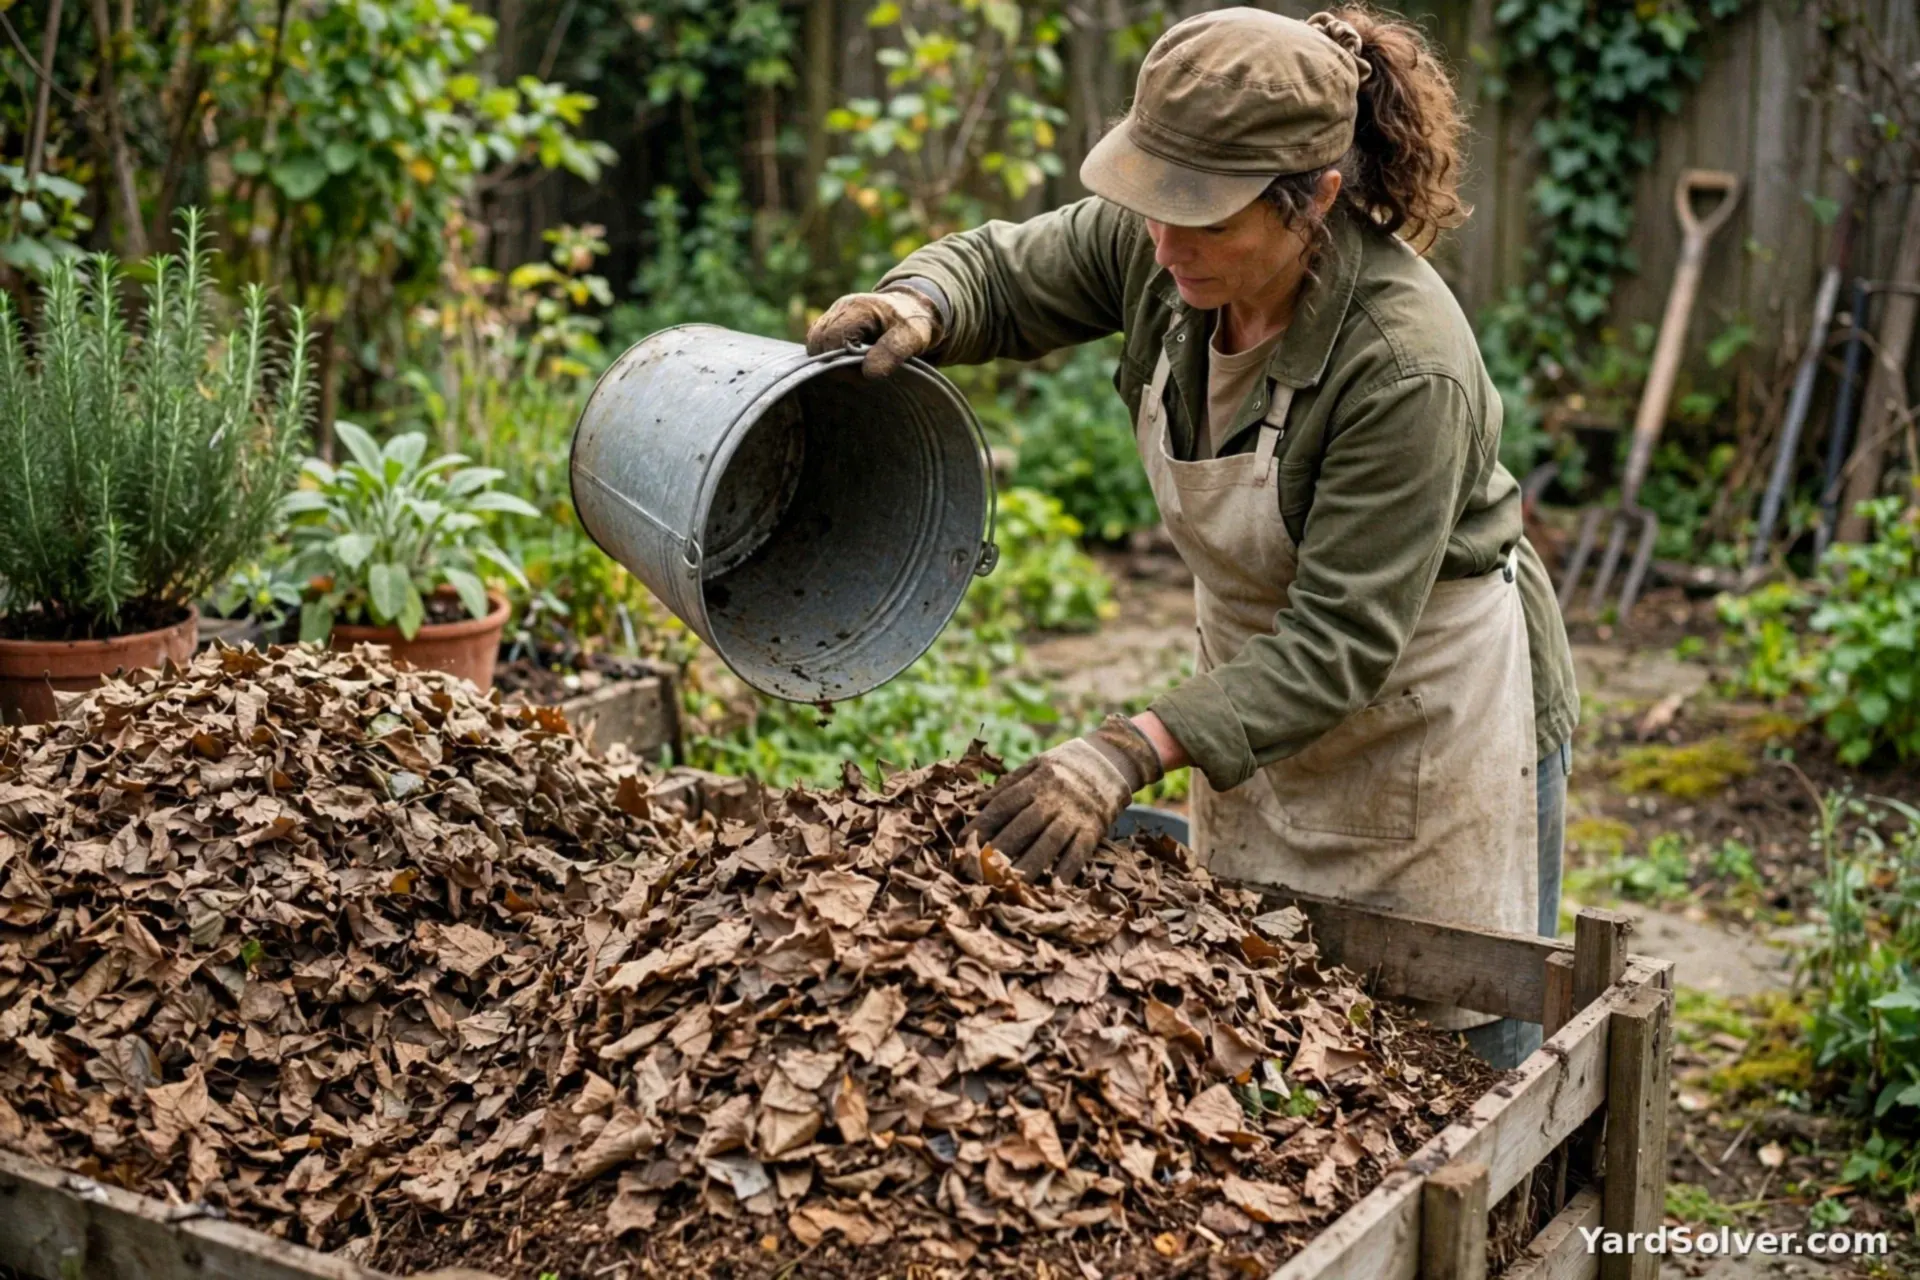
From here the whole technique is one habit repeated: greens in the middle, browns on top. Bucket of kitchen scraps? Bury it in the pile's centre and cover with two buckets of browns. Grass clippings? Spread them in thin layers mixed with leaves, never a thick mat (a mat goes slimy and airless). Keeping food covered is also the entire pest strategy — no exposed scraps, no flies, no raccoons. Size your batches and your bin honestly with the Compost Calculator, which turns garden waste volumes into pile sizes and finished-compost yields. Chop big items smaller as you add them; surface area is the pile's speed limit.
Step 4 — Keep it damp, give it air
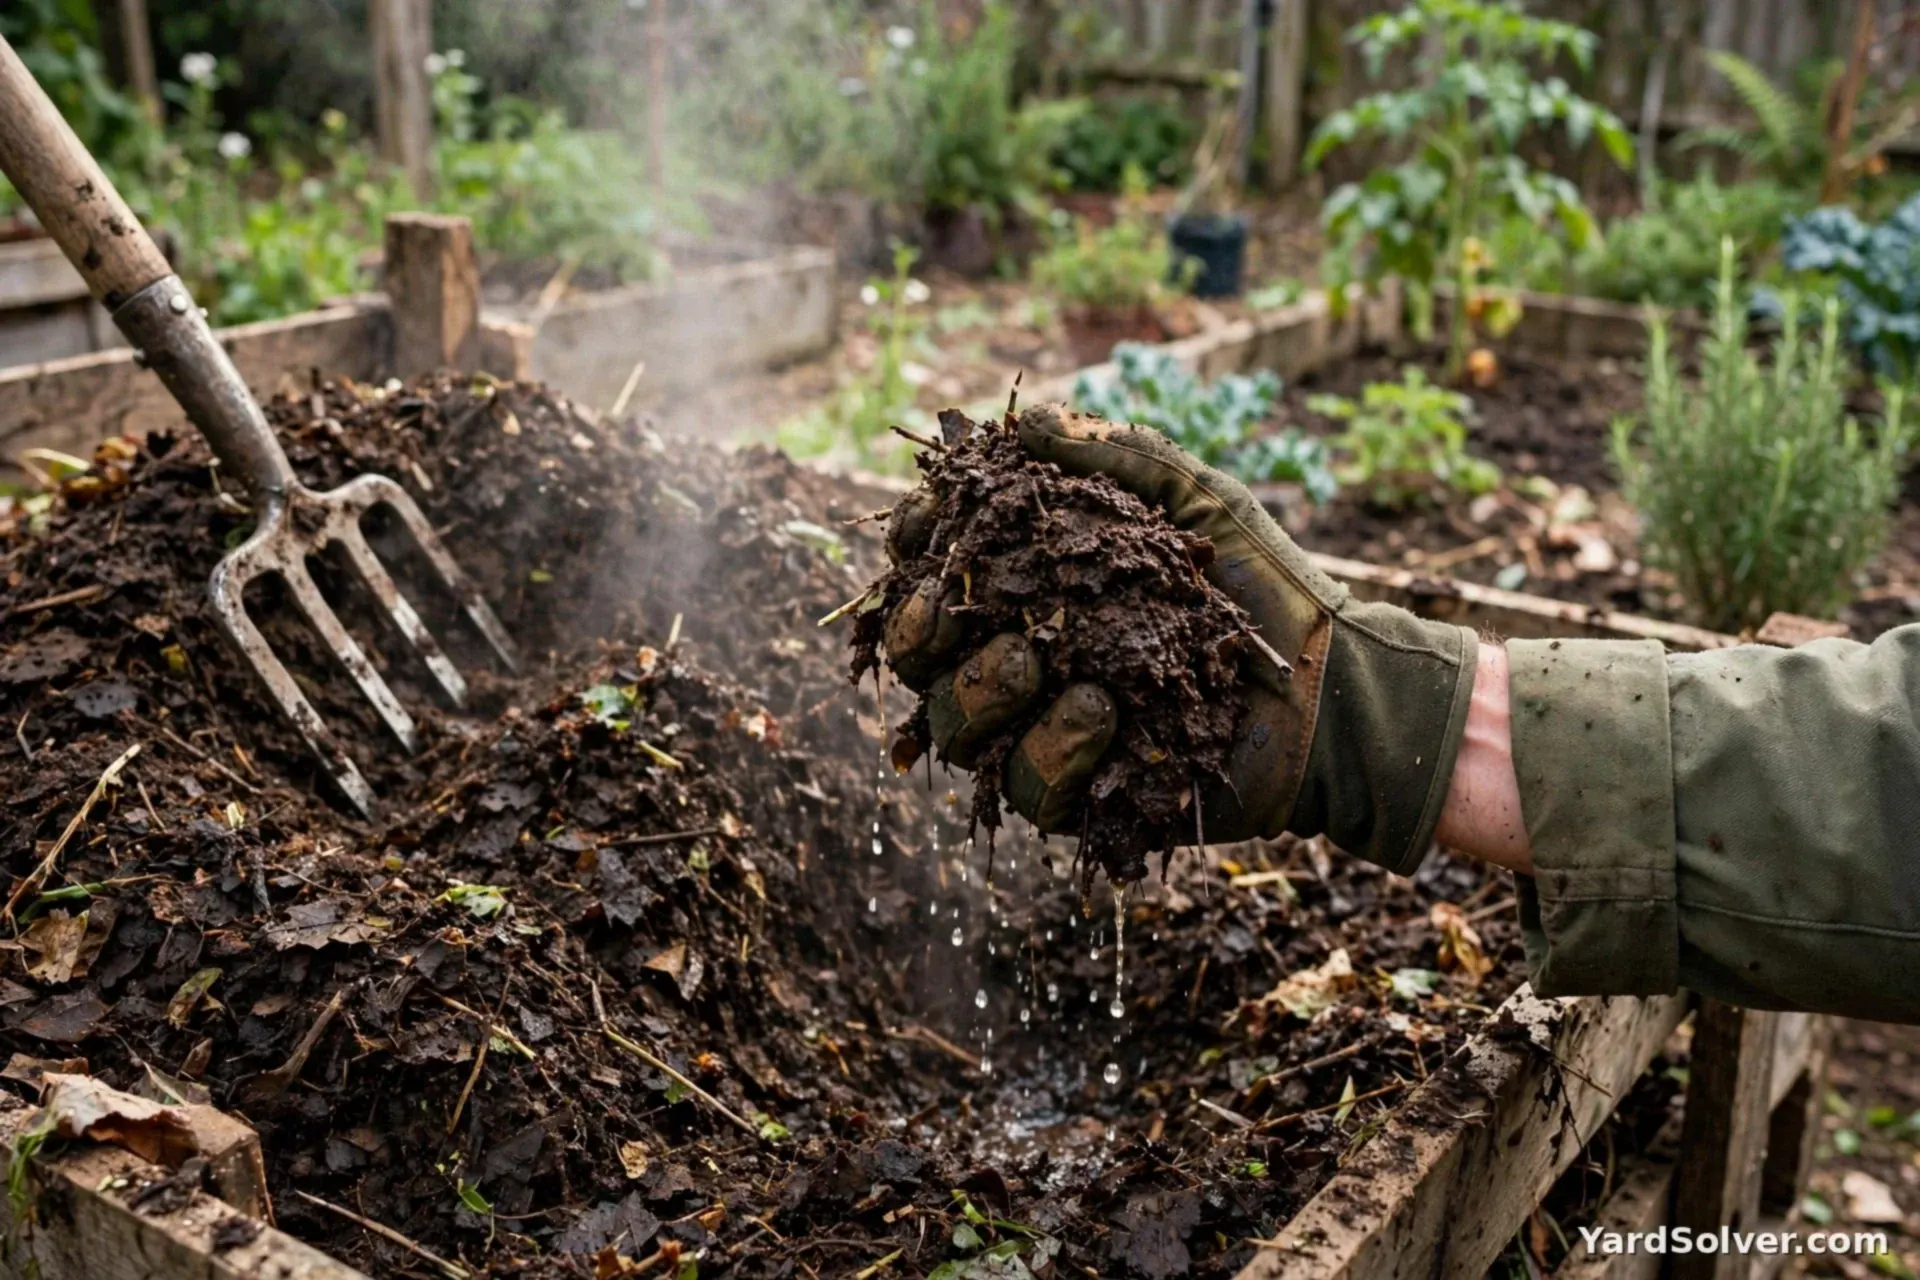
The pile should feel like a wrung-out sponge — damp throughout, never dripping, never dusty. Too dry and decomposition simply stops (the commonest beginner pile is a mummified one); water it while you turn. Too wet and heavy, add dry browns and fork it open. Turning — moving the outside to the hot middle — every few weeks is the accelerator: hot, turned piles finish in 2–3 months. An unturned pile still finishes; it just takes 6–12 months, which is a legitimate strategy, not a failure. If the pile smells of ammonia it is begging for browns; if it smells sour and swampy it is begging for air. Both fixes take five minutes.
Step 5 — Know when it is done — and use it
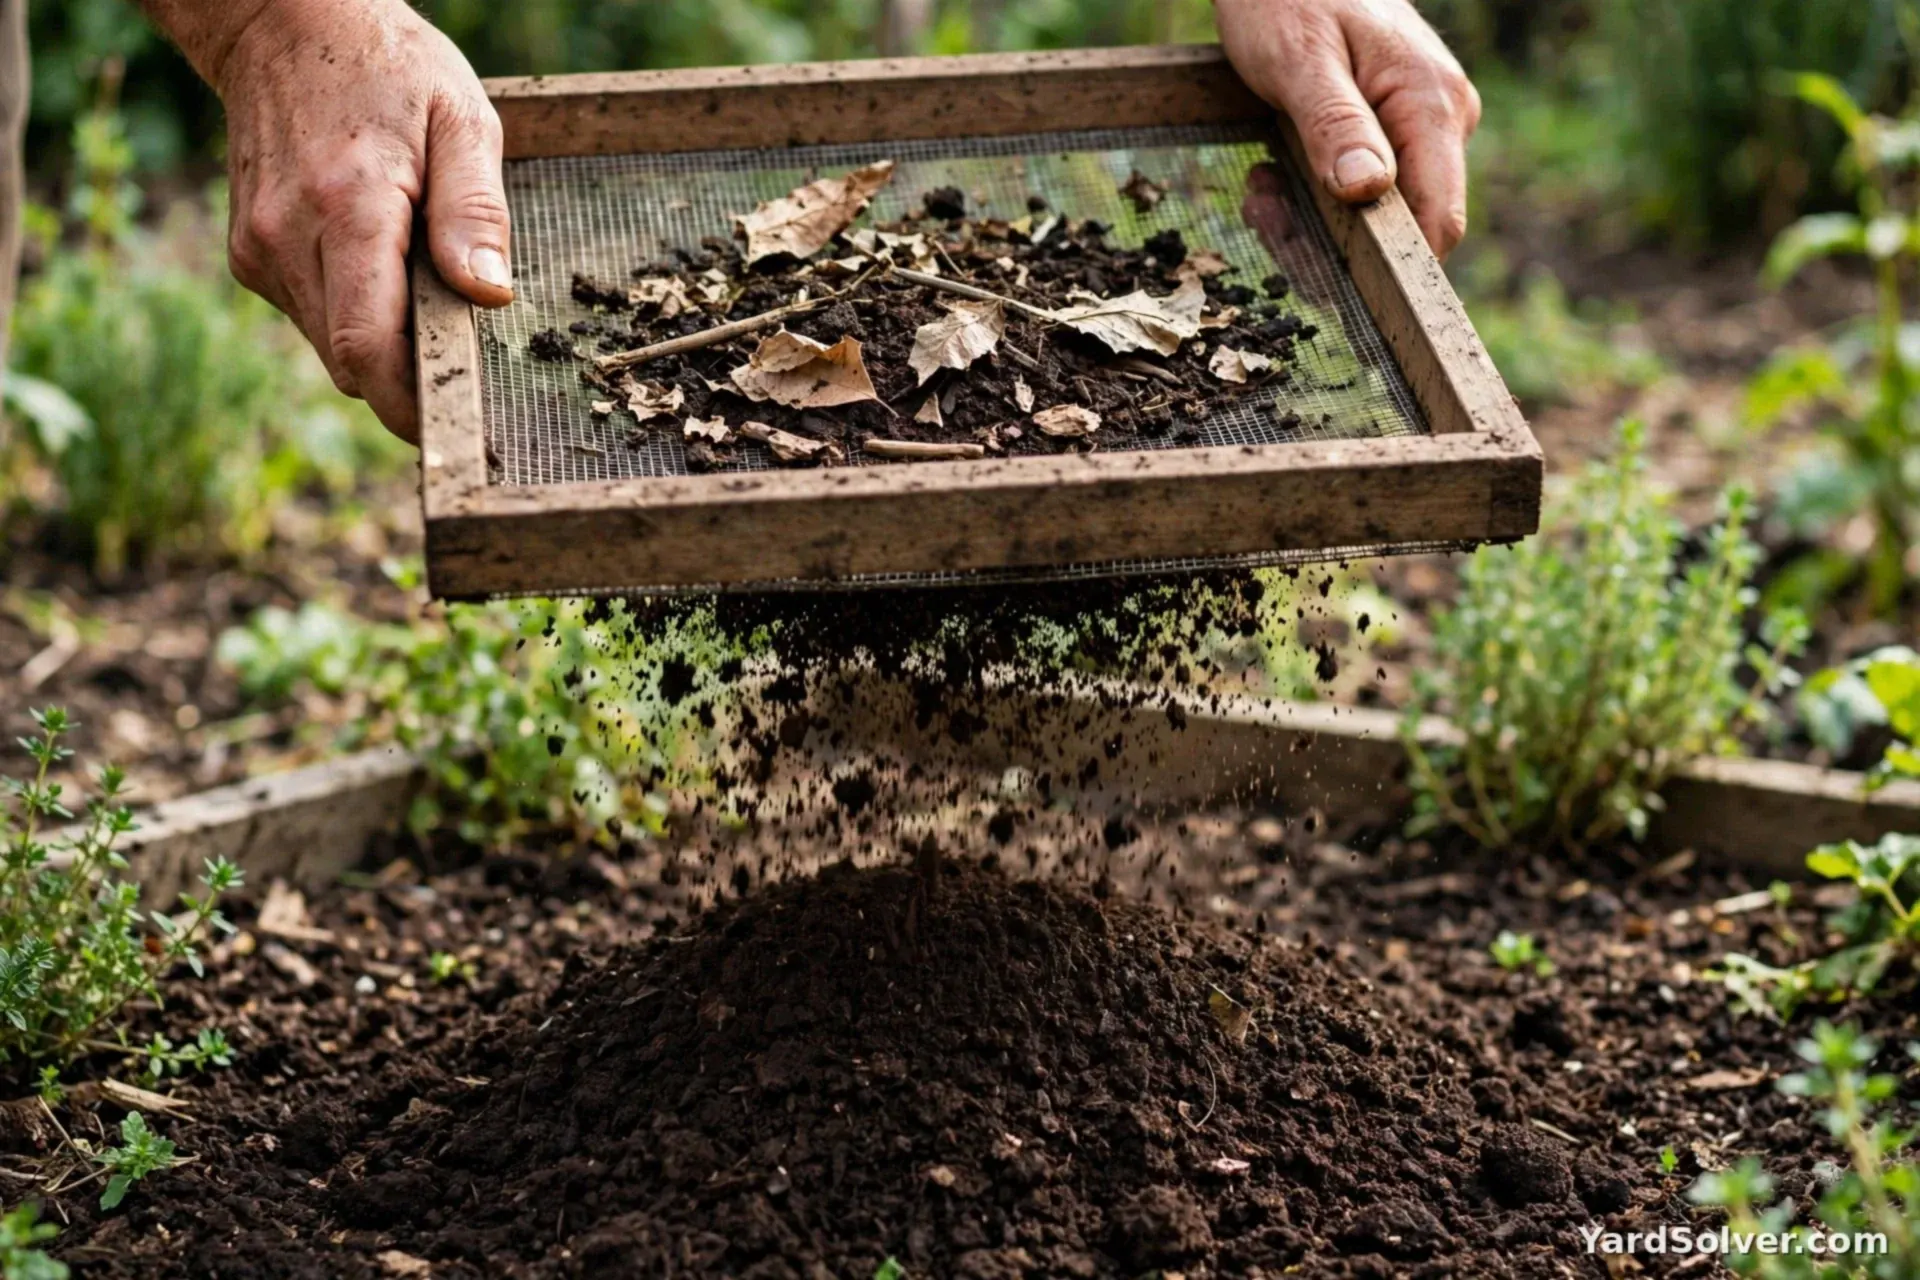
Finished compost is dark brown, crumbly, and smells like earth — you cannot identify what it was made from, and the pile has shrunk to about a third of its built size and stopped heating after turns. Sift it if you like (toss the unfinished chunks back in as the next pile's starter), and use it everywhere: a 1–2 inch (3–5 cm) top-dressing on beds in spring alongside the routine in How to Prepare Garden Soil in Spring, a rejuvenating layer worked into tired raised beds as in How to Refresh Raised Bed Soil, or the sponge in any potting mix. One full cycle and the loop closes: the garden's waste becomes the garden's food, and the bought-in bags quietly leave your budget.
Keep going
Already composting and facing the cold months? Composting in Winter covers the pile's hardest season.
What to do with dubious soil elsewhere in the garden: test before you amend, with How to Test Your Garden Soil.
Questions people ask
Why does my compost smell bad?
Smell is a diagnosis, not a personality trait. Ammonia smell means too many greens — fork in dry browns. Sour, swampy smell means no air and too much water — turn the pile and add coarse browns. A correct pile smells earthy within days of either fix.
How long does compost take to finish?
A hot pile — a full cubic metre, layered right and turned every few weeks — finishes in about 2–3 months in the growing season. A passive pile you only add to takes 6–12 months. Climate, materials and chopping size move both numbers; cold winters pause everything.
Can I compost if I only have a small yard or balcony?
Yes — the pile shrinks its footprint more easily than its recipe. A compact lidded bin or a worm bin (vermicomposting) handles a small household's scraps on a balcony or in a garage. The greens-browns-cover habit is identical; only the container changes.
Comments & ratings
No comments yet.
Be the first to share your experience.