
Guides · Trees · Published November 11, 2026
How to Protect Young Trees in Winter: Guards, Wrap & Mulch
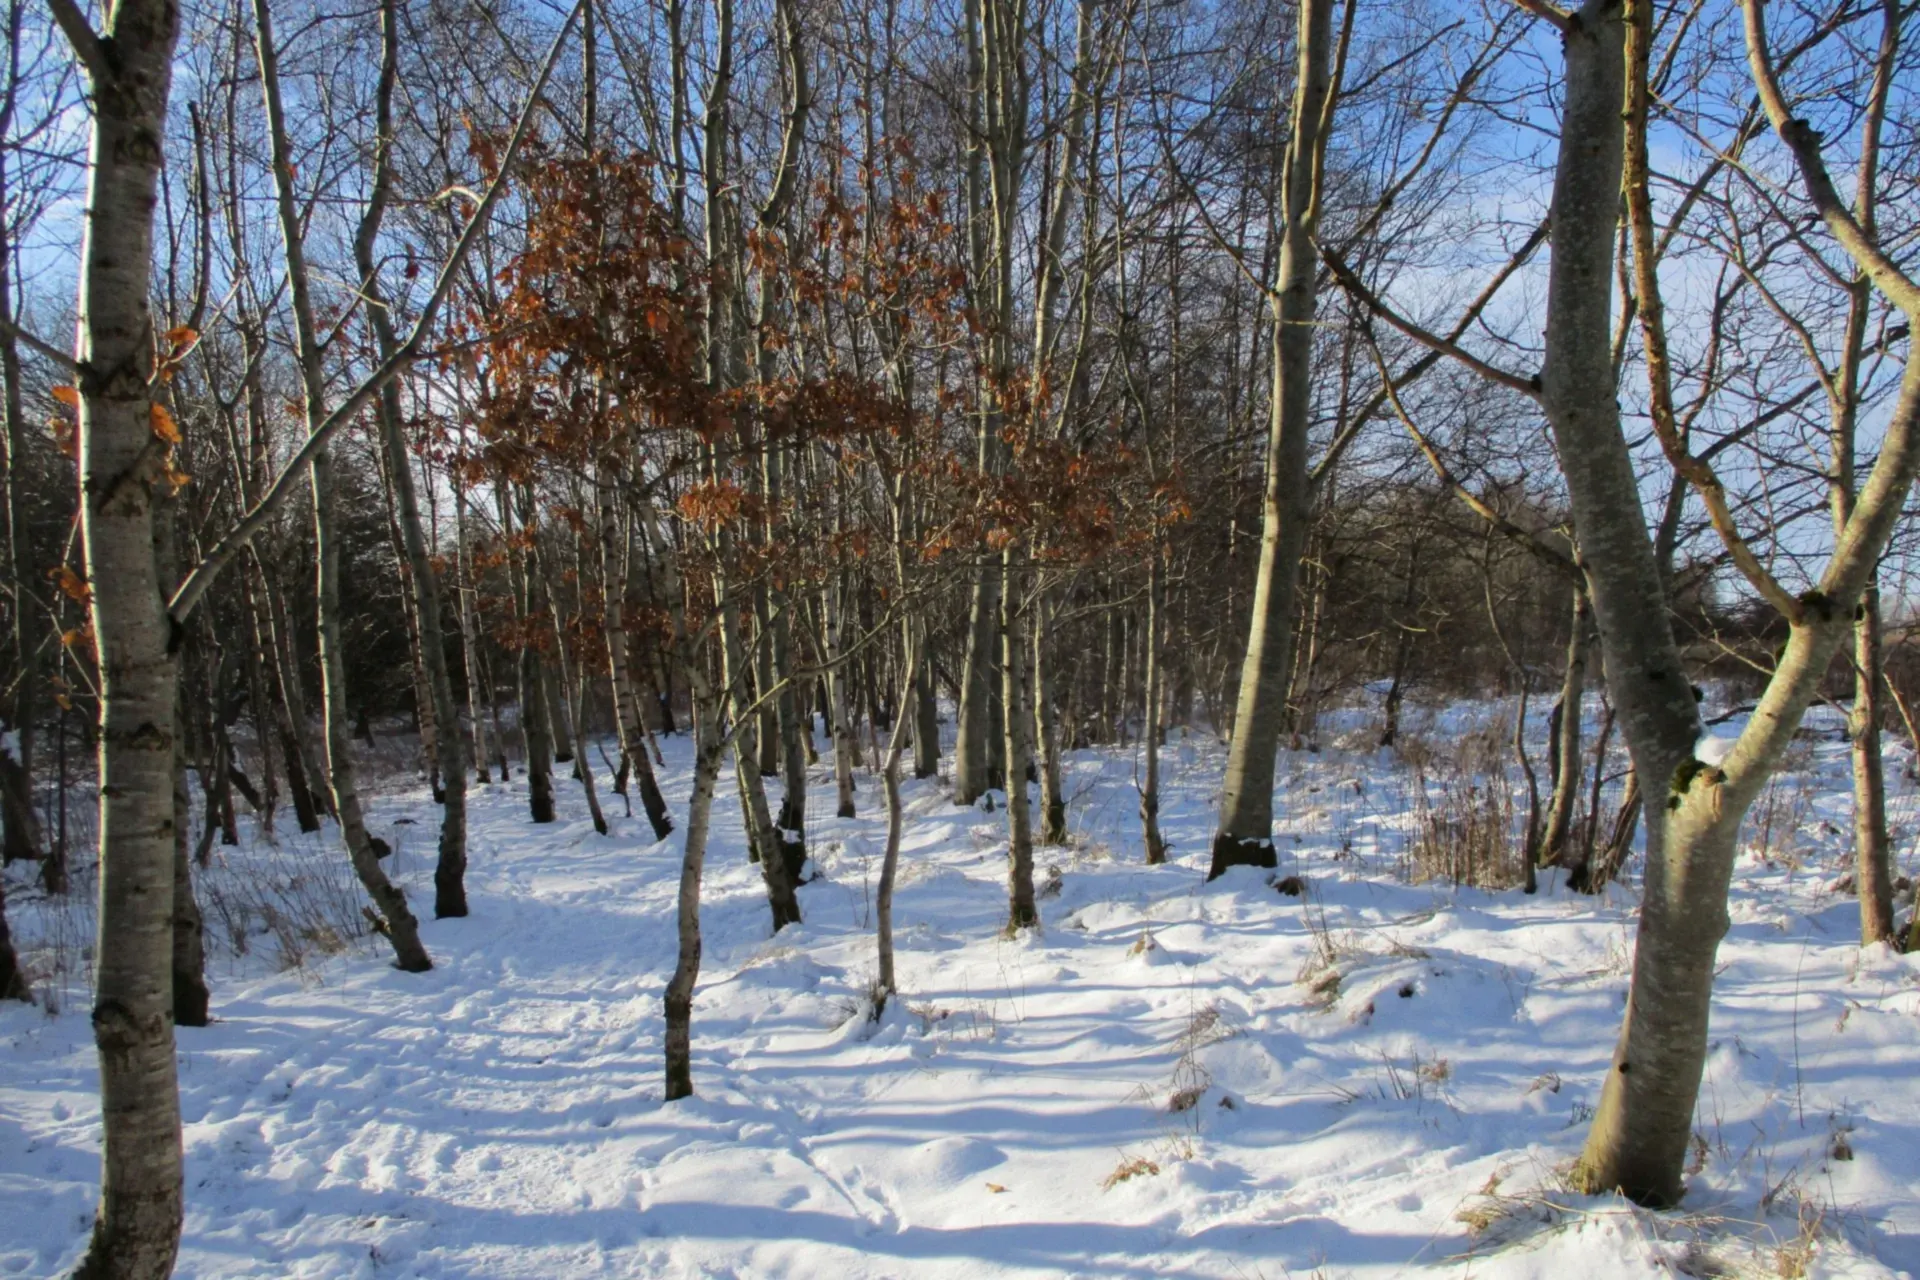
A young tree goes into winter with three handicaps an established tree does not have: thin bark that splits when it warms and freezes again, a small root ball that dries out and heaves in frozen ground, and a trunk at exactly chewing height for every vole, rabbit and deer in the neighbourhood. Most young-tree winter losses are not really cold damage at all — they are bark damage and thirst, and both are preventable in one late-fall afternoon.
To protect young trees in winter you need no special products and no expertise: deep water while the ground is still open, a rigid hardware-cloth guard, a roll of white tree wrap, and a proper ring of mulch. Work through the six steps below in order, before the ground freezes hard, and take the same protection off again in spring — that removal matters as much as putting it on.
Step 1 — Water deeply before the ground freezes
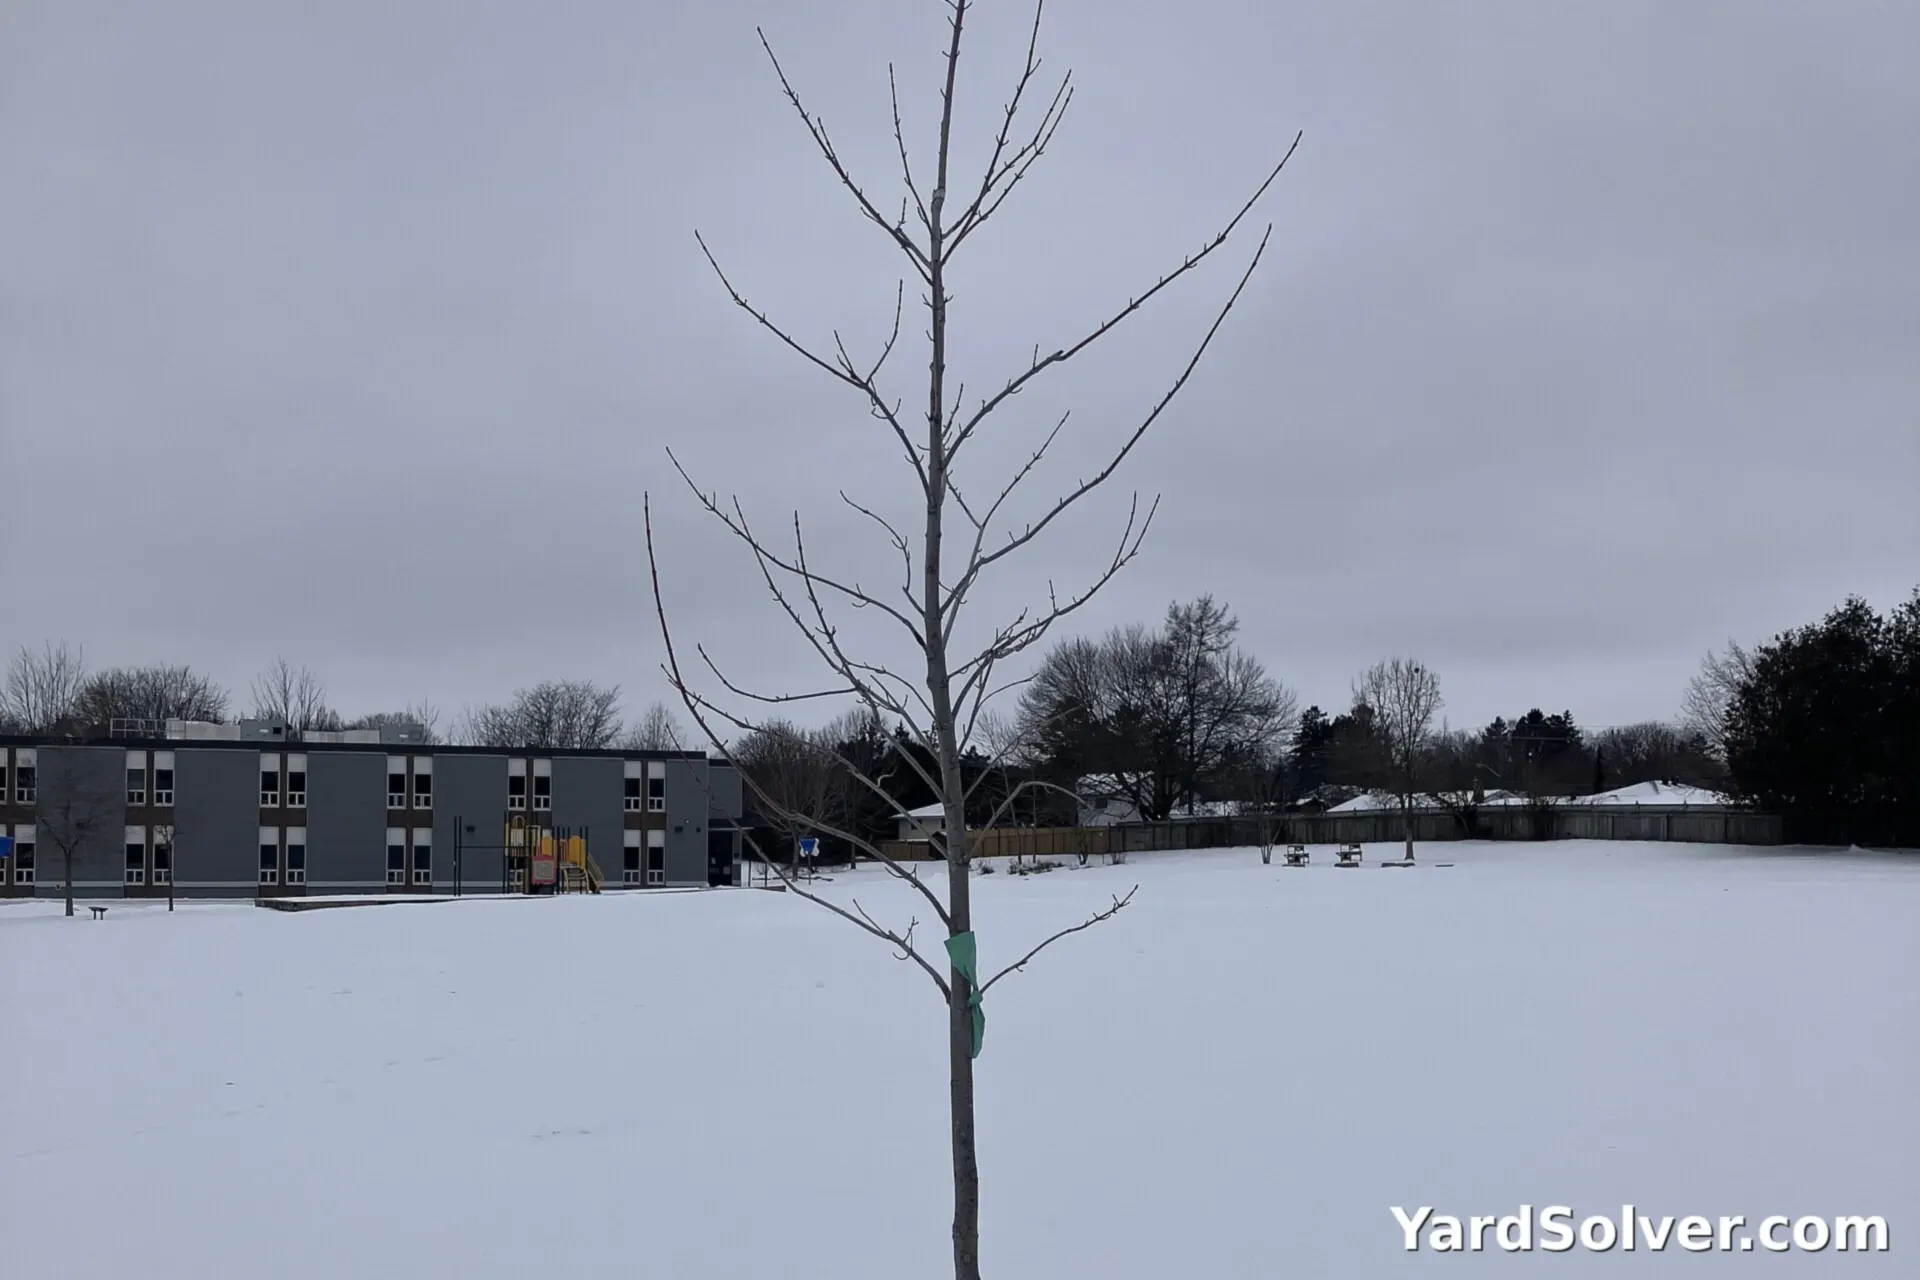
Dry roots freeze harder than moist roots, and a tree planted this year or last has roots only as wide as the hole you dug for it. While the soil is still unfrozen, give every young tree one long, slow, deep watering: lay a hose at a trickle near the trunk, or use a soaker hose circled on the root zone, and let it run until the soil is moist 8 to 12 inches (20–30 cm) down — check with a trowel or a long screwdriver, which slides easily into watered ground and stops dead in dry ground.
Do this in the morning of a day above freezing, so the water soaks in rather than icing on the surface, and repeat it during any long dry, snowless stretch in fall. Evergreens and fall-planted trees need it most, because their foliage keeps losing water on every sunny winter day. Once the ground has frozen solid, stop: water cannot reach the roots, and this job is finished until spring.
Step 2 — Fit a hardware-cloth guard
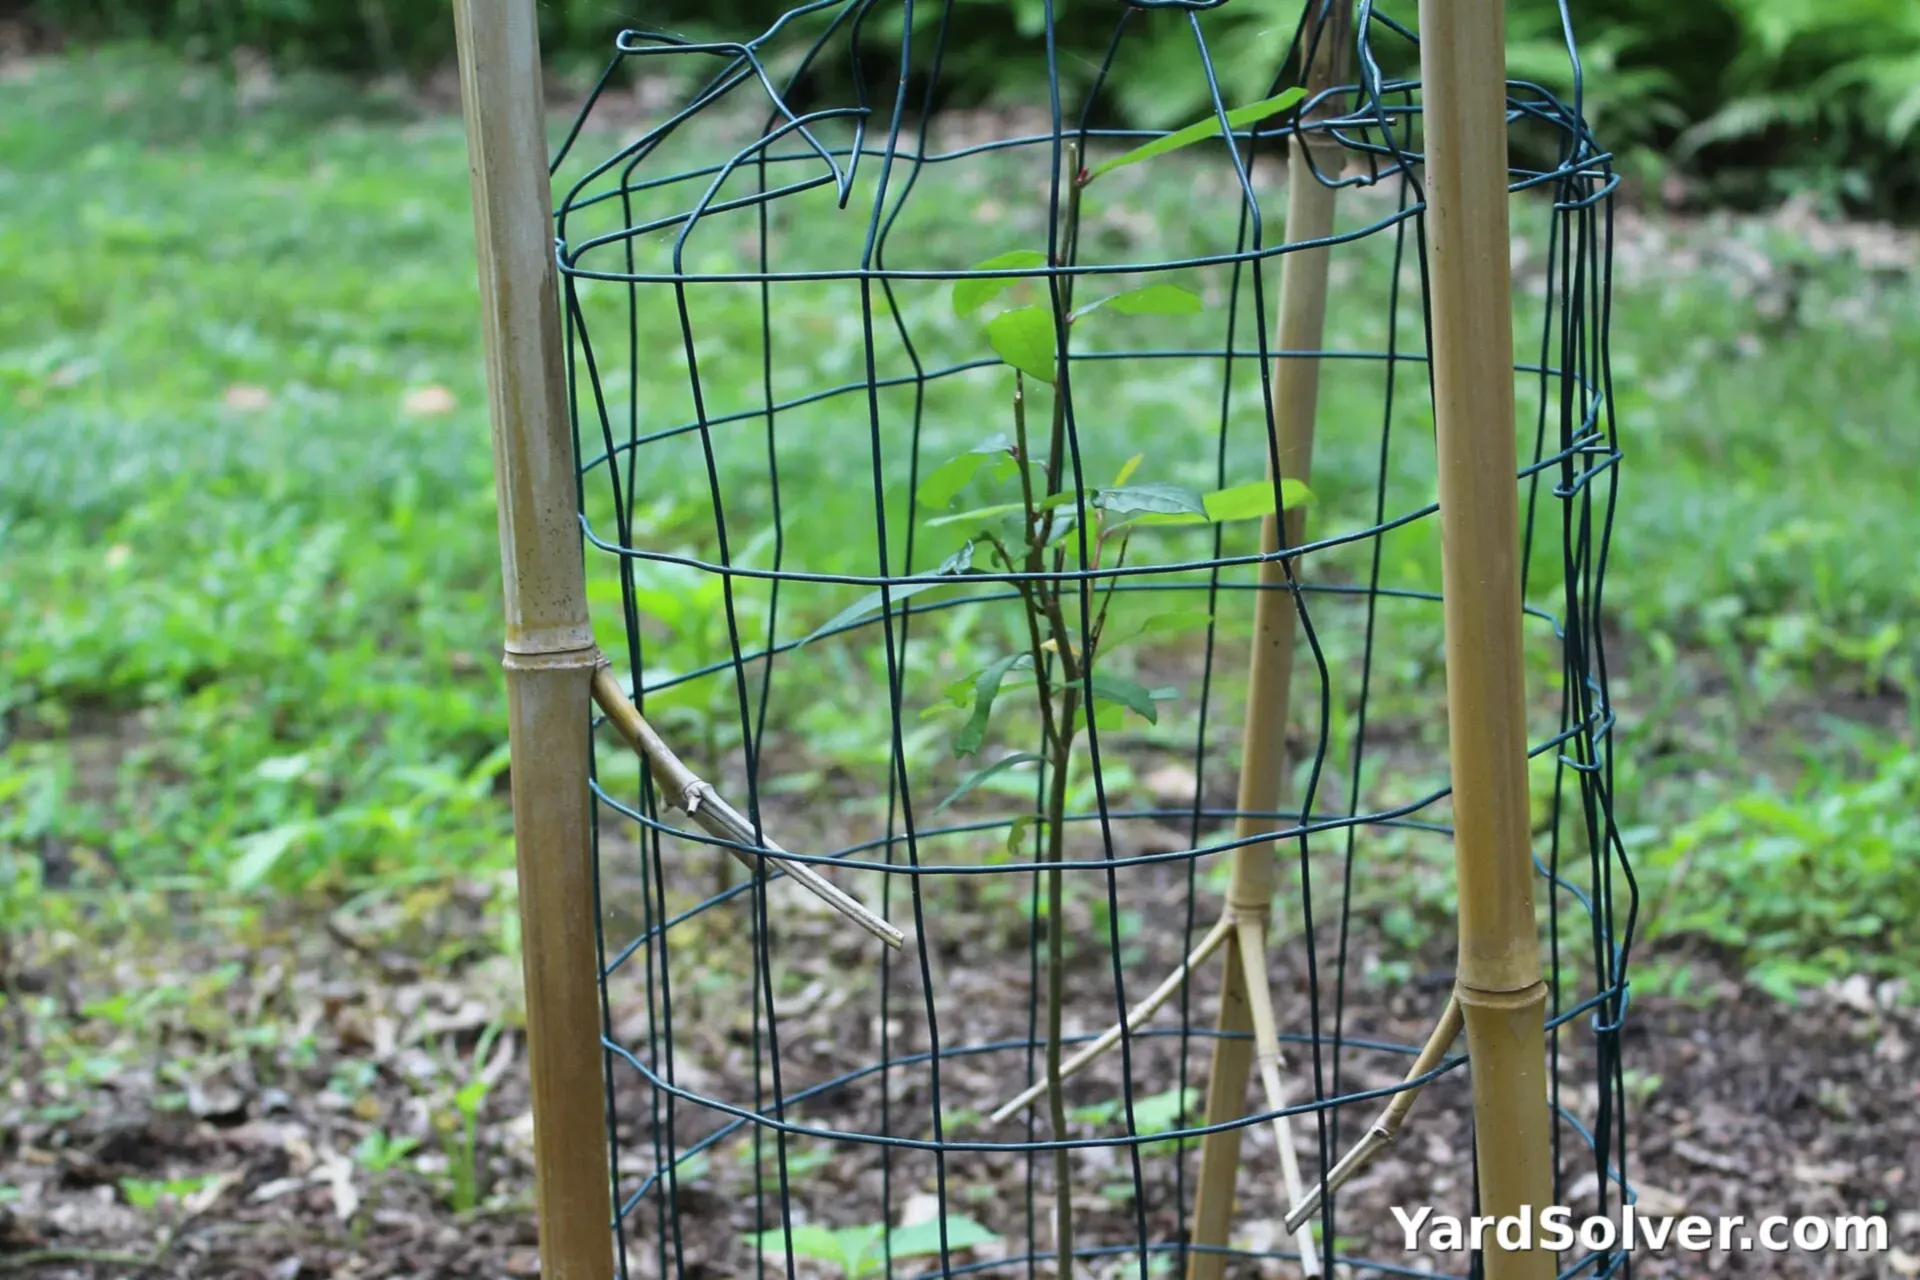
Voles and mice do their worst damage under snow, gnawing bark in a complete ring at the snow line, and a ringed tree dies in spring no matter how healthy its roots are. The reliable defence is a cylinder of 1/4-inch (6 mm) hardware cloth — woven or welded wire mesh, not chicken wire, which is too flimsy and too open. Quarter-inch mesh is small enough to stop voles; half-inch mesh lets young voles through.
Cut a piece long enough to circle the trunk with the mesh standing about 6 inches (15 cm) away from the bark all the way round, and tall enough to stand 18–24 inches (45–60 cm) above the expected snow line — snow is a ladder, and animals feed at its surface, not at ground level. Bury the bottom edge 2–3 inches (5–8 cm) into the soil so nothing tunnels under it. Wear gloves, fold the cut edges back so they cannot chafe the bark, and fasten the seam with twist ties or wire clips. The cylinder should stand rigid on its own and never press against the trunk.
Step 3 — Wrap thin bark against sunscald
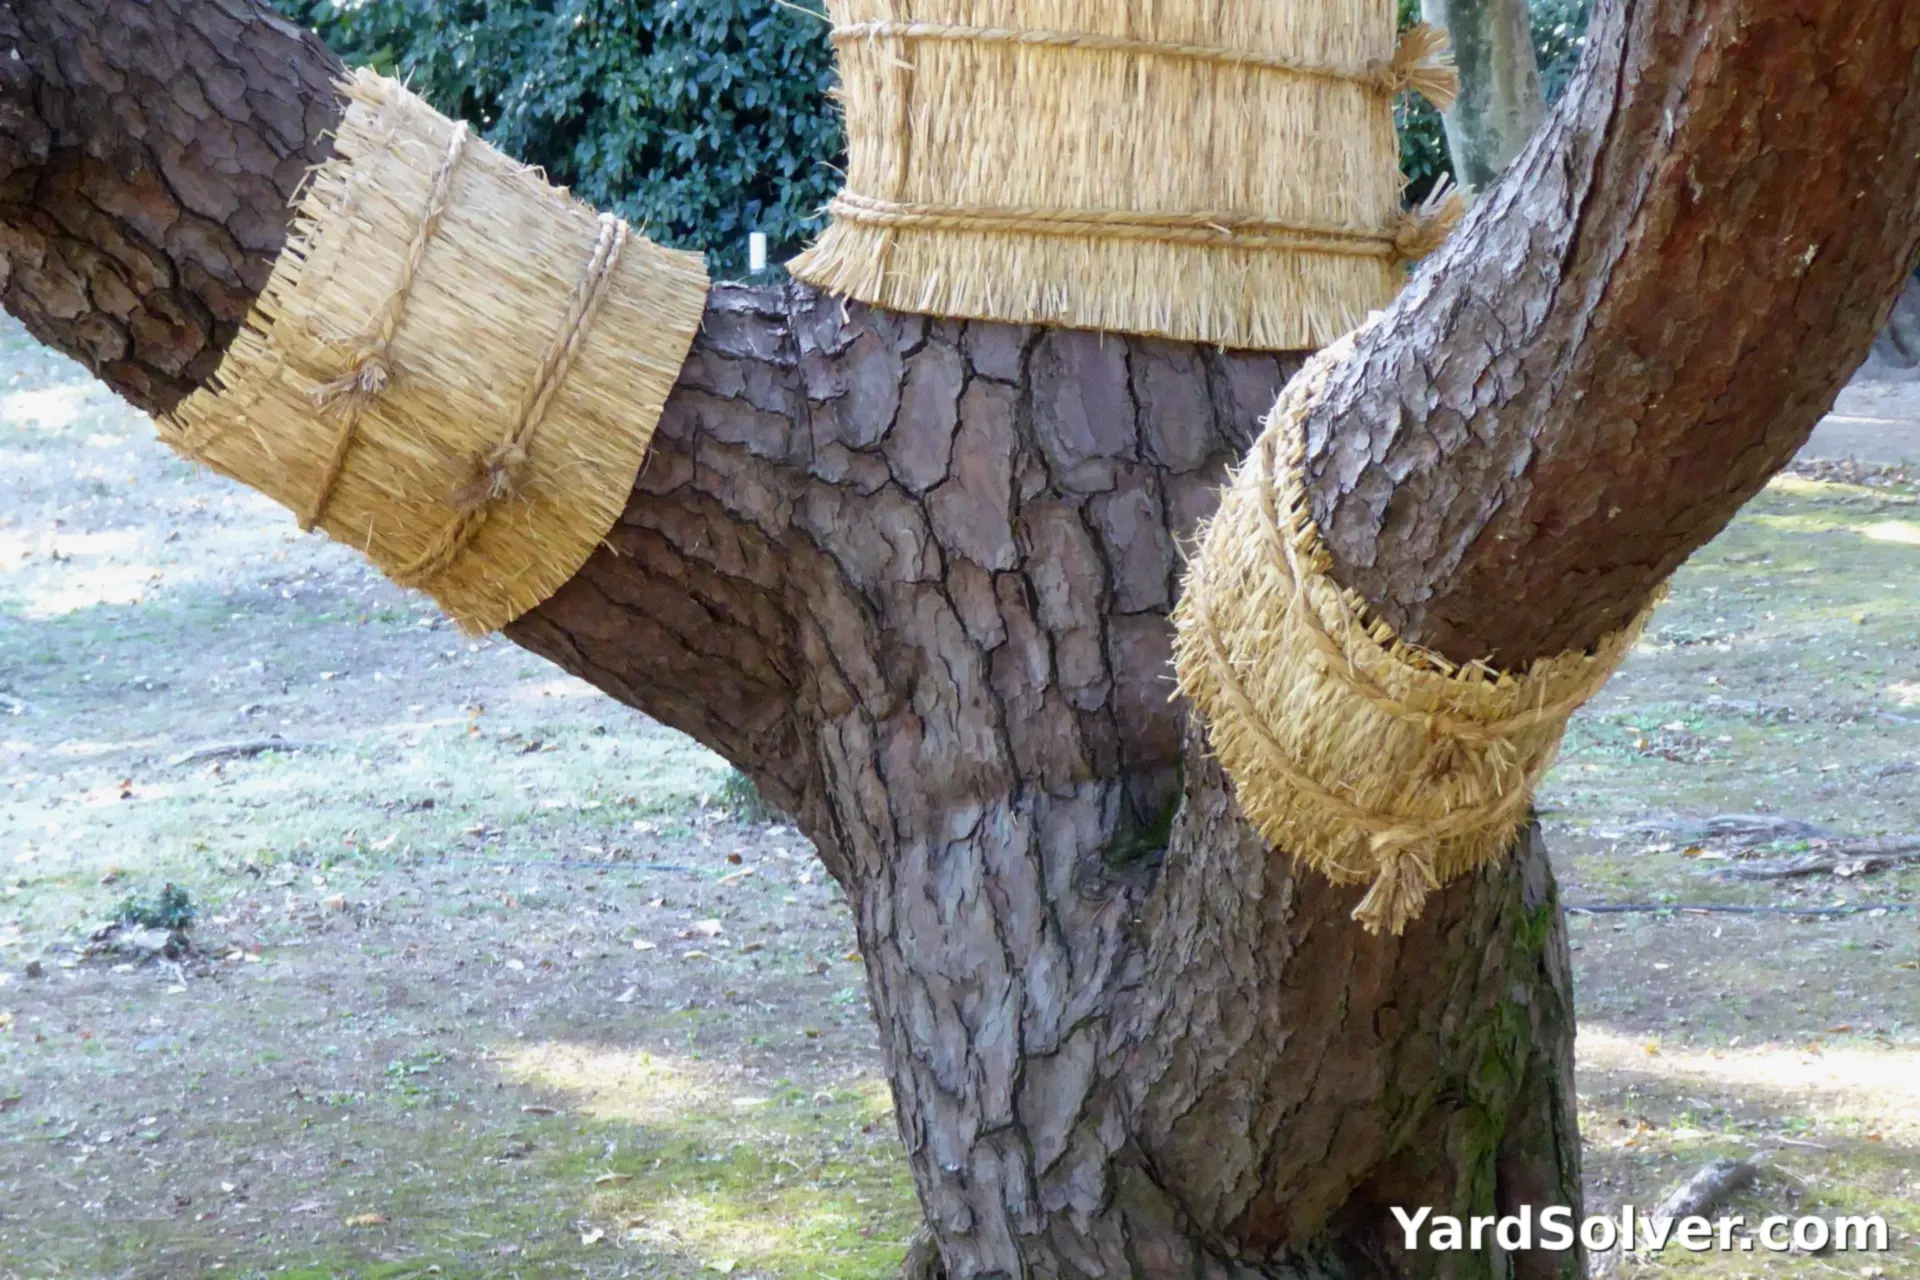
Sunscald is a winter injury, not a summer one. On a bright, cold afternoon the sun warms the south-west side of a thin trunk, the bark tissue wakes up — and then the temperature plunges at sunset and kills it, leaving a dead, cracked, peeling patch by spring. Thin-barked trees suffer most: young maples, lindens, honey locusts, mountain ash and fruit trees, including a young fig tree in a sheltered spot.
The fix is light colour, not insulation. After the first hard frost, once the tree is dormant, spiral a commercial white or light-coloured tree wrap around the trunk starting at the base, overlapping each turn by about half its width, up to the first branches, and tie it off at the top. White reflects the low winter sun and keeps the bark at an even, cold temperature. Avoid dark wraps and solid plastic guards left tight against the bark — they can overheat the trunk on a sunny day and hold damp against it, which is the opposite of what you want.
Step 4 — Mulch in a donut, never a volcano
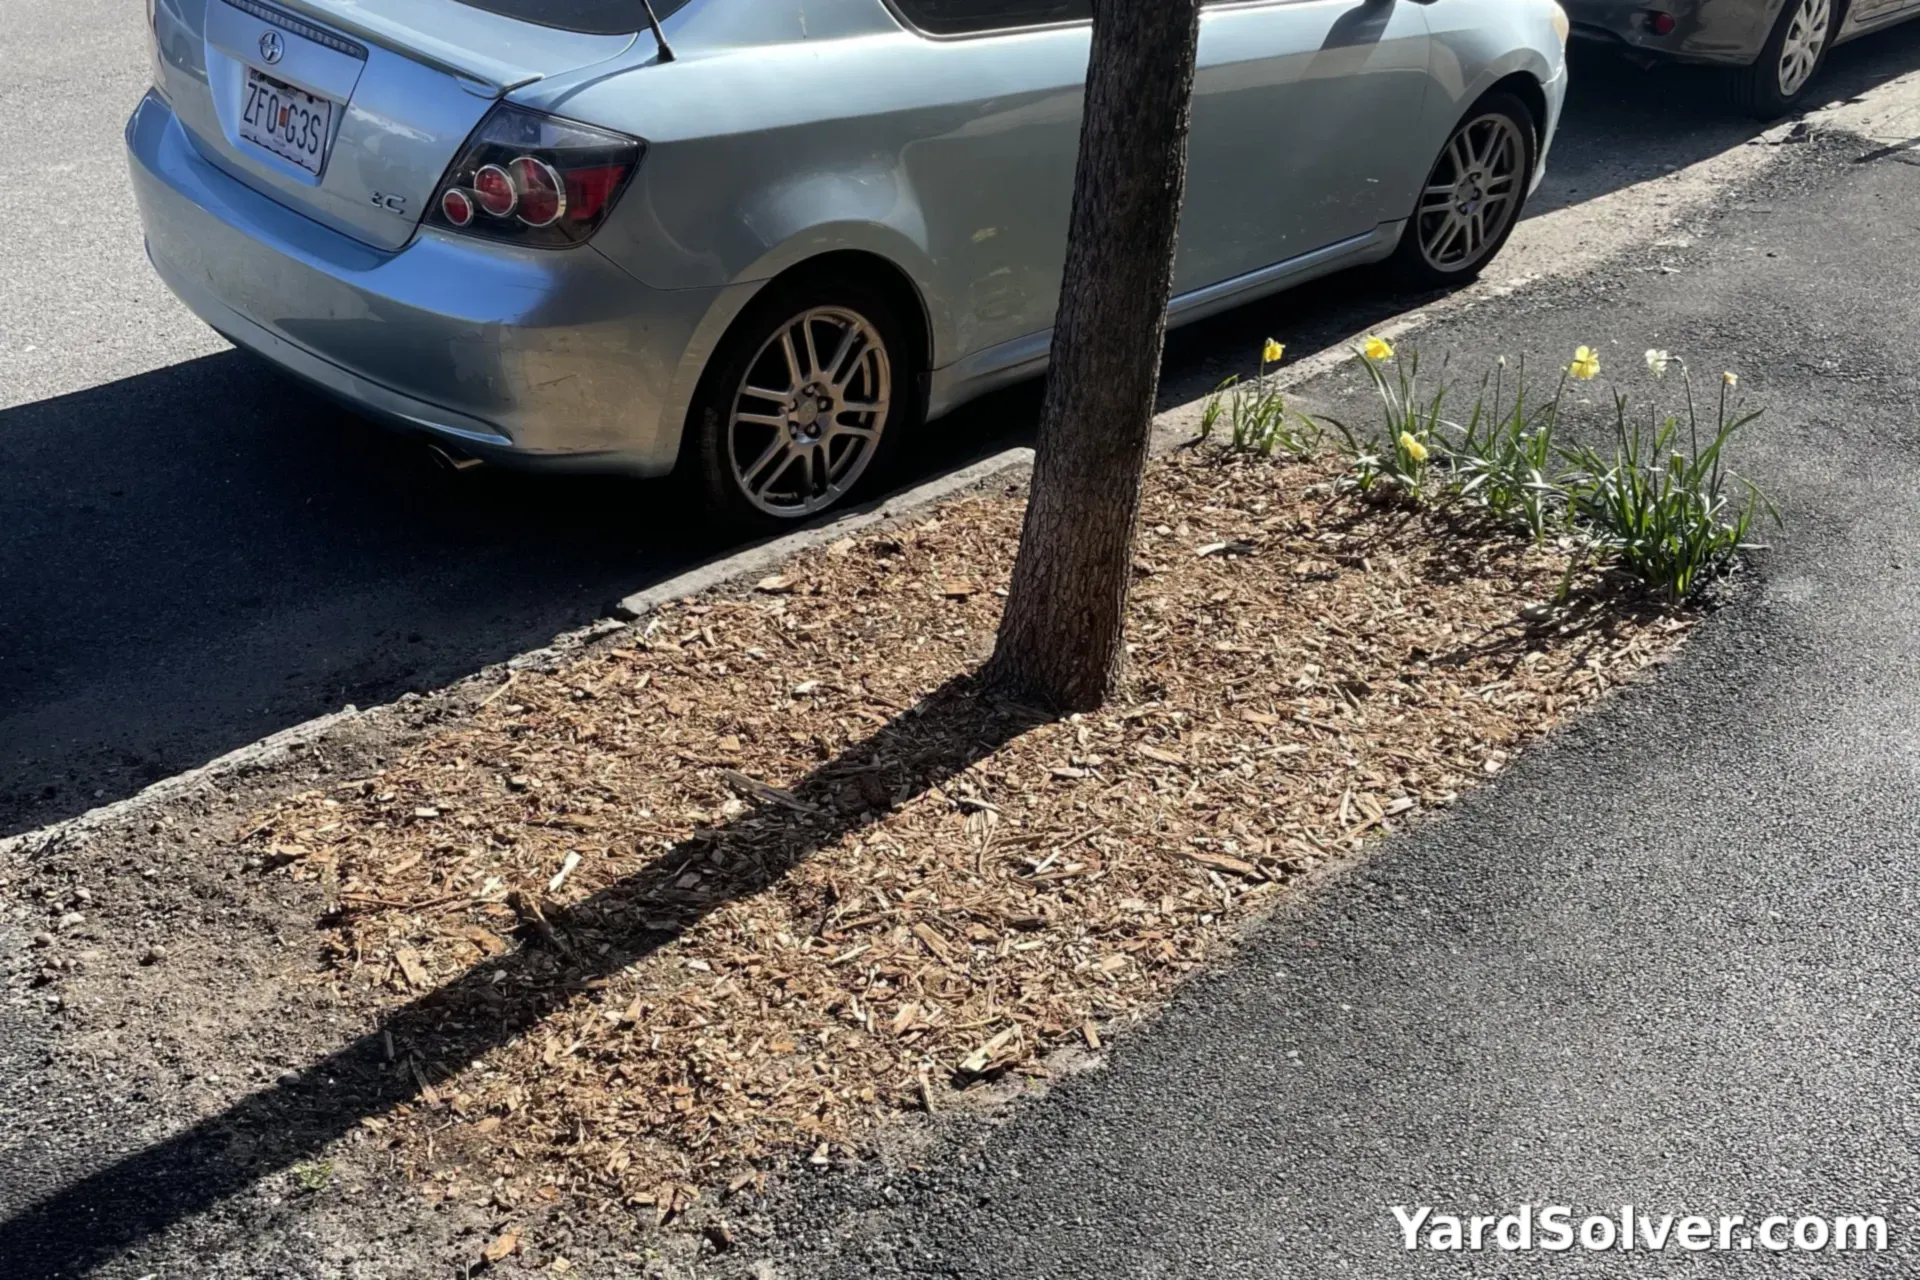
Mulch is the tree's winter blanket: it holds soil moisture in, softens the freeze–thaw swings that heave shallow roots out of the ground, and keeps the root zone a few degrees steadier through the coldest weeks. Spread coarse wood chips or shredded bark 2–4 inches (5–10 cm) deep, as wide as you can manage — out toward the dripline is ideal — and work out how much you need with the Mulch Calculator before you buy.
Shape matters more than depth. Keep the mulch 4–6 inches (10–15 cm) away from the trunk in a flat donut ring. A mulch volcano — chips piled in a cone against the bark — holds constant damp against the trunk, invites rot and fungal growth, makes a warm hidden nest exactly where voles want to chew, and coaxes roots to grow up into the mulch instead of down into the soil. If you only fix one thing on a young tree this fall, fix a volcano into a donut.
Step 5 — Take away rodent cover and stake where deer rub
Guards stop chewing at the trunk; this step stops animals settling in beside it. Voles travel and feed under cover, so mow a short-grass ring around each young tree, pull fallen leaves, weeds and debris away from the base, and never let tall grass, leaf piles or brush rest against the trunk through winter. An open, short, bare ring is ground a vole does not want to cross and a rabbit cannot hide in.
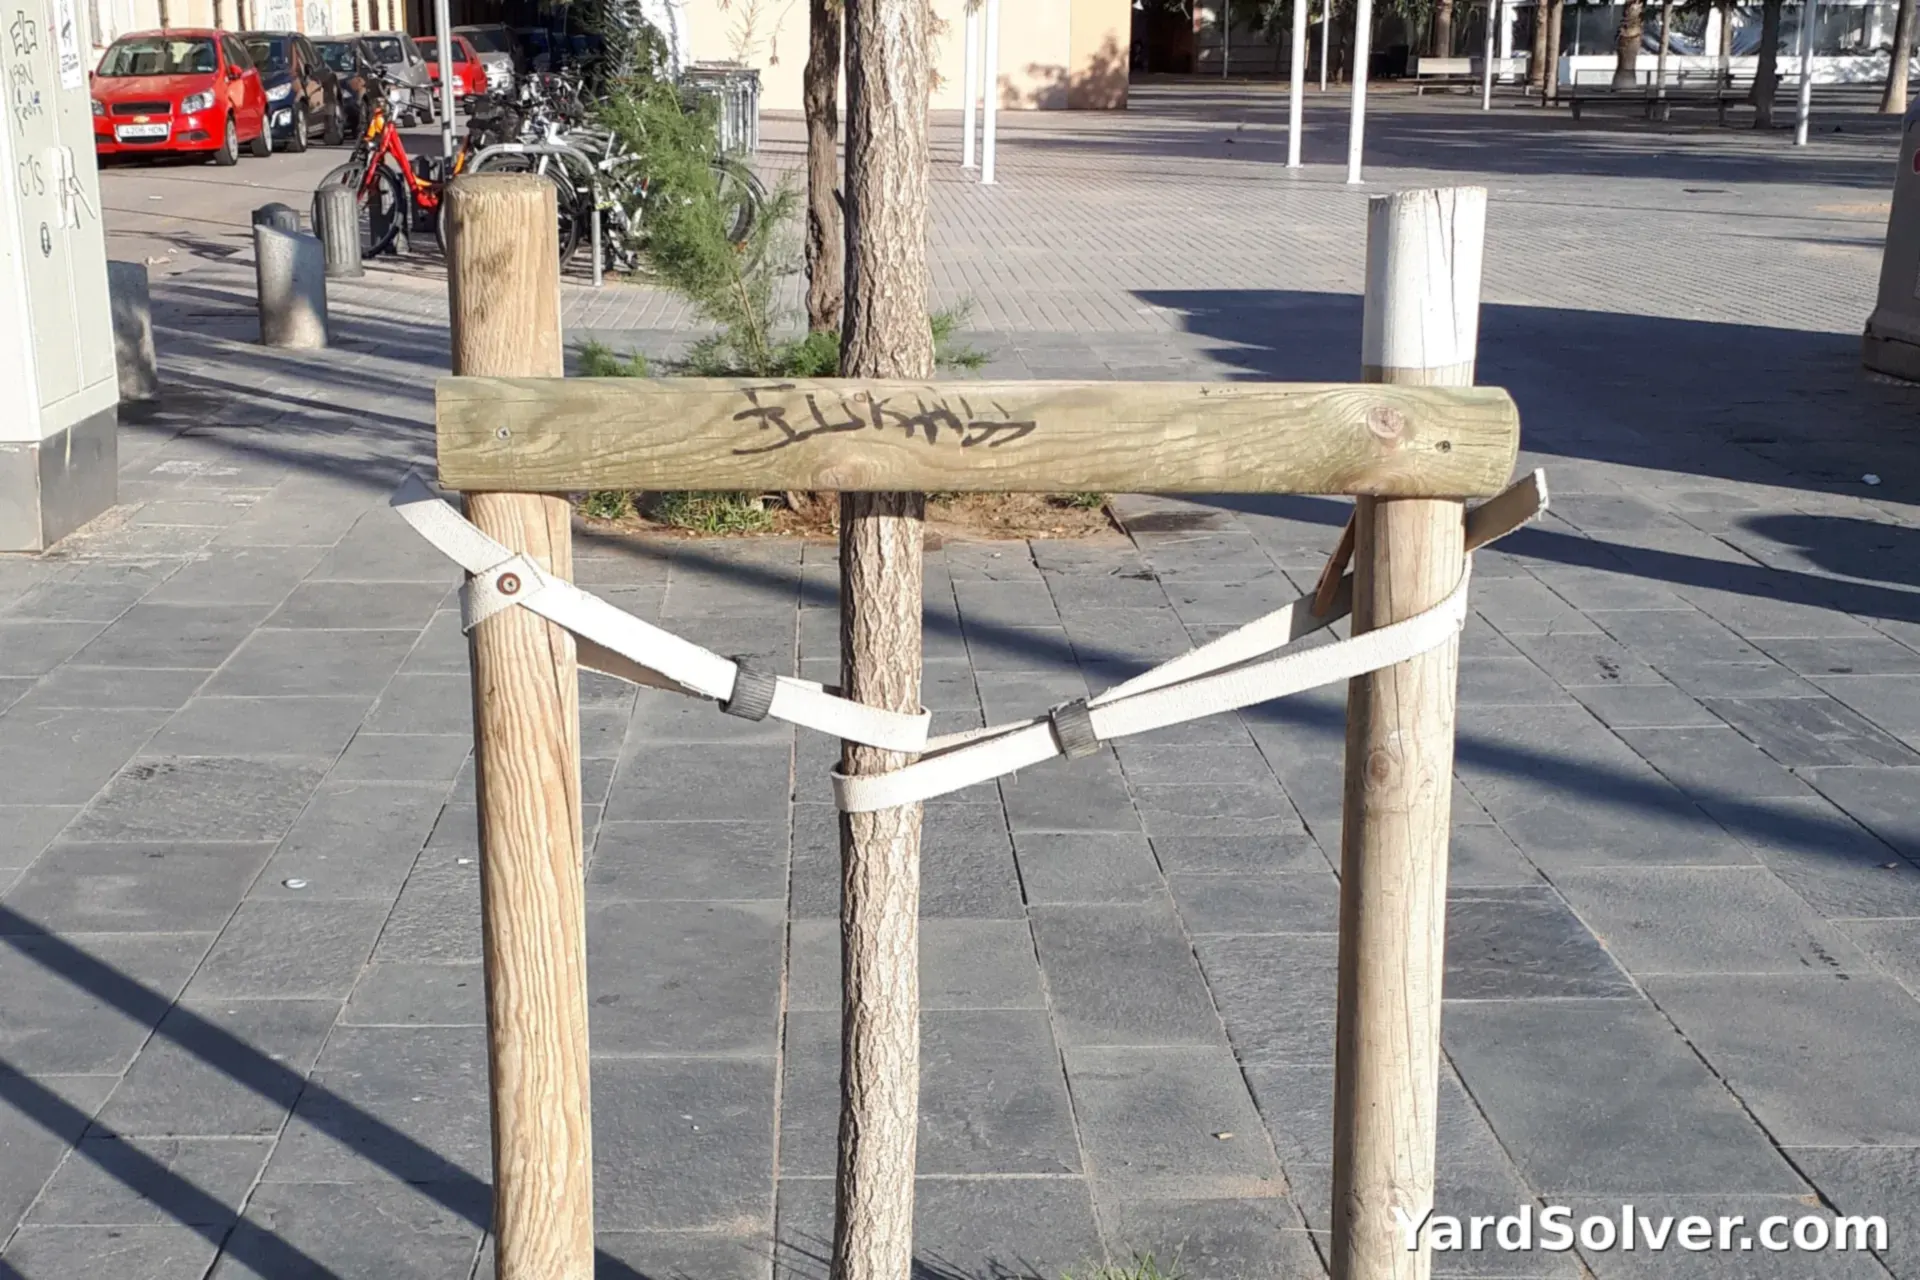
Deer are a different problem: in fall and winter a buck rubs its antlers on exactly the smooth young trunks you are trying to protect, shredding bark and sometimes snapping the leader. Where deer pass through, put three sturdy stakes around the tree outside the guard and run a ring of wire, mesh or two strands of line between them at rubbing height — a physical awkwardness barrier, not a fence for the whole yard. The wider battle is covered in our guide to keeping deer out of the garden. A newly planted tree on a windy site may also need ordinary staking to stop the root ball rocking, but stake loosely, and only where the tree cannot yet stand on its own.
Step 6 — Take it all off in spring
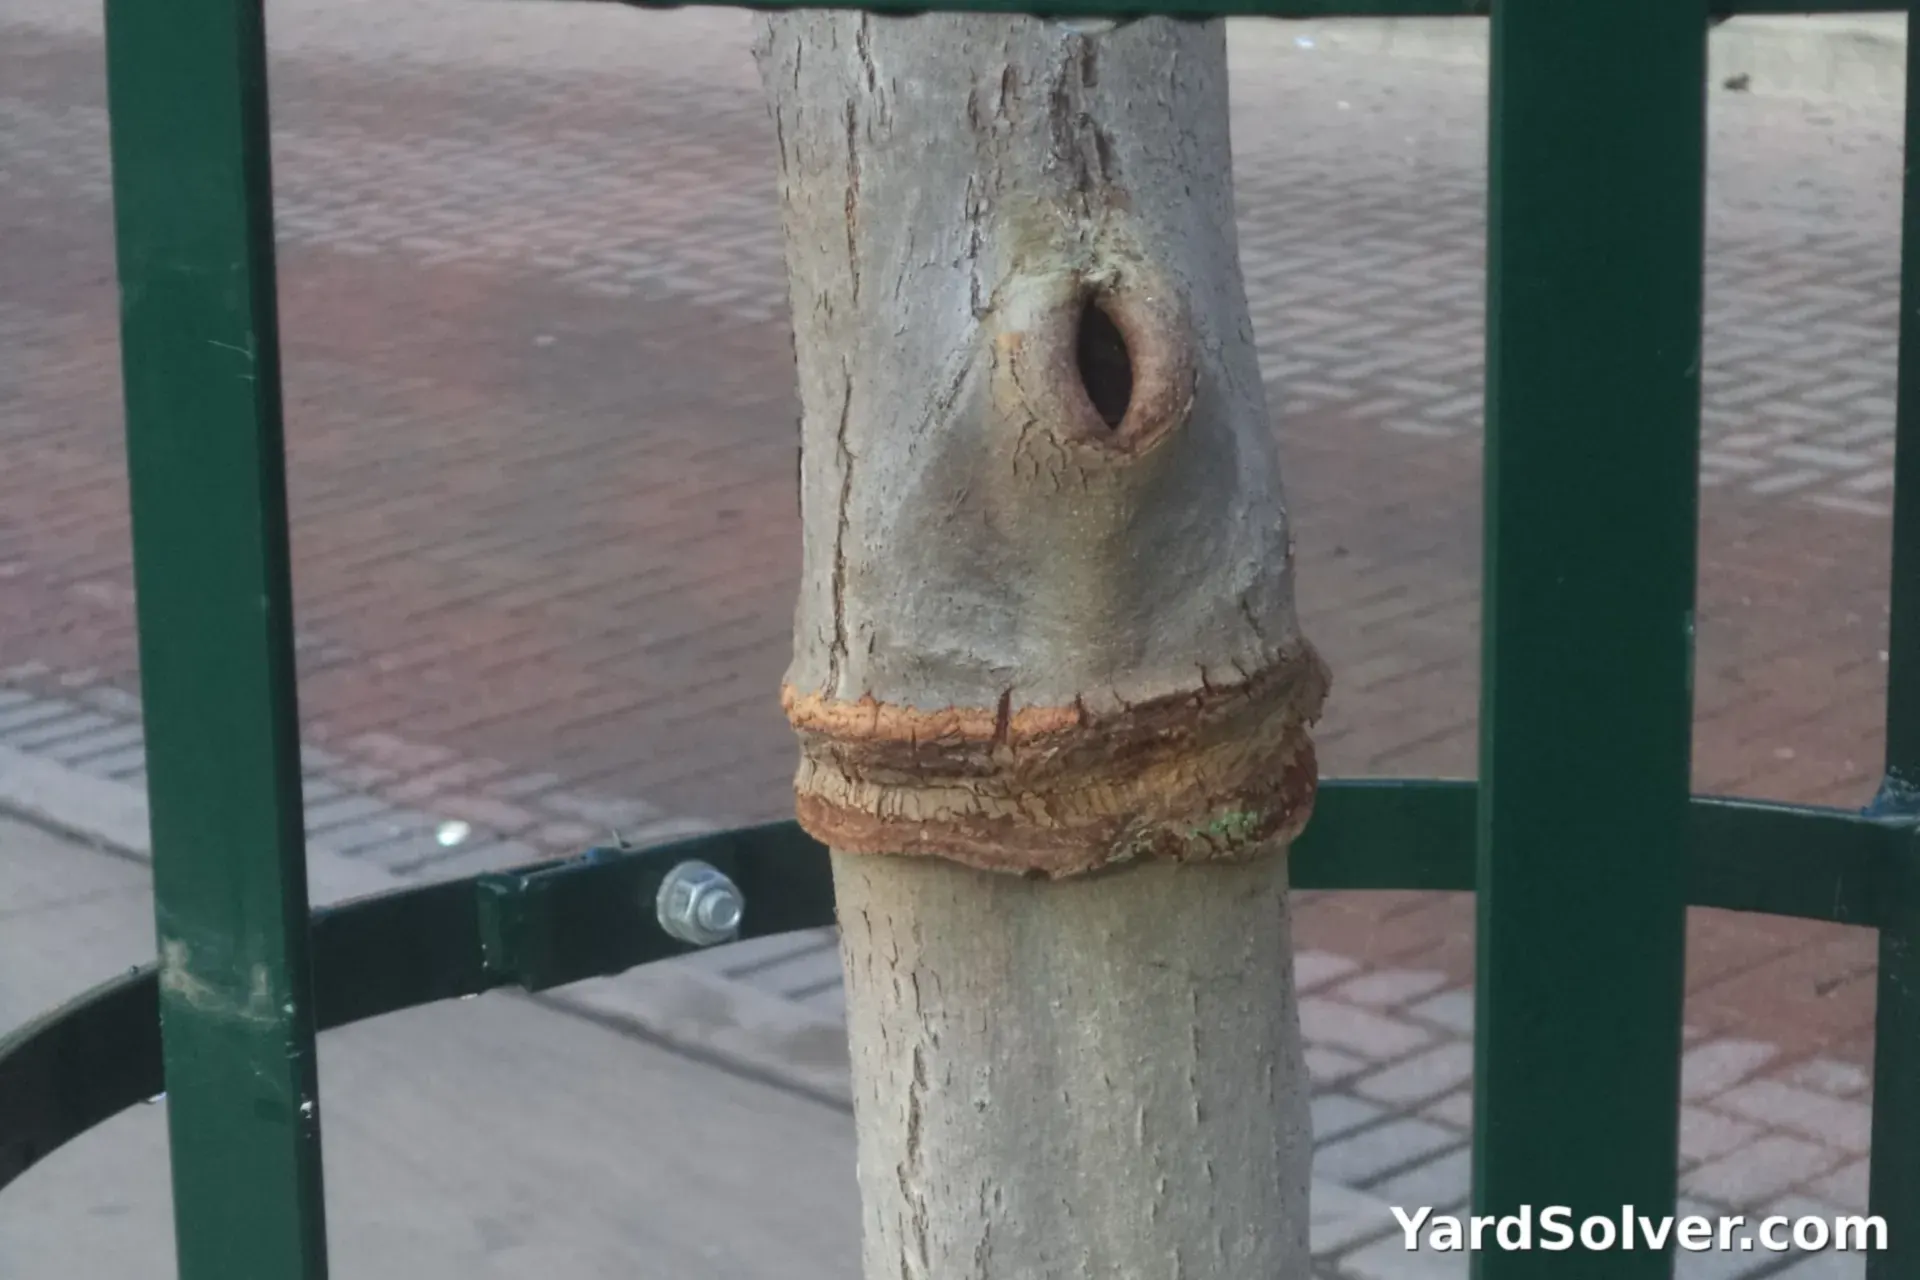
Winter protection is seasonal clothing, not a permanent fitting. After the last hard frost, unwrap the trunk completely. Wrap left on into the growing season traps moisture against expanding bark, shelters boring insects, and can slowly strangle a trunk that is thickening fast. Spring is also your inspection: look for chewed patches the guard missed, cracked or peeling sunscald on the south-west side, and any place where mesh or ties have started to bite in.
Widen or replace a guard that no longer stands clear of the bark — a fast-growing tree can outgrow a cylinder in a single season — refresh the mulch donut back to its 2–4 inch depth, and water deeply if spring is dry. A tree that comes through its first two or three winters guarded, wrapped and mulched this way has usually built the bark thickness and root spread to face later winters on its own; after that, the mulch donut alone is enough.
Keep going
Plan the planting around that tree with the Garden Designer, and keep learning: How to Prune Fruit Trees in Winter · How Deep Should Mulch Be? · Winter Burn on Evergreens
Questions people ask
When should I wrap a young tree for winter?
Wrap after the first hard frost in late fall, once the tree is dormant, and unwrap after the last hard frost in spring. Wrapping too early, or leaving wrap on into the growing season, traps moisture against the bark and shelters insects.
How tall should a tree guard be?
The guard should stand 18–24 inches (45–60 cm) above the expected snow line, because voles and rabbits feed at the surface of the snow, not at ground level. Bury the bottom edge 2–3 inches (5–8 cm) so nothing tunnels underneath.
Can I leave tree wrap on all year?
No. Tree wrap is winter clothing: left on through spring and summer it holds damp against a thickening trunk, shelters boring insects, and can girdle the tree. Put it on after the first hard frost and take it off after the last one.
What mesh size stops voles?
Use 1/4-inch (6 mm) hardware cloth. That mesh is small enough to exclude voles and mice; 1/2-inch mesh lets young voles through. The cylinder should stand about 6 inches (15 cm) clear of the trunk all the way round.
Comments & ratings
No comments yet.
Be the first to share your experience.