
Guides · Water · Published November 11, 2026
How to Winterize a Rain Barrel Before the First Hard Freeze
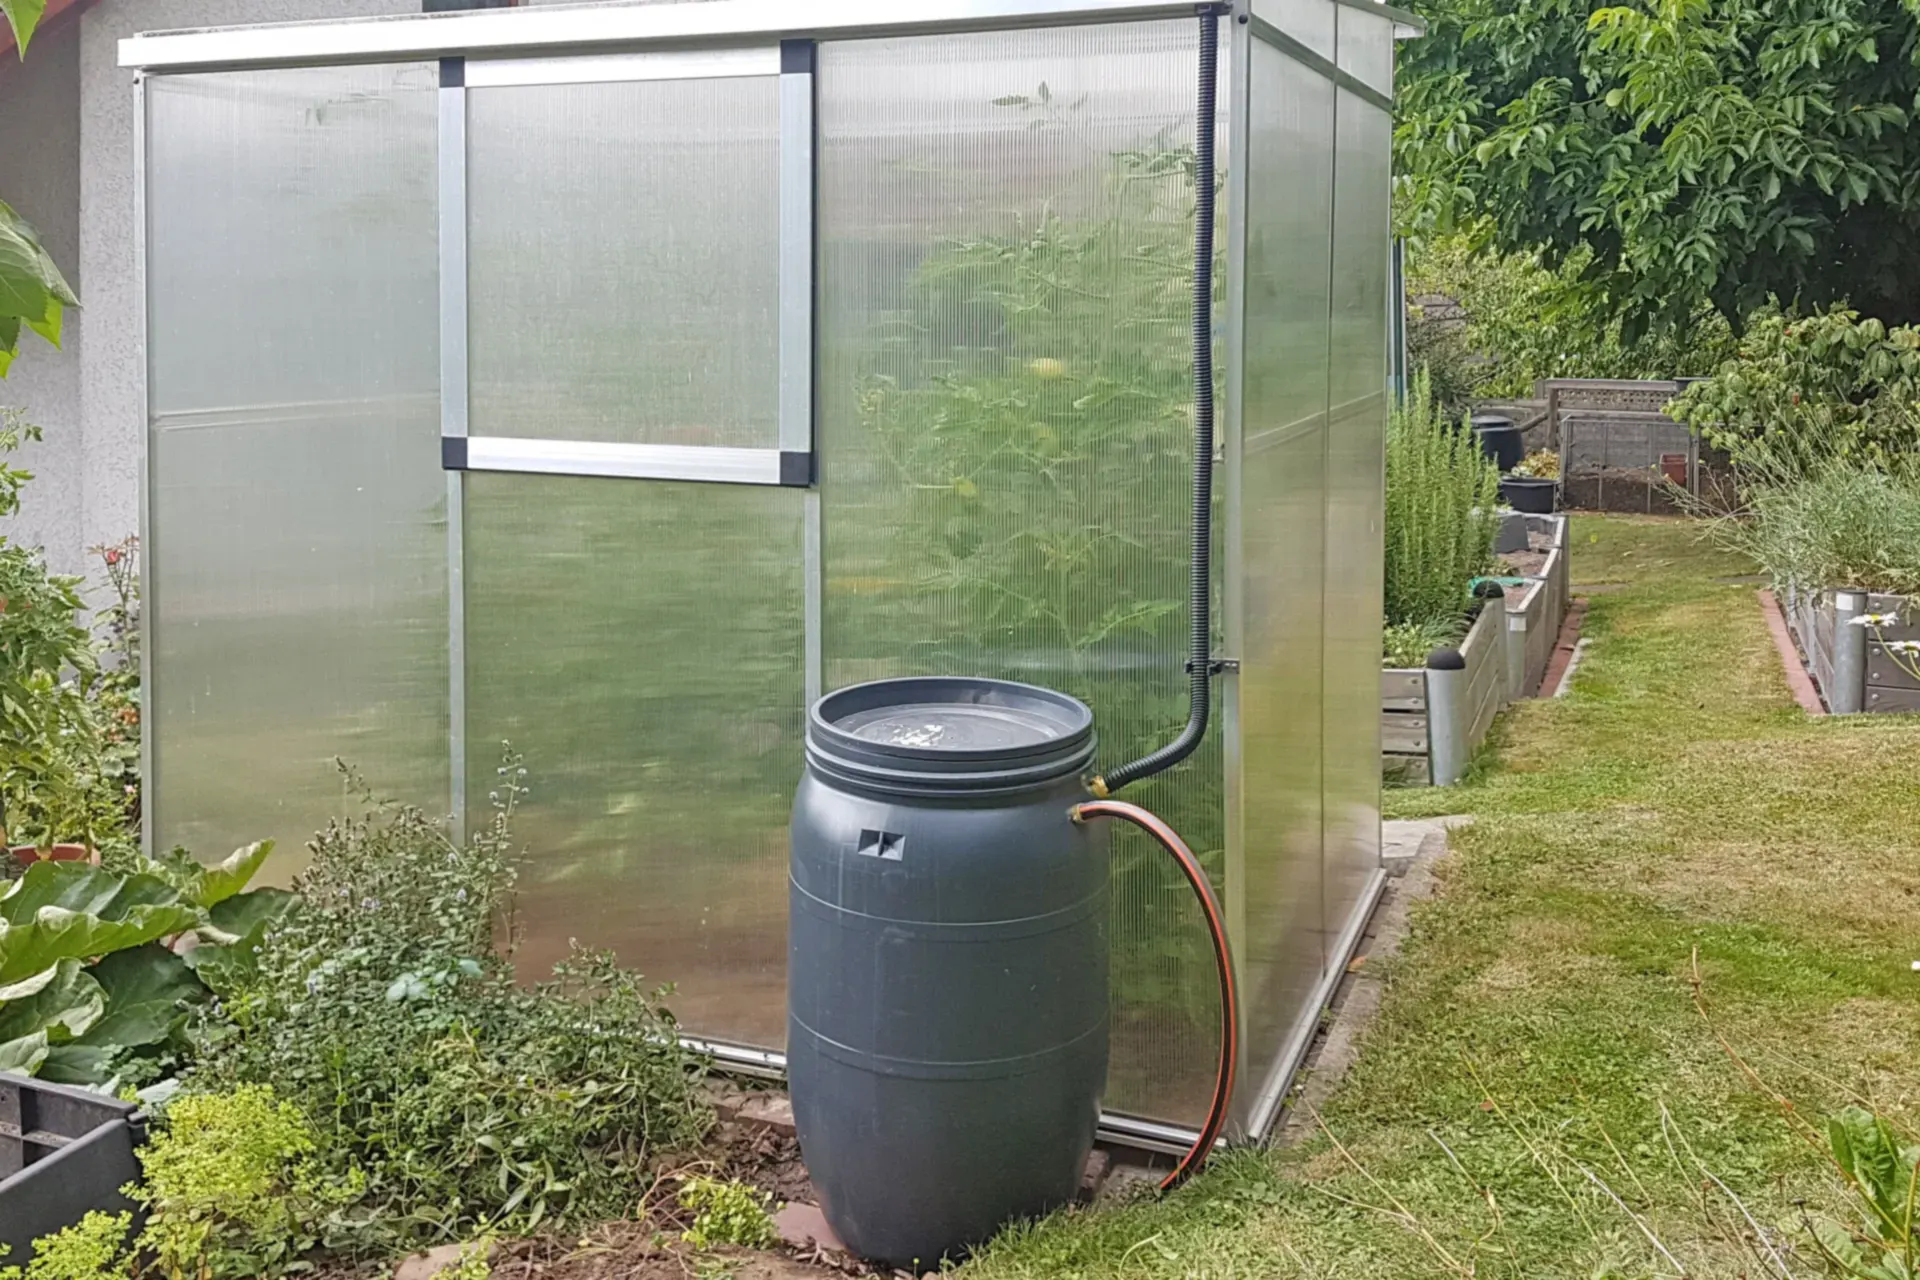
A rain barrel is the simplest water system in the garden, and winter still destroys more of them than every other season combined — split seams, cracked spigots, and barrels bowed out of shape by a single hard night. The fix takes about an hour in fall, and it has to happen on the calendar, not on the forecast: by the time a hard freeze is tonight's news, the barrel should already be empty.
Why this job cannot wait — at a glance
- Water expands about 9% as it freezes — a full or half-full barrel has nowhere for that expansion to go, so the barrel, the spigot or the fittings give way instead
- A hard freeze means below 28 °F (−2 °C) for several hours — a light frost on the grass will not hurt a barrel; a hard, penetrating freeze will
- The deadline is your area's first hard freeze, not the first snowfall — winterize ahead of it, while hoses still bend and water still runs
- Spring runs in reverse: reconnect only after the last hard freeze, so one late cold snap cannot undo the whole job
Step 1 — Use up the water, then drain it dry
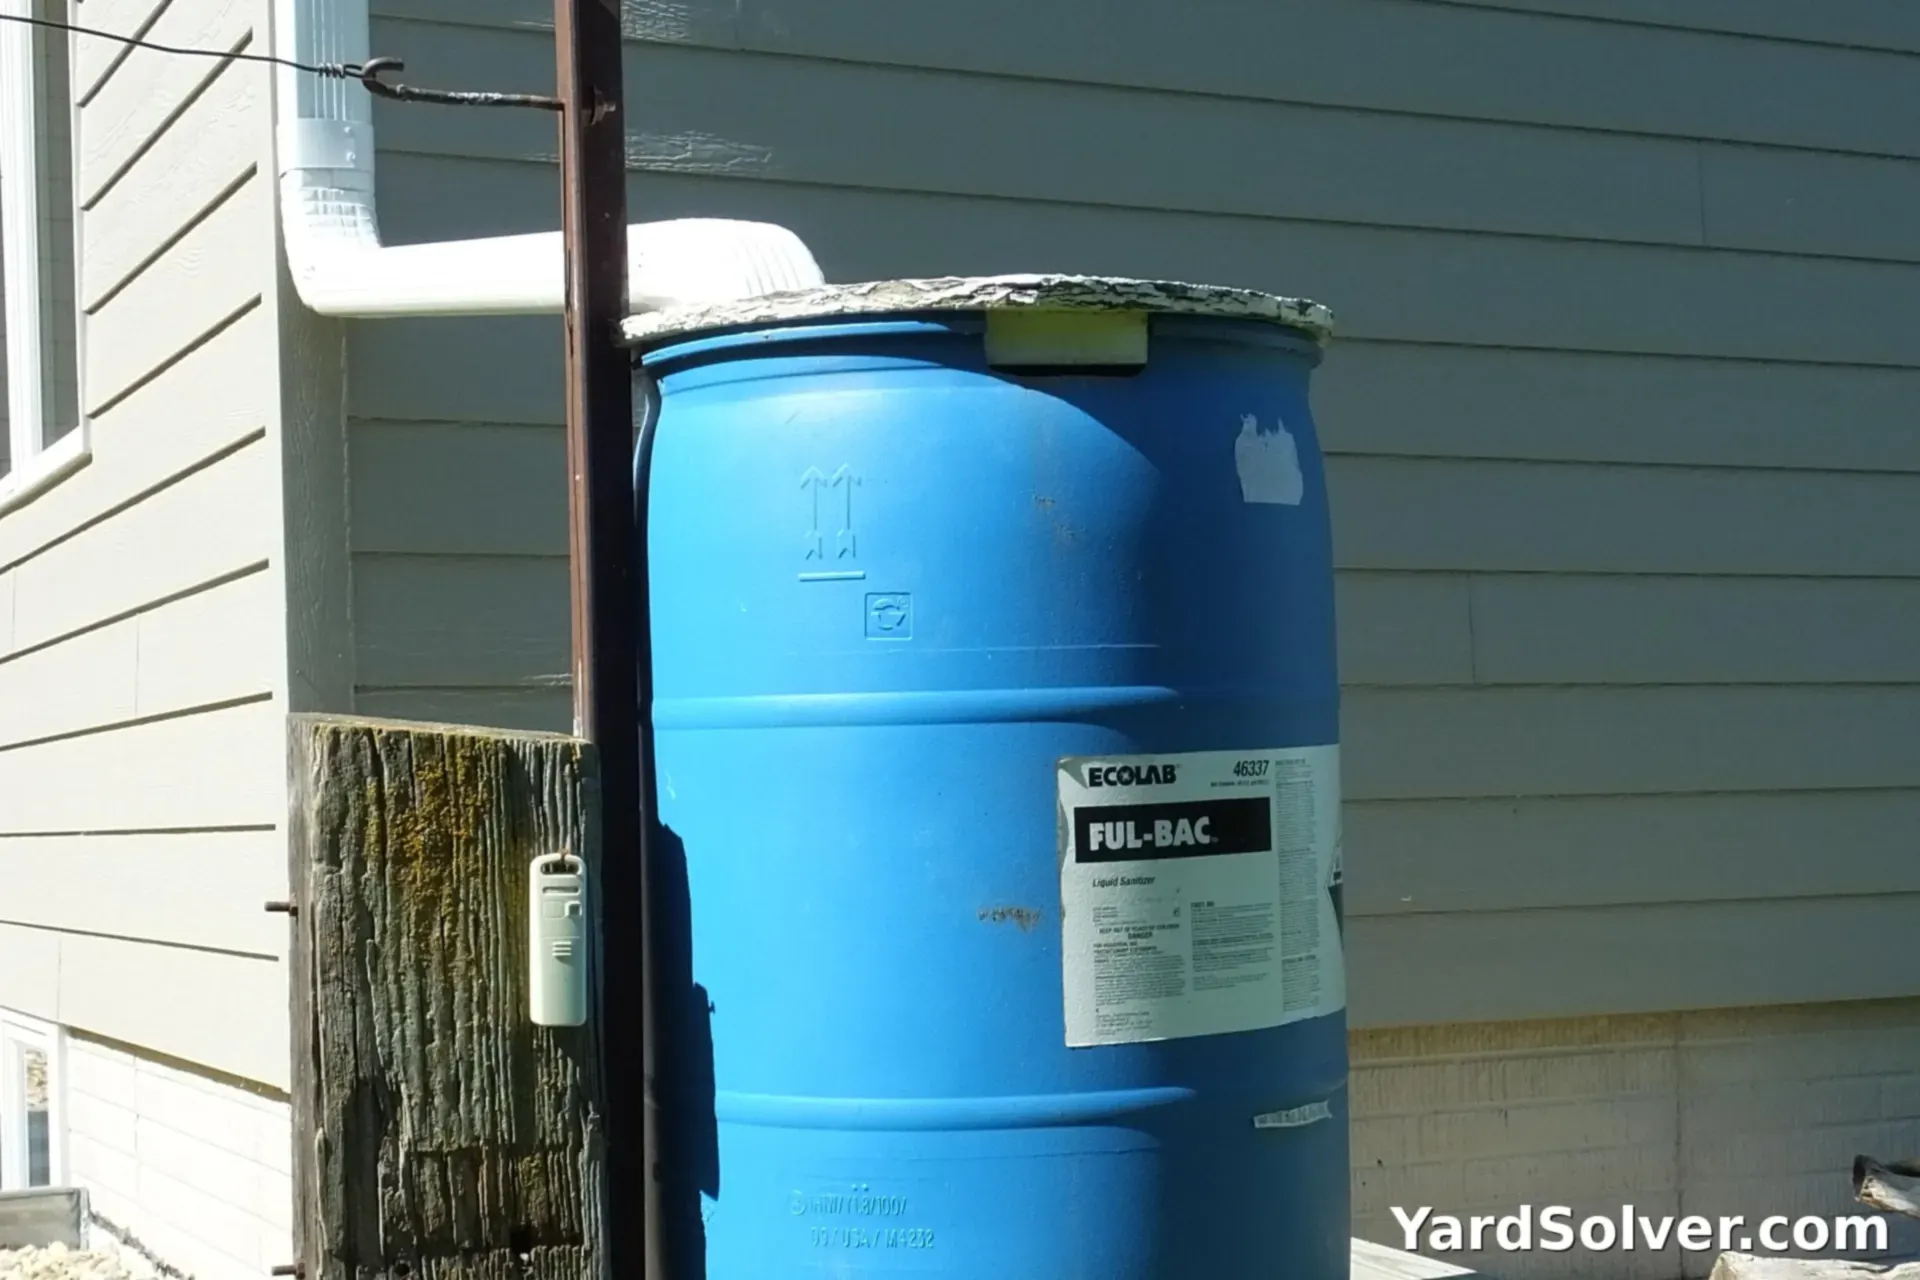
Start a week or two ahead by spending the water rather than wasting it: rain barrel water is soft, chlorine-free and exactly what fruit trees, shrubs and beds want before winter, and acid-loving plants like blueberries prefer it to tap water. Water the garden down until the barrel is nearly empty, then open the spigot and drain the rest onto a bed or the base of a tree — never onto a path or driveway, where it becomes sheet ice.
Then get it truly dry, because the last inch is the dangerous inch: water left sitting in the bottom still expands, still cracks seams, and still bursts the spigot housing. Tip the barrel, slosh out the remainder, and leave the spigot open so any stray water that finds its way in can escape instead of freezing in the valve. If you are sizing a replacement or a second barrel for spring, the Rain Barrel Calculator works out how much roof water you actually collect.
Step 2 — Disconnect the diverter and restore the downspout
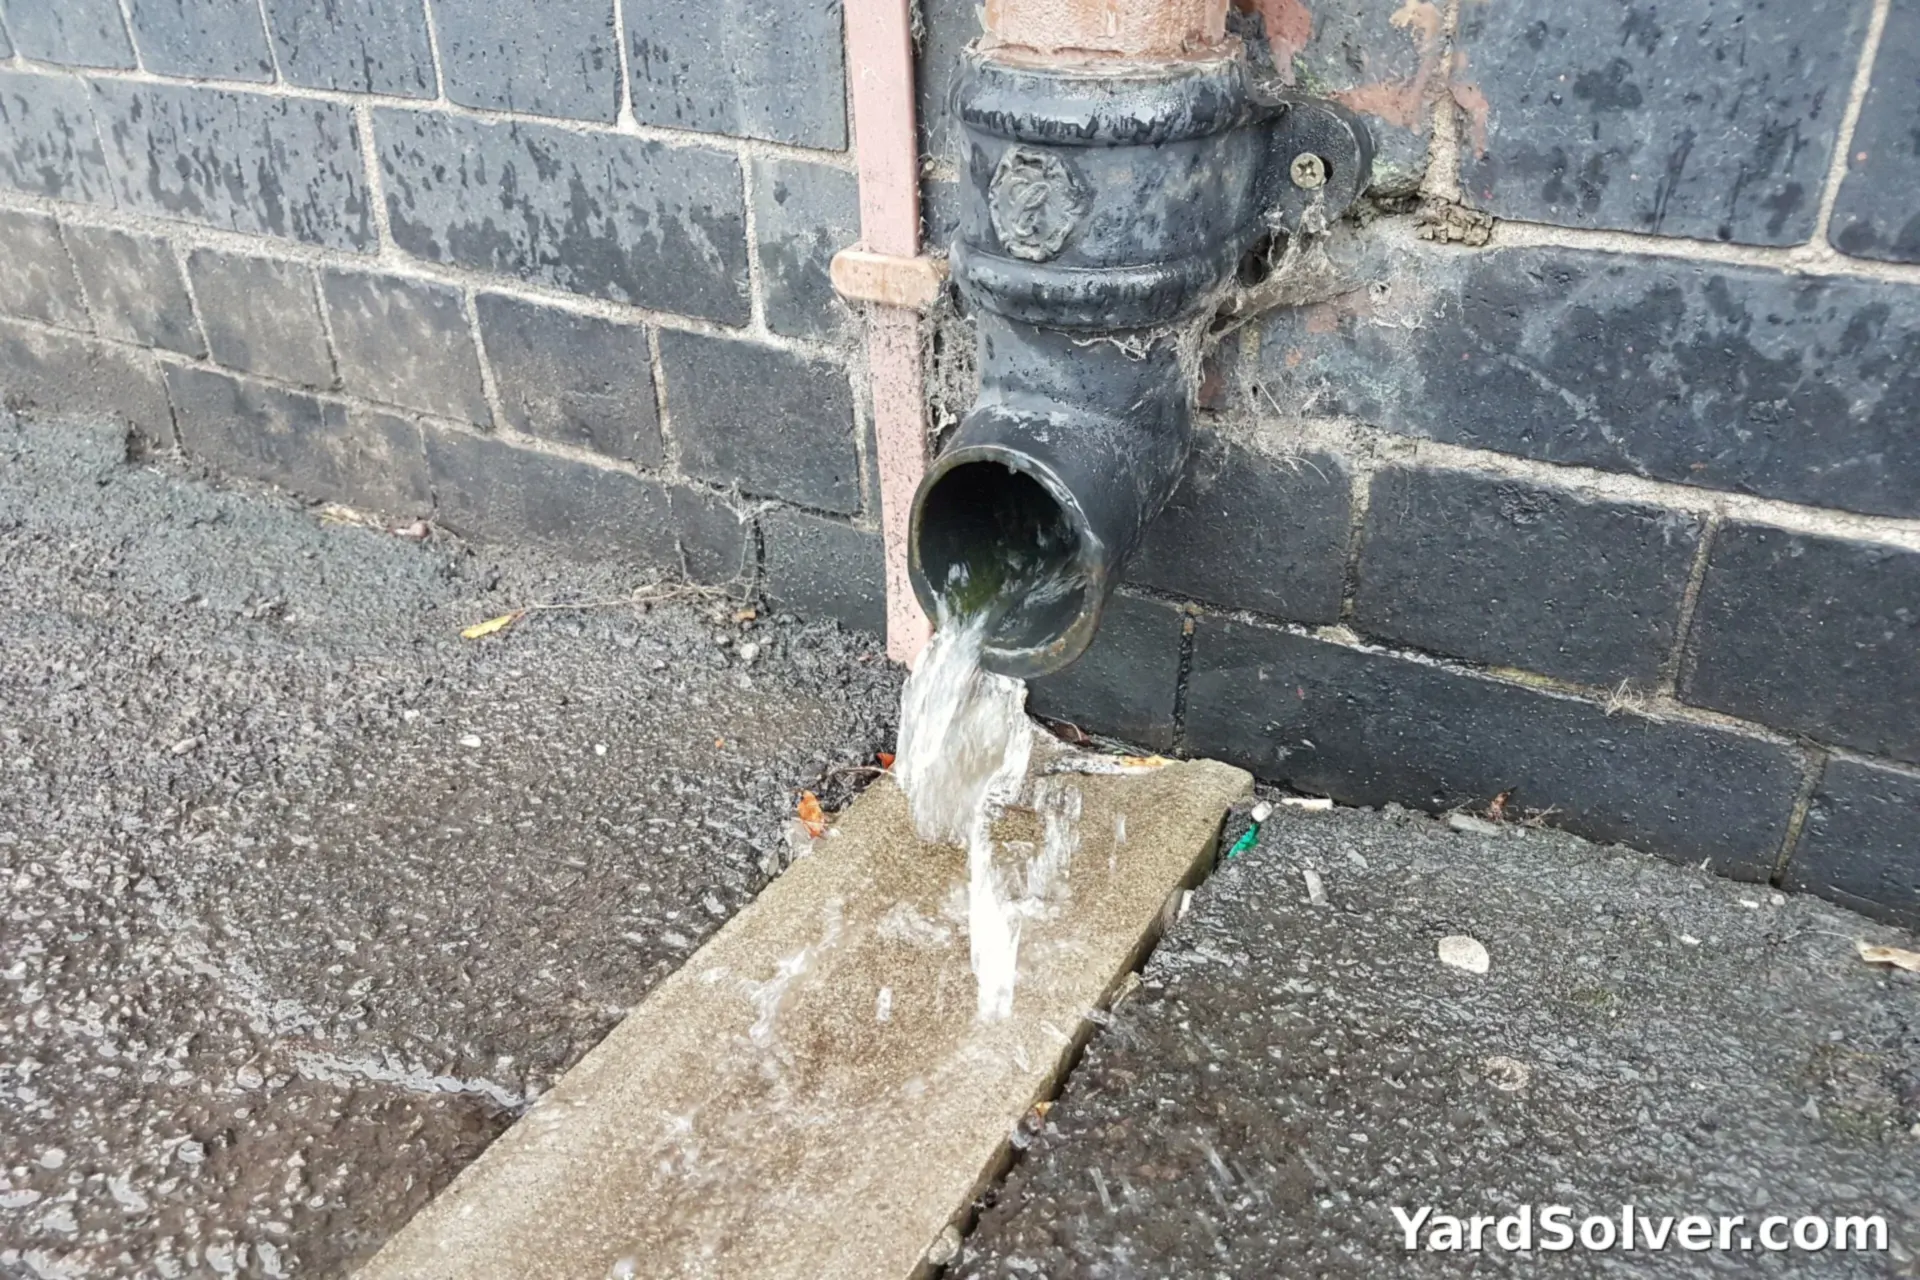
With the barrel empty, disconnect it from the diverter and take the diverter out of the system: close off or remove the diverter fitting as its maker directs, and reconnect the downspout section you removed when the barrel went in, so the downspout runs whole from eavestrough to ground again. A diverter and its short connecting hose freeze and split just as readily as the barrel itself, and they belong indoors with the other fittings.
Finish by checking where the water now goes. Fit the elbow and an extension so meltwater and winter rain land 4–6 feet (1.2–1.8 m) away from the foundation and drain away from the house, not toward it. All winter, every thaw runs off your roof through this downspout; a restored downspout that dumps at the wall trades a cracked barrel for a wet basement. The full system view is in our guide to rainwater harvesting for beginners.
Step 3 — Drain every hose and fitting
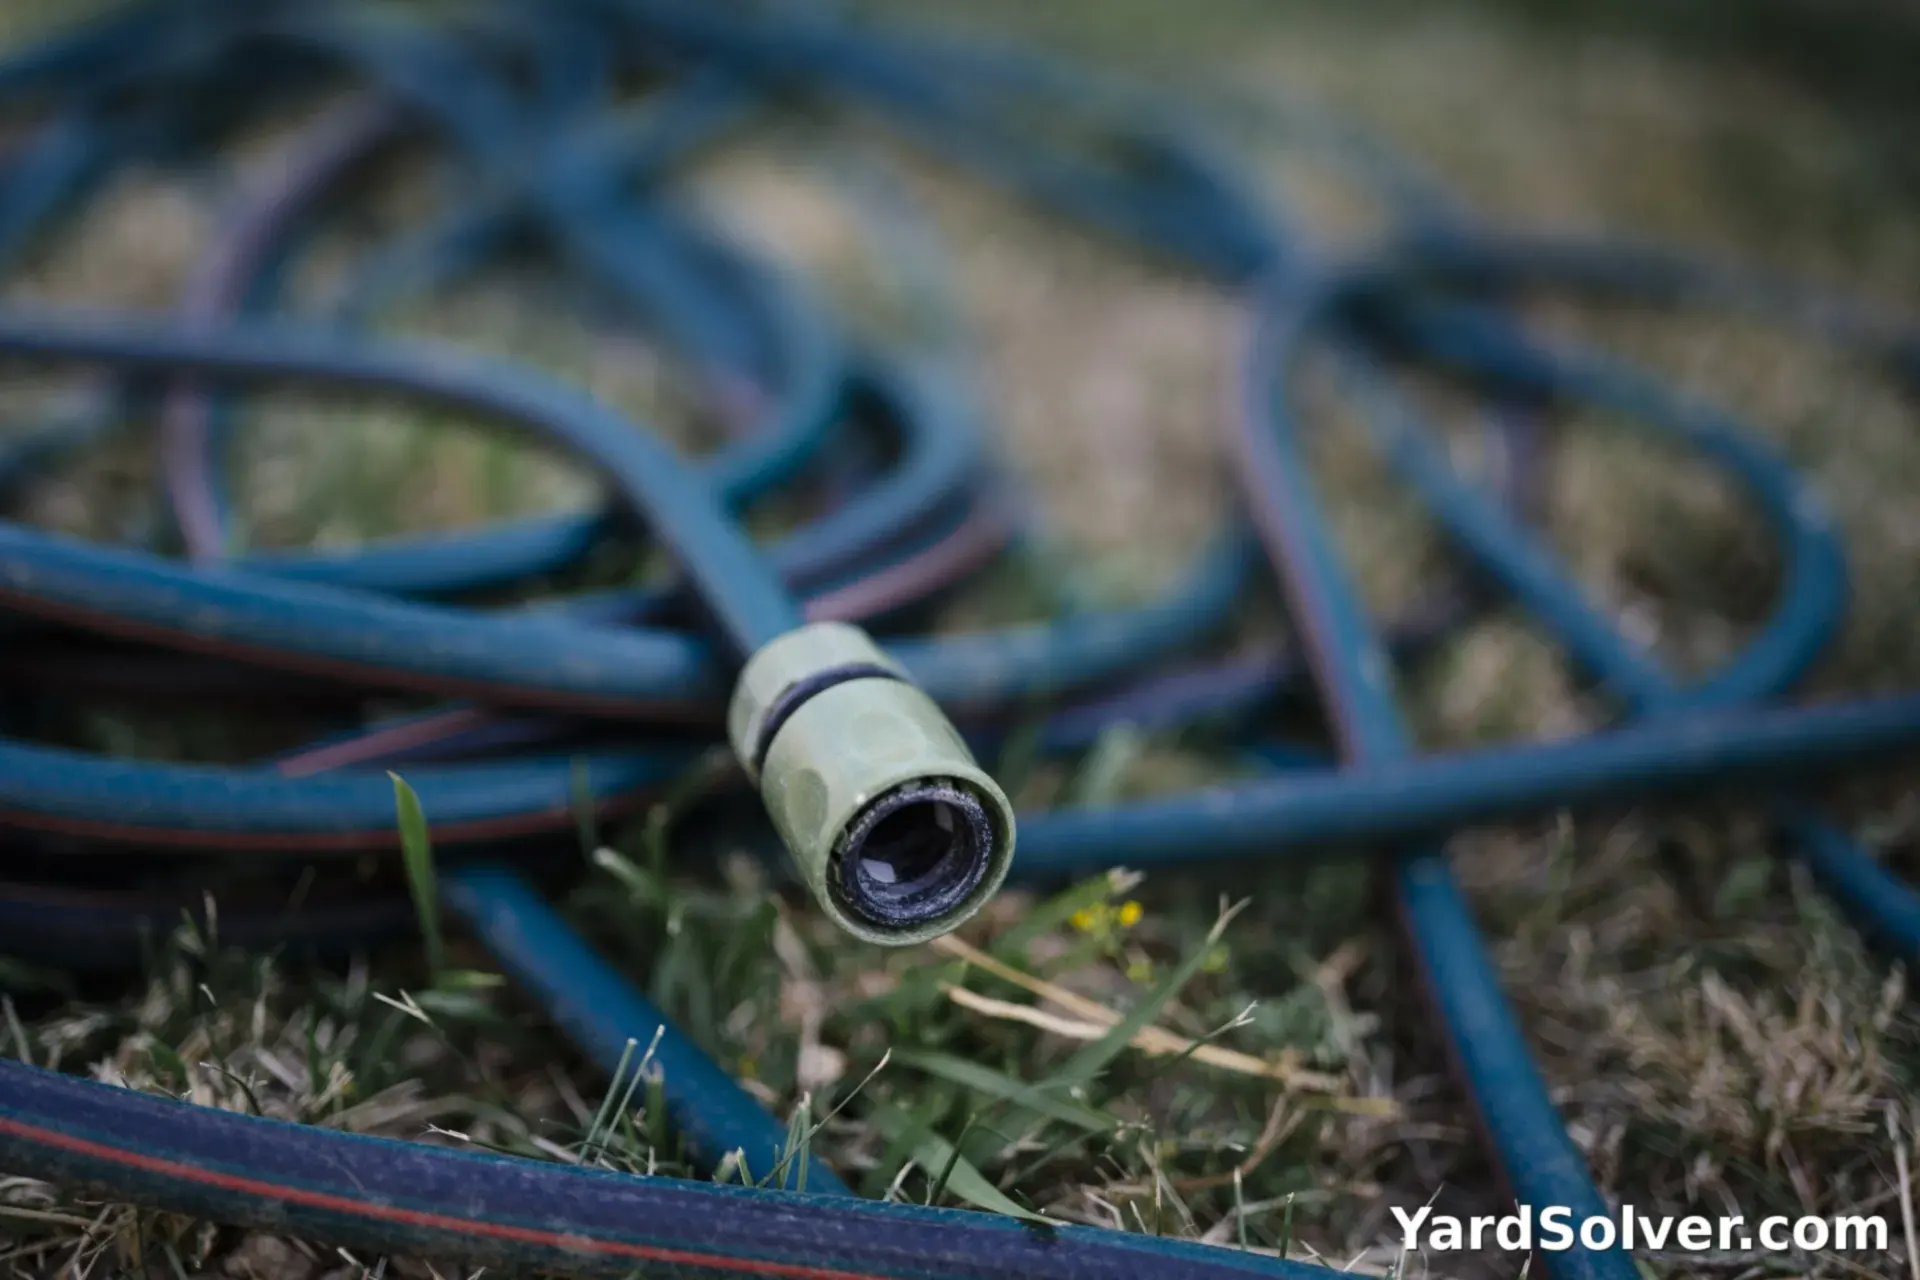
The barrel is only the biggest vessel in the system. The overflow hose, the linking hose between two barrels, the spigot's short connector and any hose-end fittings all hold water in their low spots, and all of them split the same way. Unhook every hose, stretch it out down a slope or over a fence, and walk the water out of it end to end until nothing runs.
Coil the drained hoses loosely and store them under cover with the diverter, washers, spare screen and any linking kit. Rubber washers and plastic fittings that spend the winter indoors come back flexible in spring; the same parts left outside in a frozen hose come back cracked. If your garden also runs drip lines, the same afternoon covers them — see how to winterize drip irrigation.
Step 4 — Scrub out the sediment and check screens and valves
An empty barrel in fall is the one easy chance all year to clean it. A season of roof water leaves a layer of grit, leaf fragments and algae sediment in the bottom, and a film on the walls; left over winter it hardens, smells, and seeds next year's mosquito problem. Tip the barrel on its side, scrub inside with a stiff brush and plain water — a splash of vinegar for stubborn algae — and rinse it clean. Skip bleach and detergents: whatever you use ends up on the garden in spring.
While it is clean and dry, inspect the parts that fail: the mesh screen over the inlet, for holes that let mosquitoes and debris in; the spigot, opened and closed a few times, for stiffness and drips; the overflow port and any seams, for hairline cracks. Repair or order parts now, in the quiet season, instead of discovering a leaking spigot on the first rainy weekend of April when the barrel is already back under the downspout.
Step 5 — Store it so it cannot refill
The storage rule is simple: the barrel must not be able to collect water again. Best is indoors — a garage, shed or basement, out of the freeze entirely, where plastic also escapes winter sun and cold-embrittlement. Store it on its side or upside down so nothing pools in it, with the spigot still open.
No indoor room? Outdoors works if you follow the same rule: set the barrel upside down on bricks or a pallet, off the wet ground so the rim cannot freeze into a puddle, in the shelter of a wall or fence, and strap or weigh it against winter wind — an empty barrel is a sail. Never leave a barrel upright and open under a downspout or a drip line 'just for winter': one thaw refills it, the next freeze splits it, and you have done the whole job for nothing.
Step 6 — Reconnect in spring, after the last hard freeze
Spring reconnection is this list read backwards — barrel back in place, diverter refitted, hoses reconnected, screen on, spigot closed — with one condition: wait until the last hard freeze has passed in your area. A barrel reconnected on the first warm weekend and caught by a late snap at 25 °F (−4 °C) is in exactly the danger you spent the fall avoiding. Give the first spring rains to the downspout extension, then connect up and start the season with a clean, sound, mosquito-screened barrel.
On the first fill, stay for five minutes and watch the system work: check the diverter joint, the spigot and the overflow for drips while the barrel is under real pressure, and confirm the overflow hose carries surplus water away from the foundation instead of dumping it at the wall. Most spring leaks are fall damage announcing itself, and they are far easier to fix on a barrel that is still nearly empty than on a full one in the middle of a rainy week.
Keep going
Put next season's watering jobs in the Planner, and keep learning: How to Winterize Drip Irrigation · Rainwater Harvesting for Beginners · Rain Barrel Calculator
Questions people ask
Can I leave a rain barrel outside all winter?
Yes — but only empty and unable to refill. Store it upside down on bricks or a pallet, out of standing water, with the spigot open, and strap it against wind. An upright barrel left under a drip or downspout will collect water, freeze, and split.
When exactly should I winterize it?
Before your area's first hard freeze — a spell below 28 °F (−2 °C) lasting several hours. Watch your local average first-frost dates and finish a week or two ahead of them, while hoses still bend and the barrel's water is still worth using on the garden.
Should the spigot stay open over winter?
Yes. Leave the spigot open on a stored barrel. Any water that does find its way in can then drain out instead of freezing inside the valve body and cracking the spigot housing, which is one of the most common winter failures.
My barrel froze with water in it — now what?
Let it thaw completely on its own — never pour hot water on frozen plastic. Then inspect seams, the bottom and the spigot for cracks, fill it, and watch for leaks over a day. Hairline seam cracks and a split spigot usually mean replacement; a sound barrel that merely bowed can go back into service.
Comments & ratings
No comments yet.
Be the first to share your experience.