
Guides · Watering · Published November 1, 2026
How to Set Up Drip Irrigation
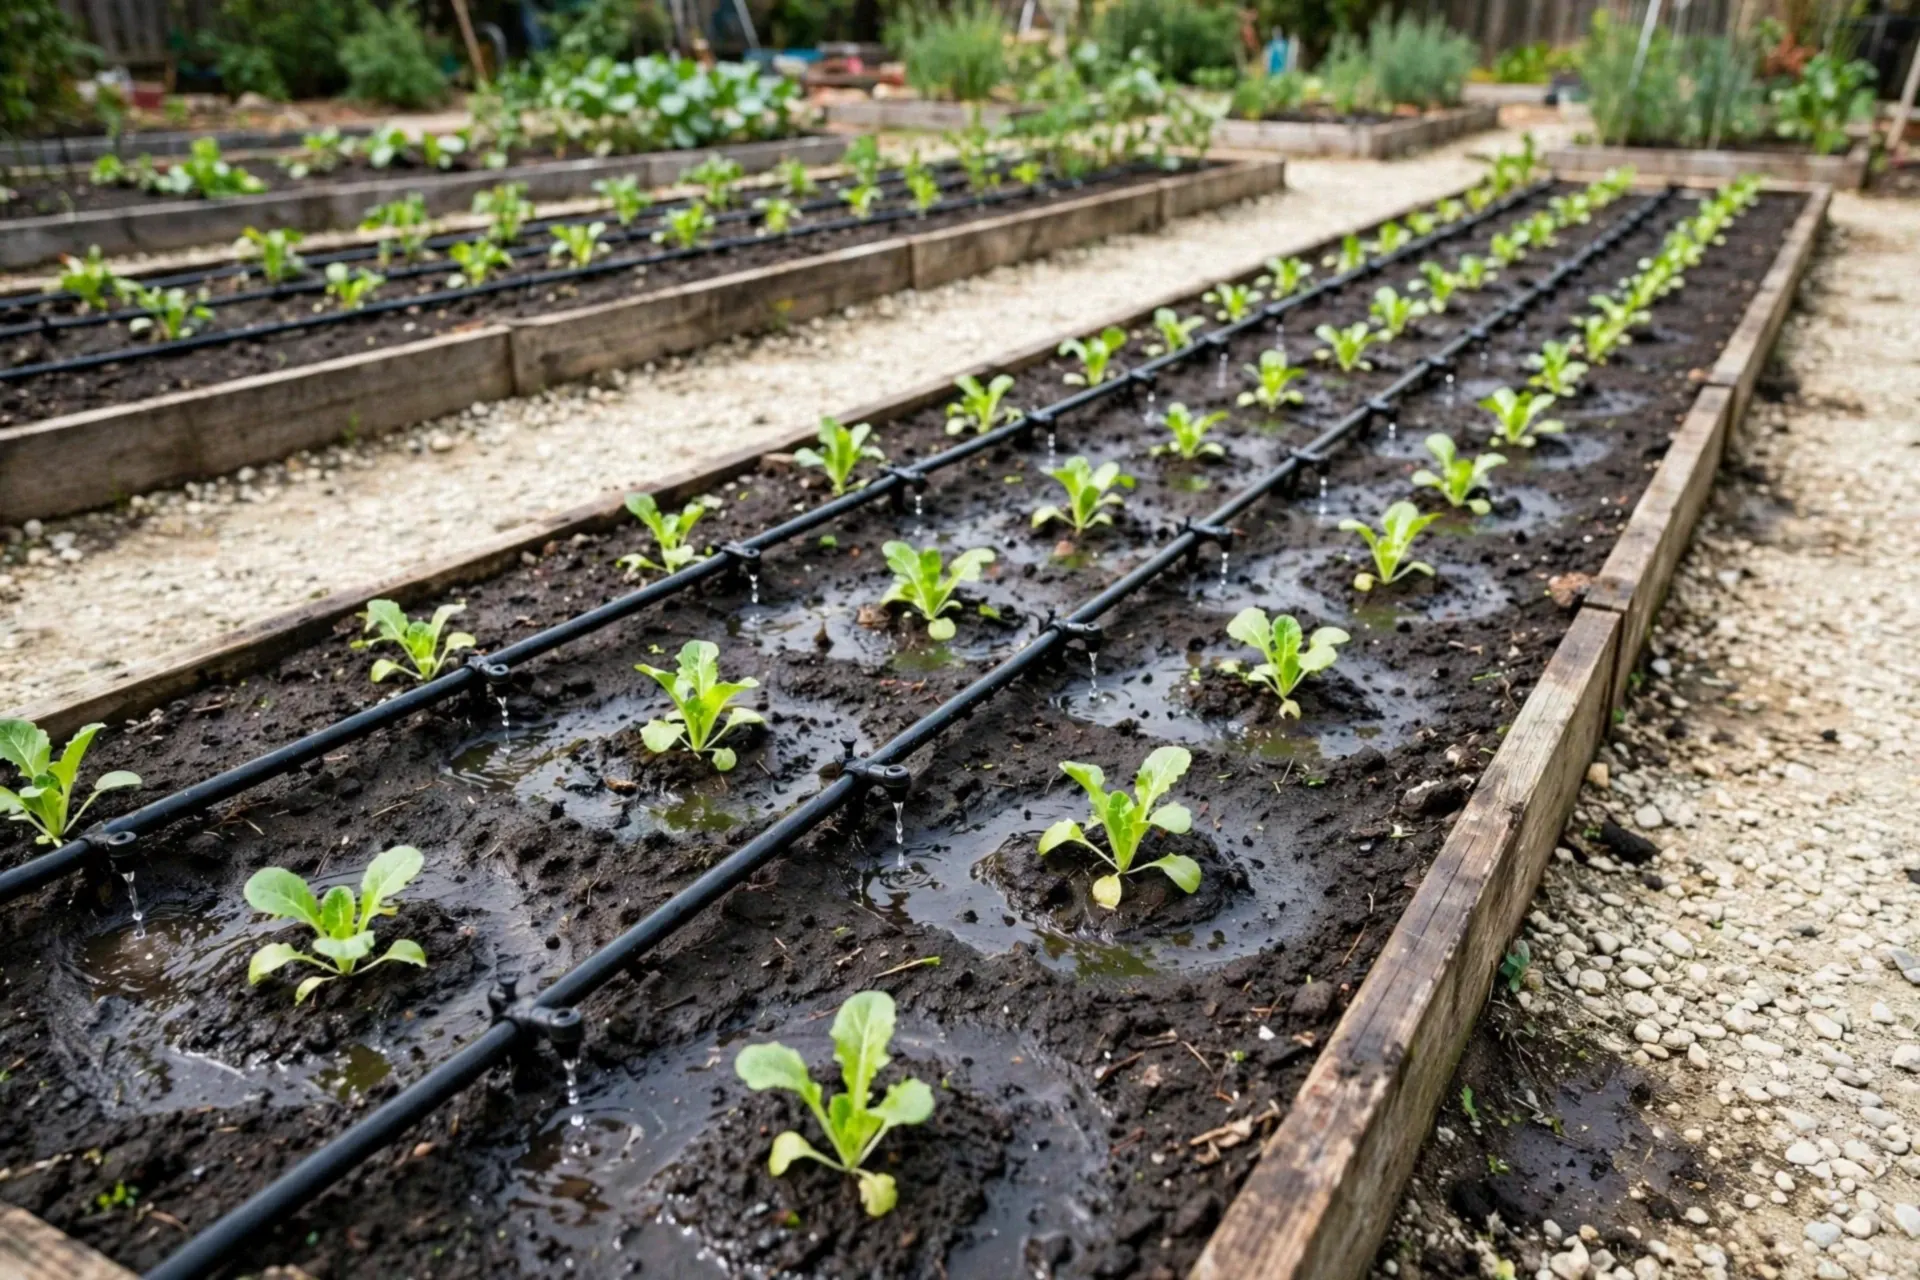
Drip irrigation is the watering upgrade gardeners never go back from: water delivered slowly at the roots, leaves kept dry (which starves foliage disease), paths left dry and unweeded, and a timer doing the whole job at dawn. A basic system for beds and rows installs in a weekend with no plumbing skills. The failures people report — emitters starving at the end of the line, burst fittings — all come from skipping step 1 or step 2 below.
The parts list (one header kit + tubing)
- At the tap, in order: backflow preventer → filter → pressure regulator (25–30 psi) → timer (optional but recommended) → mainline tubing
- In the bed: 1/2 inch mainline, 1/4 inch feeder lines, emitters (drippers) or drip tape for rows, end caps, a hole punch
- Emitters by thirst: vegetables and annuals 1–2 gph (4–8 L/h); shrubs 2–4 gph; trees get 2–4 emitters on a ring
- One zone, one appetite: keep thirsty vegetables and drought-tolerant herbs on separate lines or the herbs drown politely
Step 1 — Measure your water first (the bucket test)
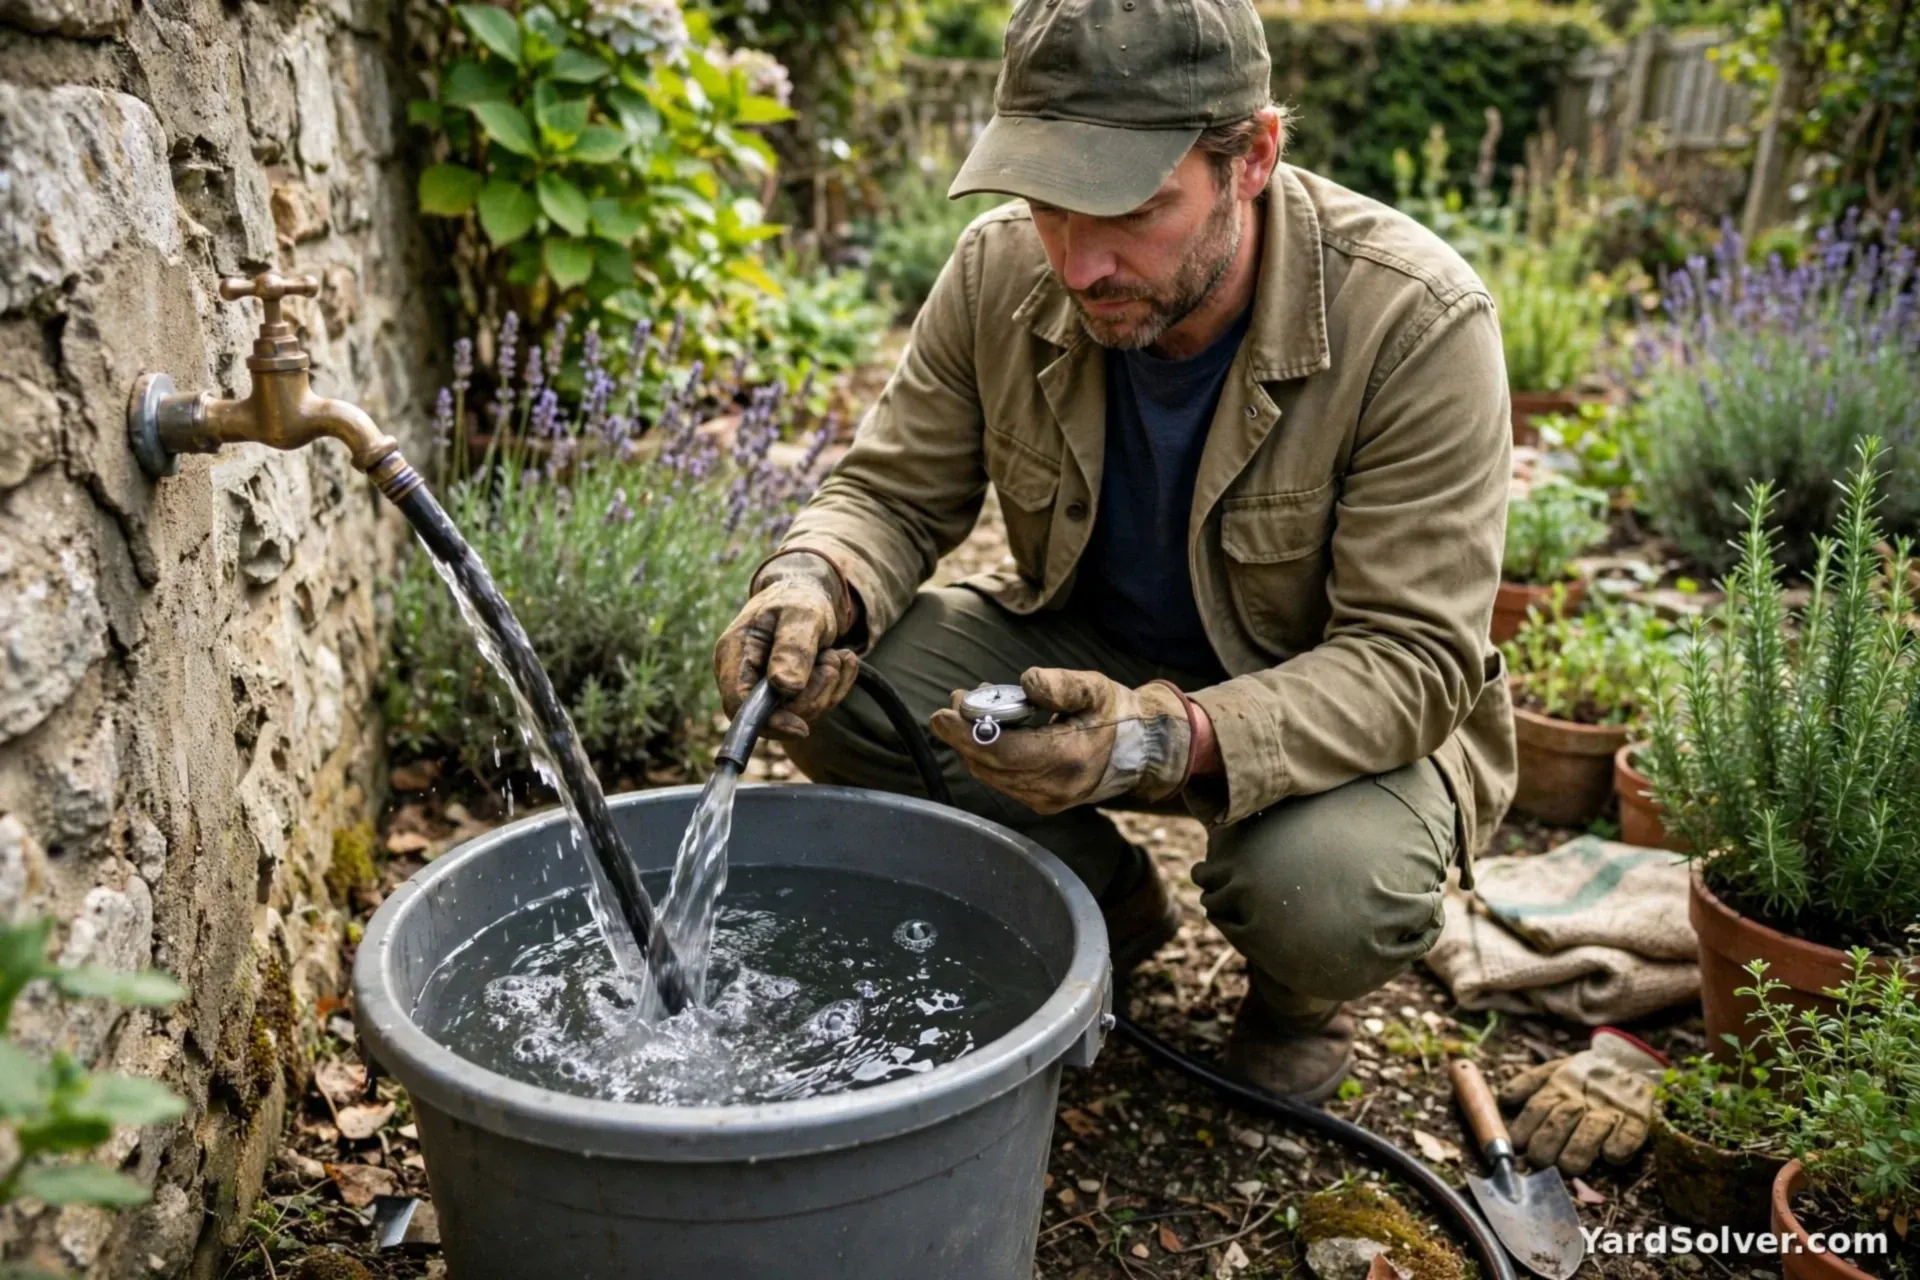
Every drip design starts with a number: how much water your tap delivers. Time how long the hose takes to fill a bucket of known size — that is your flow (for example, 10 litres in 30 seconds = 20 L/min, about 5 US gallons per minute). Add up the emitters you plan (their gph/L-per-hour ratings are printed on the packet): the zone's total draw should stay under about 70% of your measured flow, or the far emitters dribble while the near ones pour. Long gardens simply split into two zones watered on alternate days. Five minutes with a bucket prevents the classic drip failure — a system that only works for the first three plants.
Step 2 — Fit the header assembly, in order
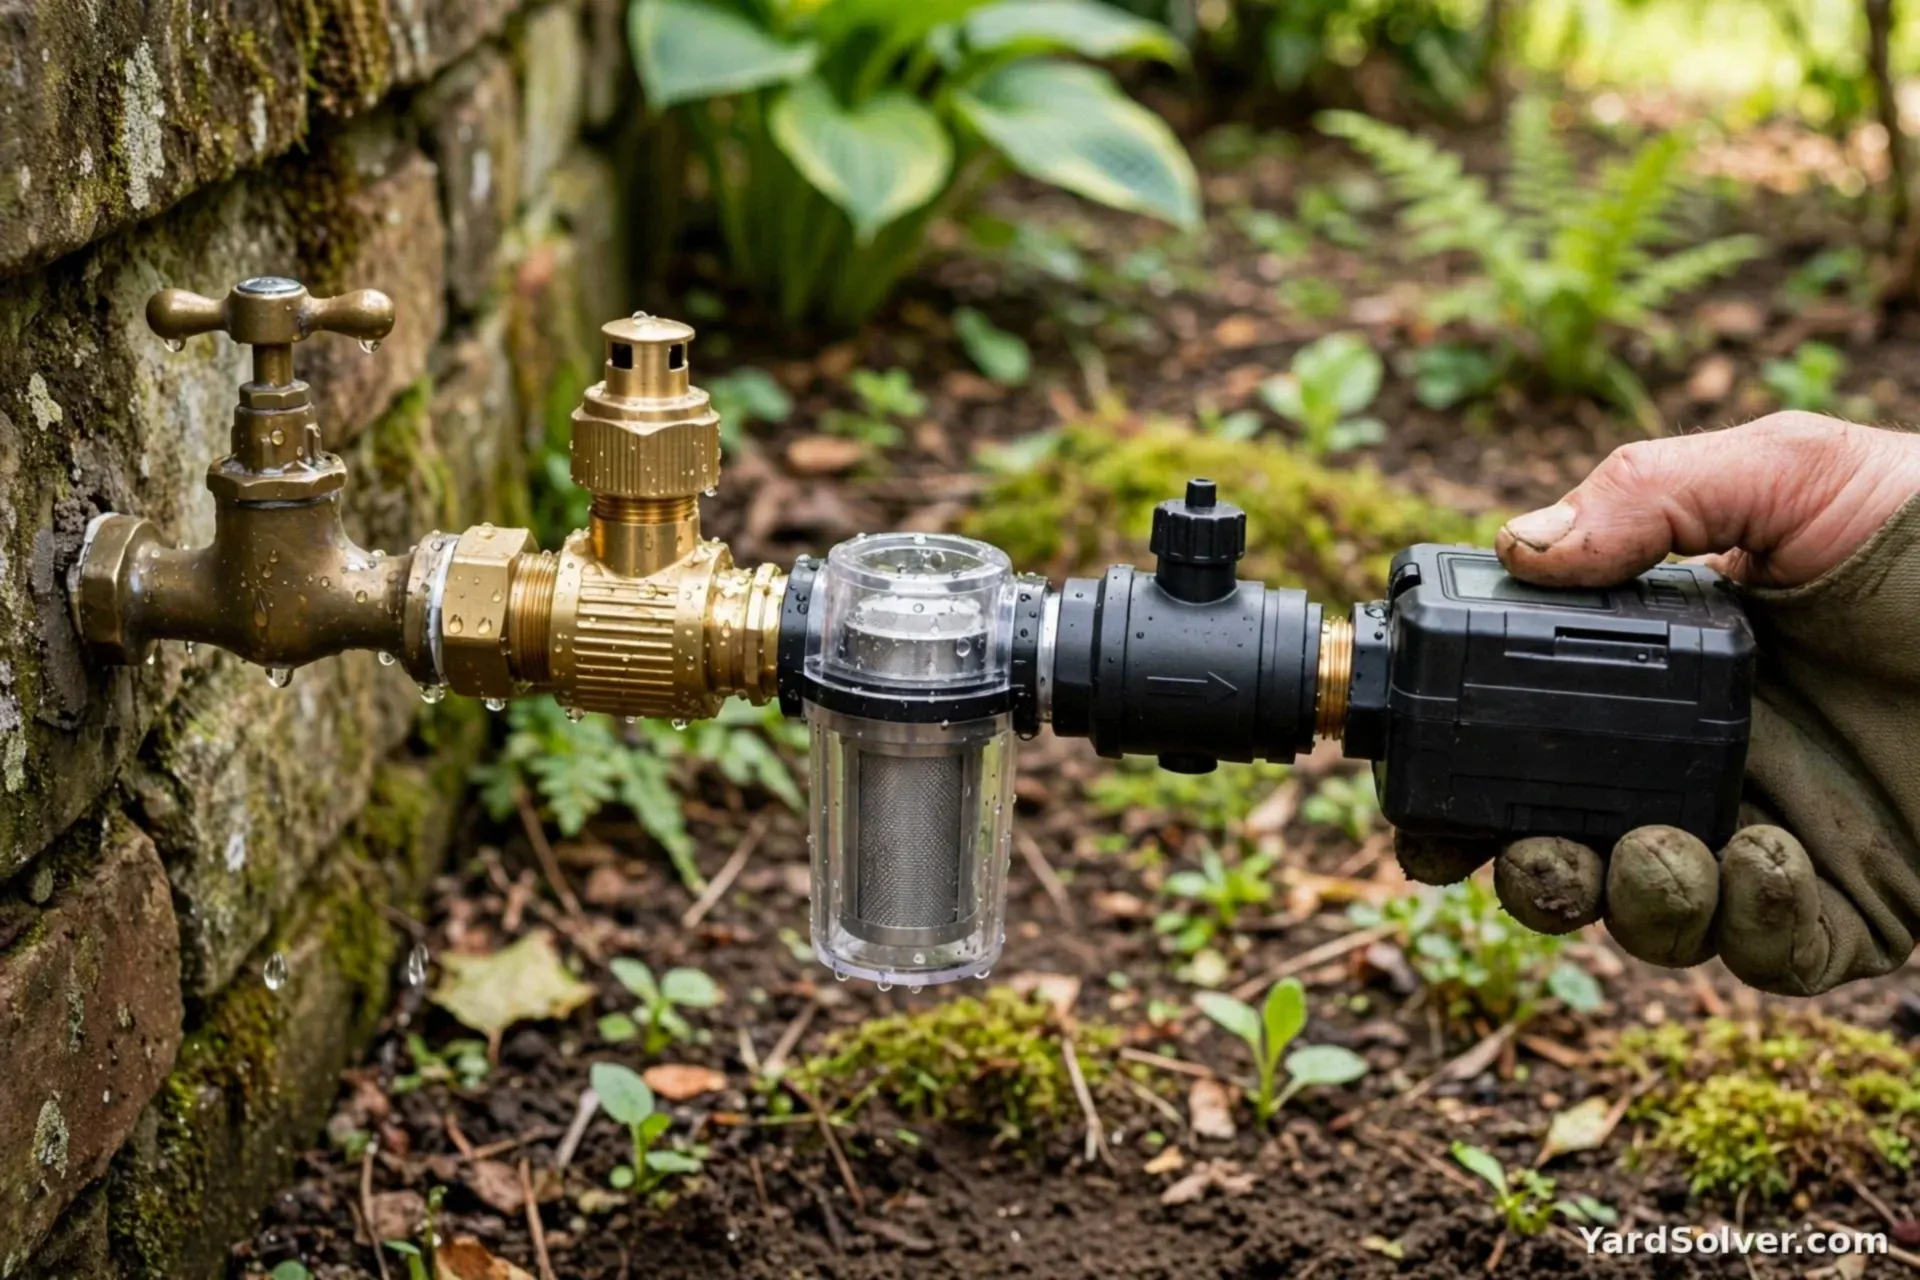
The four parts at the tap each prevent a different funeral. The backflow preventer stops garden water siphoning back into the house supply — required by code in many places and cheap insurance everywhere. The filter (120-mesh is standard) catches the grit that is the number one cause of clogged emitters. The pressure regulator drops household pressure (often 50–80 psi) to the 25–30 psi drip tubing is built for — skip it and fittings pop off all summer. The timer goes anywhere in the chain and turns the system into the set-and-forget watering of How to Water Plants While on Vacation. Teflon tape on threaded joints, hand-tight plus a quarter turn.
Step 3 — Lay the mainline and place emitters per plant
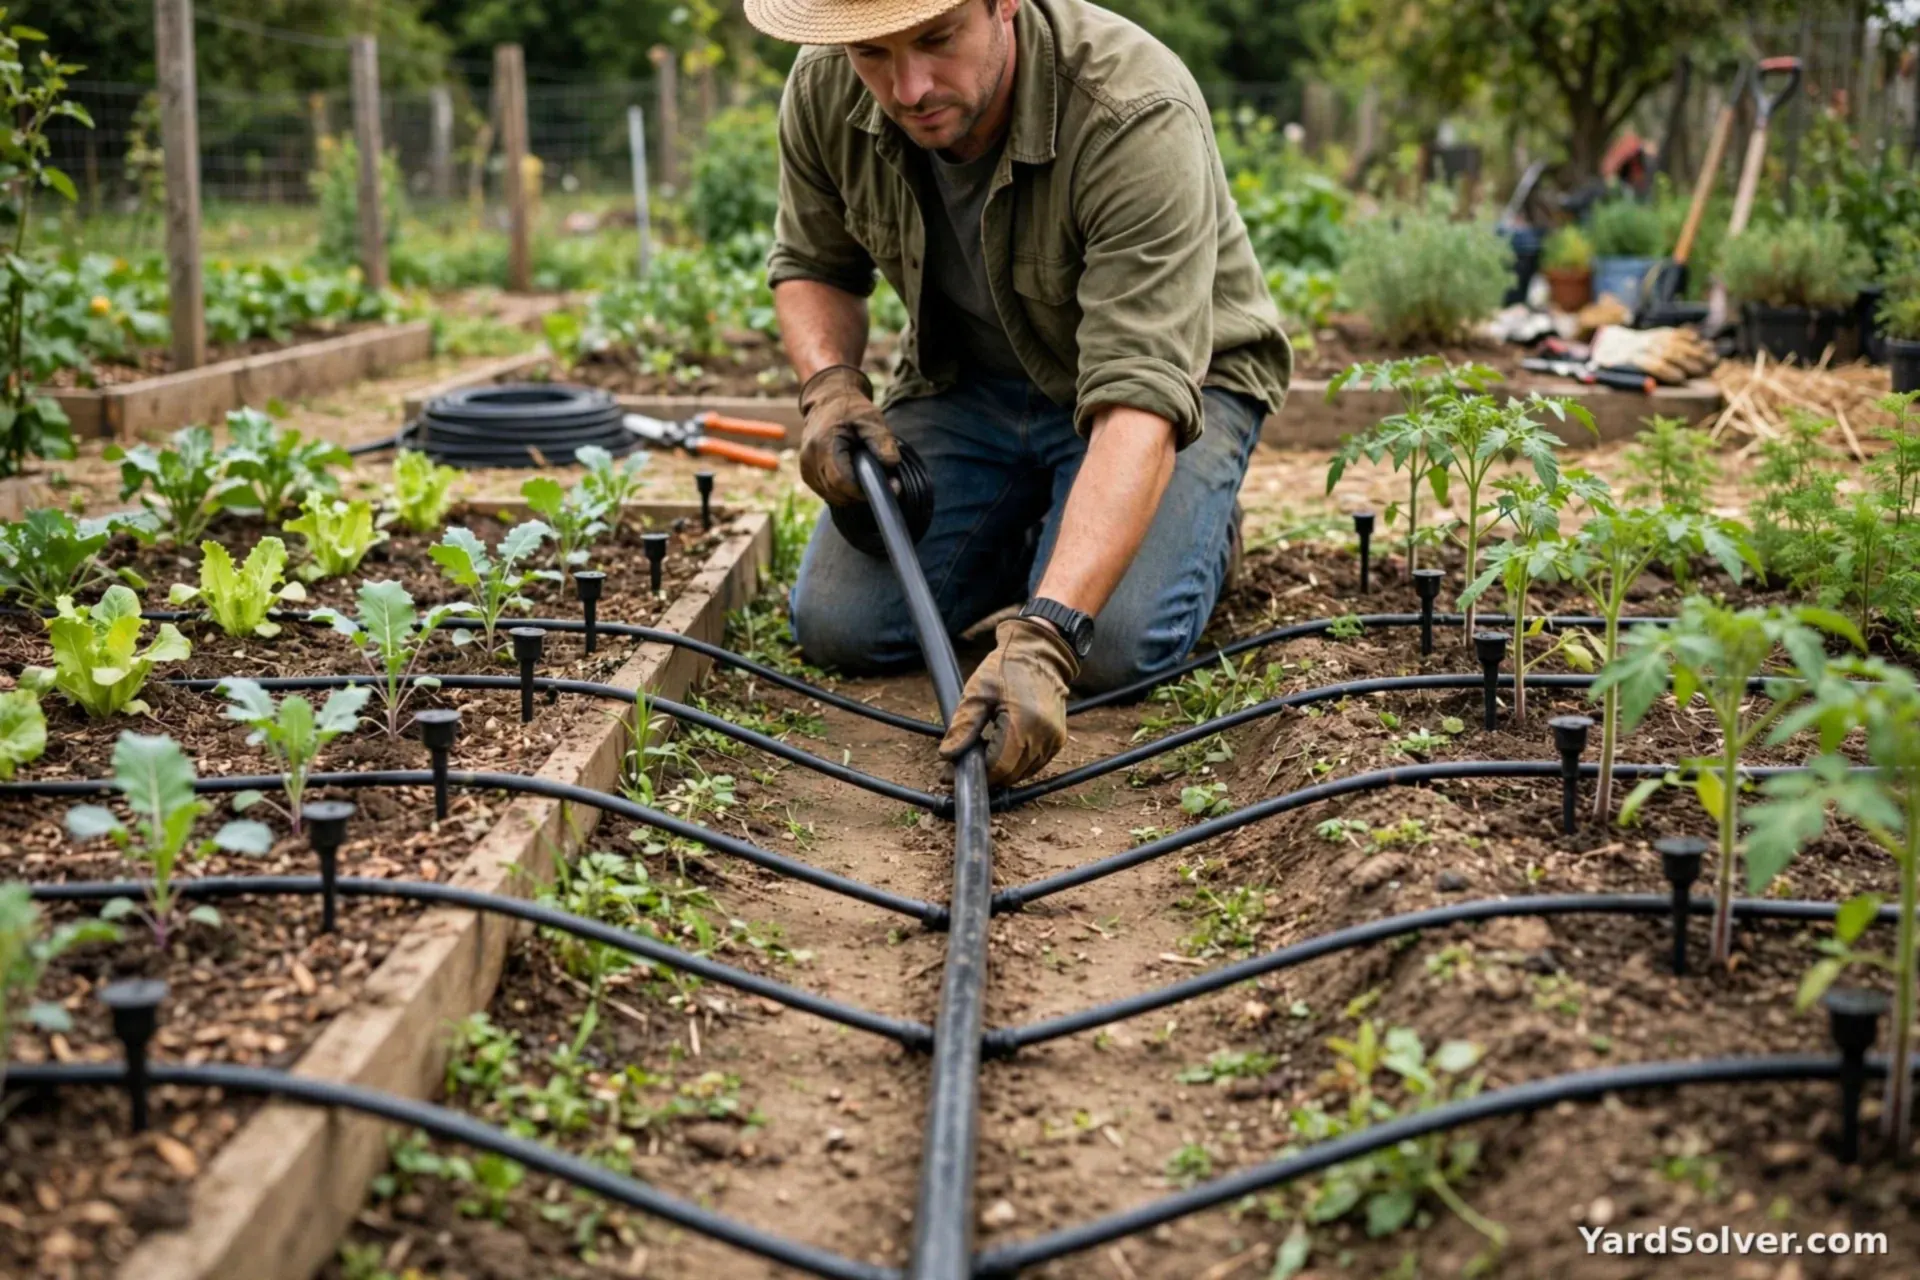
Run the mainline down the bed's centre or edge, unrolled in the sun first so it lies flat and willing. For rows of vegetables, drip tape or line with built-in emitters every 12 inches (30 cm) down the row is the simple answer. For individual plants — tomatoes, shrubs, fruit bushes — punch a hole in the mainline at each plant, push in a feeder line, and stake an emitter at the edge of the root zone, not against the stem: you are watering the soil volume the roots occupy, and as plants grow you add a second emitter on the far side. Capillary spread does the rest; in sandy soil water goes down more than sideways, so space emitters closer (about 12 inches); in clay they can spread to 18–24 inches.
Step 4 — Flush, cap, and test every emitter
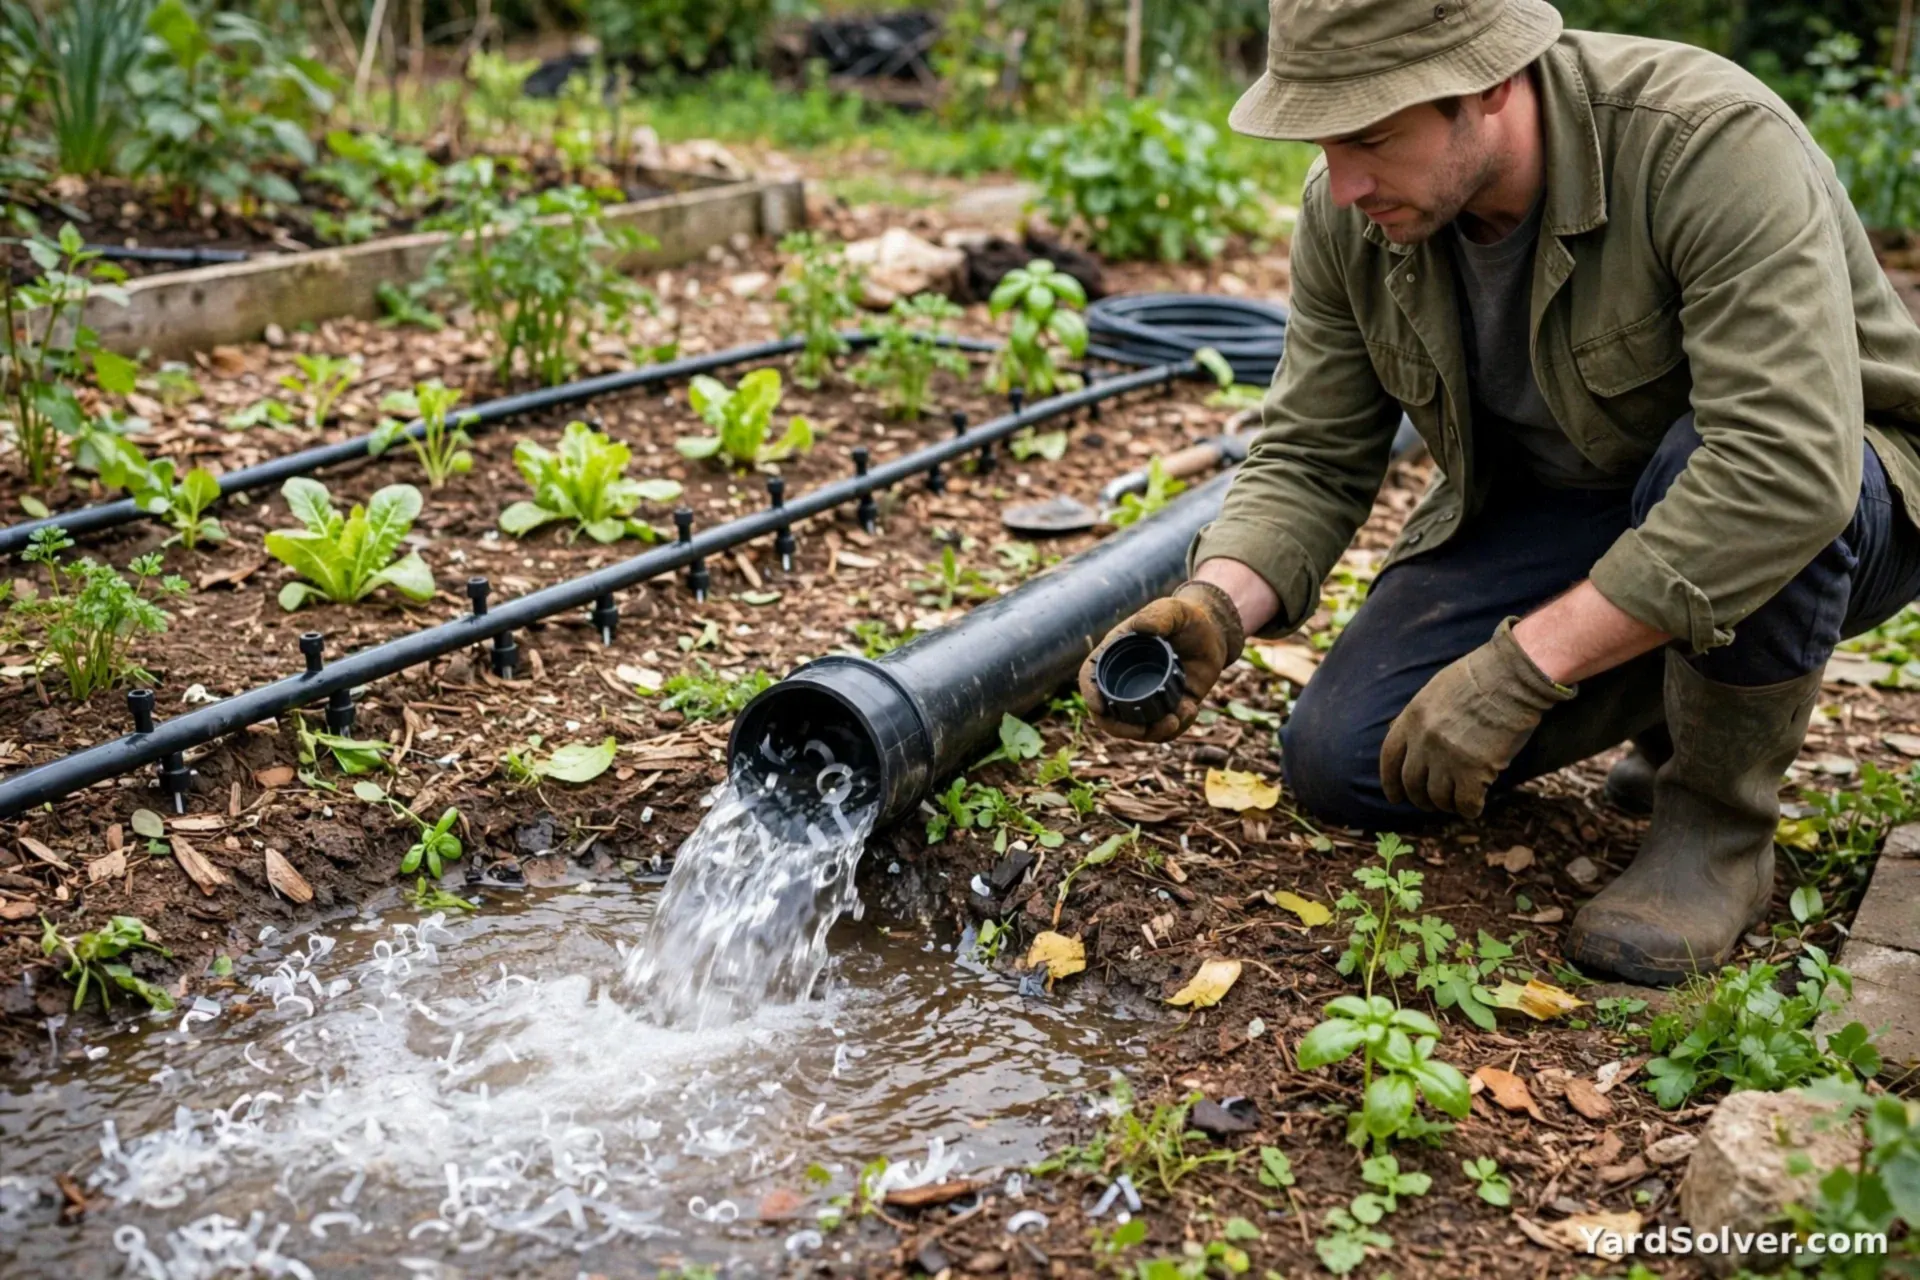
Before capping the ends, run the water with the ends open for a minute: every punched hole sheds plastic shavings, and flushing now is the difference between a clean system and a season of unclogging. Then fold or cap the ends, bring the system to pressure, and walk the whole line: every emitter dripping, every fitting dry. A fitting that weeps at test pressure gets reseated now, not after it has watered the path for a month. Check the far end of the longest run last — it is the truth-teller for whether your step 1 maths was honest.
Step 5 — Mulch over it and set a deep schedule
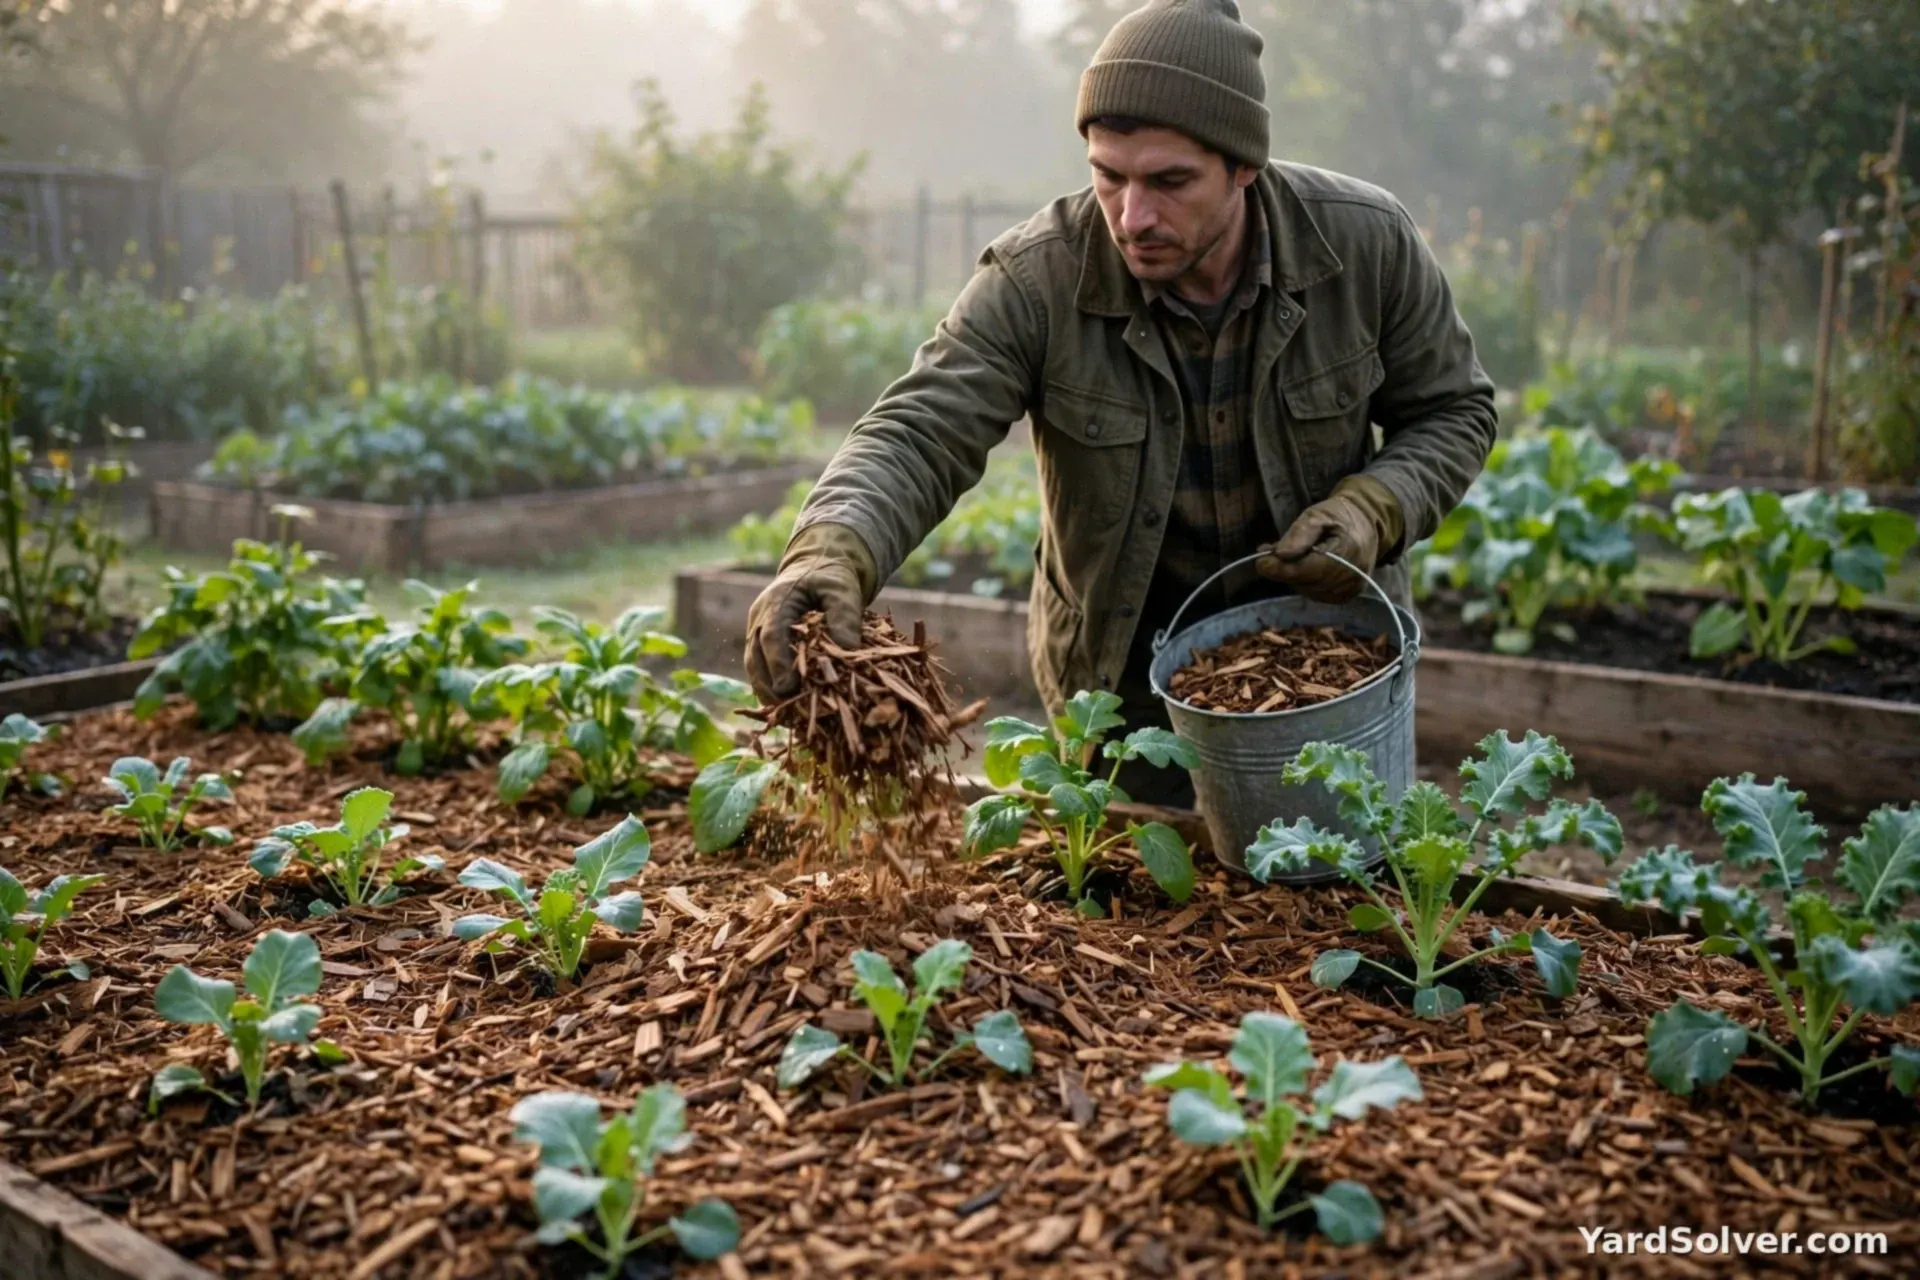
Finish by burying the whole system under 2–3 inches (5–8 cm) of mulch — lines protected from sun and feet, evaporation cut, and the weed suppression of How to Get Rid of Weeds Naturally on top (Mulch Calculator for quantities). Then set the schedule drip is designed for: long and infrequent — typically 1–3 hours, one to three times a week in summer, at dawn — so water soaks deep and roots chase it down, instead of the shallow daily sprinkle that grows shallow roots and fungus. In fall, winterize the system properly — blow out or drain the lines and bring the timer and filter indoors; a drained system shrugs off winter and starts the next spring in minutes.
Keep going
New beds being built to water? Plan the lines while you build with How to Build a Raised Bed — retrofitting is the same job, upside down.
Feeding through the lines or alongside them, the dose maths live in the Fertilizer Calculator.
Questions people ask
Drip lines or soaker hoses — which is better?
Drip, for control: every emitter delivers a known amount, so tomatoes and herbs on one line can be dosed differently, and failed spots are single replaceable emitters. Soaker hoses are cheaper for a single straight bed but weep unevenly (heavy at the tap end, light at the far end) and cannot be tuned per plant.
How long should I run drip irrigation each time?
Until the wetting front reaches the bottom of the root zone — check with a trowel and a finger the first few times. For most vegetable beds that is 1–3 hours per session, one to three times weekly in summer heat, less in spring and fall. Frequent short runs are the mistake to avoid.
Can I run drip irrigation on well water or a rain barrel?
Yes, with the filter treated as sacred — well and barrel water carry the sediment and algae that clog emitters, so clean the filter monthly. A rain barrel alone gives very low pressure (about 0.5 psi per foot of height); use gravity-rated emitters or a small pump for reliable flow.
Comments & ratings
No comments yet.
Be the first to share your experience.