
Guides · Plant problems · Published November 3, 2026
Garlic & Chili Pepper Sprays: Repellents, Not Cures
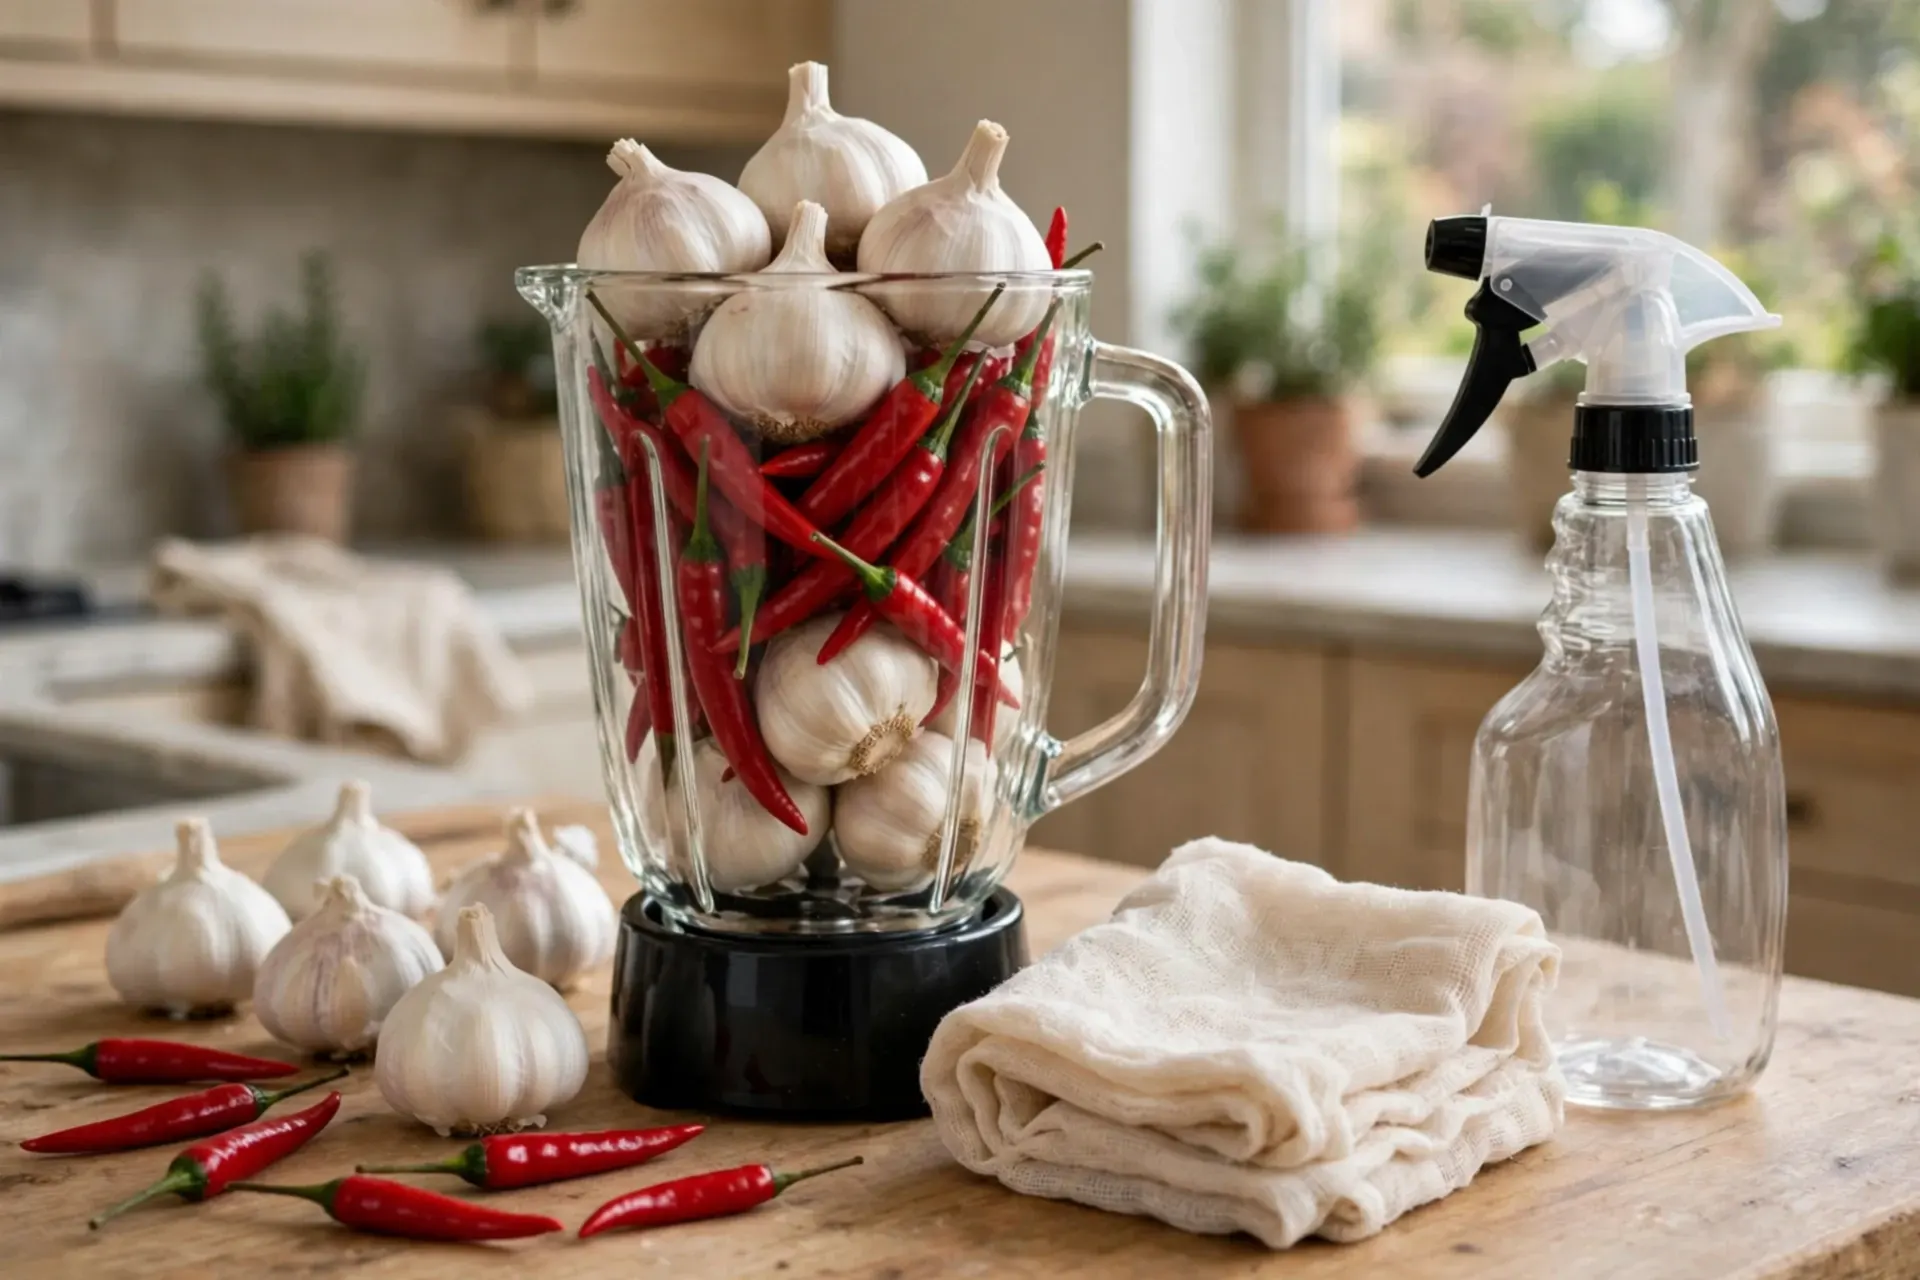
Let us say the quiet part first, because most recipe pages will not: garlic and chili sprays do not kill pests. They make a plant smell and taste wrong to insects, so pests are less likely to land, settle and feed there. Used before trouble starts, on crops pests usually bother, they can genuinely reduce pressure. Used on a colony already feasting, they will disappoint you. That honest framing turns these sprays from folklore into a tool: a cheap, food-safe deterrent layer inside the wider system of our organic pest control guide — with both recipes, the safety notes, and the reapplication reality stated up front.
What these sprays honestly do
- Repel and deter: strong sulphur smells (garlic) and capsaicin heat (chili) make treated foliage unappealing
- They do not cure: an established infestation needs removal or a contact treatment first — then these keep it from returning
- Short-lived: rain removes them entirely; sun and air fade them in days. Reapplication is the price
- Best targets: aphids, whitefly, thrips and browsing insects arriving on young plants and transplants
- Handle chili like a chemical: gloves on, eyes protected, never spray into the wind
- Evening, test patch first: spray a few leaves, wait a day, then treat the plant — hot sun plus any spray can scorch
Step 1 — Set expectations before you blend anything
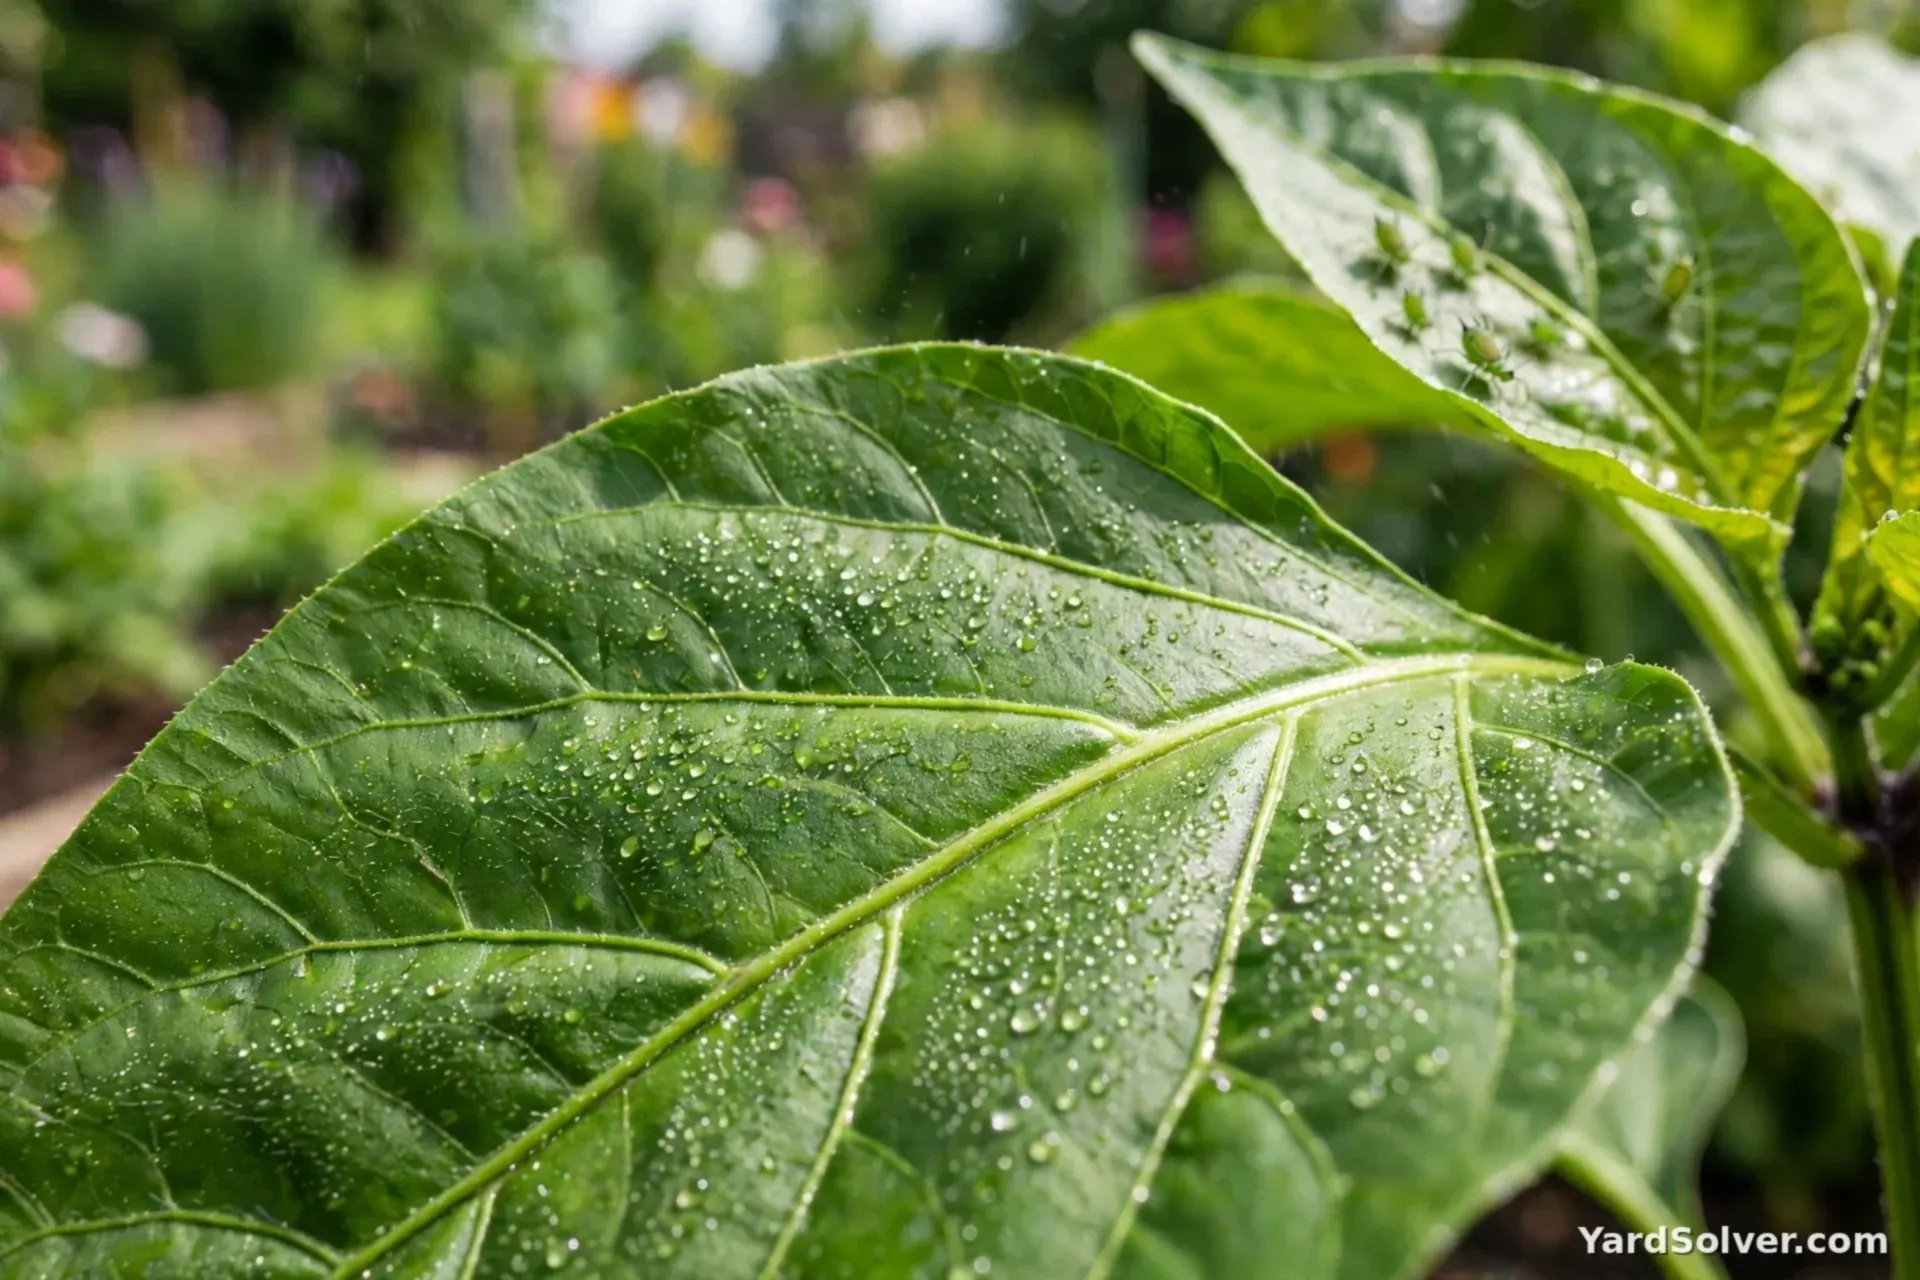
Think of these sprays the way you think of a "beware of the dog" sign: it changes the behaviour of visitors, and does nothing about anyone already inside. Garlic's sulphur compounds and chili's capsaicin are feeding deterrents — insects sample treated foliage and move on, which protects young peppers, transplants and the soft growth aphids scout in spring. The evidence behind them is real but modest: they lower pressure, they do not eliminate it, and no recipe page claiming a spotless garden from garlic alone is being straight with you. There is one more honest limit. A deterrent only works while it coats the leaf, and neither ingredient survives weather — plan on the spray being a recurring chore during the weeks a crop is vulnerable, the way companion planting is a standing nudge rather than a one-time fix. If insects are already present in numbers, clear them first with the methods in the prevention system — water blasts, hand removal, a true contact spray — and then use these recipes as the "keep off" layer afterwards.
Step 2 — The garlic spray recipe
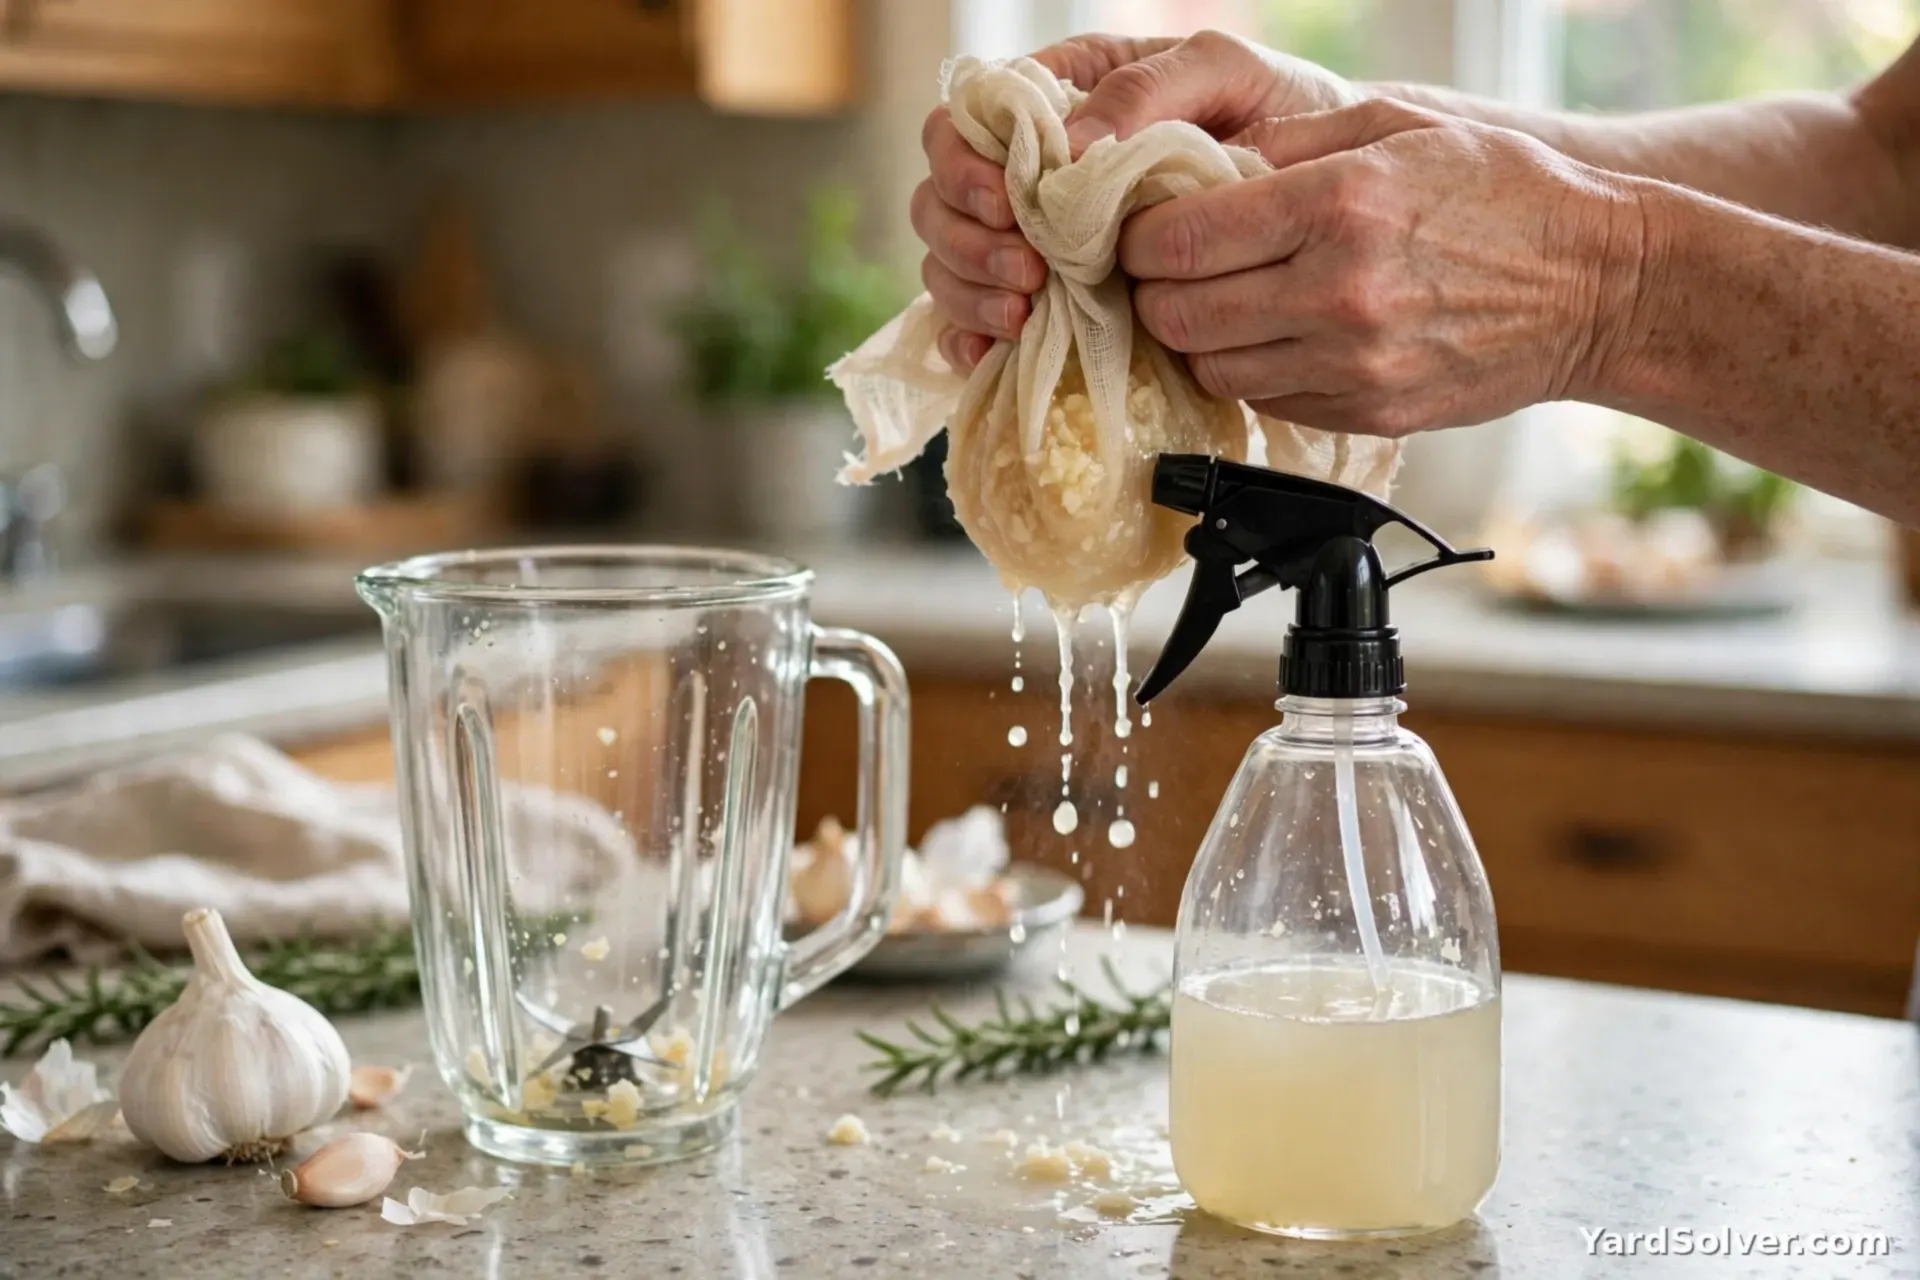
You need: 1 whole bulb of garlic (not one clove — the bulb), about 1 litre (4 cups) of water, and a few drops of mild liquid soap as a sticker. Peel the cloves, blend them thoroughly with the water, and leave the mixture covered overnight so the sulphur compounds fully infuse. Next day, strain it twice — through a cloth, not just a sieve — because garlic pulp blocks spray nozzles like nothing else in the garden. Stir in the soap drops last, pour into a spray bottle, and label it with the date. The spray keeps roughly a week in a cool dark place before it loses strength (and gains a smell), so make small batches. If you grow your own supply, our garlic plant page covers planting a bulb's worth of insurance each autumn. A popular variation adds a tablespoon of vegetable oil to help the spray cling; it works, but oil on leaves in hot sun raises the scorch risk, so treat oiled spray as an evening-only product and test it first.
Step 3 — The chili spray recipe (gloves on)
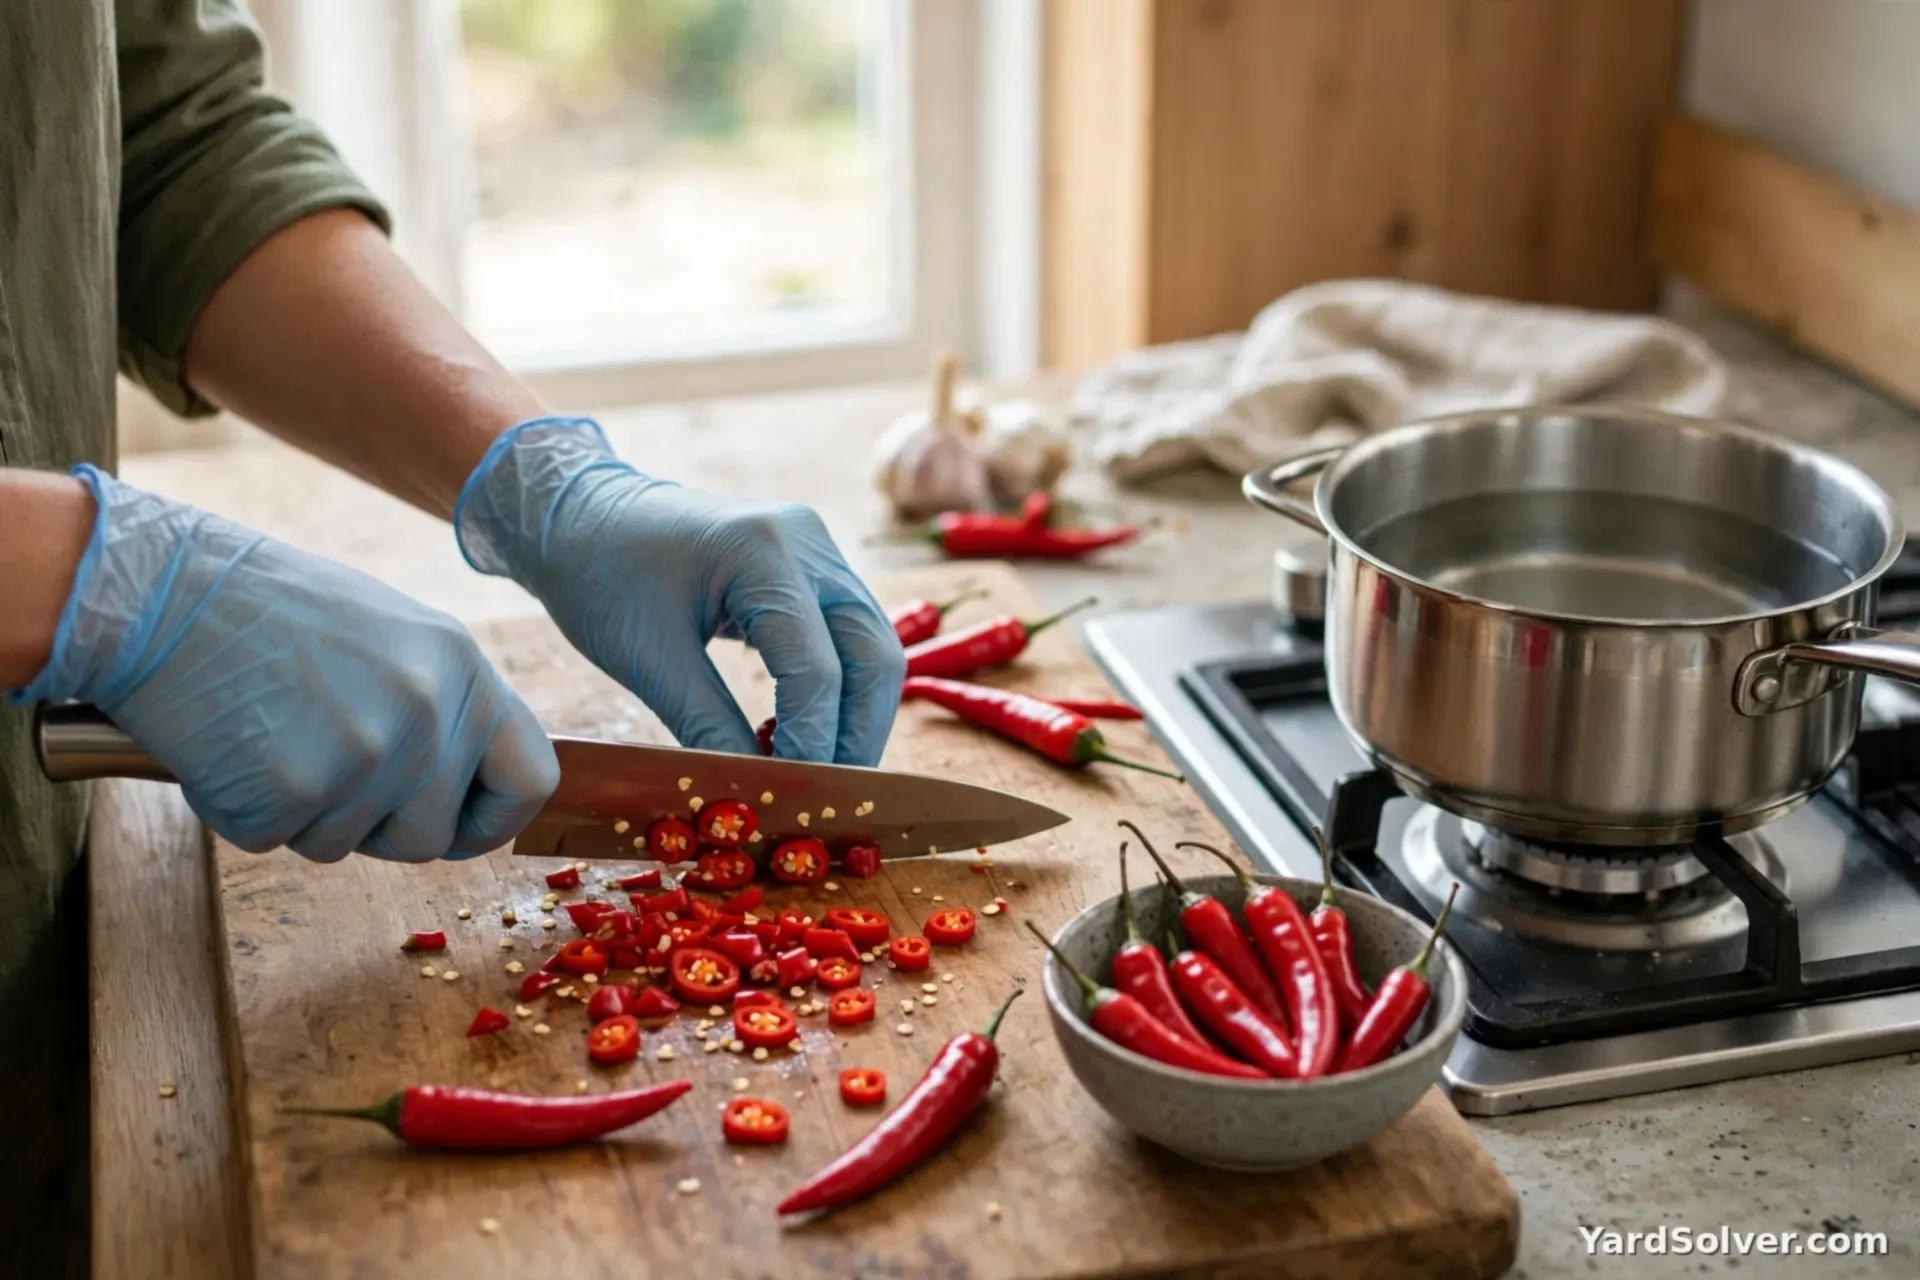
You need: a generous handful of hot chilies — fresh, or 2 tablespoons of dried chili flakes — about 1 litre (4 cups) of water, and a few drops of mild liquid soap. Gloves are not optional: capsaicin transfers from hands to eyes hours later and teaches the lesson once, permanently. Chop or crush the chilies, simmer them gently in the water for 15–20 minutes (open a window; the steam is peppery), then take the pan off the heat and let it steep overnight. Strain through cloth, add the soap, bottle and label it clearly — this bottle should never be mistaken for anything drinkable. Dried flakes work as well as fresh fruit, which makes your own pepper harvest the cheapest source: the hottest, most overripe pods you would not eat are exactly the ones to dry for spray. Some gardeners combine garlic and chili in one bottle; it is fine to do, and the deterrent effect layers rather than multiplies — expect "somewhat better", not "twice as good".
Step 4 — Spraying rules that keep the cure off the casualty list
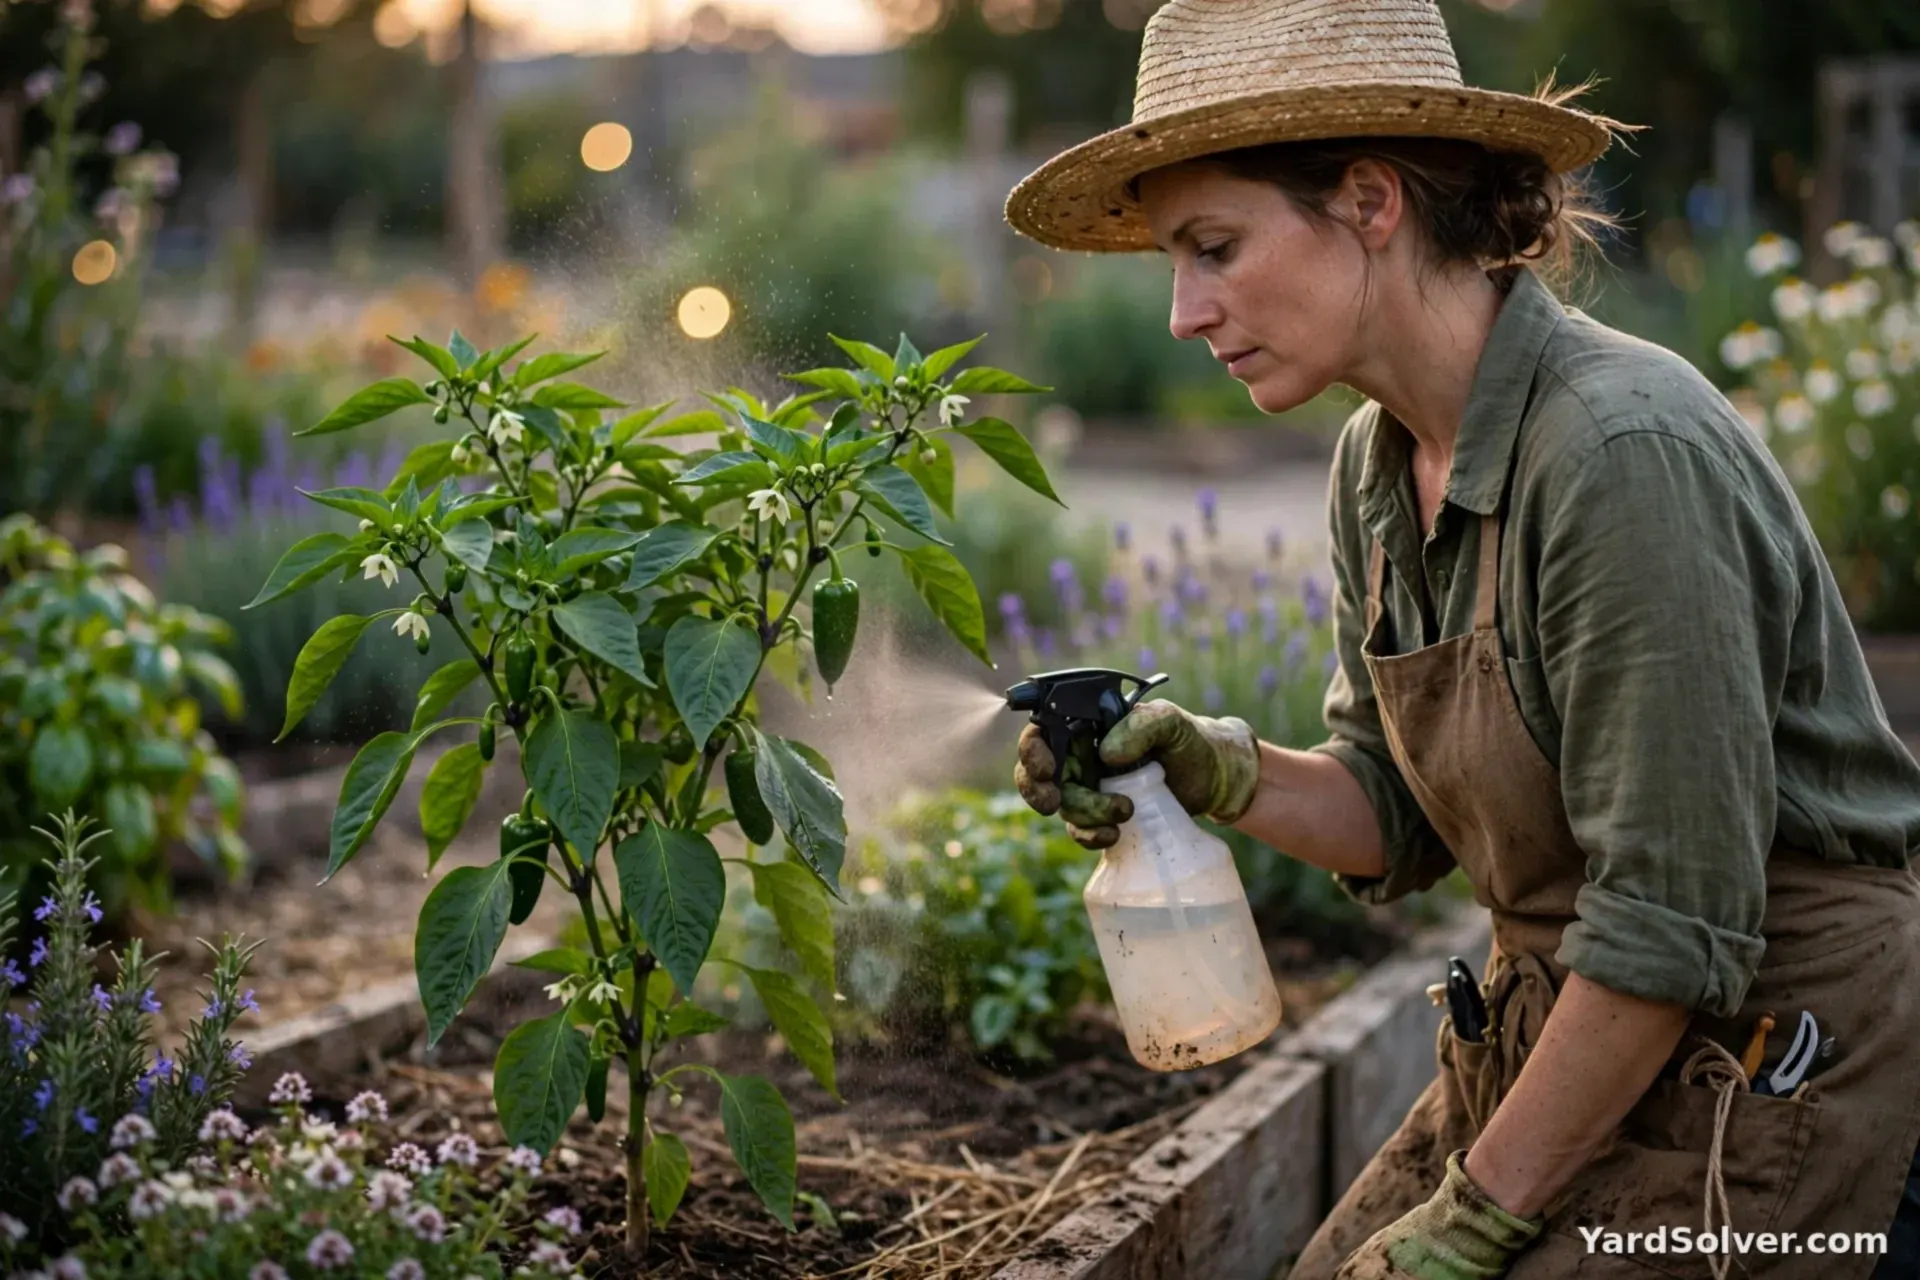
Homemade does not mean harmless, so the rules mirror those for any spray. Test first: spray a few leaves of each plant type and wait 24 hours; occasional plants sulk at soap or oil, and a test patch is cheaper than a bed. Spray in the evening — wet foliage under strong midday sun can scorch, and evening is also when the insects you are deterring do their arriving. Coat the undersides, where aphids and whitefly actually sit; a mist over the top of the plant deters nobody. Keep it off open flowers — capsaicin and soap do not distinguish a pest from a bee, and pollinators are the workforce you are protecting. Reapply after rain and every 3–5 days while the crop is vulnerable; a deterrent that has washed off is just a story you told the aphids. Finally, wash harvested produce as you always should, and give sprayed crops a couple of days before picking — less for safety than so your own hands and eyes meet less capsaicin at the table end of the process.
Step 5 — Where repellents fit in the real system
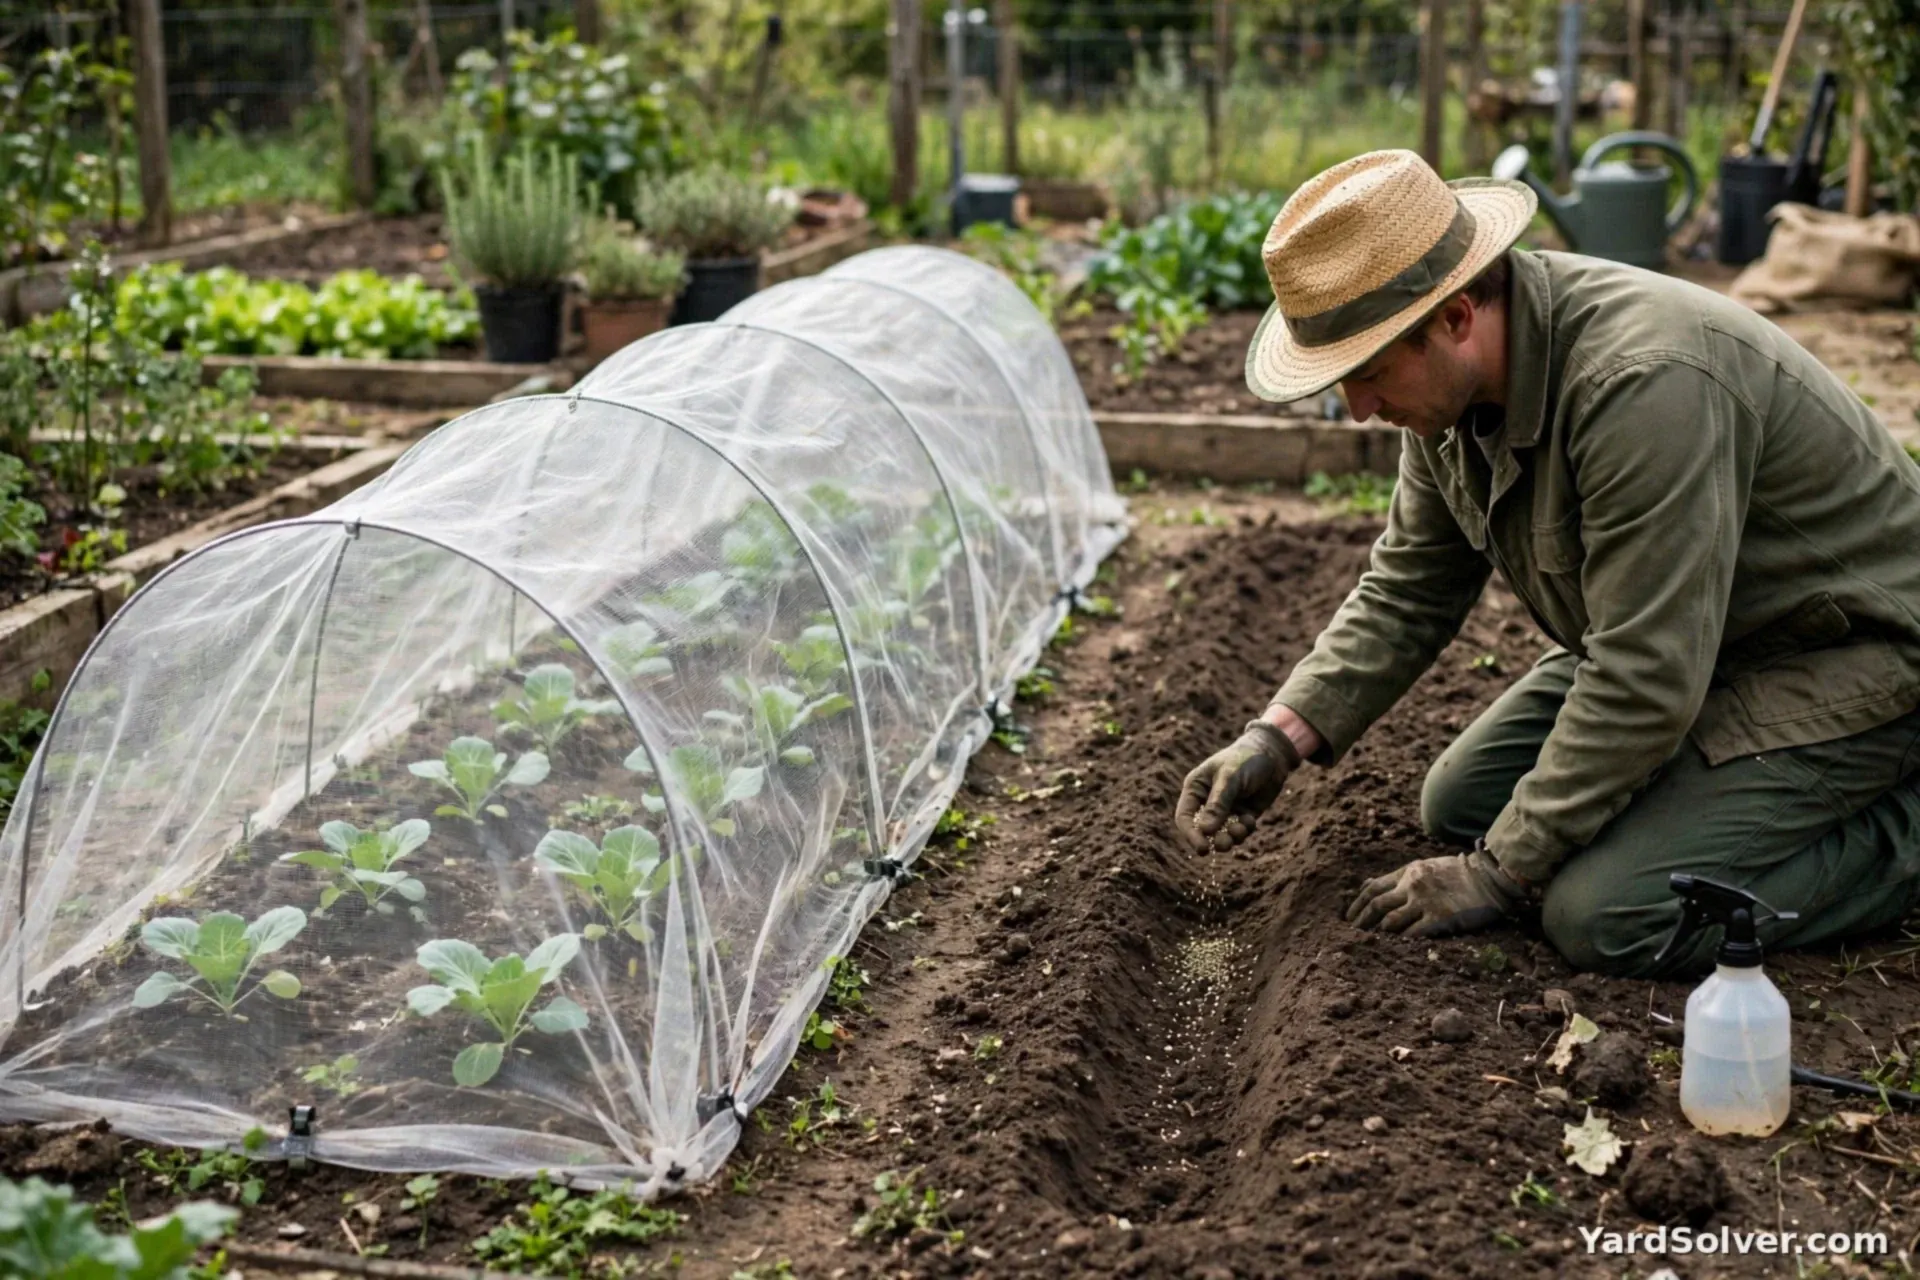
Used at the right moments, these sprays earn their bottle. Their best jobs: protecting young transplants through their first vulnerable fortnight, deterring the first scouting aphids of spring before a colony founds, and holding the line on crops you check daily anyway. Their worst job is the one they are usually bought for — rescuing an established infestation — where the honest ladder is removal first, a contact treatment (insecticidal soap or neem) if needed, and repellent afterwards as the border guard. Grow the ingredients into the system too: garlic and chili plants slotted through the beds are themselves mildly deterrent neighbours in the spirit of companion planting, and a bed planned with airflow through the Plant Spacing Calculator needs deterring less often. If a crop is lost despite everything, the Succession Sowing Calculator turns the gap into the next sowing rather than a defeat. Repellents, honestly used, are a useful habit — as long as nobody, including the gardener, believes they are more than they are.
Keep going
Deterrents only help once you know what is arriving — the Plant Doctor matches your plant's signs to the likely problem first. The system these sprays sit inside: Organic Pest Control · The gentle background layer: Companion Planting Basics.
The rest of the homemade-spray trio: Insecticidal Soap Spray · Neem Oil Spray.
Questions people ask
Does garlic spray kill aphids?
No. Garlic spray is a repellent, not an insecticide: its smell and taste make a plant unappealing so aphids and other insects are less likely to settle and feed there. A colony already established will mostly ignore it. Existing infestations need removal or a contact treatment — garlic spray's job is prevention and deterrence.
How often do I need to reapply homemade sprays?
Often — that is the honest cost of kitchen sprays. Rain washes them off completely, and sun and air fade them within a few days even in dry weather. Plan on reapplying after every rain and roughly every 3 to 5 days during the period you are protecting a crop.
Will chili spray make my vegetables taste hot?
Not meaningfully, if you wash the harvest well. Capsaicin sits on the surface rather than moving into the plant. Wash produce before eating, and as a courtesy to your own eyes and hands, stop spraying the parts you are about to pick a few days before harvest.
Comments & ratings
No comments yet.
Be the first to share your experience.