
Guides · Perennials · Published November 11, 2026
How to Divide Perennials: When, How, and a Chart for Common Plants
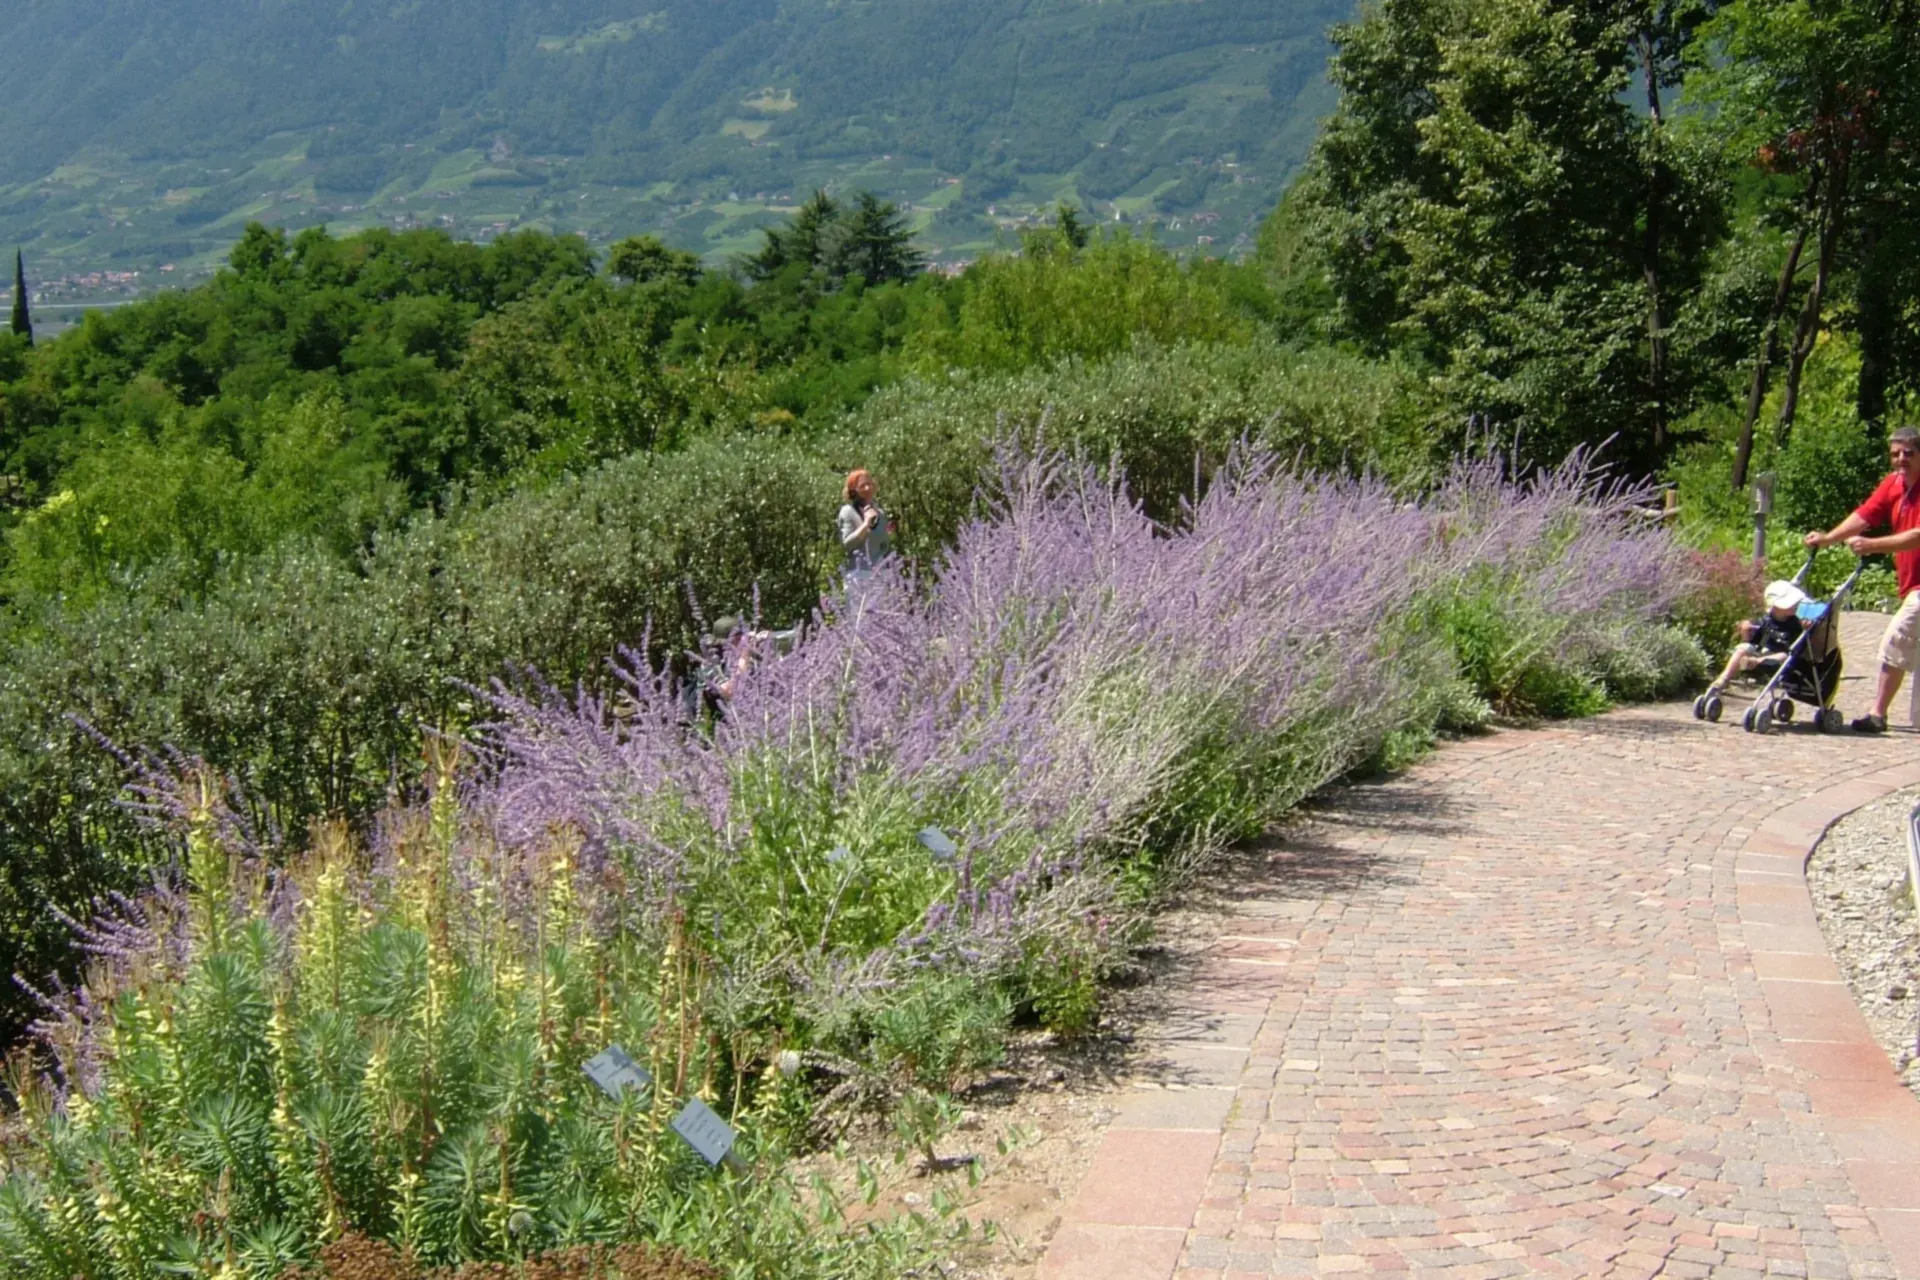
Dividing is the job that keeps perennials young. A clump that goes in as a single plant swells year by year until the middle is old, woody and tired, the flowers shrink, and the whole thing is muscling into its neighbours. Split it, replant the vigorous outer pieces, and one plant becomes three or four — each flowering like it did in its second year. Most clump-forming perennials want dividing every three to five years, in the season opposite their flowering, and the whole job for one clump takes about half an hour once you know the moves. Here is the method, the timing rule that decides the season, and a chart for the plants most of us actually grow.
Why divide — and the signs it is time
There are three good reasons to divide, and they are all worth having:
- Control size: a happy hosta, daylily or ornamental grass does not stop growing because the border ends. Dividing is how you hold a plant to its allotted space without hacking at it.
- Rejuvenate the plant: the centre of an old clump is the oldest tissue, with the weakest roots and the fewest flowering stems. Removing it and replanting the young outer growth restarts the plant's clock.
- Free plants: every healthy division is a plant you would otherwise buy. One mature clump easily makes three to five new plants for other beds, the ditch bank, or a neighbour.
And the plant tells you when. Watch for a dead or woody centre with growth only in a ring around it, fewer or smaller flowers than the plant used to make, and a clump heaving itself out of the soil — roots pushing the crown up until it sits high and dries out. Any one of those means the plant is due this year, not next.
Step 1 — Pick the moment: divide opposite the bloom
The one rule that decides the season: divide a perennial in the season opposite its flowering, so the plant spends its energy on roots, not on blooms it is about to lose. Summer and fall bloomers — hostas, daylilies, phlox, asters — are divided in spring, just as the new shoots push through. Spring bloomers — iris, peonies, bleeding heart — are divided after flowering or in fall, once they have stored up the energy for next year's display. Fall dividing has one hard deadline: the divisions need four to six weeks of growing weather before the ground freezes, so their new roots can anchor before winter heaves at them. Count back from your first hard freeze and do not start later than that. Two times are simply off the table: never divide a plant in full bloom, when every leaf is feeding flowers, and never in a heat wave, when a freshly cut root system cannot drink fast enough to keep up with the sun. If dividing is part of a bigger border reshuffle, it is worth sketching the new layout in the 3D Garden Designer first, so every division has a home waiting before it comes out of the ground.
Step 2 — Water the day before, and dig the new holes first
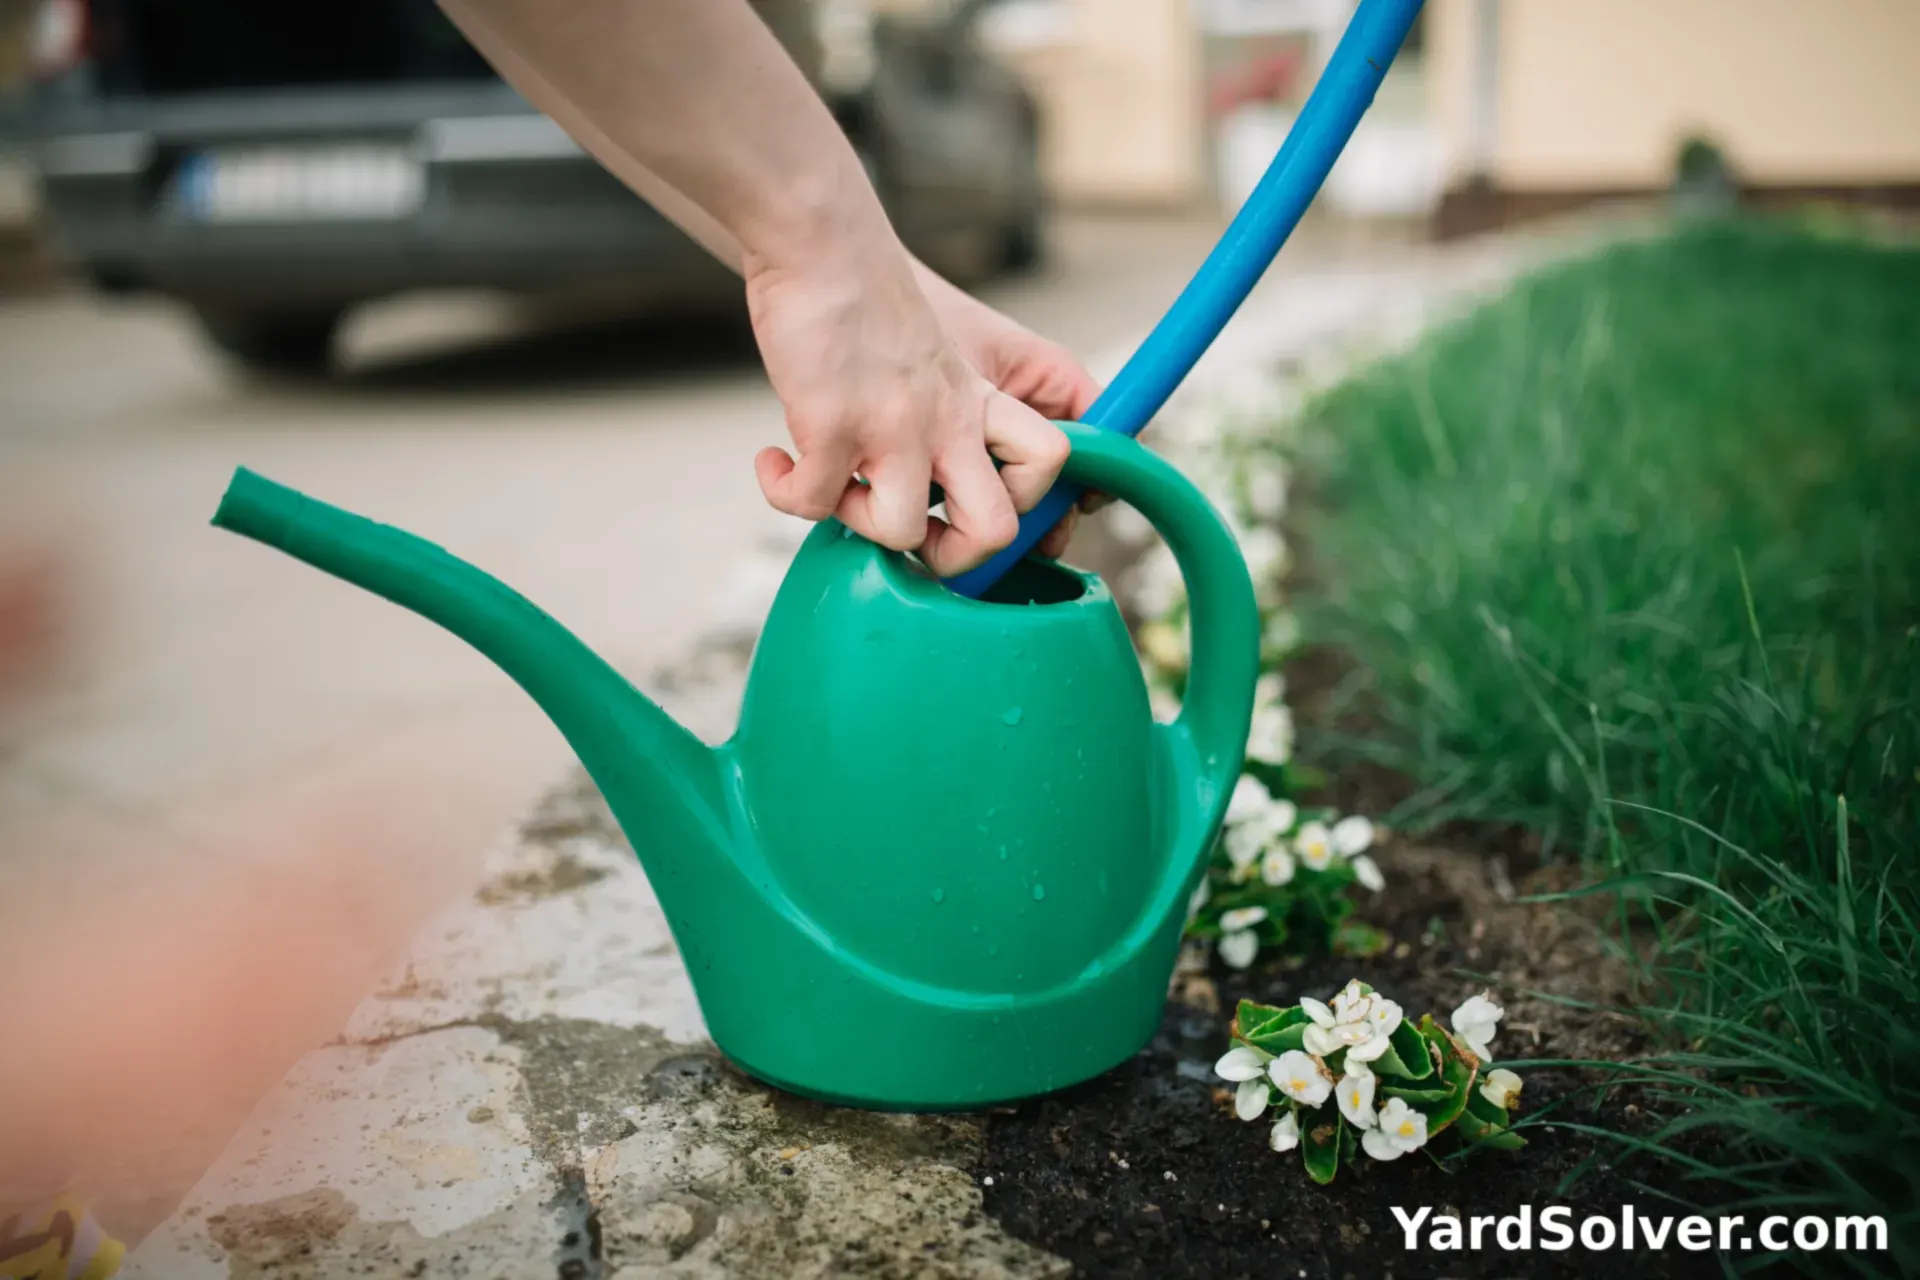
Give the clump a deep drink the day before you divide. Moist soil holds together around the roots as you lift, the fork slides in easier, and the plant starts the operation hydrated instead of thirsty. Then — before the plant comes out — dig the new planting holes, in the spots you have already chosen, a little wider than the division that is going in. Roots out of the ground are drying by the minute, and a division should go from fork to fresh hole in minutes, not sit on the lawn while you dig. If the day is warm or windy, lay a damp cloth or an old sheet over lifted divisions waiting their turn, and keep a bucket of water handy to dip roots that look dry.
Step 3 — Cut back, then lift the whole clump
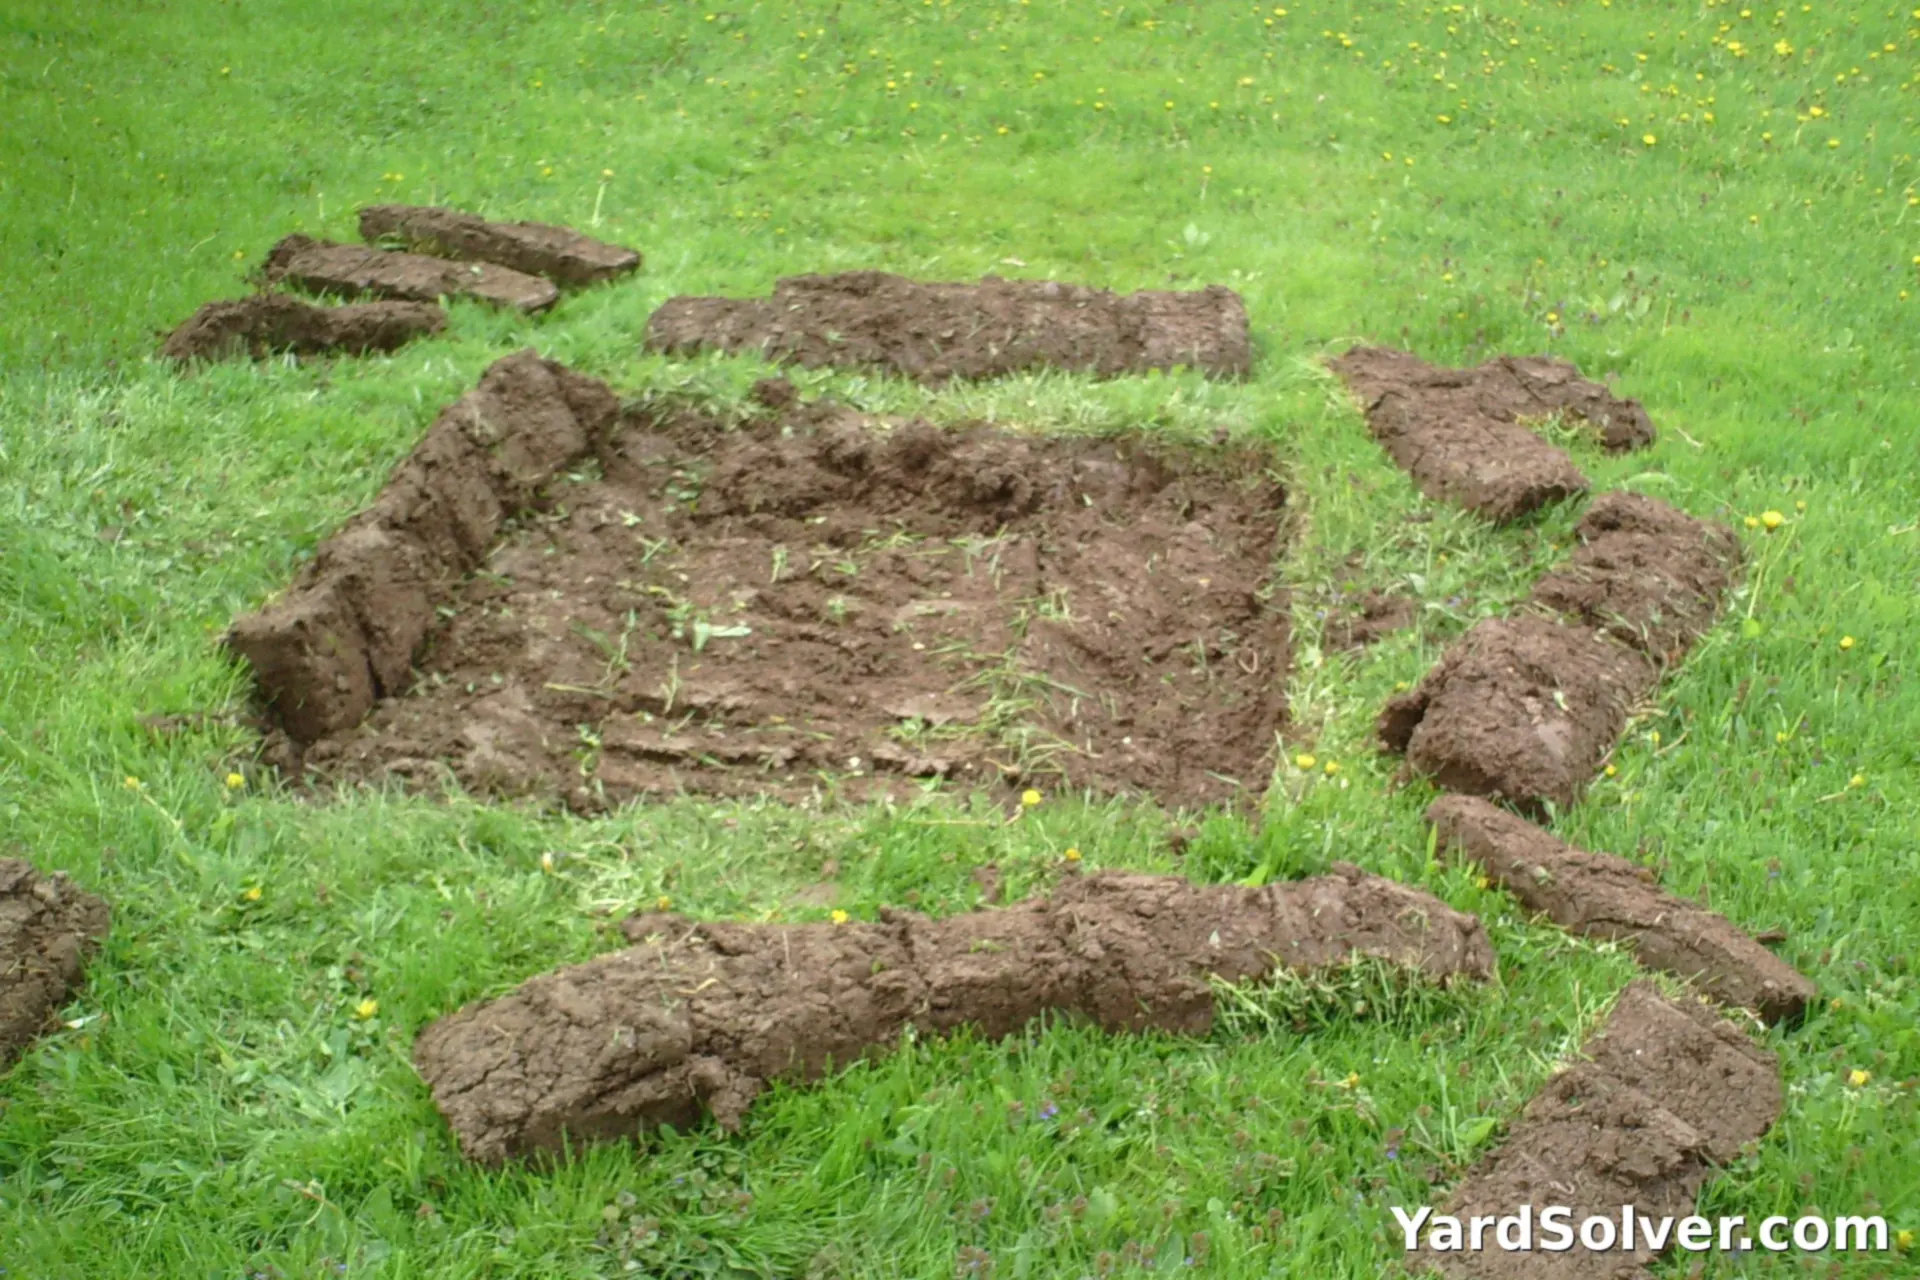
Cut the foliage back to about 6 inches. It feels brutal, but a full head of leaves is a sail in the wind and a pump losing water the cut roots cannot replace — and you cannot see what your fork is doing under it anyway. Then work a spading fork in around the clump, a few inches outside where you judge the roots to run, rocking it gently to loosen the soil all the way round. Push the fork under the clump and lever upward, moving around the plant and lifting a little at a time, until the whole root ball comes out in one piece. Shake or wash off the loose soil so you can actually see the roots and growing points — the next step is done by eye, and it is guesswork in a ball of mud.
Step 4 — Split it the way its roots want to split
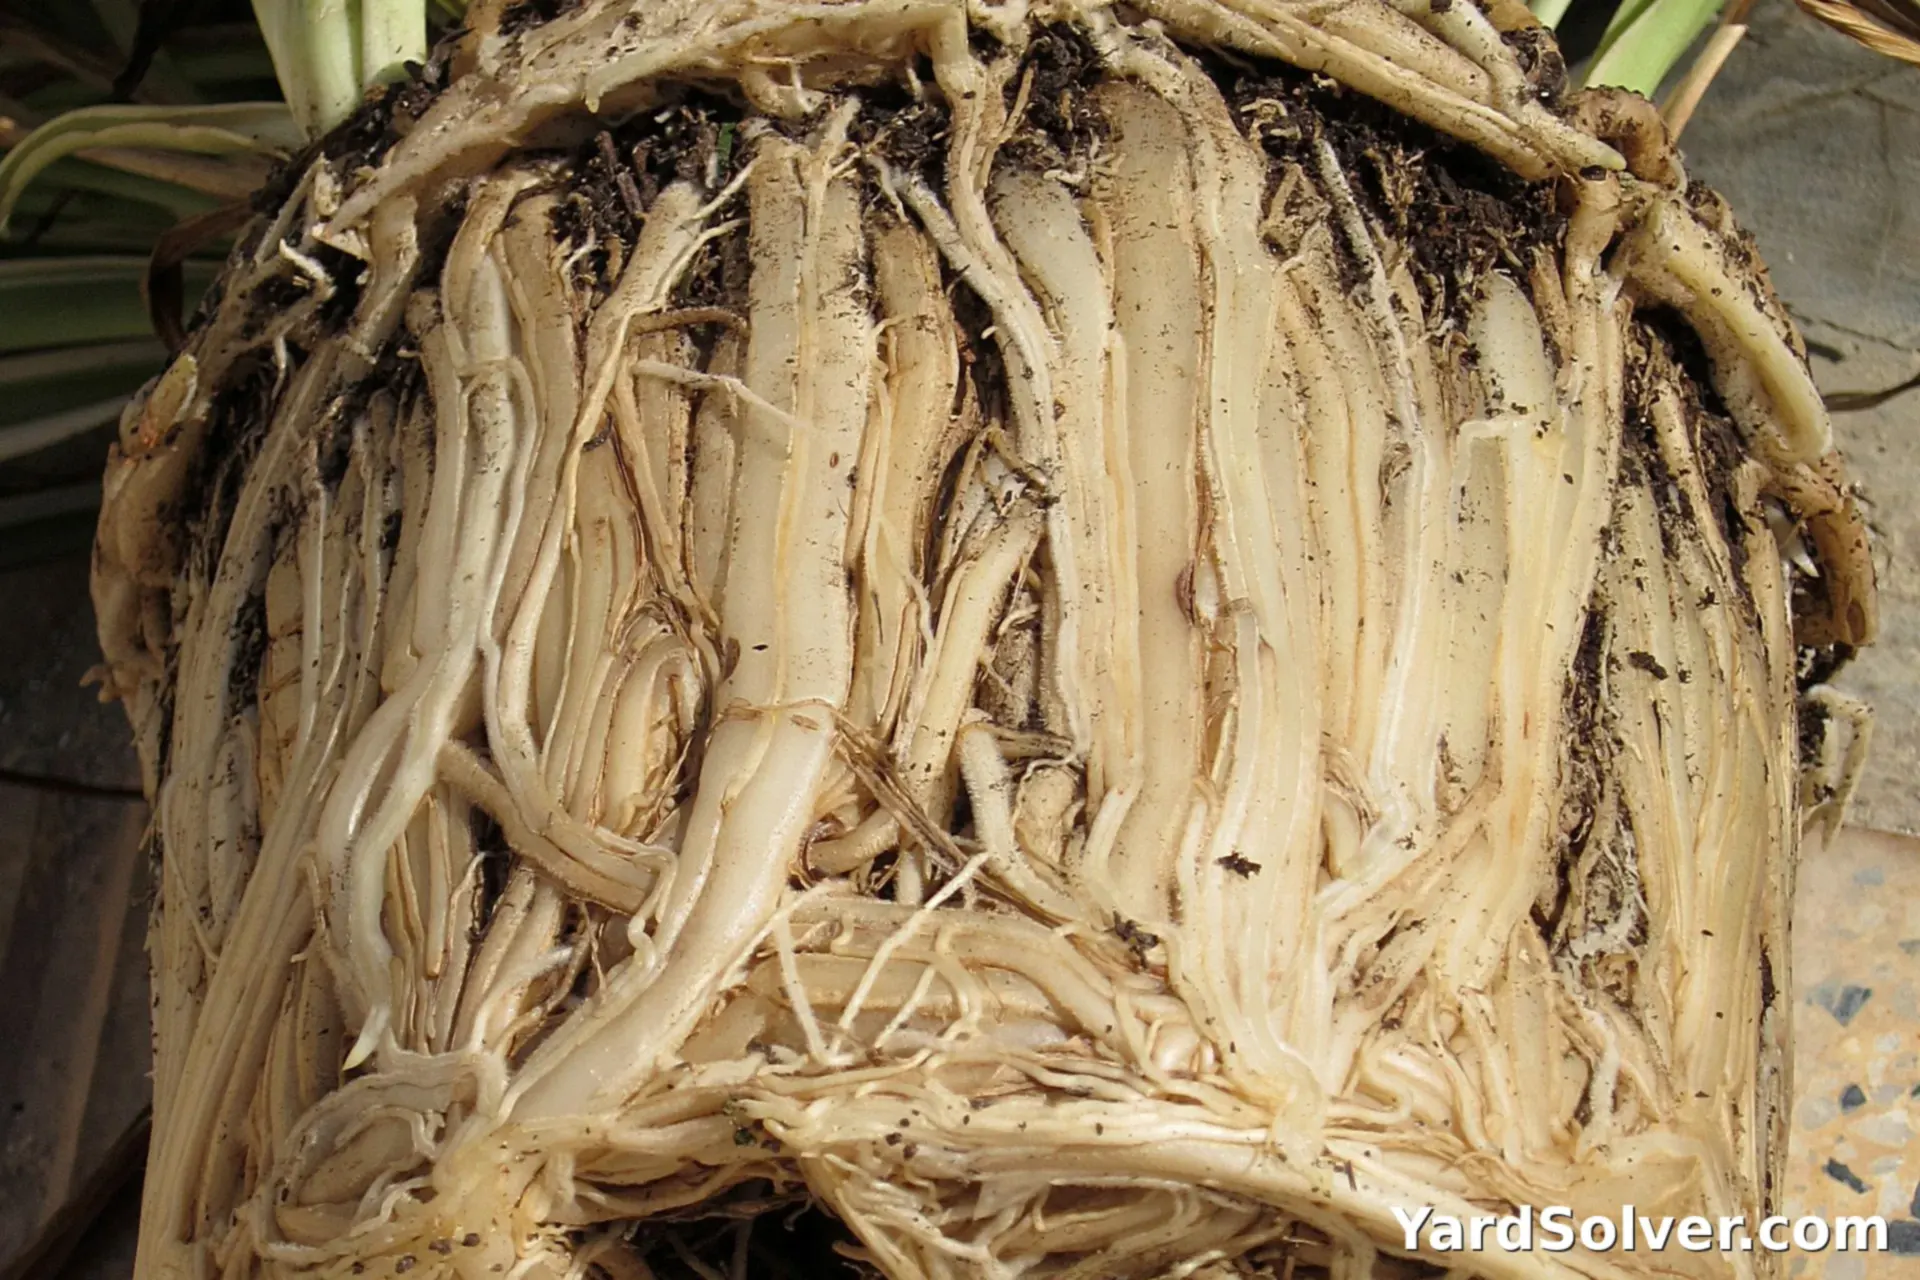
Roots come in families, and each family splits its own way. Fibrous clumps — hostas, daylilies, astilbe, most of the border standbys — are teased apart with your fingers where they part willingly, or prised apart with two garden forks pushed back-to-back into the centre of the clump and levered away from each other. Tough old crowns, especially ornamental grasses, may need an old saw or an axe, and there is no shame in it. Rhizome plants — bearded iris, and crown plants like rhubarb — are cut with a clean, sharp knife into sections of rhizome or crown, and any soft, rotten or hollow pieces go straight in the bin, never back in the ground. Whatever the tool, one standard decides every piece: each division needs three to five healthy shoots or growing points, with its own roots attached. A piece of leaf with no root starves; a piece of root with no growing point is compost. Cut surfaces are fine — they callus and grow on — but ragged, crushed tissue rots, so use sharp tools and make each cut once.
Step 5 — Keep the edge, compost the centre
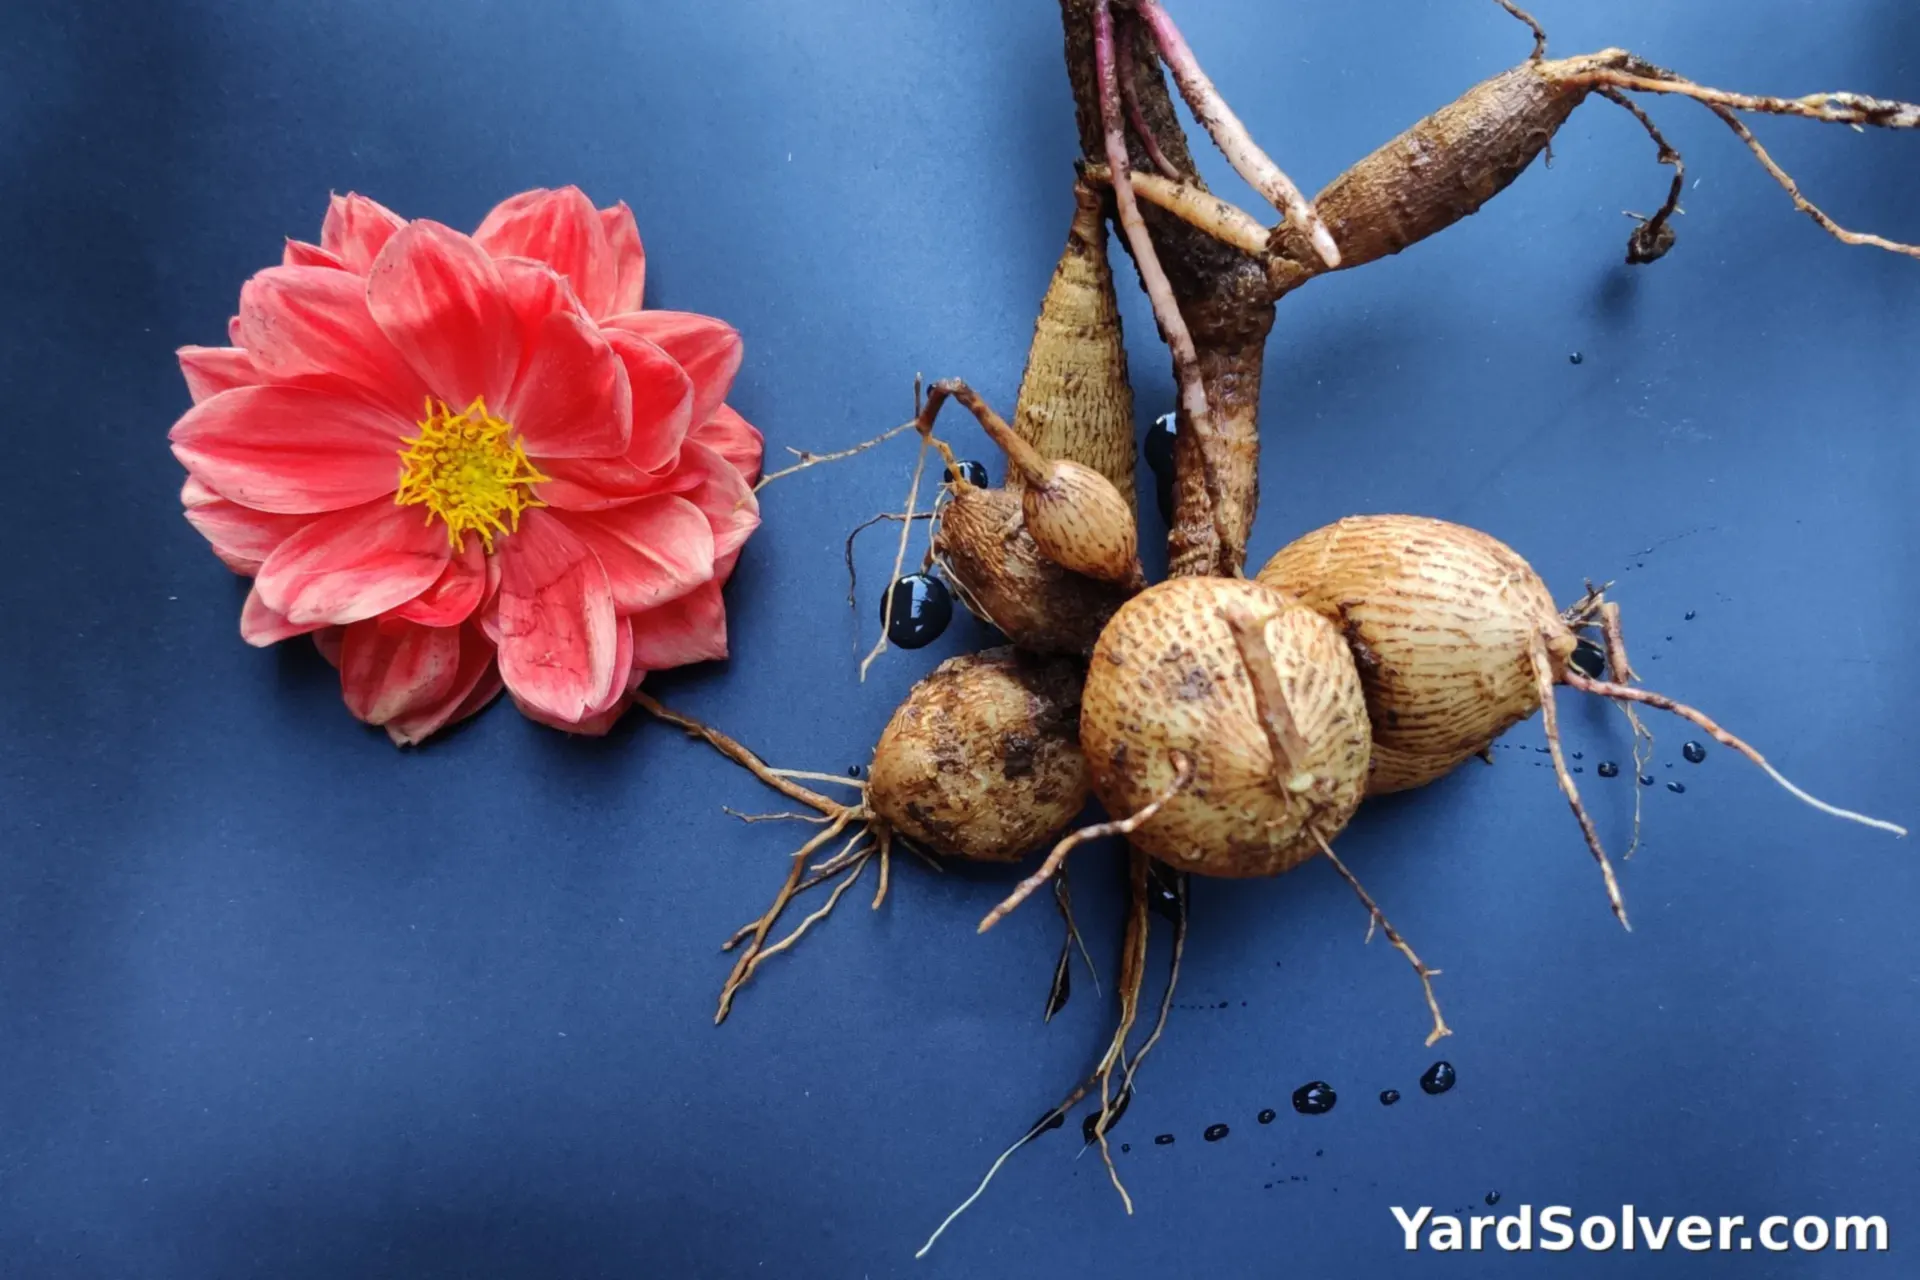
Lay the divisions out and sort them honestly. The outer pieces are the plant's future — young, vigorous, with bright roots and strong growing points — and those are the ones that go back in the ground. The woody, hollow or dead centre that told you it was time to divide has done its work; it goes on the compost heap, not back into a fresh hole to decline there for another three years. This is the step gardeners skip because throwing away plant feels wrong, and it is the step that makes the whole job worthwhile. Replanting the centre undoes the rejuvenation you came for. Be generous with the good pieces instead — pot up spares for friends, or heel extras into a spare corner of the vegetable bed until you find them a home.
Step 6 — Replant at the same depth and water in
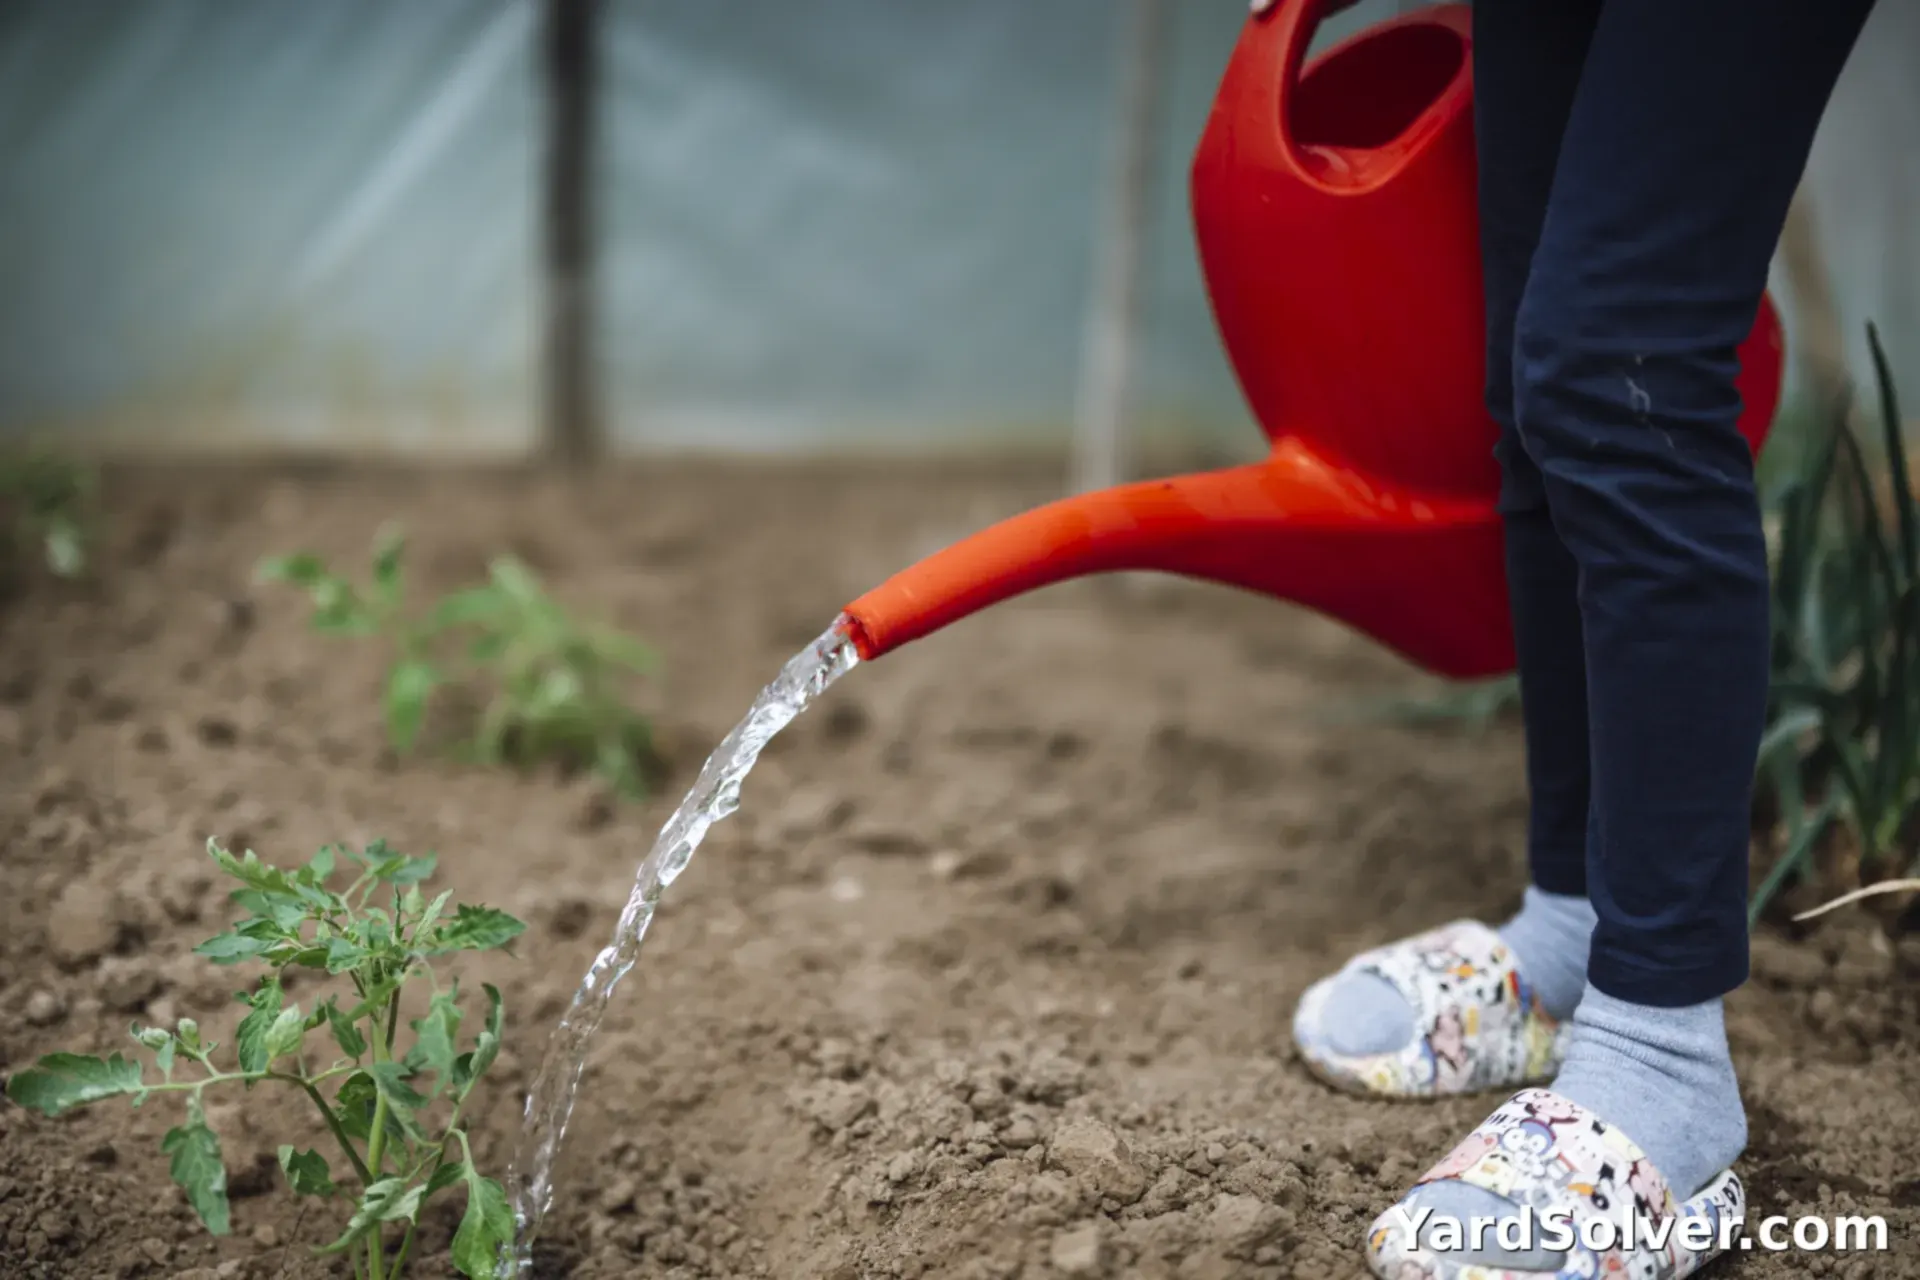
Set each division in its waiting hole at the same depth it grew at before — the line where stem met soil on the old plant is your guide — with two exceptions worth knowing: bearded iris rhizomes sit almost on the surface, half-baked by the sun, and peony eyes go no more than 2 inches deep or the plant sulks and refuses to flower. Spread the roots out, backfill, and firm the soil with your hands so no air pockets are left under the crown. Space the divisions for the size they will be, not the size they are — the Plant Spacing Calculator gives the honest numbers for the border. Then water deeply, right away, enough to settle the soil against every root, and keep the divisions moist for the next few weeks while they re-root — a soaking twice a week beats a sprinkle every day. A 2–3 inch mulch over the bed, kept off the crowns themselves, holds that moisture and keeps the soil temperature steady while they settle.
The dividing chart — common perennials
How often, in which season, and with what tool. Two honest exceptions sit at the bottom: lavender is never divided at all, and peonies would rather be left alone for a decade — both are in the chart so you can check before you dig.
| Plant | Divide every | Best season | How |
|---|---|---|---|
| Hosta | 3–5 years | Spring or fall | Forks |
| Daylily | 3–5 years | Spring or fall | Forks |
| Bearded iris | 3–4 years | Mid-to-late summer | Knife (rhizomes) |
| Astilbe | 3–4 years | Spring or fall | Forks / knife |
| Garden phlox | 3–4 years | Spring or fall | Forks |
| Chrysanthemum & asters | 1–2 years | Spring | Dig and split |
| Ornamental grasses | 3–4 years | Spring only | Saw / axe for tough crowns |
| Peony | Rarely — leave 10+ years | Fall only, if you must | Knife; eyes up, no deeper than 2 inches |
| Lavender | Do not divide | — | Woody — take cuttings instead |
Intervals are for a healthy plant in decent soil. A plant showing the dead-centre, shrinking-flower signs in the opening section is due now, whatever the calendar says.
Keep going
Fresh divisions deserve fresh ground: How to Refresh Raised Bed Soil · Planning the new border: Companion Planting Basics.
Questions people ask
When is the best time to divide perennials?
In the season opposite their flowering. Divide summer and fall bloomers like hostas and daylilies in spring as the shoots emerge, and spring bloomers like iris after flowering or in fall. Fall divisions need four to six weeks before the ground freezes to re-root, and nothing should be divided in full bloom or in a heat wave.
How often should perennials be divided?
Most clump-forming perennials every three to five years — chrysanthemums and asters every one to two, iris and astilbe every three to four. The real timetable is the plant's: a dead or woody centre, fewer and smaller flowers, or a crown heaving out of the soil all mean it is due now. Peonies are the exception and can go ten years or more.
Can I divide perennials in summer?
Only one group is actually divided in summer: bearded iris, in mid-to-late summer after flowering, when its rhizomes are ripe and rot is least likely. For everything else, summer is the worst choice — heat makes a freshly cut root system lose water faster than it can drink. If a plant must move in summer, cut the foliage well back, water deeply, and shade it for the first weeks.
How big should each division be?
Big enough to carry three to five healthy shoots or growing points with their own roots attached. Smaller pieces survive, but they take a season or two longer to flower well; a division with leaves but no roots, or roots but no growing point, will not make a plant at all.
Comments & ratings
No comments yet.
Be the first to share your experience.