
Guides · Sweet Potatoes · Published November 8, 2026
How to Grow Sweet Potatoes: The Complete Beginner's Guide
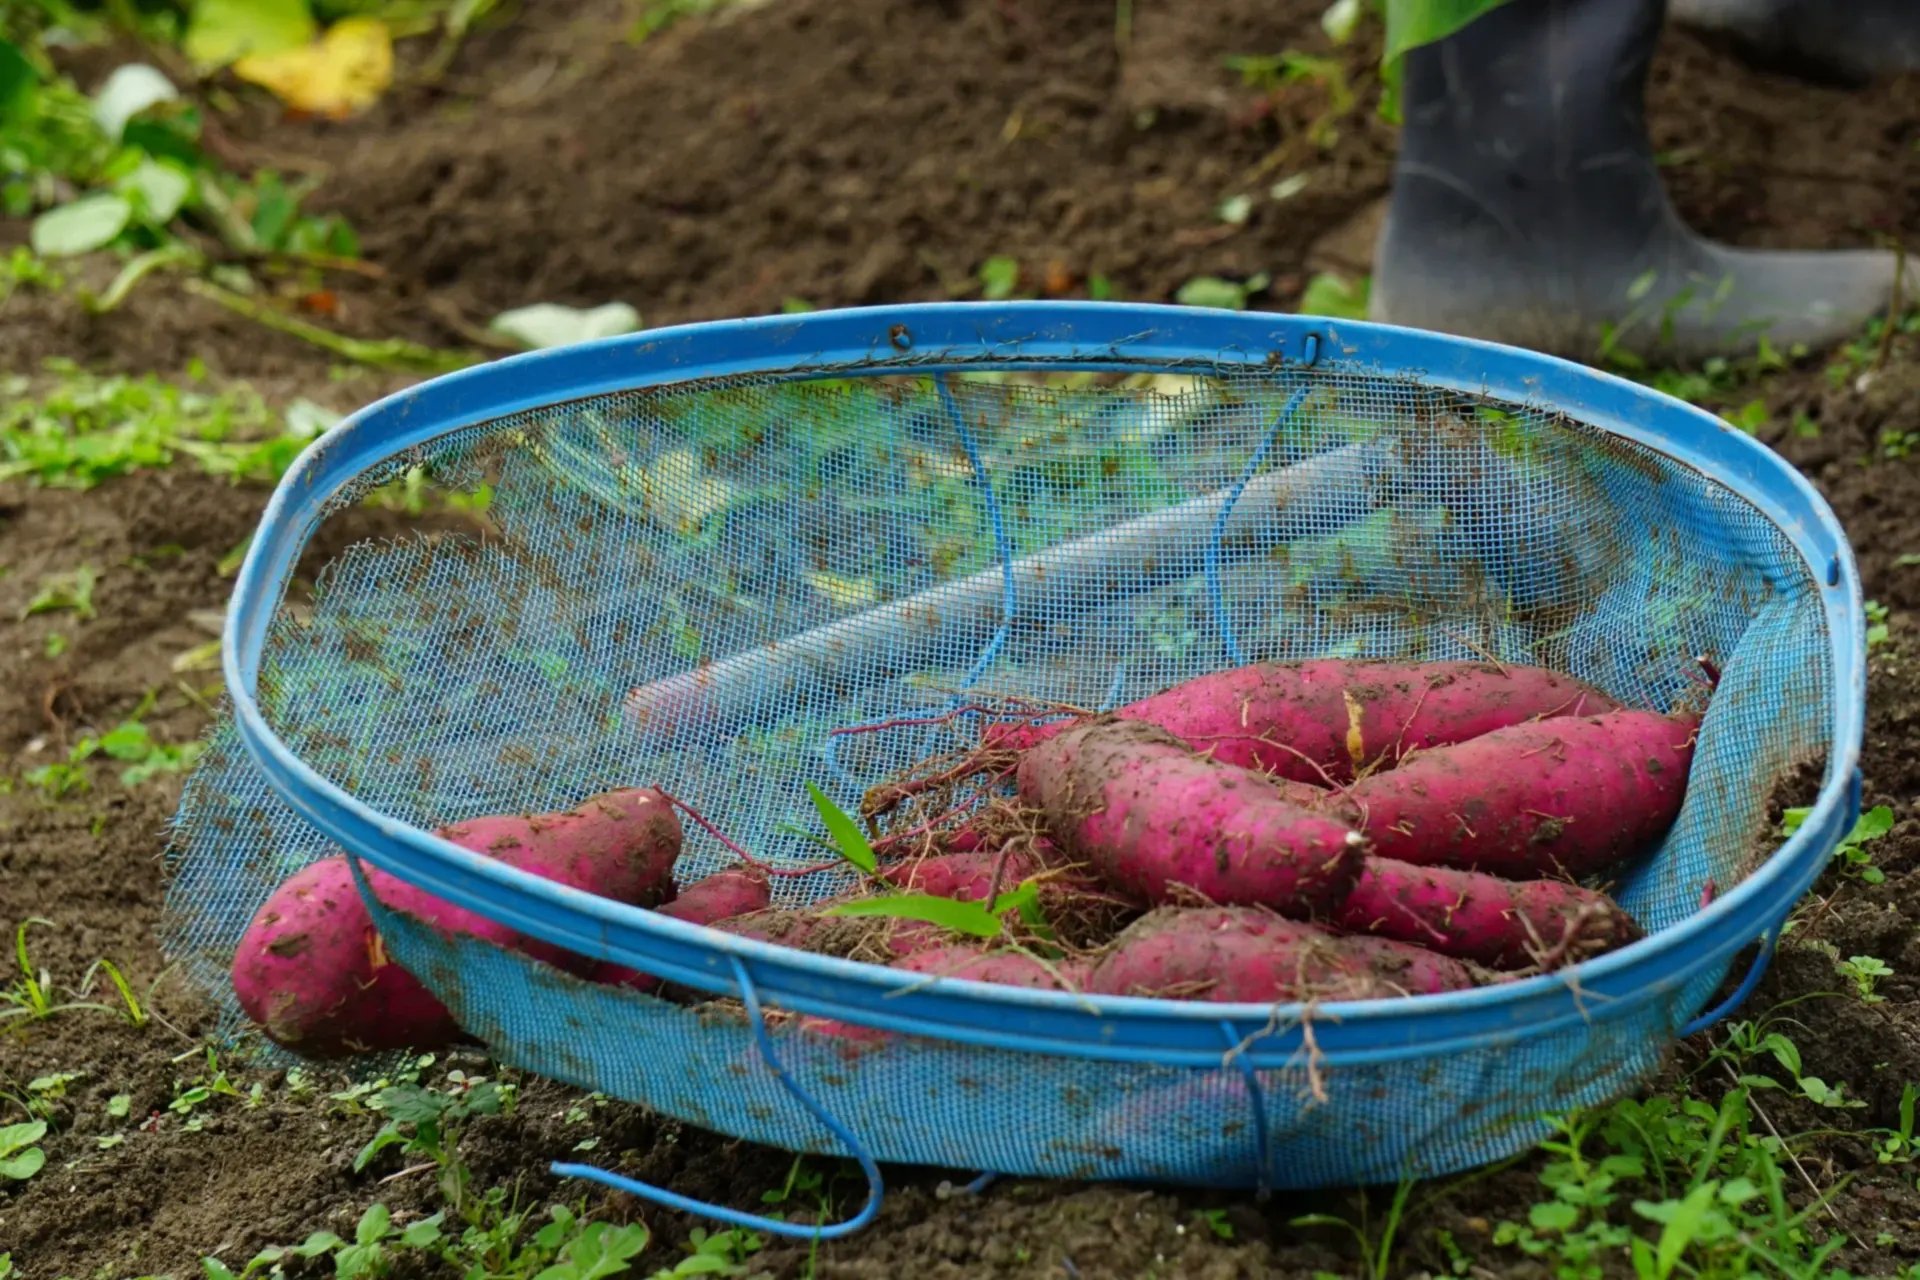
Sweet potatoes break the usual rules. They are not potatoes, they are not grown from seed potatoes, and the crop you eat is not the part you plant. They are a tropical vine grown from little sprouts called slips, and the harvest hides underground for three to four months while the vines ramble over the bed. Get five things right — slips, warm soil, steady early water, a light hand with feed, and a proper cure at the end — and one short row hands back a winter's worth of sweet roots. For the one-screen version — sun, spacing and harvest timing at a glance — see the Sweet Potato plant page; this is the deep guide it points to.
The sweet potato year at a glance
- Start slips, not seed: sprout a tuber on the windowsill 6–8 weeks ahead, or buy ready slips
- Warm soil or nothing: plant after frost, into loose ridges, buried deep — cold soil stalls them for weeks
- Water early, then ease off: steady moisture while roots establish, less in the final weeks
- Feed lightly: too much nitrogen grows a spectacular vine and skinny roots
- Dig before frost, then cure: 10 warm, humid days after harvest is what makes them sweet
- Plant profile: spacing, sun and days to harvest on the Sweet Potato plant page
Step 1 — Grow slips from a tuber (or buy them ready-made)
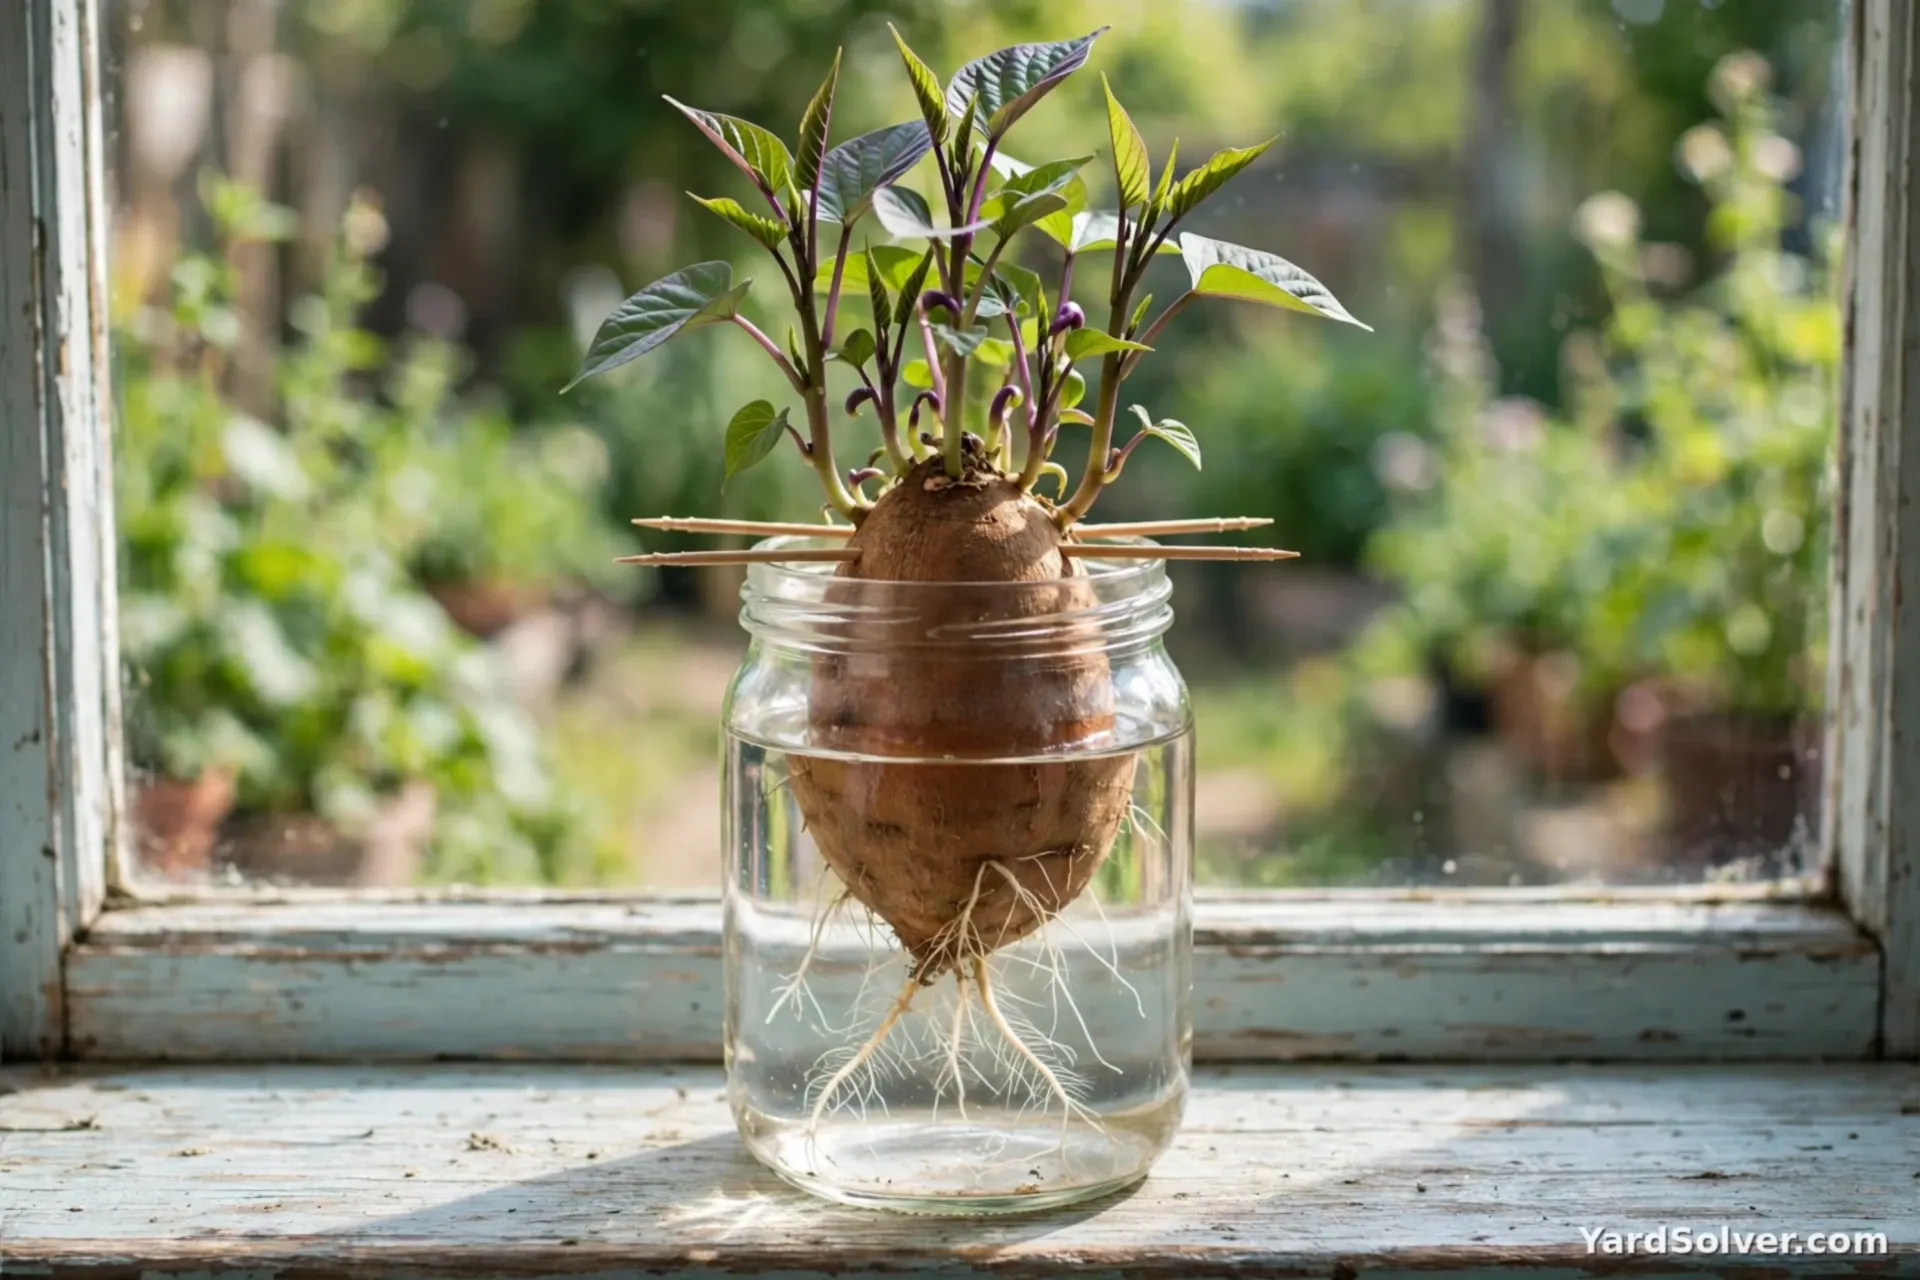
Sweet potatoes are planted as slips — the leafy sprouts that grow out of a mature tuber. Start about 6–8 weeks before you plan to plant. Take a firm, healthy sweet potato (organic if you can; some store tubers are treated to delay sprouting) and either suspend it half-submerged in a jar of water with toothpicks, pointed end down, or lay it on its side in a tray of moist potting mix and bury it halfway. Keep it somewhere warm and bright. Within a few weeks, sprouts push out along the tuber. When a sprout is 6–8 inches long with a few leaves, twist it gently off the tuber and stand it in water until it grows roots of its own — usually under a week. One tuber easily makes 10–15 slips, and it keeps producing after the first batch is picked. No shame in the shortcut, either: nurseries and seed catalogs sell rooted slips by the bundle, and for a first year that is often the surest start.
Step 2 — Plant slips deep in warm soil, on ridges, after frost
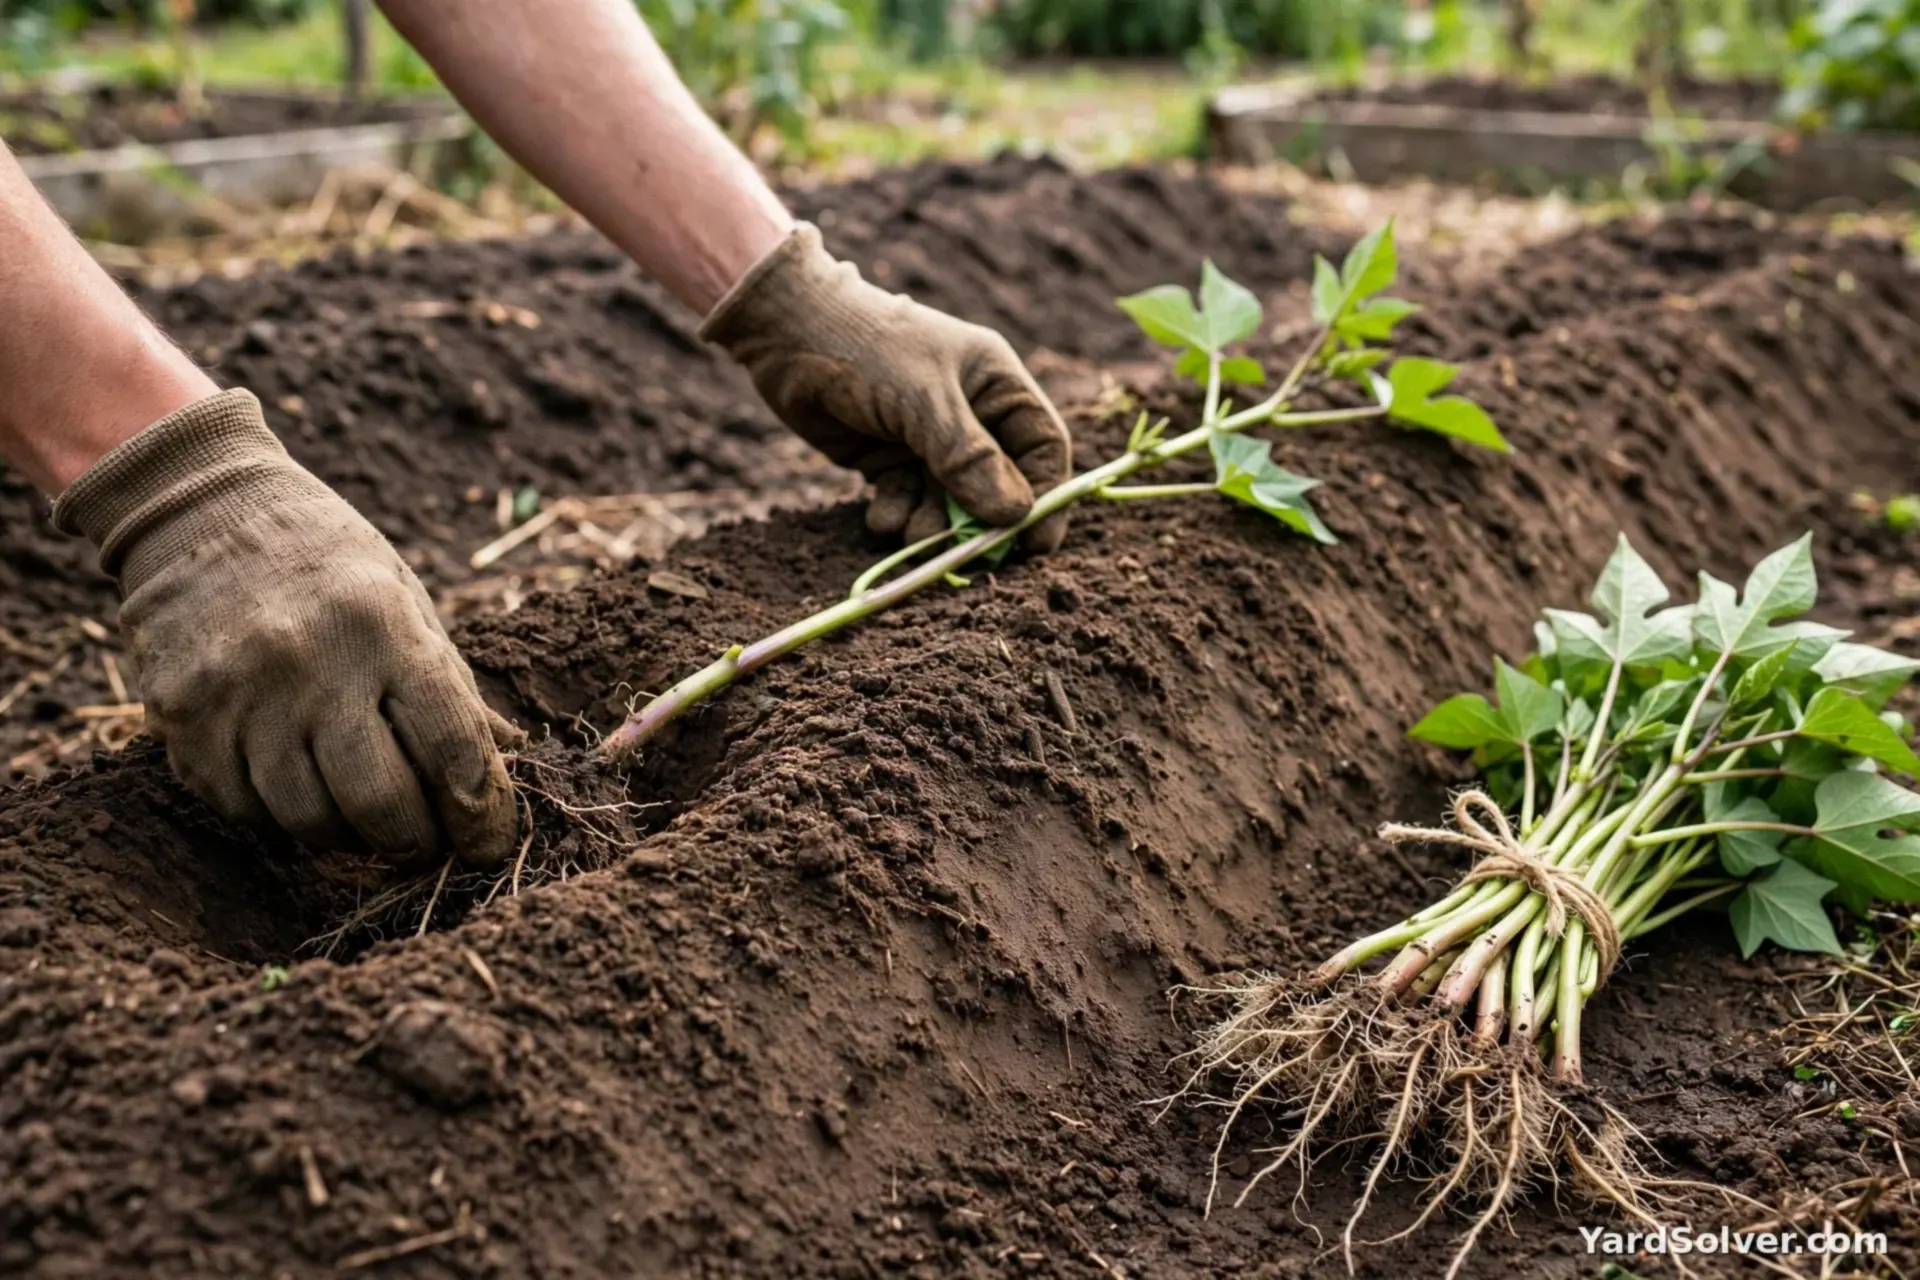
This is a tropical plant, and timing is the whole step. Plant 2–3 weeks after your last frost, once nights stay reliably warm — check your dates on the Planting Calendar rather than guessing. Slips pushed into cold soil just sit and sulk. Work the bed loose and deep, then pull the soil into low ridges about 8–12 inches high and a foot wide; ridges warm faster, drain better, and give the roots soft soil to swell in. Filling a new raised bed for the job? The Raised Bed Soil Calculator totals the soil and compost for you. Plant each slip deep: bury half to two-thirds of its length so at least 2–3 leaf nodes are underground — roots, and eventually tubers, form along that buried stem. Space slips 12–18 inches apart along the ridge, with about 3 feet between rows, because the vines will wander. Water each slip in well, and keep the bed moist while they settle.
Step 3 — Water steadily early, mulch, and guide the vines
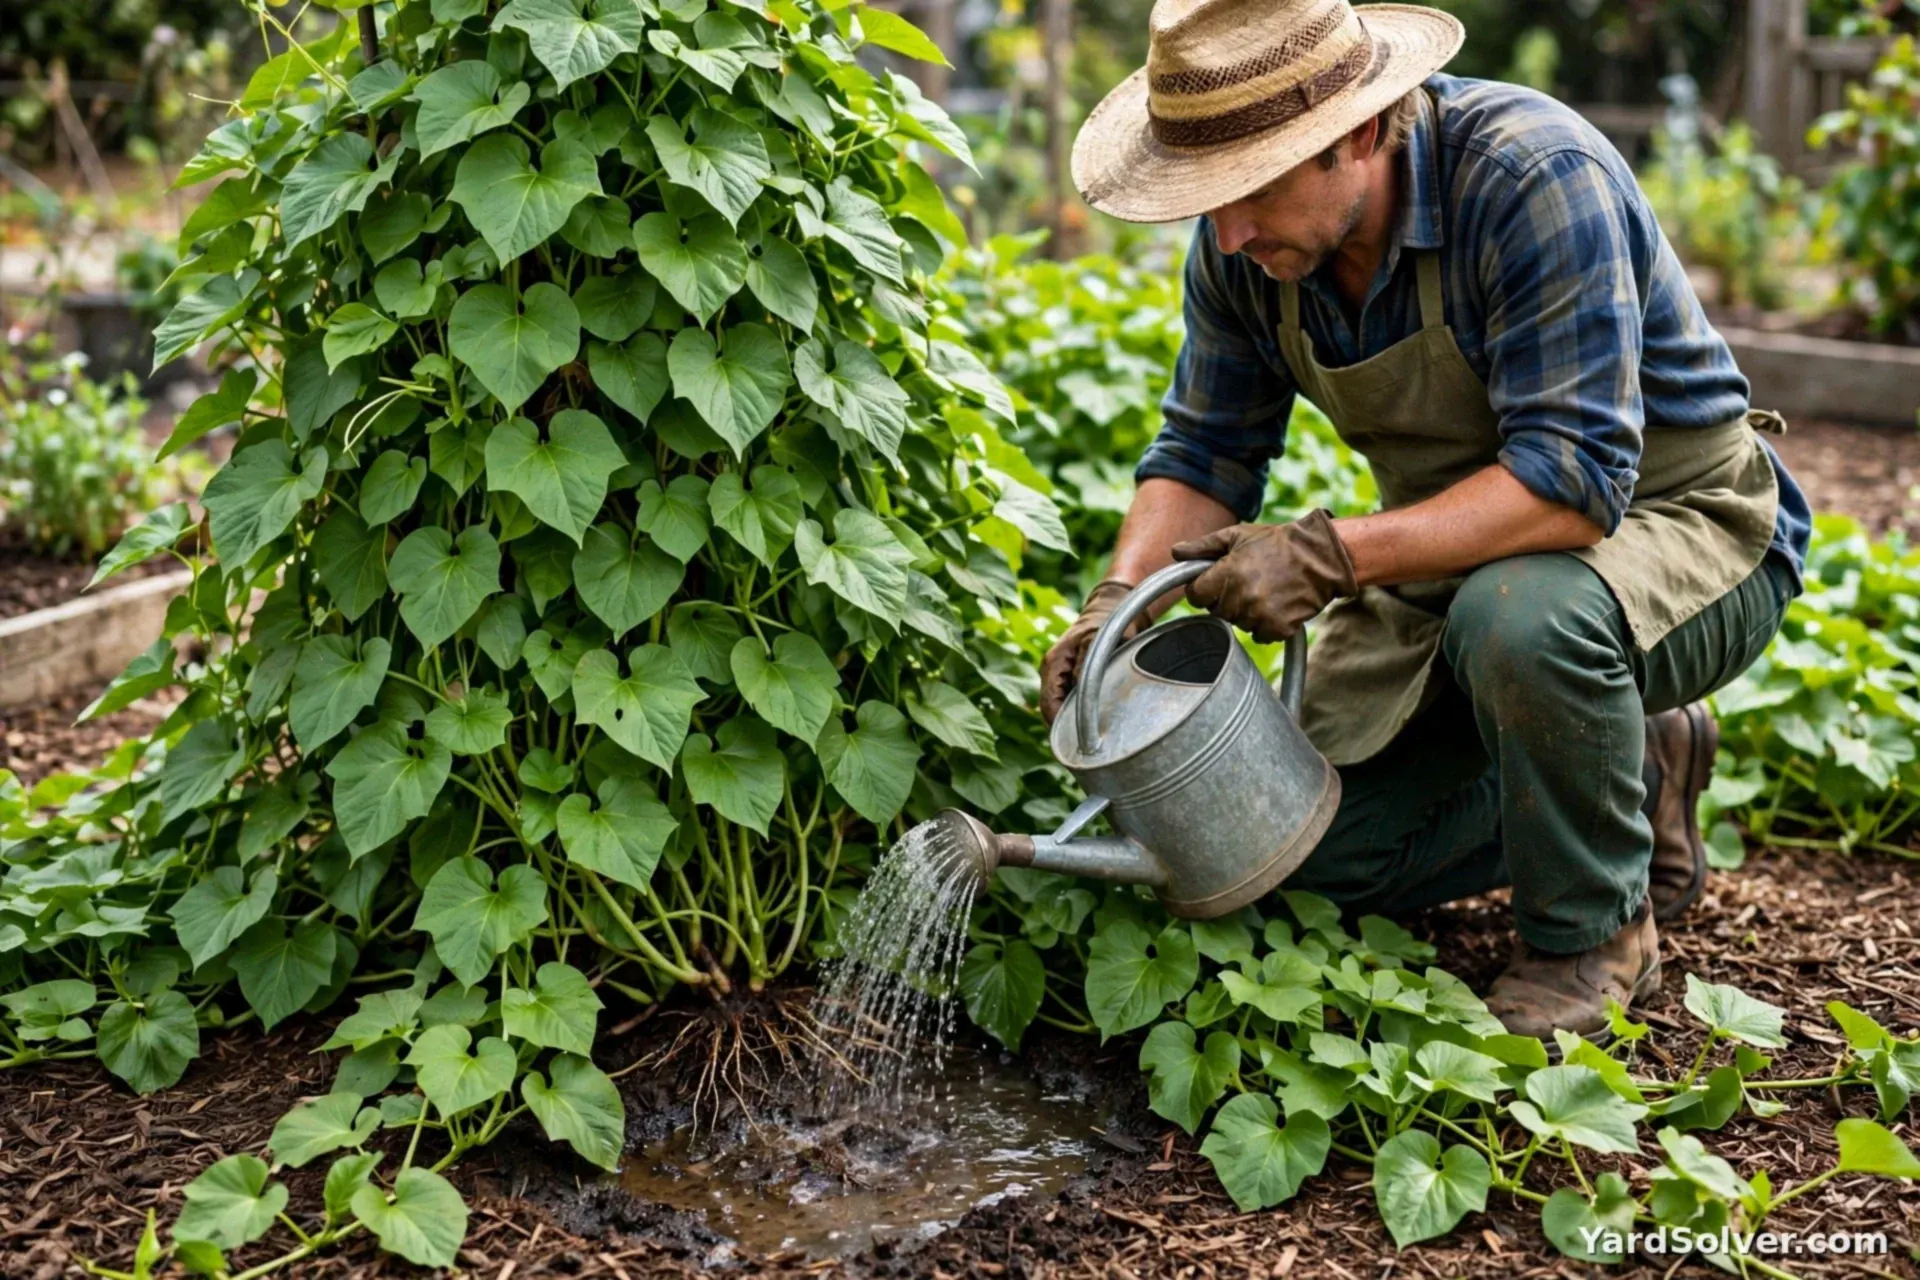
The first 3–4 weeks decide the crop: keep the soil evenly moist while the slips root and start to run. After that, aim for about an inch of water a week, delivered deeply at the base of the plants rather than sprinkled over the leaves. Once the vines get moving, lay a mulch of straw or shredded leaves along the ridge — it holds moisture, keeps the soil temperature steady, and suppresses the weeds the young plants cannot yet shade out. Sweet potato vines root at their leaf nodes wherever they touch soil, which spreads the plant's energy into many small roots; every week or two, lift the wandering vines and guide them back onto their own bed so the main crowns stay the center of the action. By midsummer the canopy closes into a living mulch of its own. Ease off the watering in the last 3–4 weeks before harvest — very wet soil late in the season can split the swelling roots and dilutes the sweetness you are growing them for.
Step 4 — Feed lightly: the leaves are not the harvest
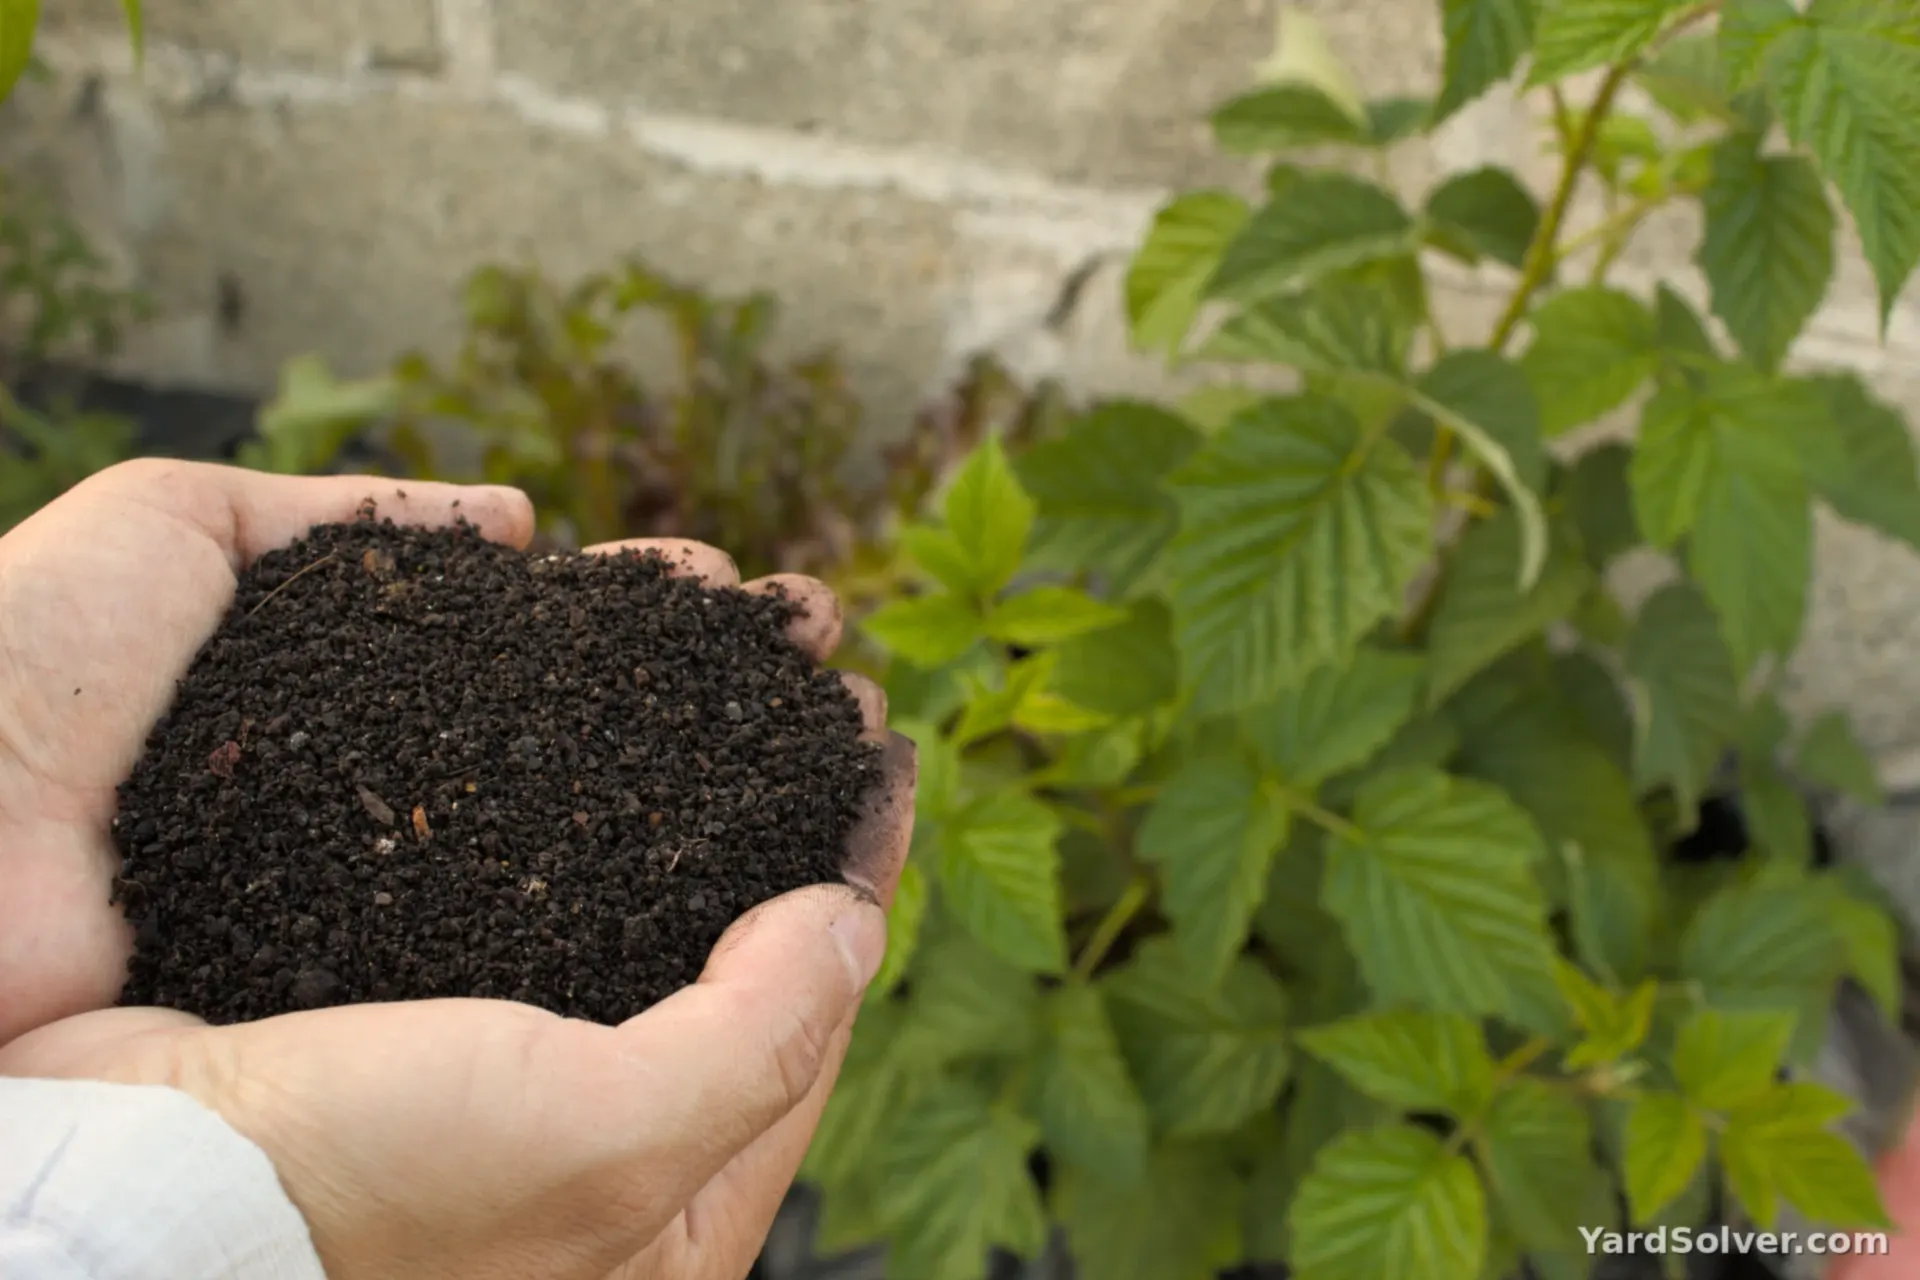
Sweet potatoes are moderate feeders with one famous trap: too much nitrogen grows all vine and no potato. A bed that gets a thick layer of fresh manure or repeated high-nitrogen feed produces a gorgeous green tangle over a handful of skinny roots. The reliable routine is simple: work compost into the bed before planting, then side-dress once, lightly, when the vines start to run — a thin line of compost or a balanced organic feed scratched in along the ridge, as in the picture. Potassium matters more than nitrogen for root bulking, so a balanced or potash-leaning feed beats a lawn fertilizer every time. Then leave them alone. Two visitors are worth a brief watch: deer genuinely love sweet potato leaves, so net or fence a bed they can reach; and voles or mice sometimes gnaw roots underground, which a prompt harvest limits. Tiny shot-holes in early leaves are usually flea beetles and are cosmetic on a vigorous vine — not a reason to spray.
Step 5 — Dig carefully before frost, then cure for sweetness
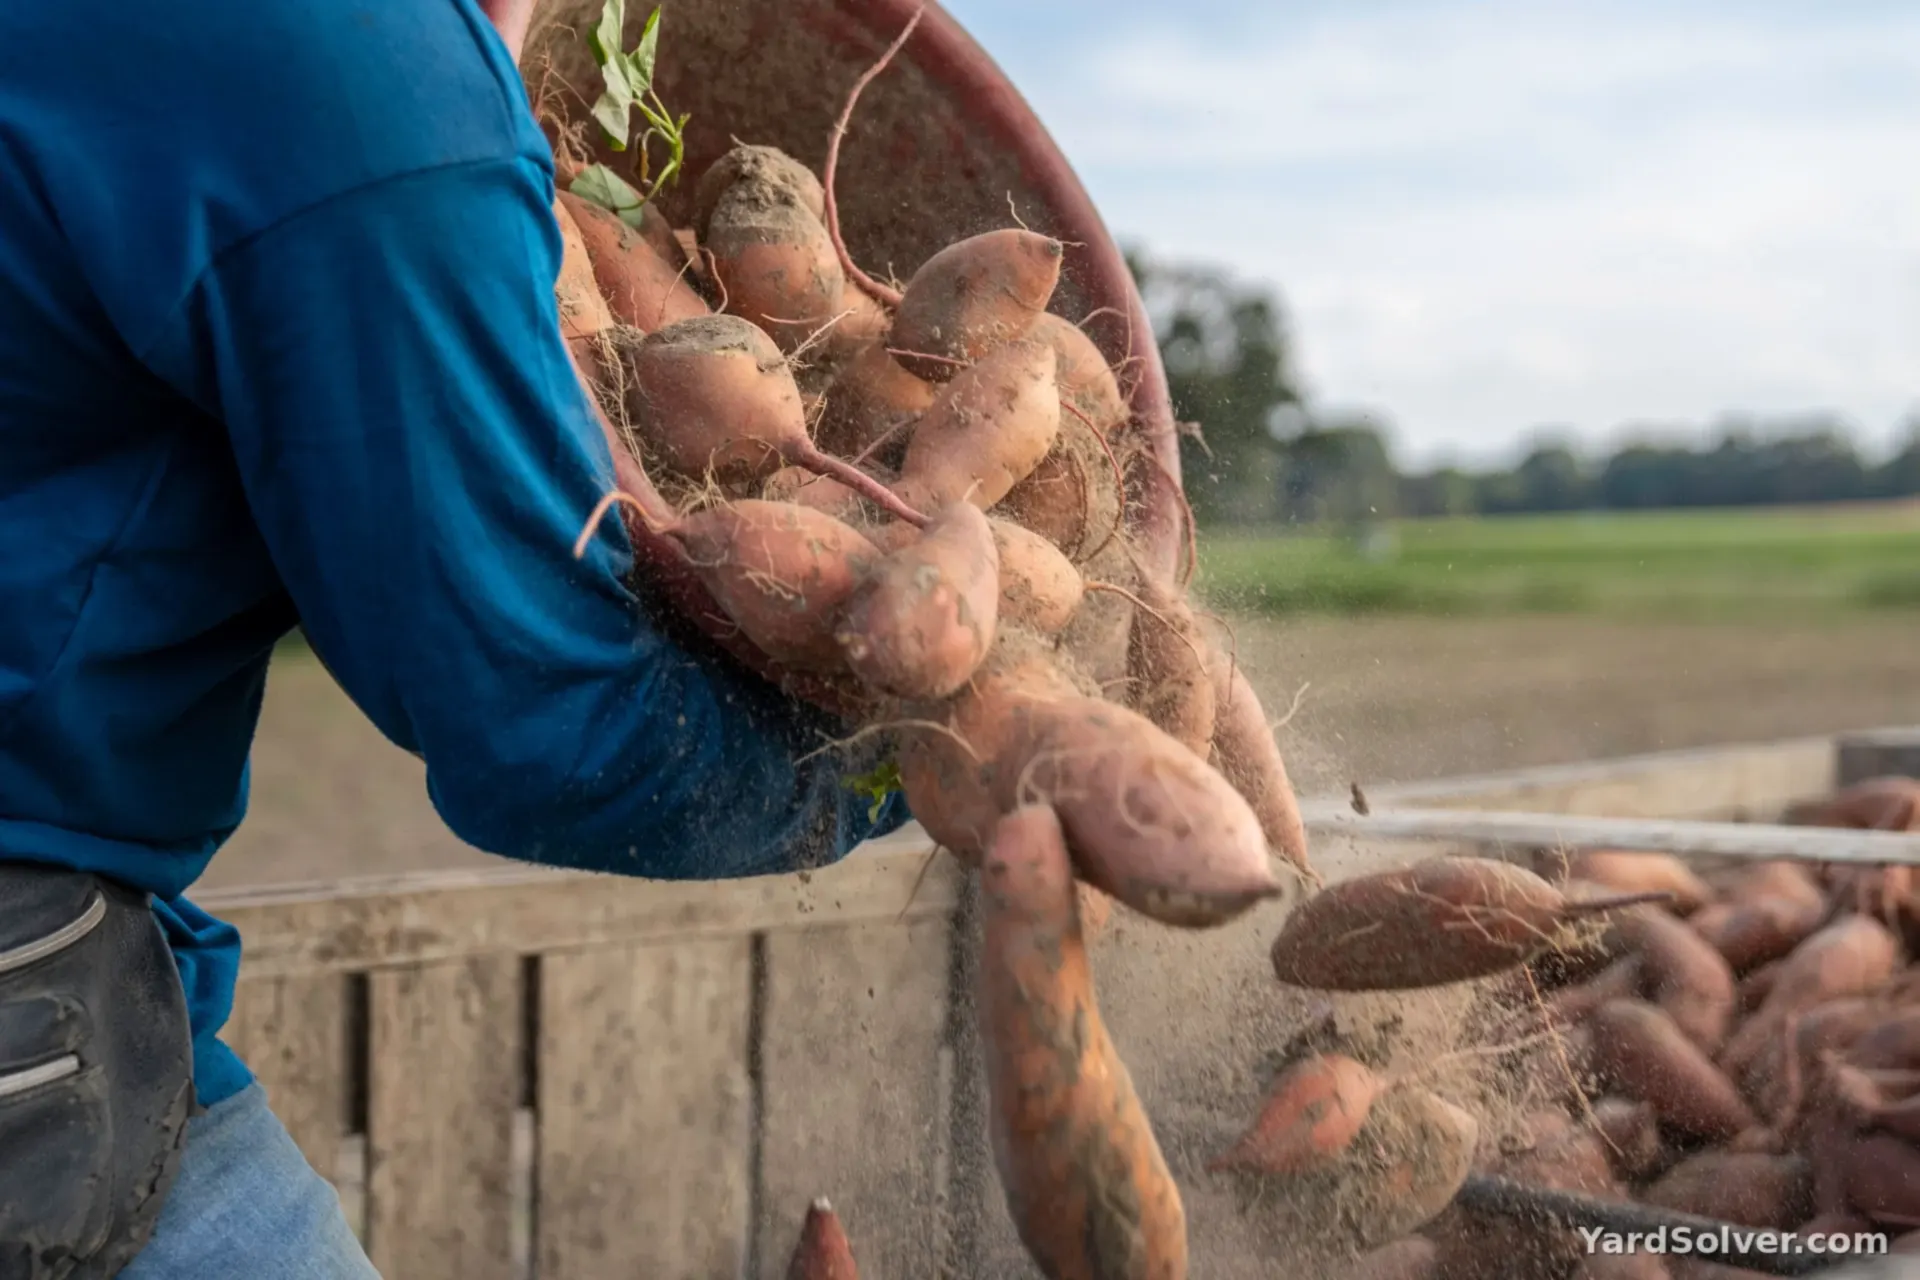
Harvest 90–120 days after planting, when the leaves begin to yellow — and always before the first frost, without exception. Frost-blackened vines are a warning that the tubers below are being damaged too, and chilled roots store badly; if a surprise cold night is forecast, the triage in How to Protect Plants from Frost buys time, but digging is the surer move. Cut the vines away first, then loosen the soil with a fork sunk well outside the crown — the roots spread wider than you expect, and a fork through a tuber is the classic beginner's heartbreak. Lift the cluster, shake off the loose soil, and handle every root like an egg: fresh skins scuff at a touch, and every scuff shortens storage life. Do not wash them. Then comes the step that makes the crop: curing. Keep the tubers in a warm (around 80–85°F), humid place for about 10 days — a warm garage, a spot near a water heater, a box with a damp towel nearby. Curing converts starches to sugars, heals the small wounds from digging, and sets the skins. After curing, store in a cool (55–60°F), dry, dark place — never the fridge, where cold turns the centers hard and woody. Cured and stored right, your harvest keeps for months.
Keep going
The at-a-glance version, with sun, spacing and harvest timing: Sweet Potato — Plant Library.
More growing guides: Grow Aloe Vera · Protect Plants from Frost · Plant Garlic in Fall.
Questions people ask
How long do sweet potatoes take to grow?
Most varieties need 90–120 days from planting slips to harvest, and they grow faster the warmer the weather. The vines tell you when they are close: leaves start to yellow as the roots size up. Whatever the calendar says, dig before the first frost — frost damages the tubers and ruins them for storage.
Can I plant a sweet potato from the grocery store?
Yes — that is exactly how slips are made. Choose a firm, healthy tuber, ideally organic, since some conventional sweet potatoes are treated to delay sprouting. Start it in water or moist potting mix in a warm spot, and in a few weeks it pushes out sprouts. Twist off each sprout (a slip) once it is 6–8 inches long, root it, and plant the slips — the tuber itself stays on the windowsill and keeps producing more.
Why do sweet potatoes need curing?
A freshly dug sweet potato is starchy, not sweet. Curing — about 10 days in a warm, humid spot — converts those starches to sugars, heals the small nicks and cuts from digging, and sets the skin so the tubers store for months instead of weeks. Skip the cure and you get a bland potato that spoils early; cure it and the same harvest turns rich, sweet and long-keeping.
Comments & ratings
No comments yet.
Be the first to share your experience.