
Guides · Soil & feeding · Published November 1, 2026
How to Test Your Garden Soil (pH and Nutrients)
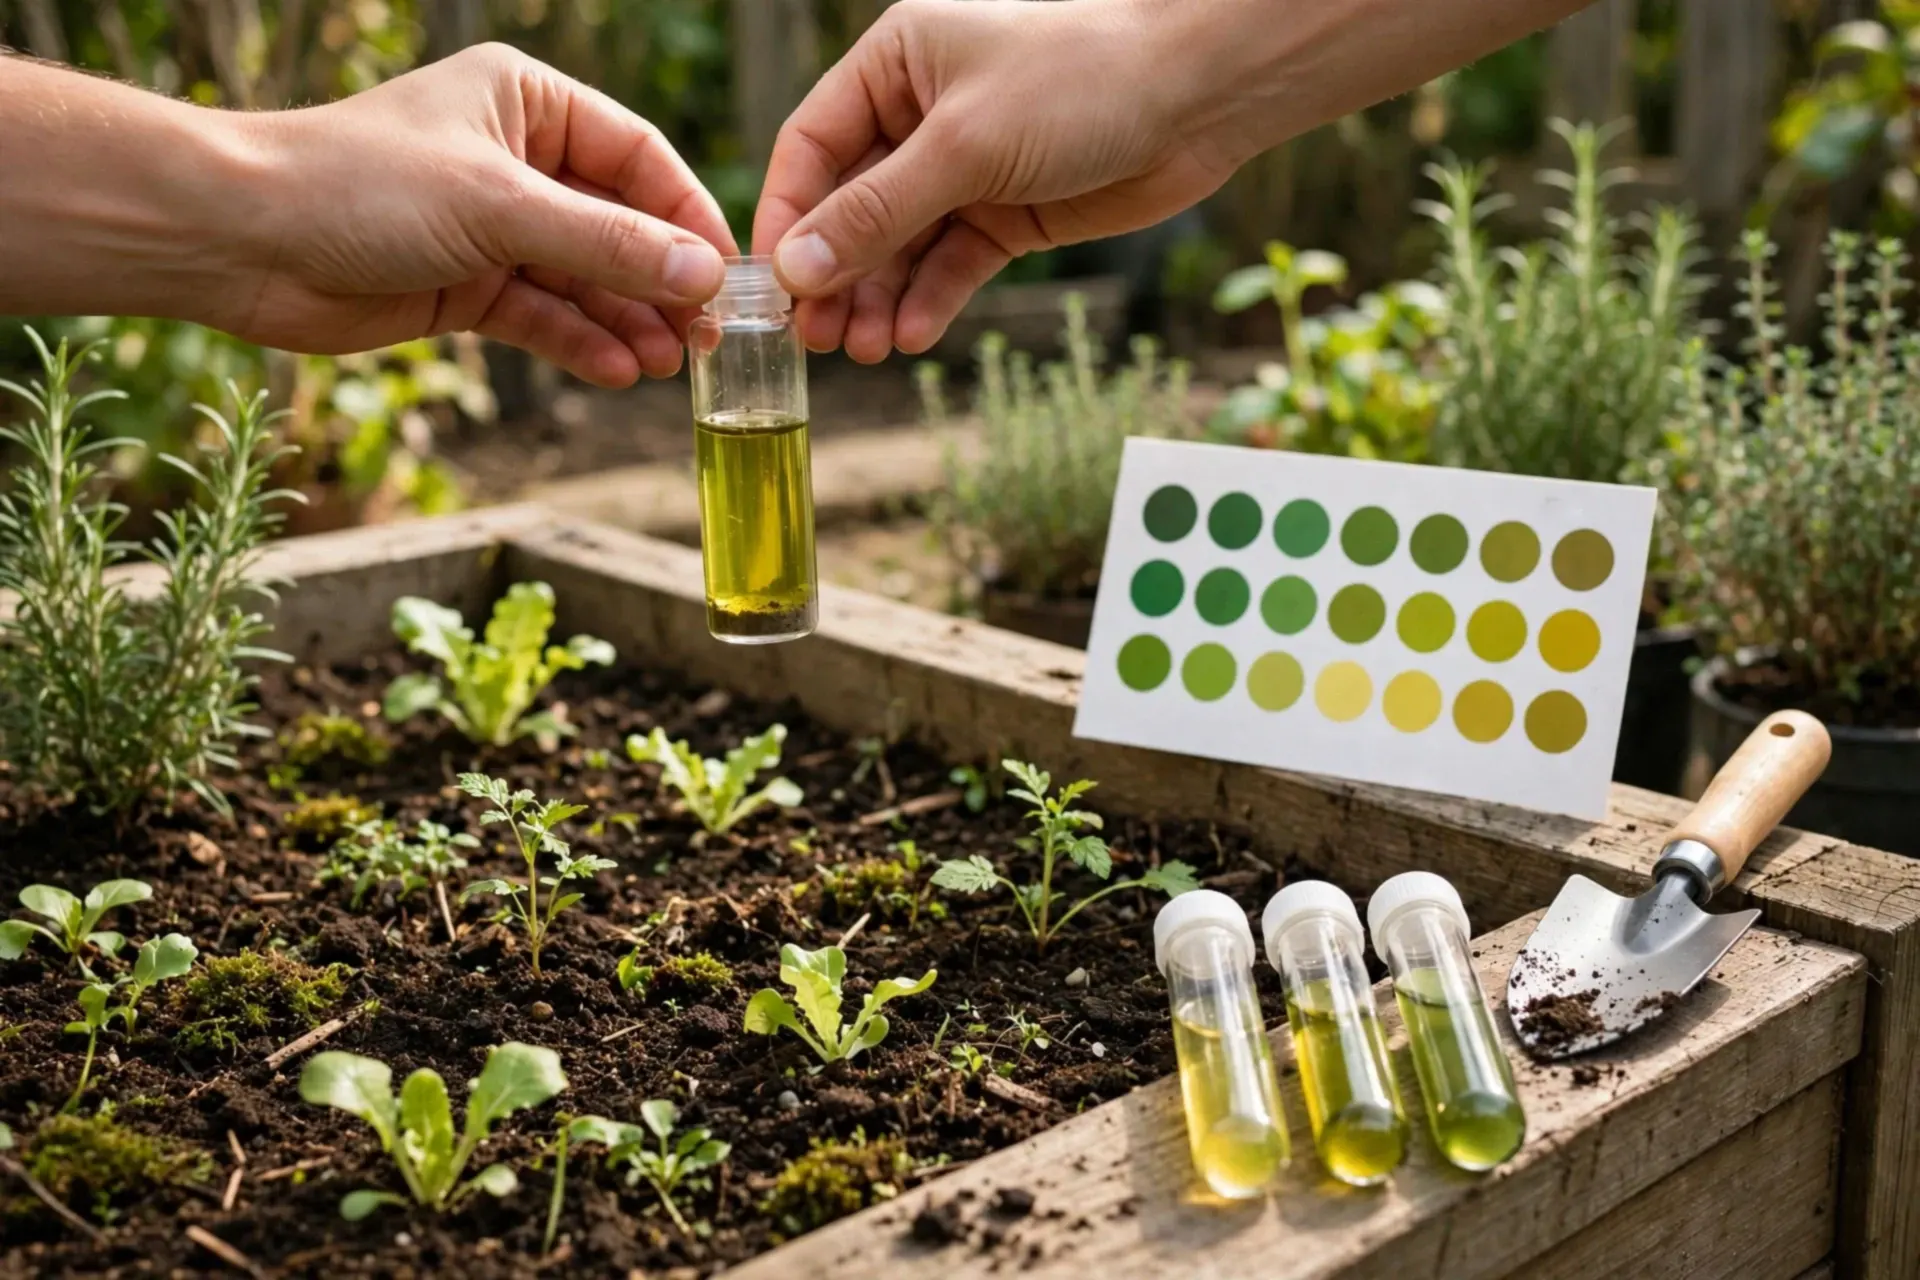
Nearly every stubborn garden mystery — yellow leaves, poor growth, feed that does nothing — quietly traces back to the soil itself: its pH locking nutrients away, or one nutrient genuinely missing. A soil test replaces a season of guessing with one page of numbers, and it costs little. This guide covers the sampling (where most tests go wrong), the lab-versus-kit choice, and what to actually do with the result.
What a test can and cannot tell you
- pH — the master number: most vegetables want 6.0–7.0; outside that range, nutrients already in the soil become unavailable to roots
- Main nutrients — phosphorus and potassium levels, and often calcium and magnesium, measured properly by a lab
- Organic matter percentage — the engine of soil life; low matter means poor water and nutrient holding
- What it cannot do: a standard test does not diagnose diseases, pests or viruses, and home kits do not measure nitrogen reliably — nitrogen is managed seasonally instead (see Step 5)
Step 1 — Take a proper sample (this is where accuracy is won)
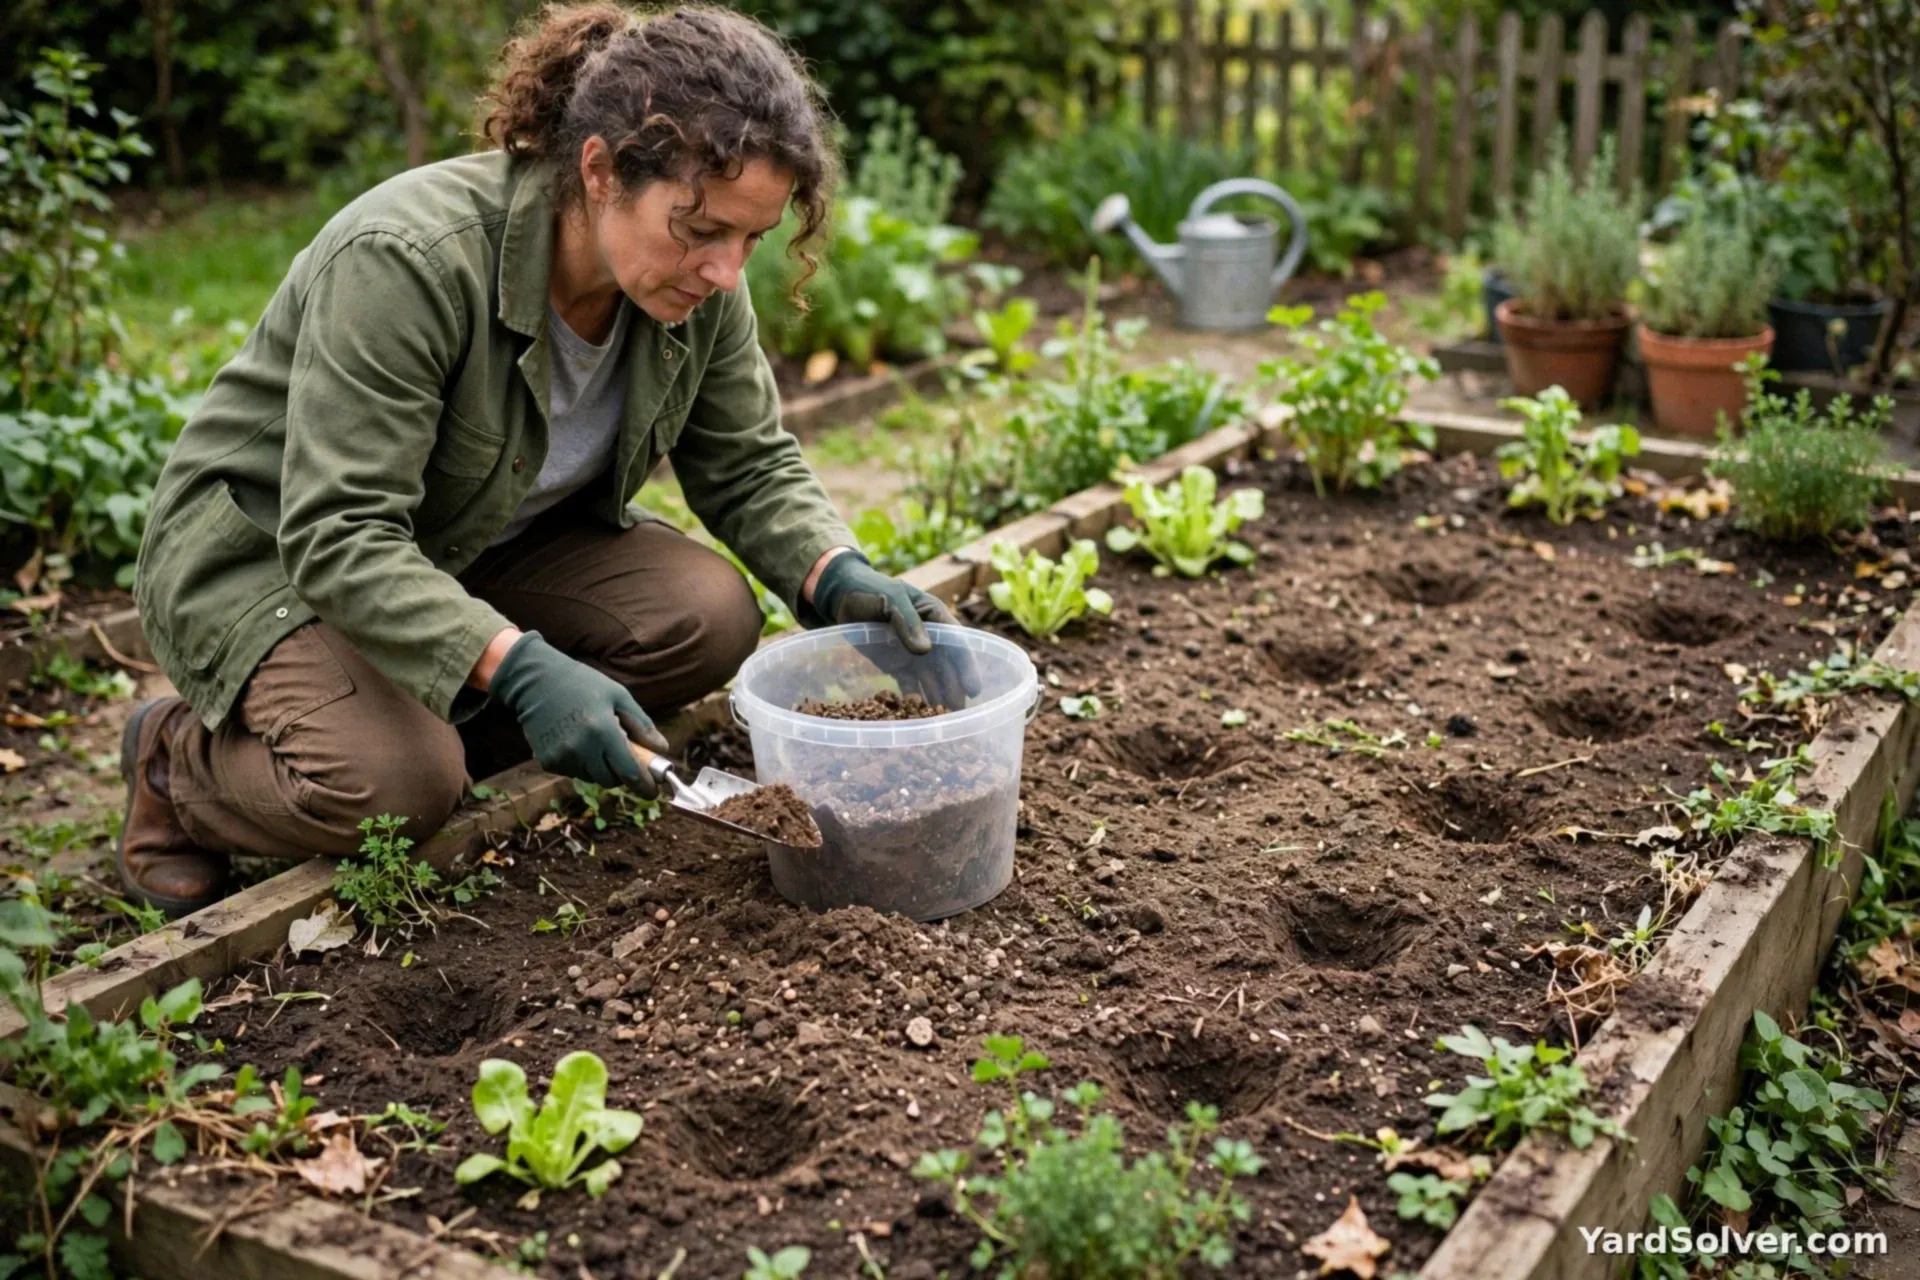
One scoop from one spot tells you about that scoop. Instead, take 8–10 small samples across the bed or lawn area the test represents, each from the top 15 cm (6 inches) of soil, and mix them in a clean plastic bucket. Pick out stones and roots, let the mix dry if it is soggy, and send or test about two cups of it. Sample each distinct area separately — the vegetable bed and the lawn are different stories. Fall is the ideal testing season, but any time the soil is workable and not freshly fertilized works.
Step 2 — Choose your test: lab first, kits for watching
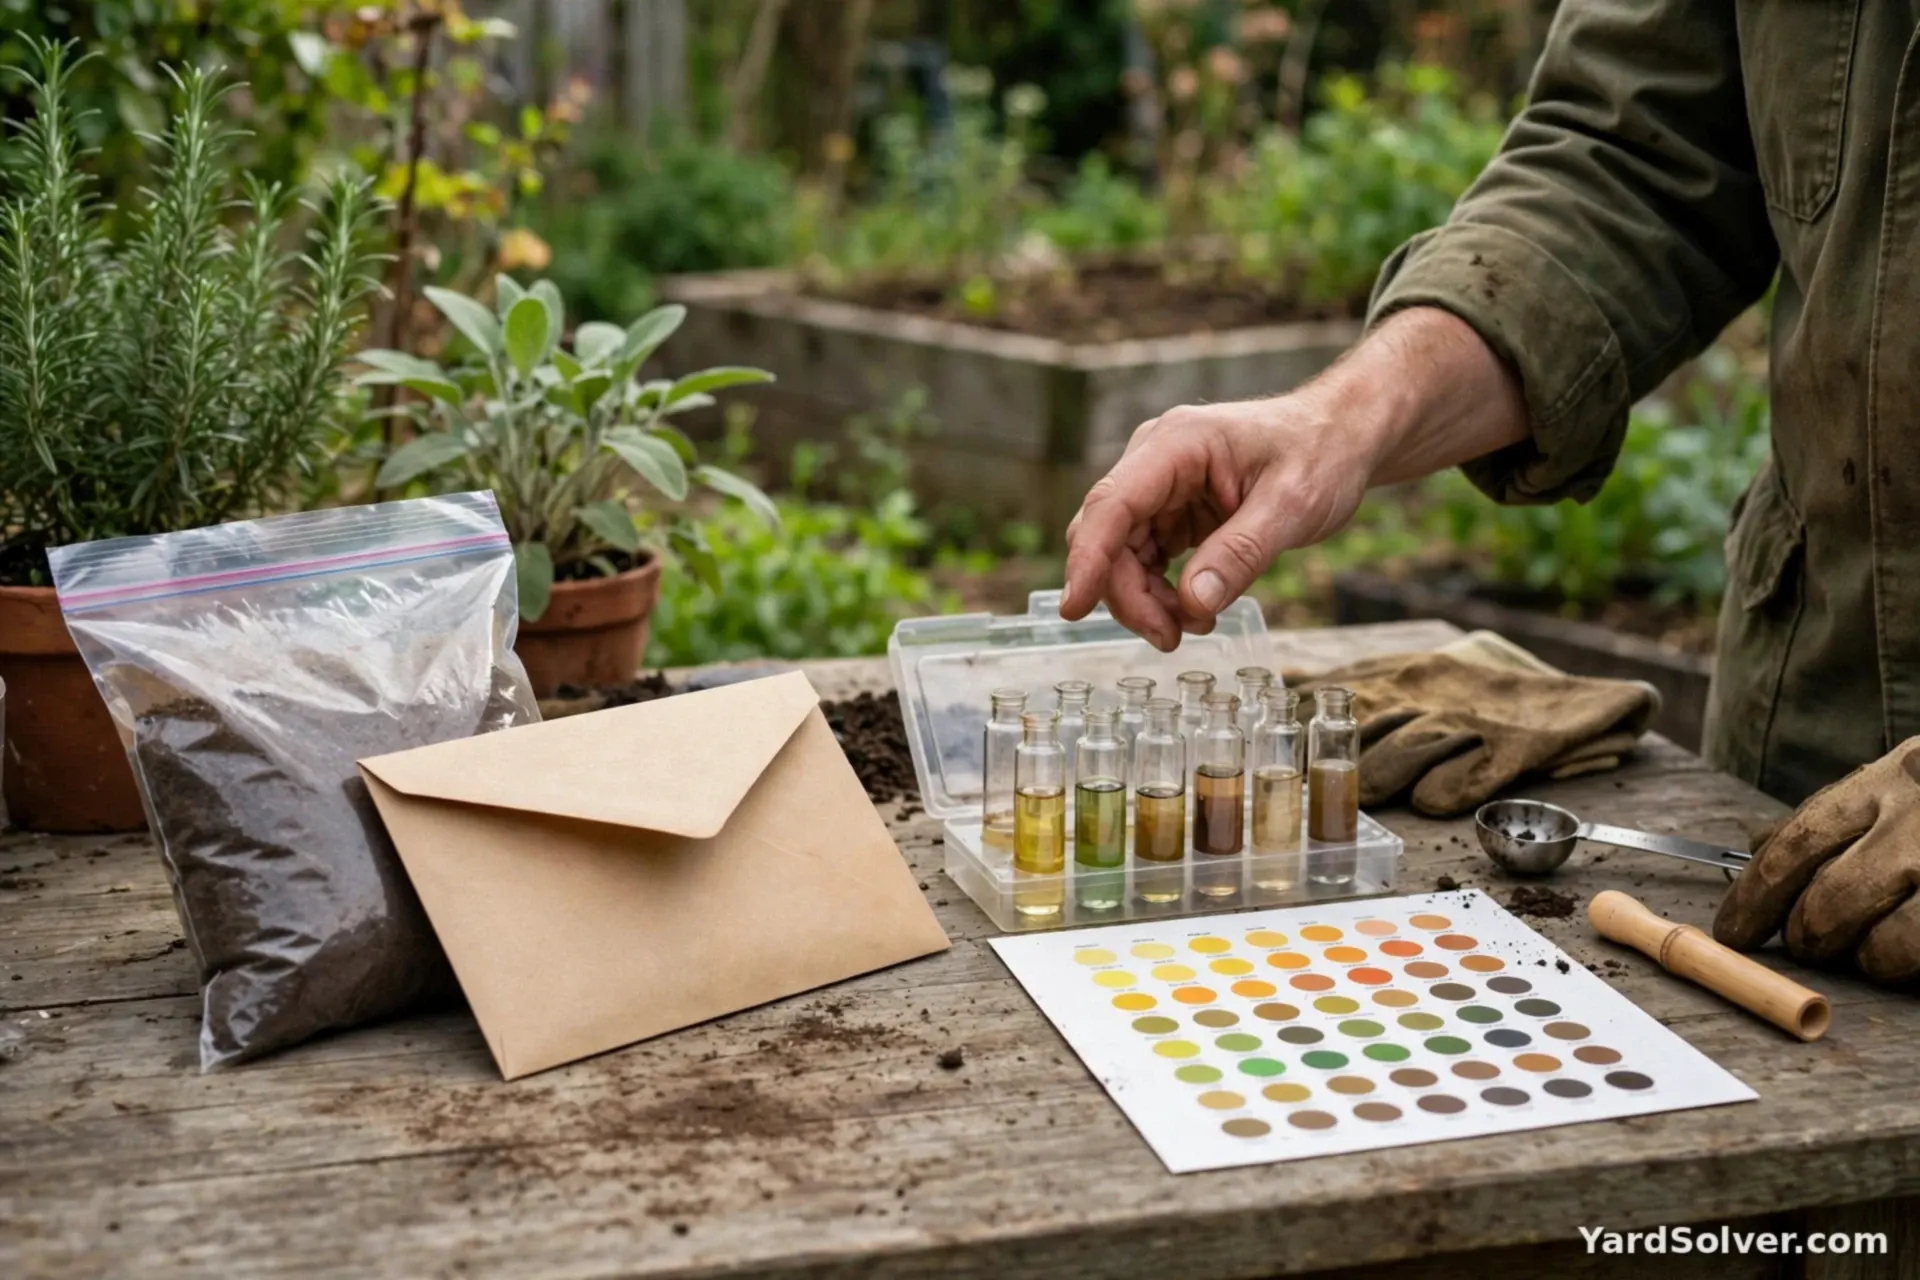
For a first test, or a real problem, use a proper soil laboratory — most regions have one reachable through the local extension office, co-op or garden centre, and the report comes with fertilizer and lime recommendations calculated for your soil. Home probe-and-powder kits are fine for rough pH checks between lab tests, but treat their nutrient numbers as hints, not verdicts. The fizzy vinegar-and-baking-soda trick can only flag an extreme soil — it is a parlour game, not a measurement.
Step 3 — Read the report in the right order
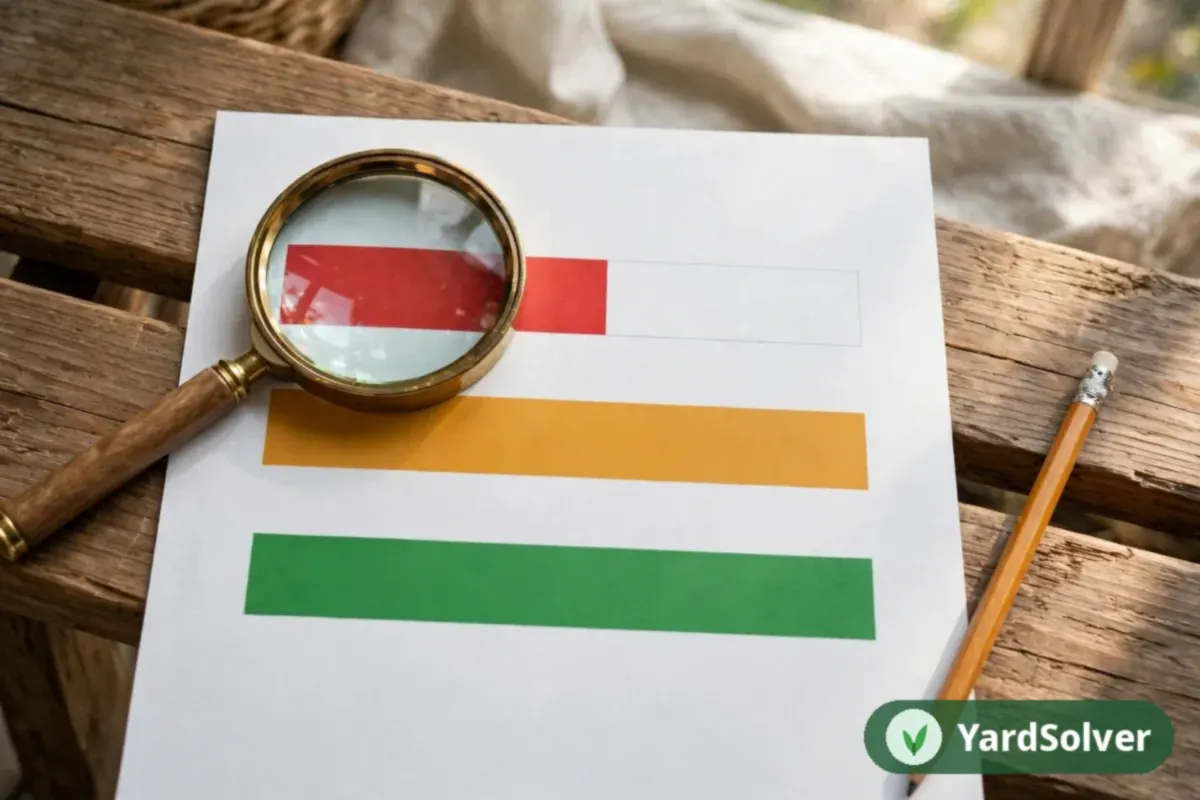
Start with pH, because it gates everything else: feeding a plant in badly wrong pH is like posting letters to a locked house. Next, phosphorus and potassium — labs rate them low/medium/high, and 'high' means stop adding that nutrient, which saves real money and protects waterways. Last, organic matter: below roughly 3%, compost is your highest-value investment, ahead of any bagged feed.
Step 4 — Fix pH slowly, in the right season
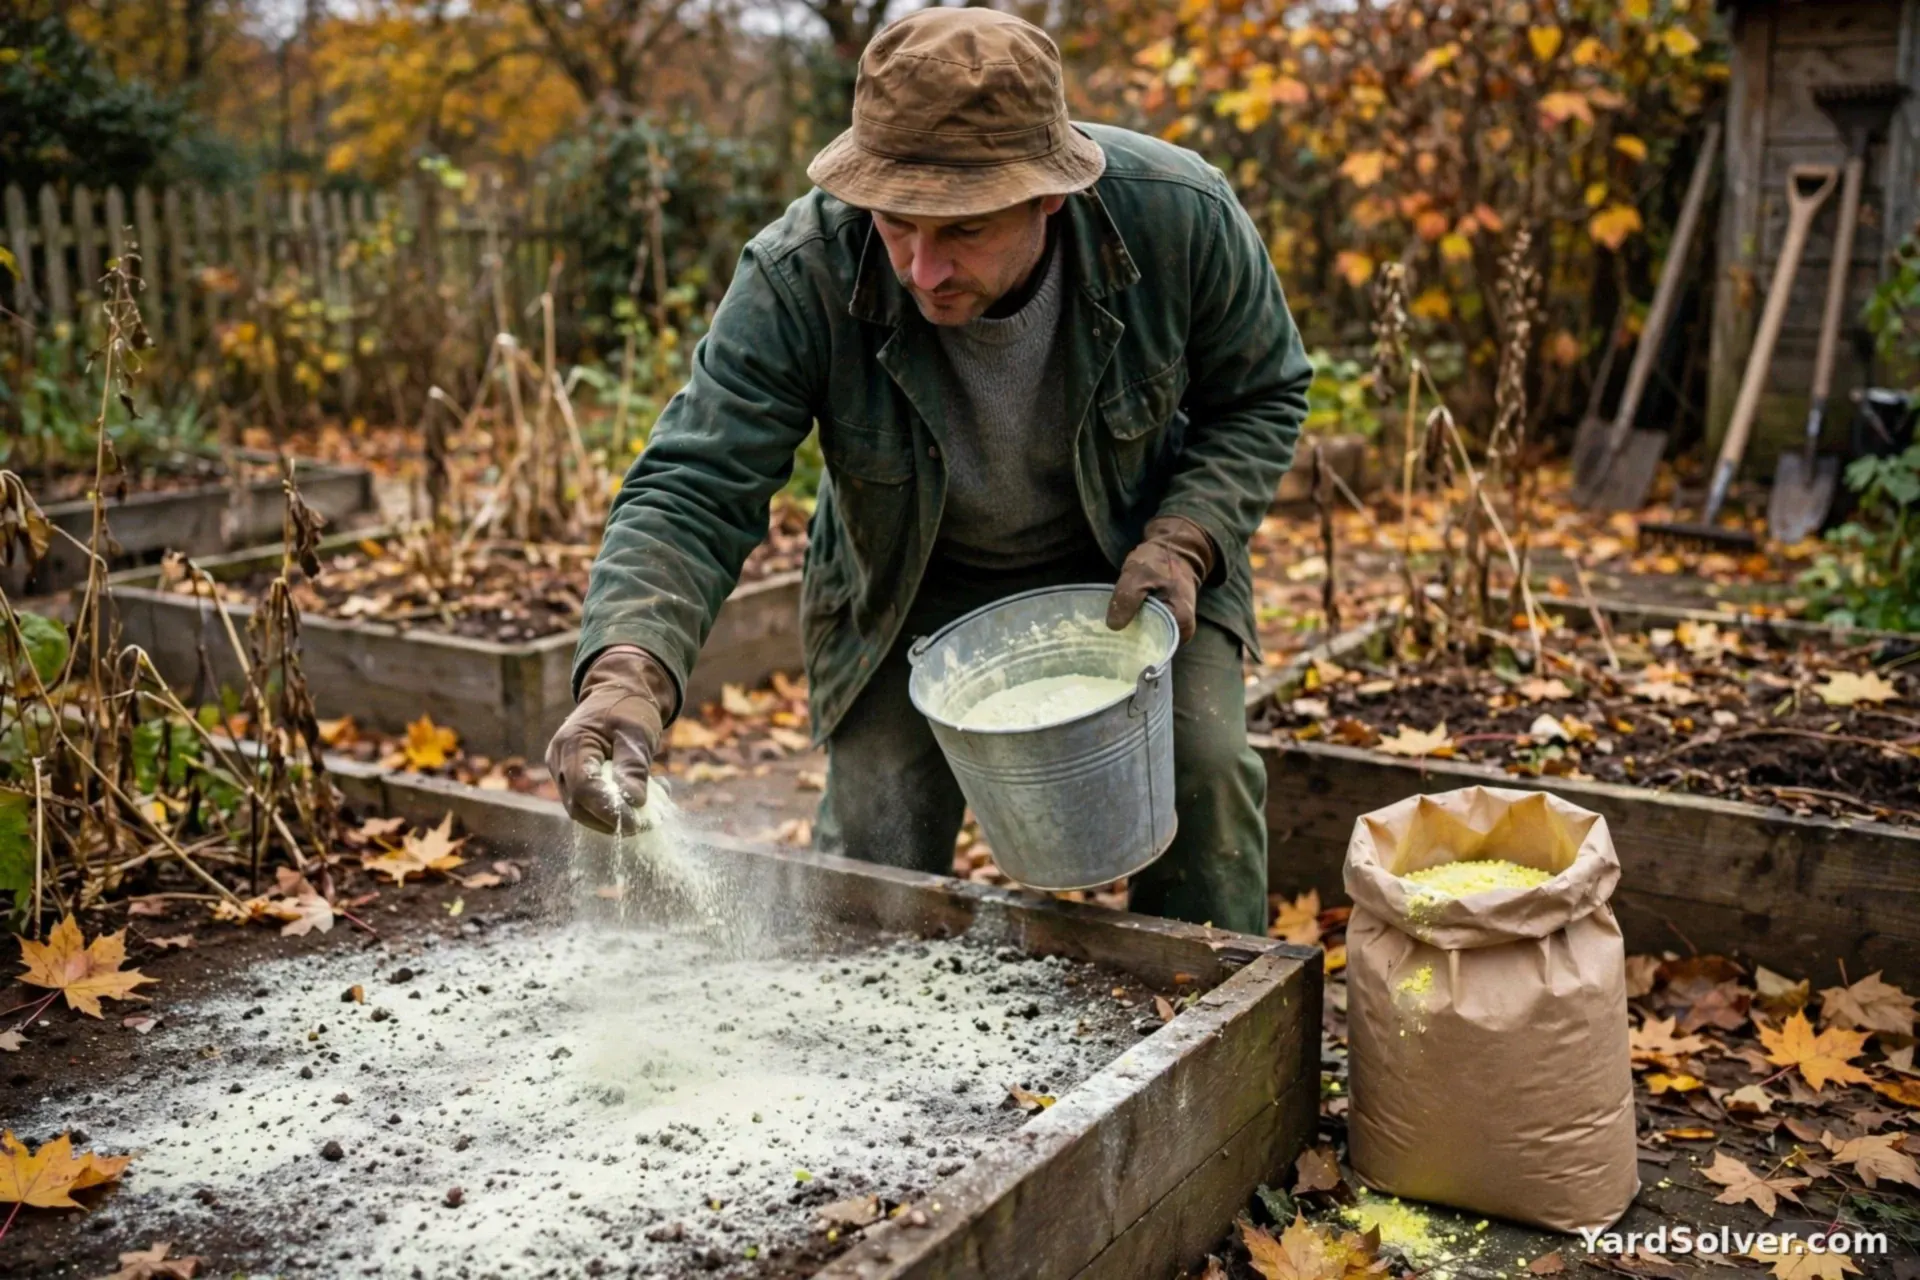
To raise pH (acid soil), apply garden lime at the rate your report specifies — it works over months, so autumn application is classic. To lower pH (alkaline soil), elemental sulfur is the usual tool, also slow. Both are measured, patient corrections: retest after a year rather than piling on more. The Fertilizer Calculator works out how much of a bagged product your bed area needs once the report names the rate.
Step 5 — Feed and build matter, season by season
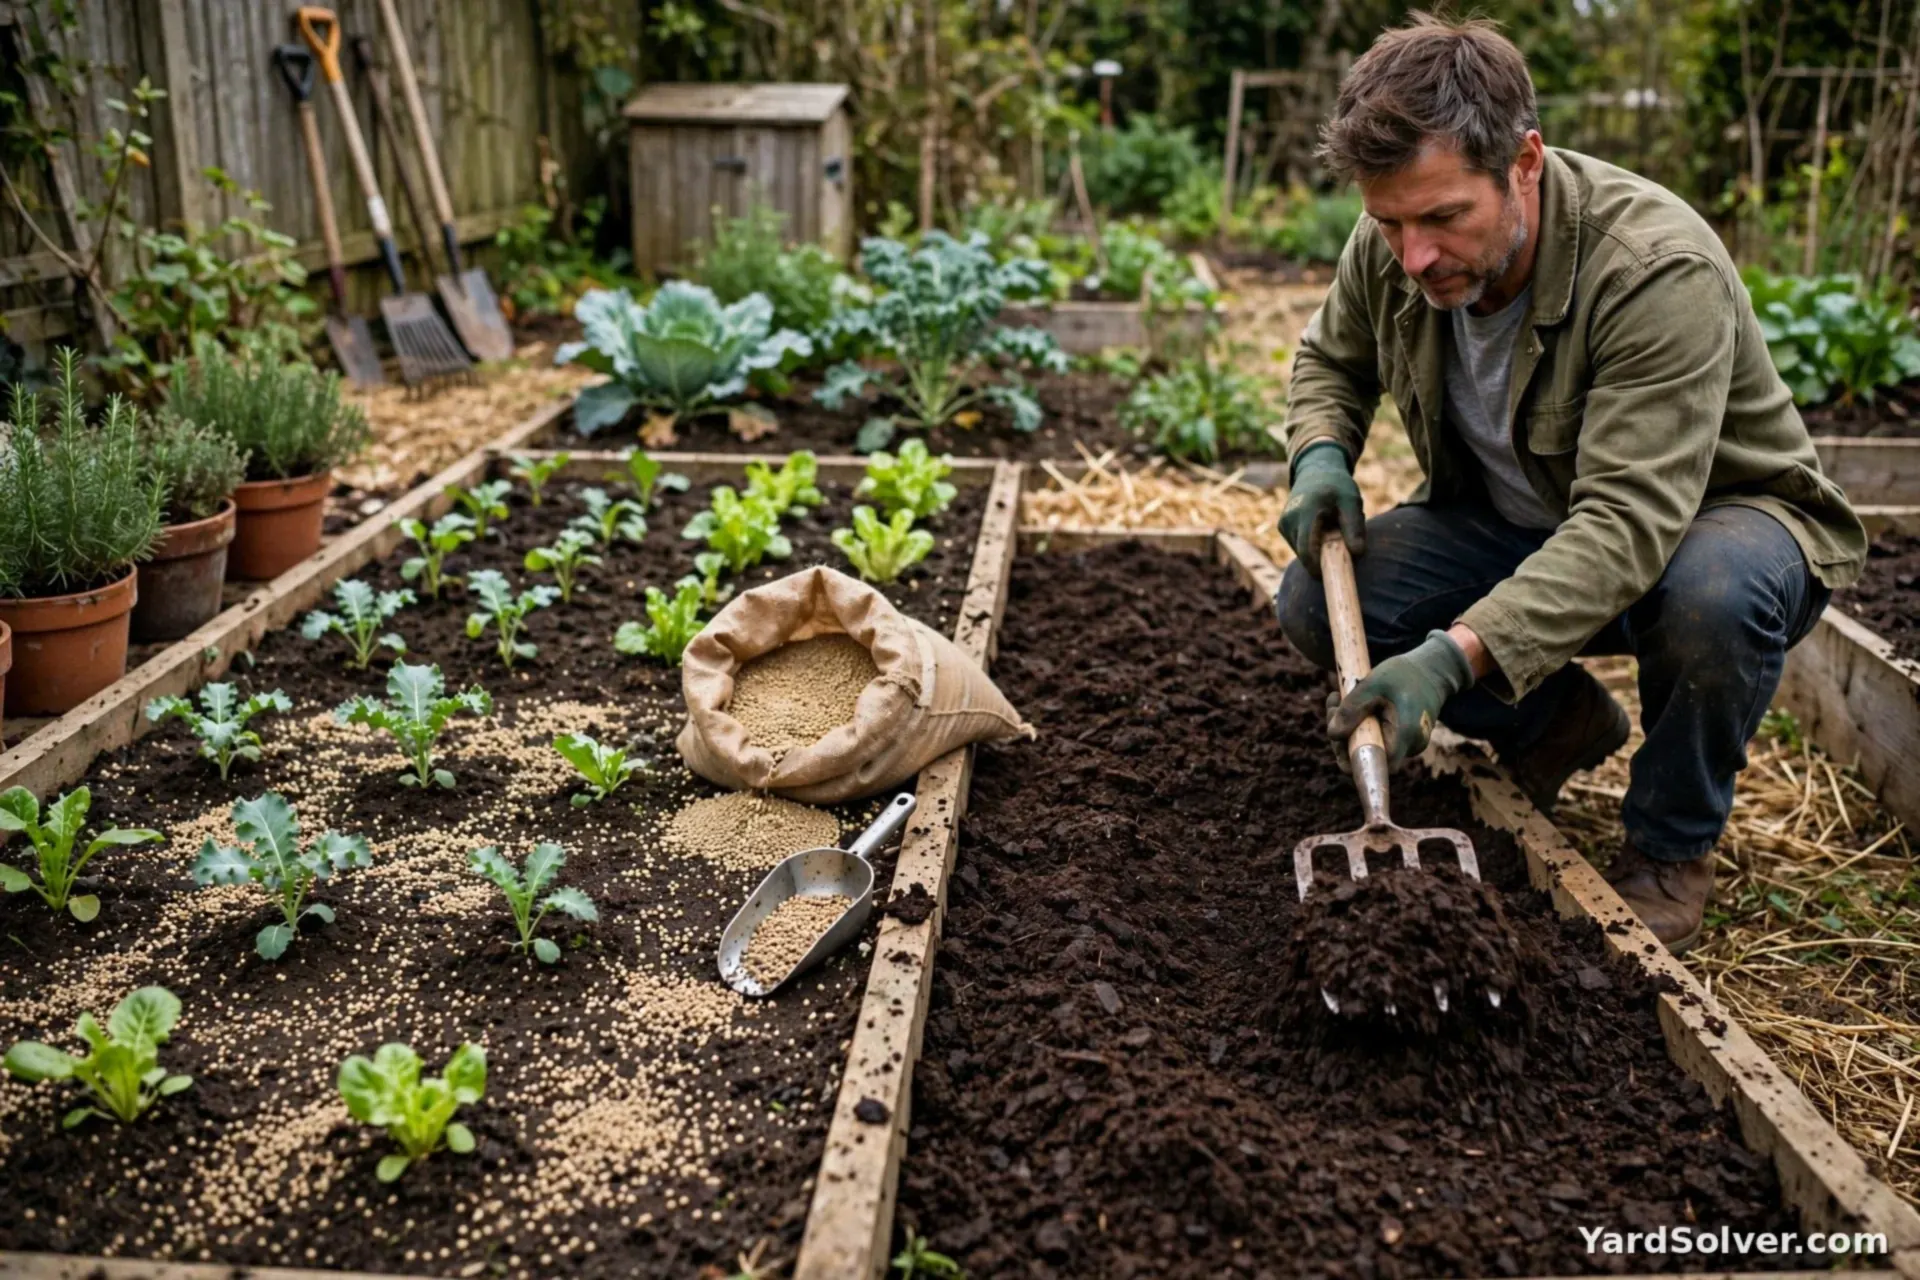
Nitrogen is the moving part: it washes and gets used up, so it is fed in season at label rates matched to the crop, not corrected once from a test. And whatever the numbers say, add organic matter every year — a few centimetres of compost worked out with the Compost Calculator raises the soil's ability to hold every nutrient you apply. Retest every two to three years to watch the trend, the way you would recheck blood pressure rather than guess.
Keep going
Put the numbers to work: How to Prepare Garden Soil in Spring · How to Refresh Raised Bed Soil in Spring. Heavy clay or a pH that needs to come down? Go next to How to Fix Clay Soil · How to Lower Soil pH. When leaves yellow anyway, sort it by pattern in Why Are My Tomato Leaves Turning Yellow?. A mossy lawn is often a low pH and compaction story too — work through Moss in Your Lawn for the fix in lawn order.
Questions people ask
How often should I test my garden soil?
Every two to three years is the standard rhythm for an established garden, and sooner if plants keep failing for no visible reason or you are starting a new bed on unknown ground. Test in the same season each time so the numbers are honestly comparable.
Can I test in winter?
You can sample whenever the soil is not frozen or waterlogged, and fall is actually ideal — labs are quieter and you have winter to source lime or sulfur. Just avoid sampling right after fertilizing or liming, which skews the result for weeks.
Is a cheap home kit enough?
For tracking pH roughly between lab tests, yes. For a first test, a new garden, or a real problem, no — home kits measure nutrients poorly and cannot give the calculated lime and fertilizer recommendations that make a lab report worth having.
Comments & ratings
No comments yet.
Be the first to share your experience.