
Plant Library · Fruit & Melons
🫐 How to Grow Blackberry
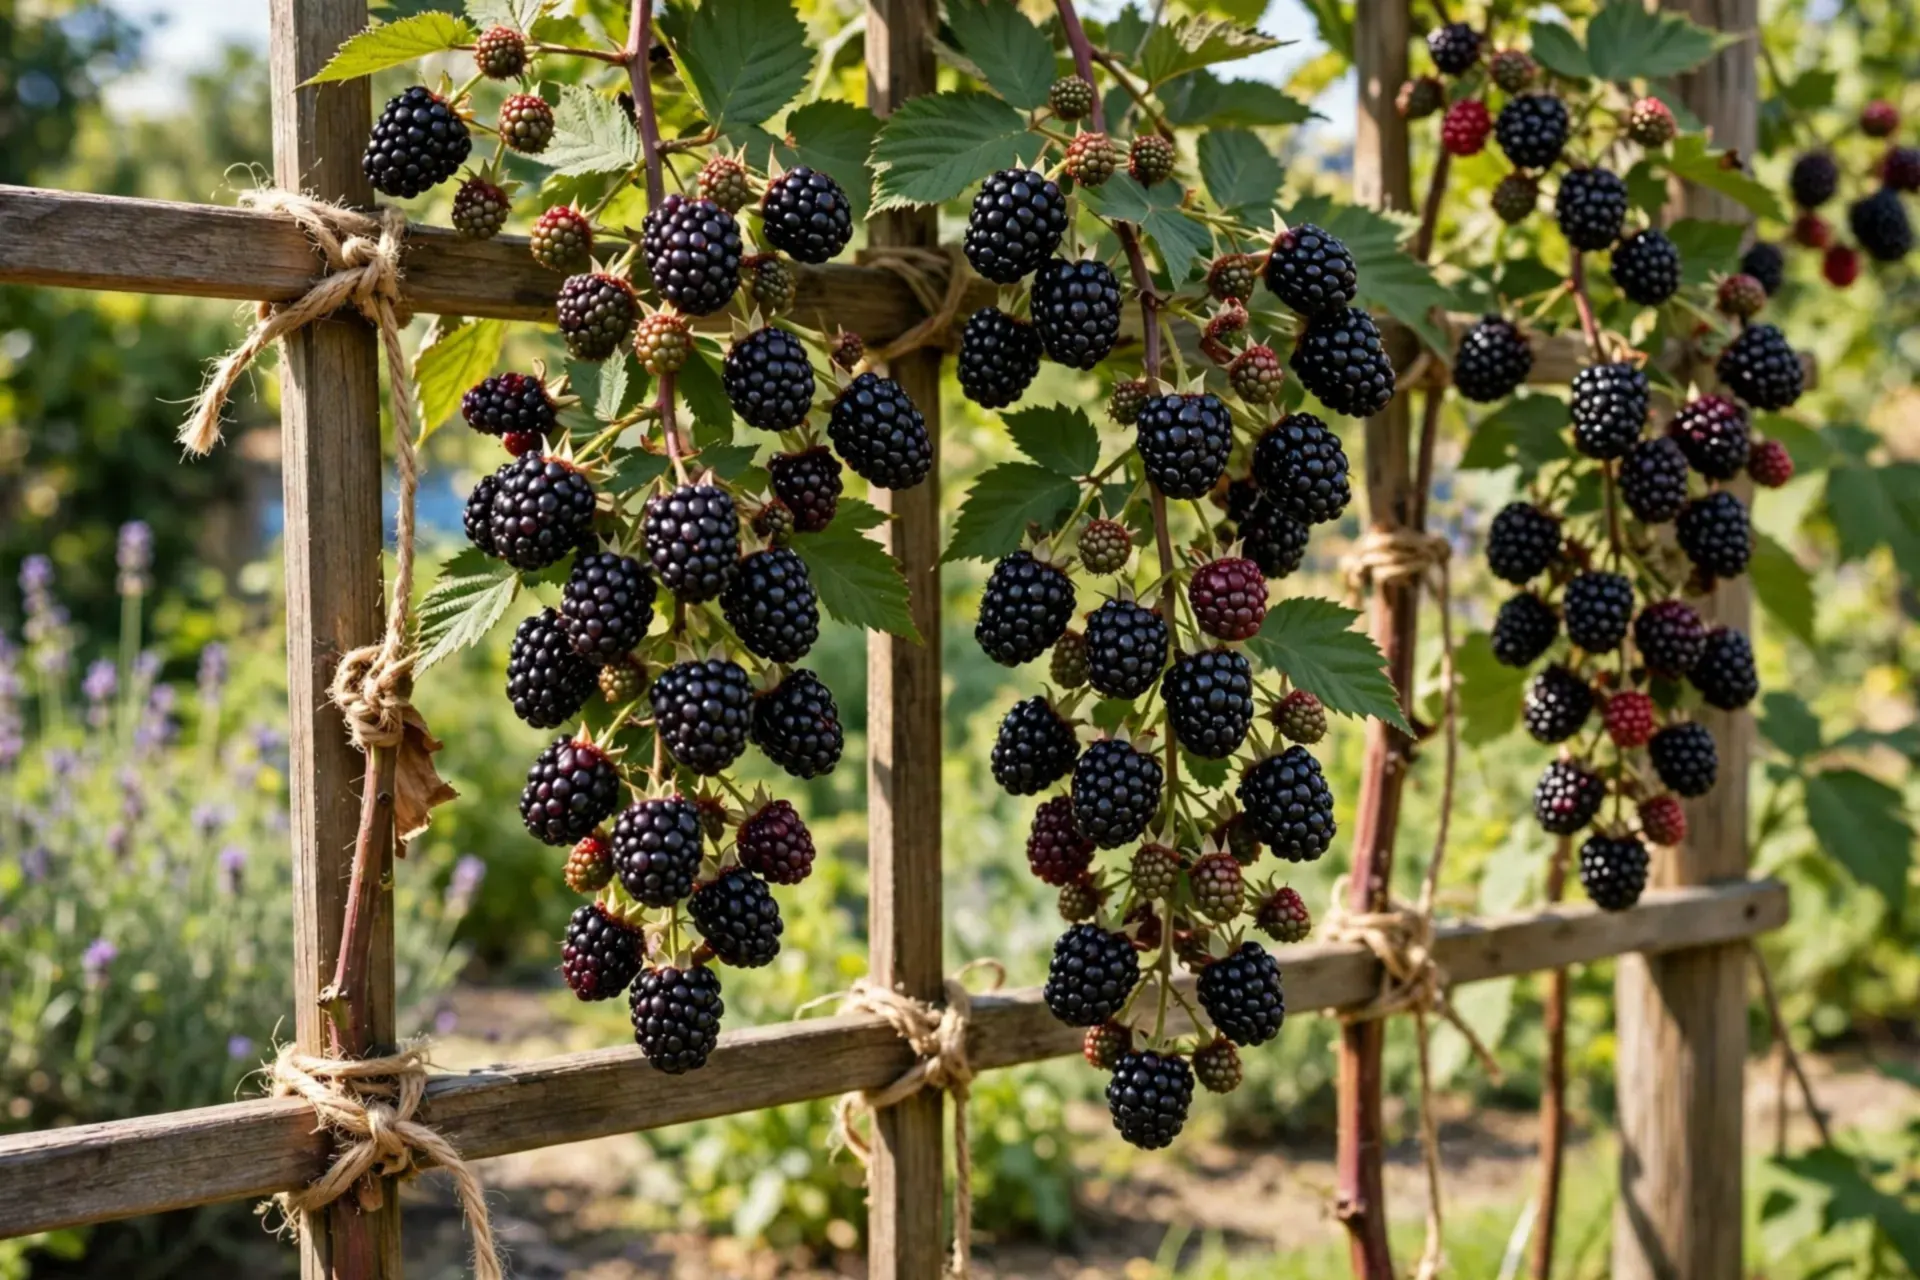
Choose thornless canes unless you enjoy a fight — modern thornless blackberries crop just as heavily, taste every bit as good, and let you pick and prune bare-handed. Blackberries are long-lived perennial canes for zones 5–9: plant once in full sun, tie the new canes in each summer, and from the second year the patch fruits every summer on last year’s canes.
Grow Blackberry with us — step by step
Everything for this plant is written step by step below — what to do, and exactly when. Read it through first if you like: you can grow it entirely on your own with that guide. Or start with us here — tell us your planting day and we lay out your personal schedule on this page, every next step on its own day, counted from your planting date. No guessing, no forgetting.
Step 1 — today: Plant your Blackberry canes today at the same depth they were in the pot, spaced 36–60 in apart along their wires or trellis, and water them in well. Bare-root canes go in the same way — soak the roots in a bucket of water for an hour first and spread them out in the planting hole.
Blackberry at a glance
Spacing: 36–60 in (canes) · Planting depth: Same depth as in its pot
Sun: Full sun
Water: Deep and regular while establishing; mulch well
Harvest: Berries in summer from year 2, on last year’s canes
Timing counts from your average last spring frost — get your own dates in the Planting Calendar. Guidance follows standard extension-service practice for Canada and the US.
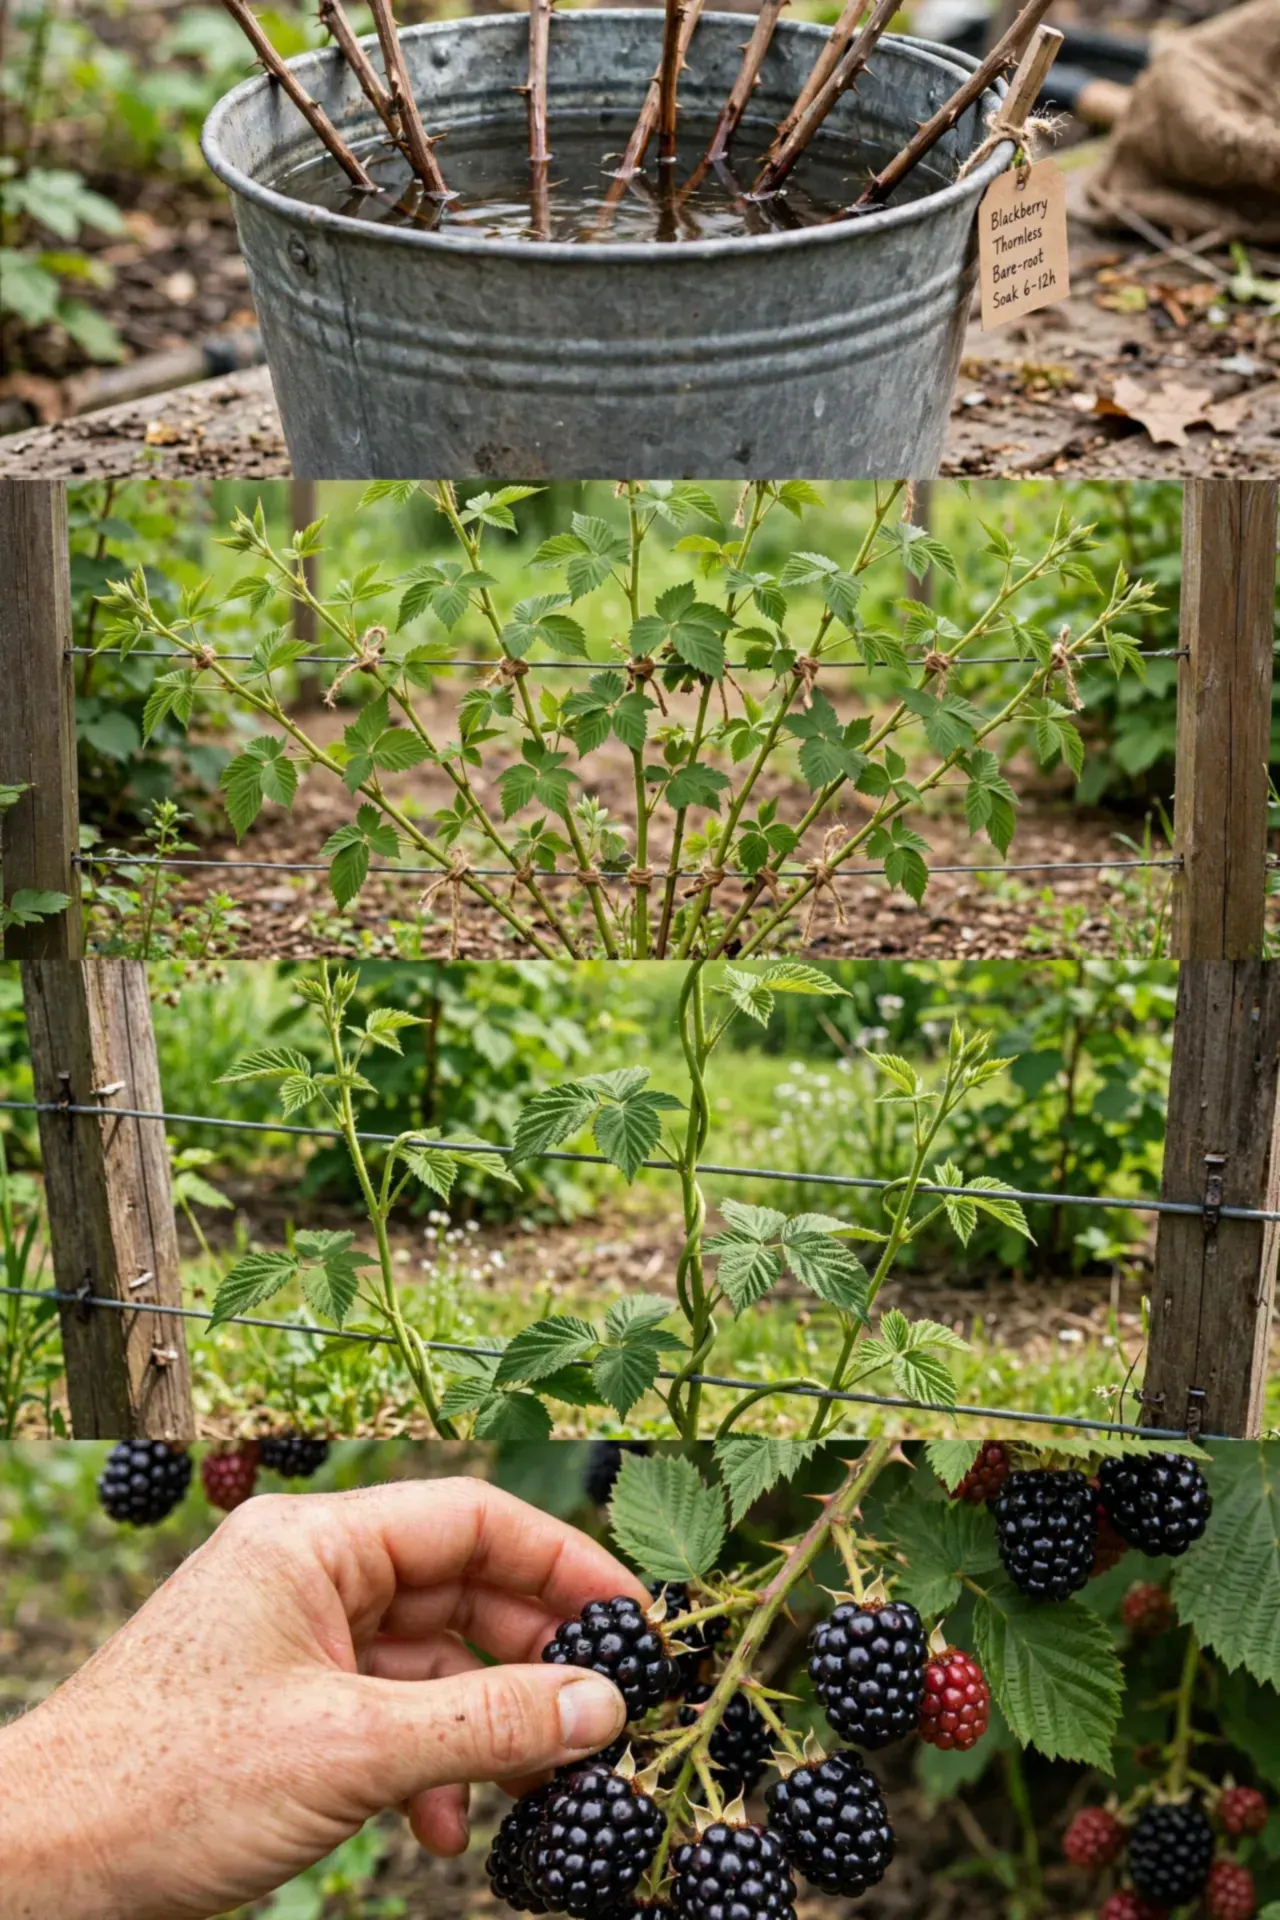
How to plant and grow blackberry, step by step
Step 1 — Plant at the right time
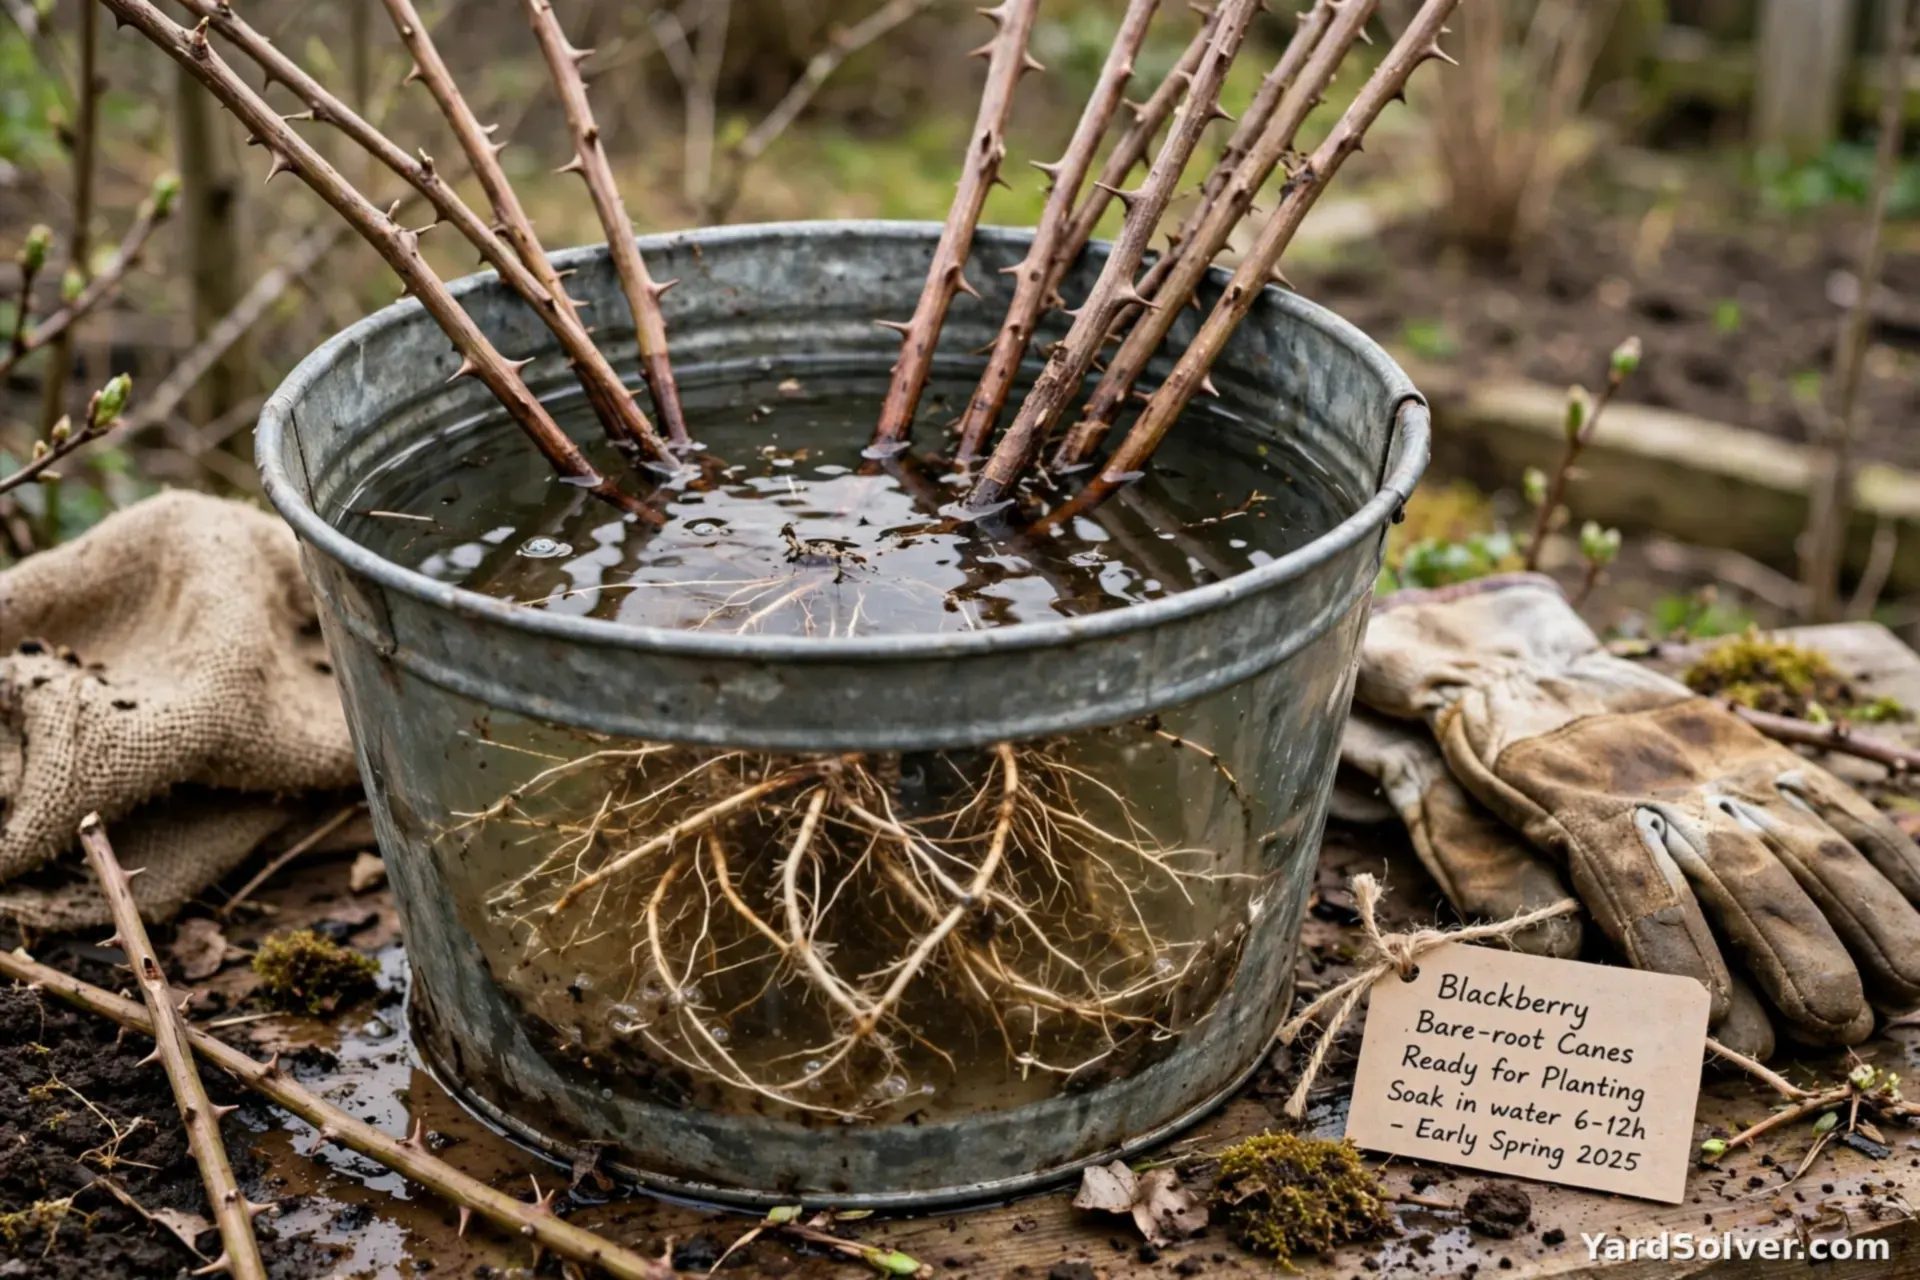
Bare-root canes: plant in late winter or early spring, while they are dormant and the soil can be worked. Potted canes: plant any time in spring. Blackberries are hardy in zones 5–9 — in the coldest gardens spring planting wins, because the roots get a full season to settle before their first winter. Pick a spot in full sun: berries that ripen in shade stay small and sharp.
Step 2 — Prepare the spot — wires first
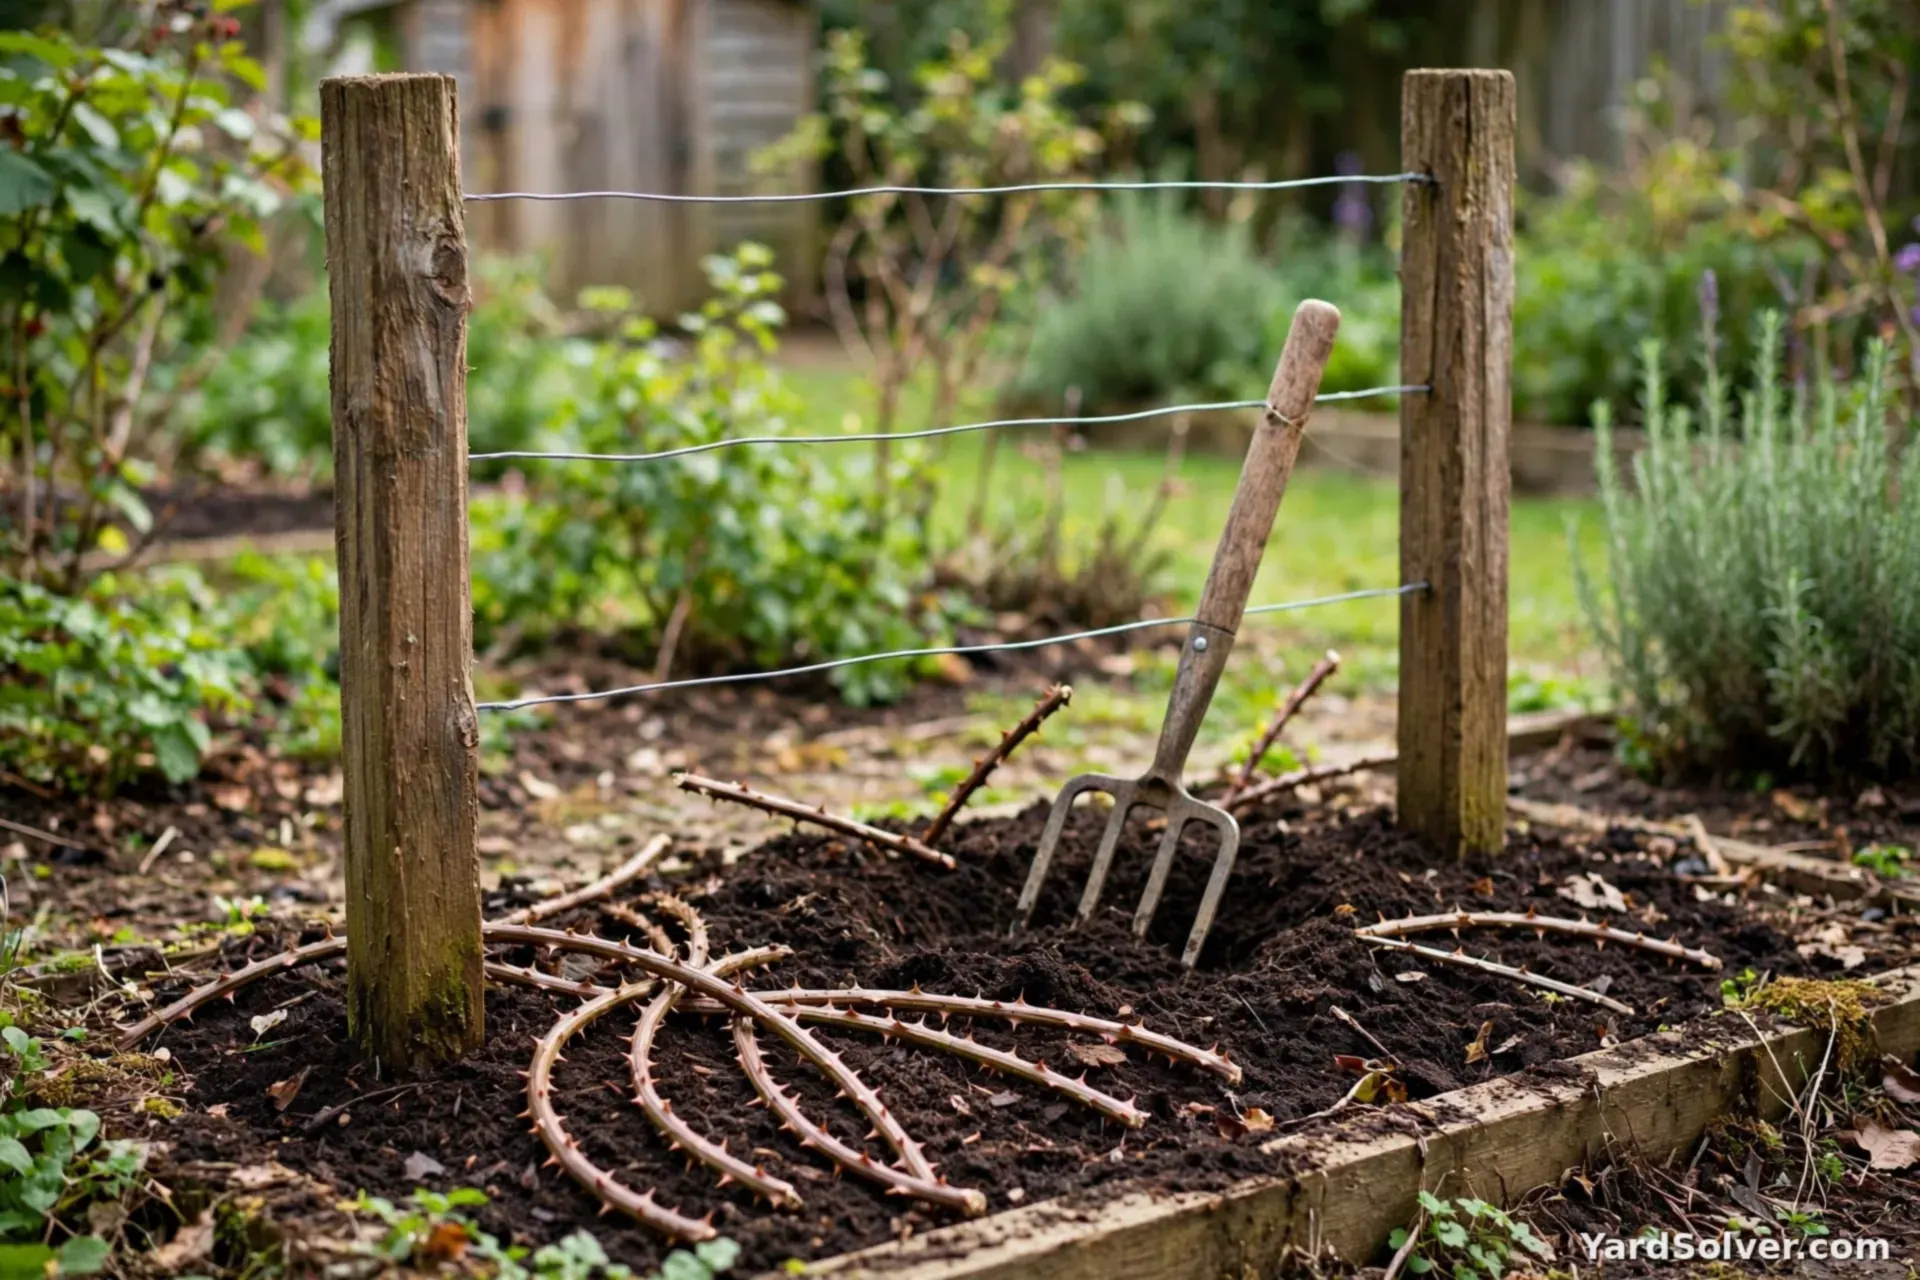
Blackberry canes grow 6–10 ft long in a season, so the support is not optional: run two or three wires between sturdy posts at about 3 ft, 4½ ft and 6 ft, or plant against a trellis or fence the canes can be fanned across. Clear the bed of perennial weeds (they are miserable to remove once canes are in), fork in compost, and leave the patch room to be mown around — that mown edge is what stops the patch marching. The Plant Spacing Calculator turns the row length into a cane count.
Step 3 — Plant the canes
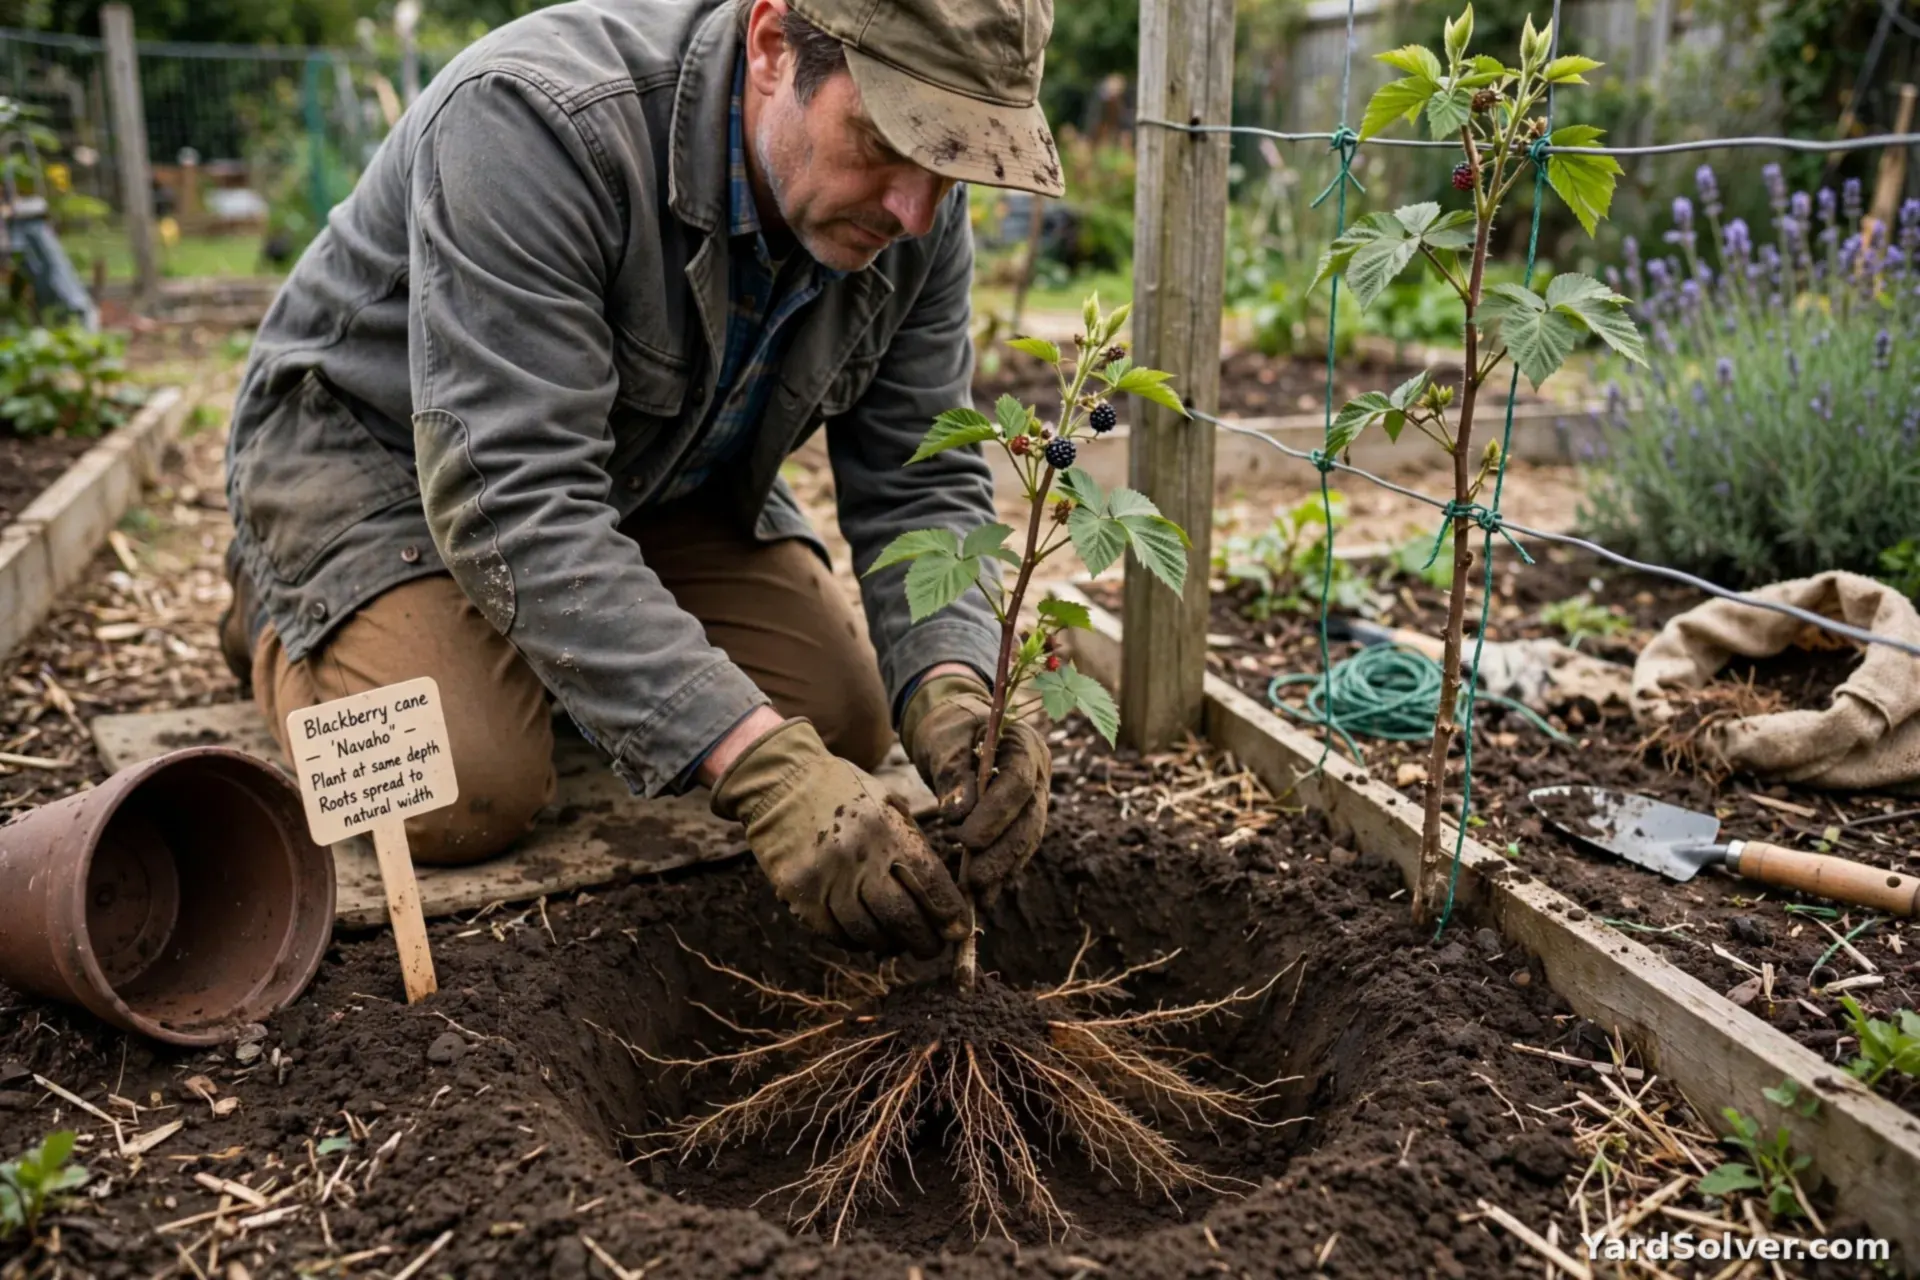
Soak bare roots for an hour before planting. Dig a wide hole, set the cane at the same depth it grew in its pot (for bare-root canes, the crown right at soil level), spread the roots out, and firm the soil back around them. Space canes 36–60 in apart along the wires — closer for erect thornless types, wider for trailing ones. Water deeply, then mulch 2–3 in deep, keeping the mulch a hand’s width off the stems; the Mulch Calculator works out how much the row needs.
Step 4 — Water and feed
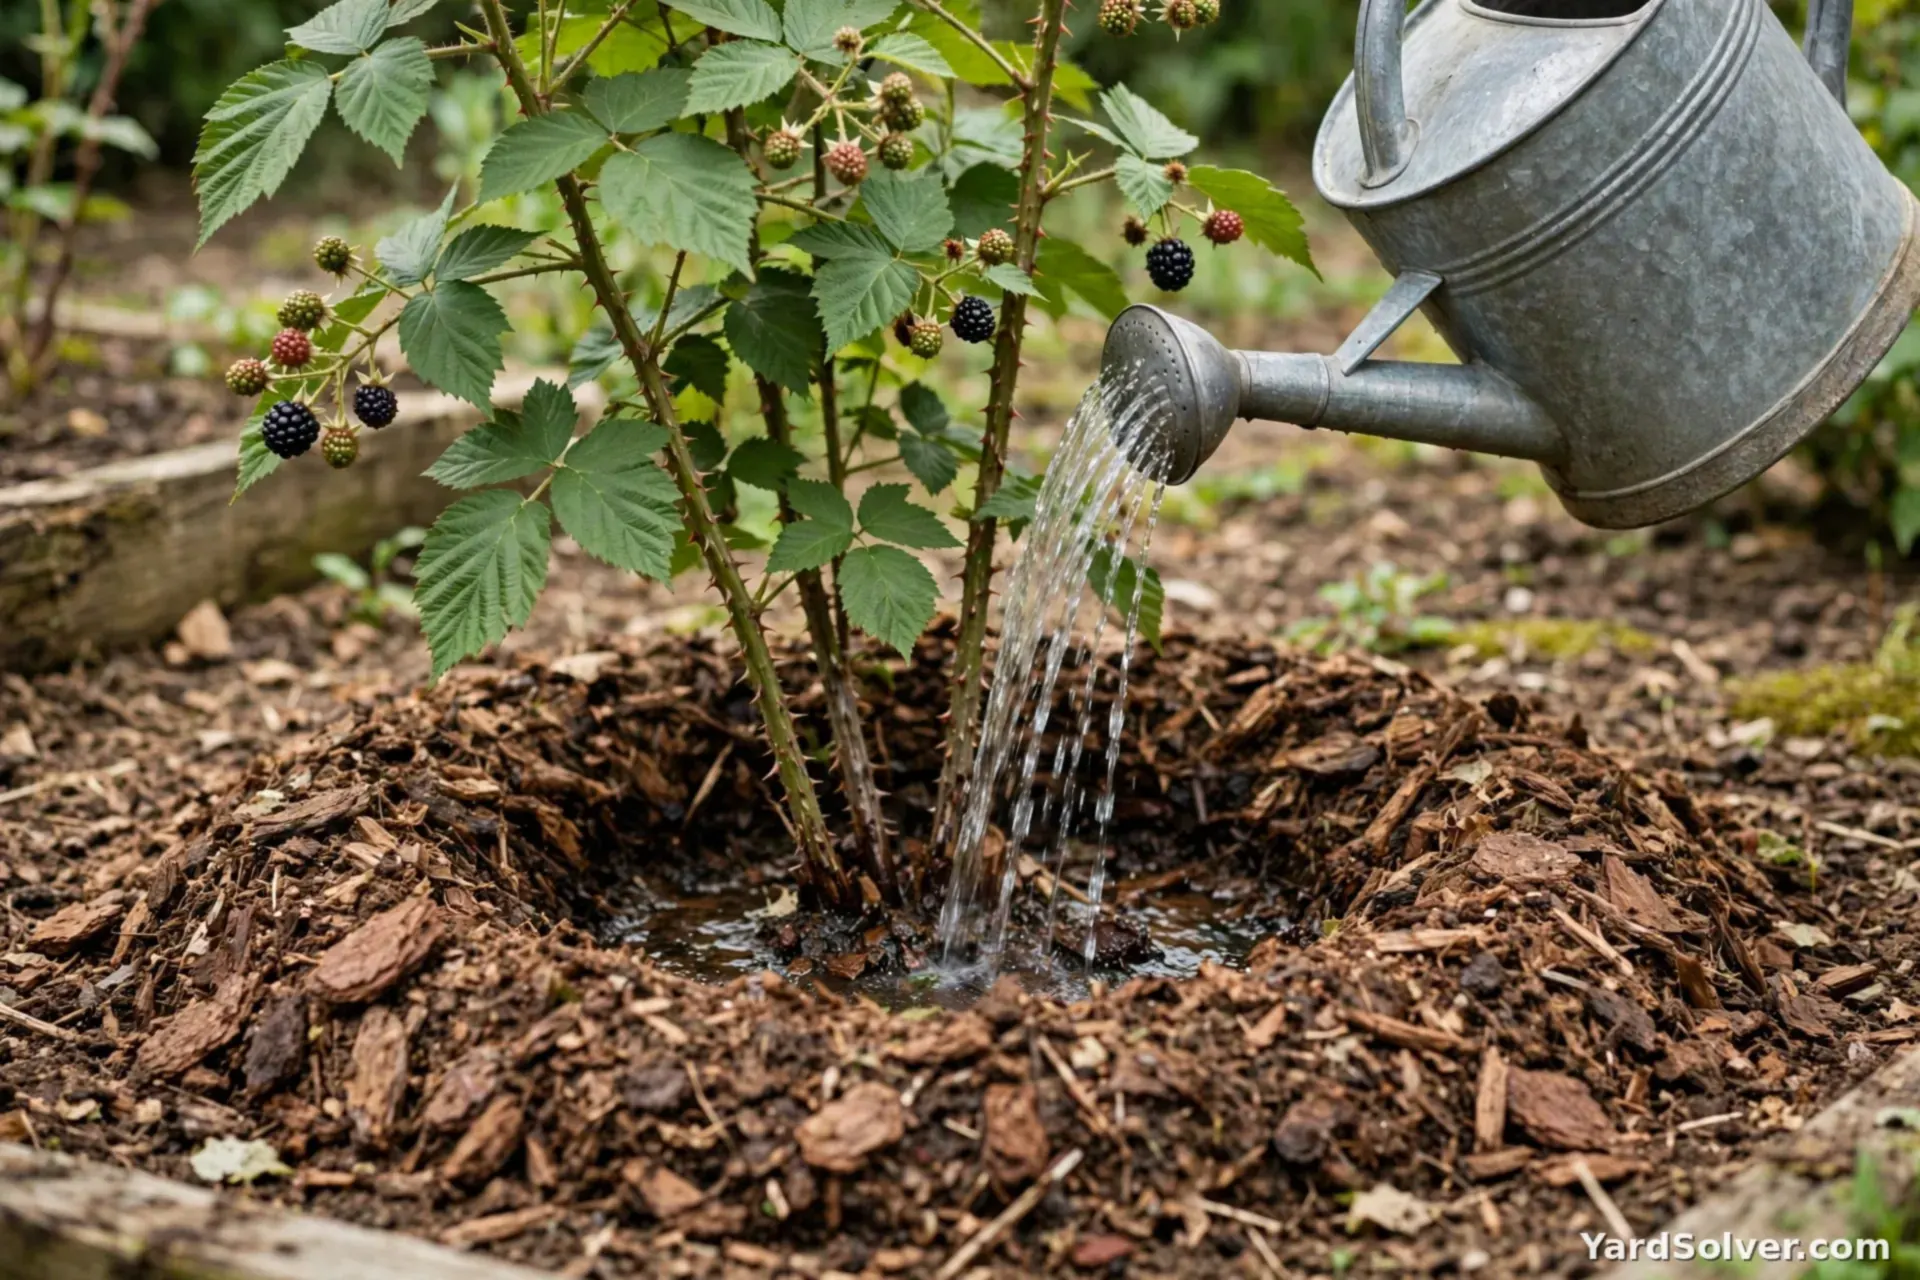
Water: deep and regular while establishing — a new patch should not dry out in its first season. Once established, blackberries are fairly drought-tough, but a dry spell while berries are swelling shrinks the crop, so water deeply then too. Feed once in spring with a balanced fertilizer as growth starts; amounts by bed size come from the Fertilizer Calculator. Keep the mulch topped up — it does half the watering work for you.
Step 5 — Care and problems
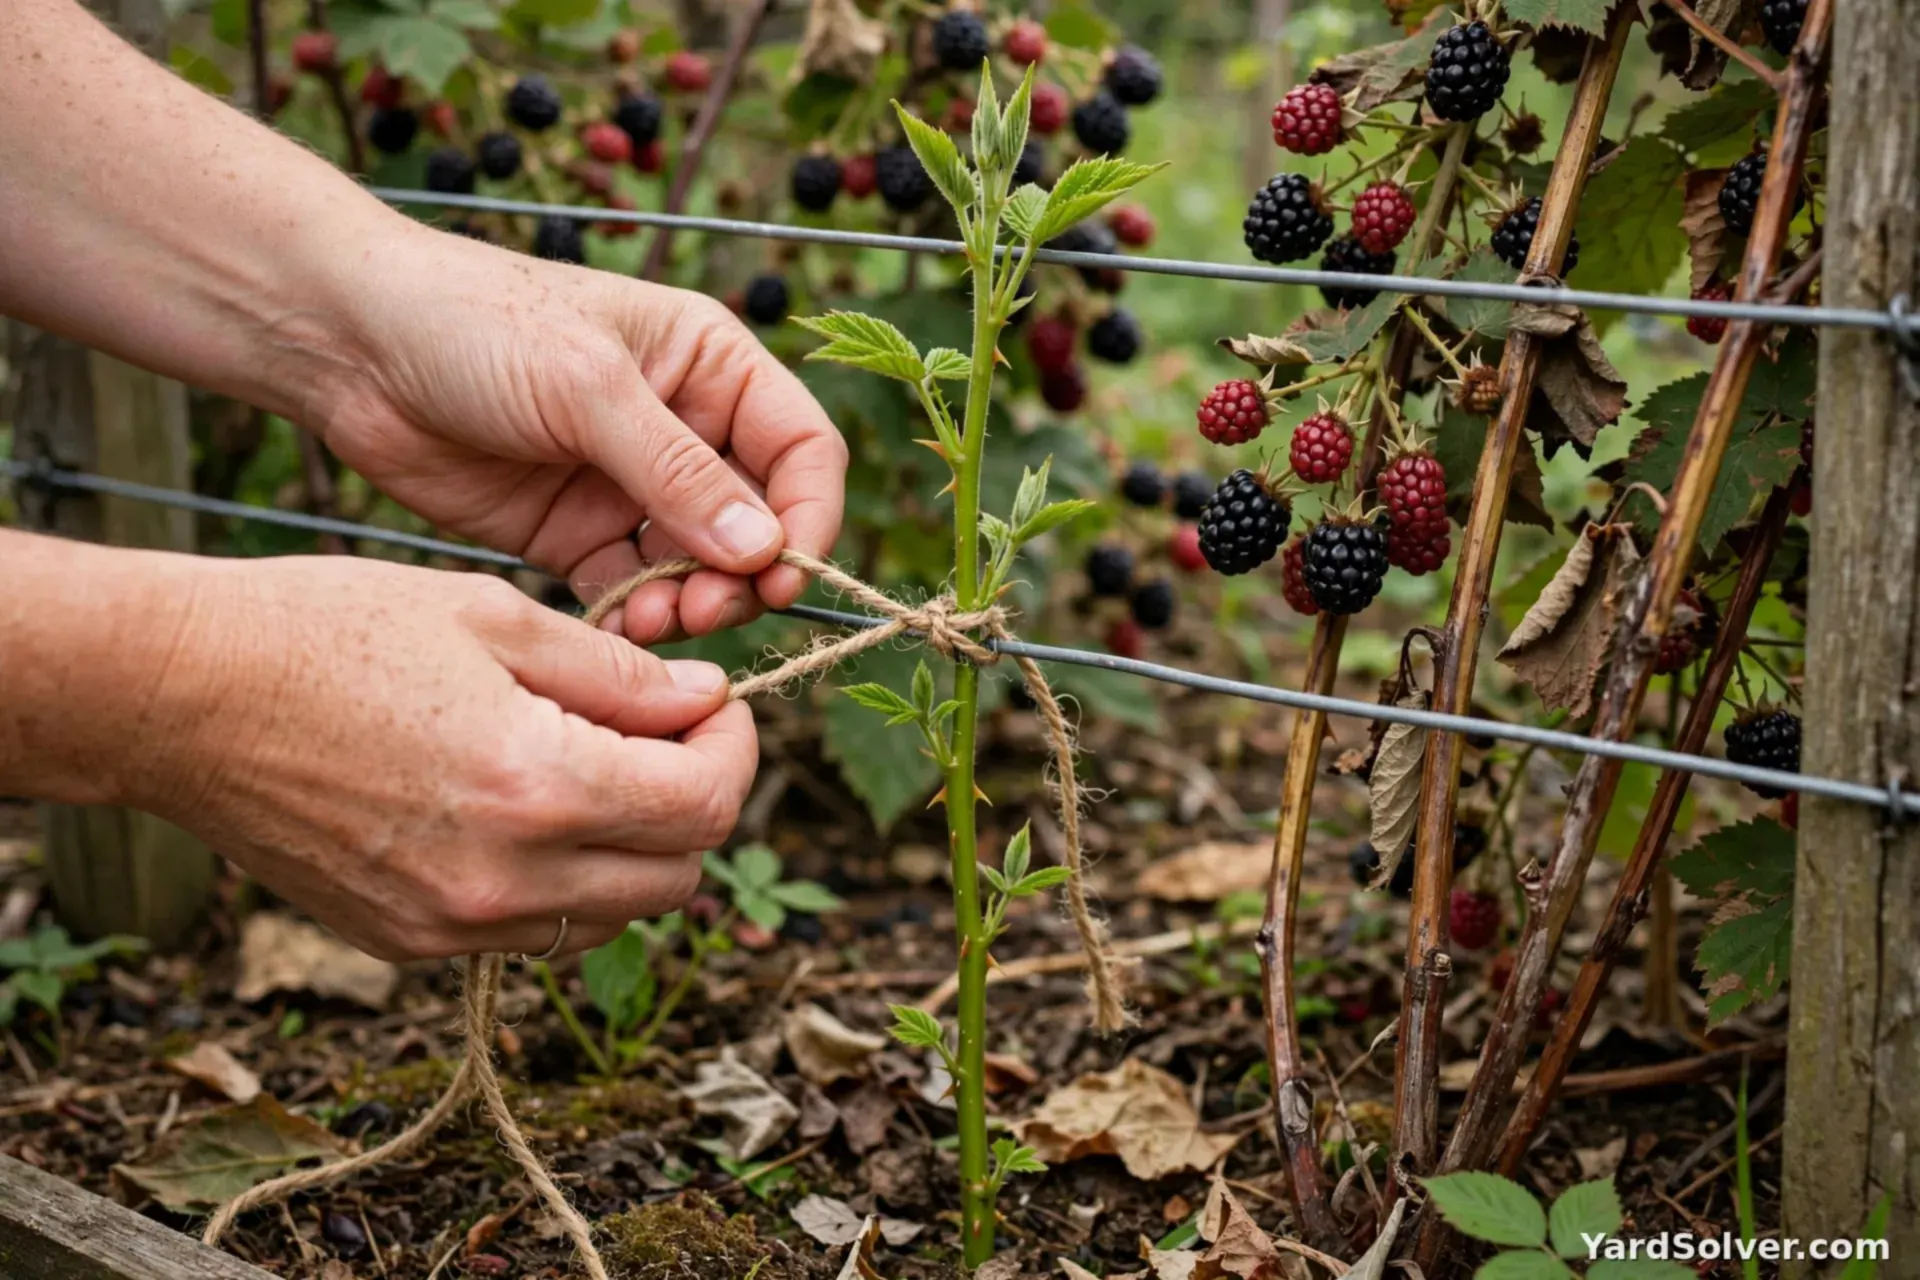
One idea runs the whole patch: canes grow green and leafy in year one (these are primocanes), fruit in year two (now called floricanes), then die. Your jobs are to tie the new canes in as they grow, and to cut each fruited cane out at the base once it has cropped. The exception is a primocane-fruiting variety such as ‘Prime-Ark Freedom’, which fruits on new canes in their first fall.
- Orange rust — bright orange pustules under spring leaves; there is no cure, so dig out infected canes whole and burn or bin them.
- Cane blight — dark, dying patches on canes after pruning or damage; cut affected canes out well below the damage.
- Birds — they find ripe berries the day you do; net the patch as the fruit colours.
Take care: blackberries spread vigorously by suckers and by canes that root where their tips touch the ground. Plant the patch where it can be contained, mow around it, and lift rooted tips unless you actually want a bigger patch.
Step 6 — Harvest — and prune what fruited
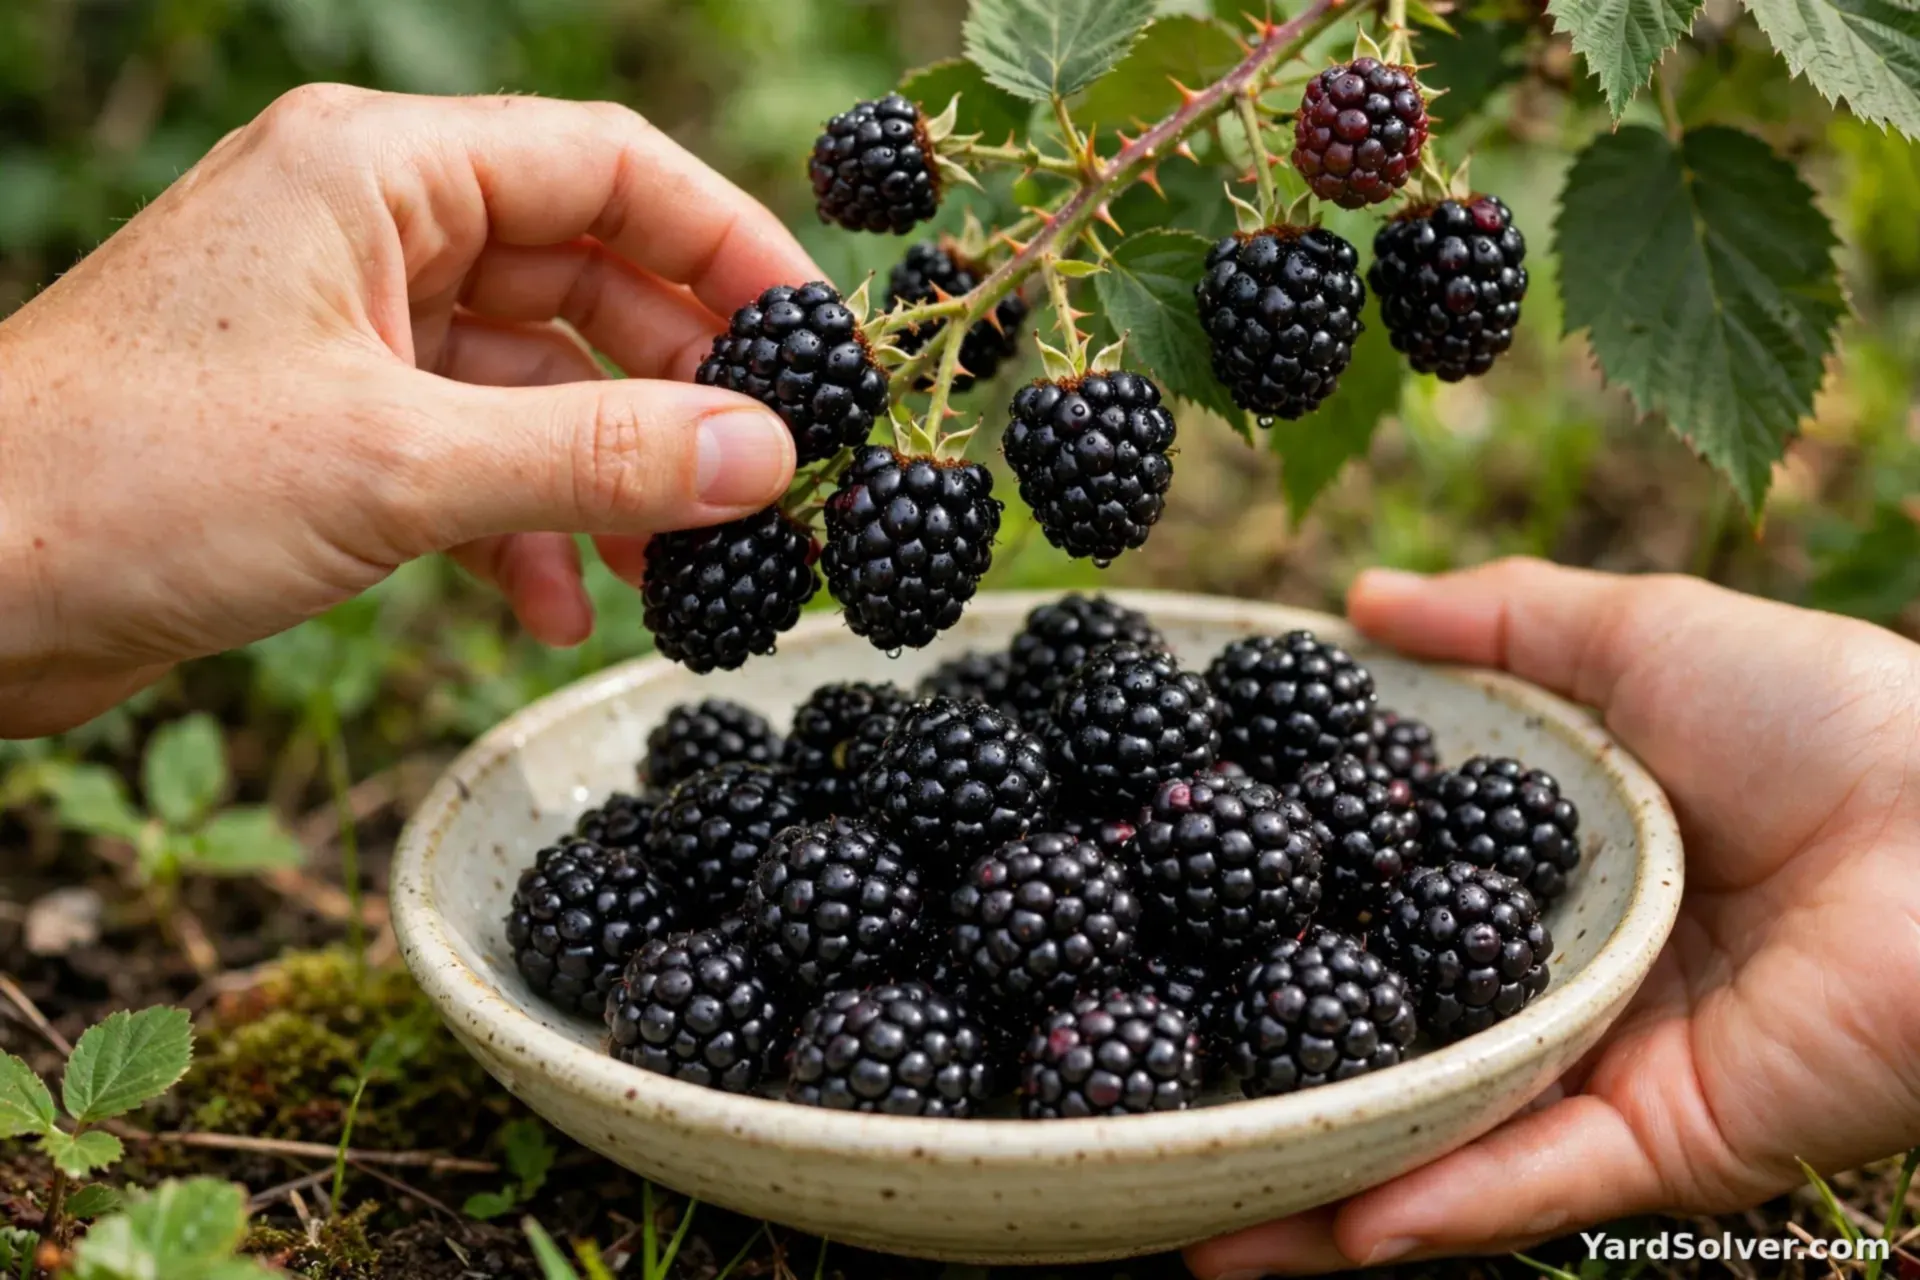
Ready in: summer, from year 2, on last year’s canes. Pick only berries that are fully black and glossy — a red or dull berry is unripe and mouth-puckeringly sour, and blackberries do not sweeten after picking. Work the patch every few days through the season; ripe berries left hanging invite wasps and mould. Once a cane has fruited, it is done: cut it out at the base in late winter (or right after harvest) and let the new canes take its place on the wires.
Problems, pests & diseases — diagnosis and fixes
- Bright orange powdery pustules on the undersides of spring leaves, new growth weak and spindly: orange rust, a fungal disease that lives inside the cane. Fix: there is no spray cure — dig out the whole infected plant, roots included, and burn or bin it (never compost it); plant replacements away from wild brambles, which carry the same rust.
- Dark purple-brown patches on canes, canes dying back from pruning cuts or wounds: cane blight. Fix: cut affected canes out well below the damaged wood, disinfect pruners between cuts, prune only in dry weather, and avoid nicking canes with the mower or strimmer.
- Grey fuzzy mould on ripening berries, berries rotting in the cluster: botrytis grey mould, worst in wet, crowded patches. Fix: pick and bin mouldy berries (do not compost), thin canes for airflow, water at the base, and pick ripe fruit promptly instead of leaving it hanging.
- Berries vanish the day they turn black; peck marks on near-ripe fruit: birds. Fix: drape netting over the patch as the first berries colour, pinned down at the edges — scare devices alone only work for a few days.
- Shiny green-bronze beetles skeletonising leaves and chewing fruit in summer: Japanese beetles. Fix: hand-pick into a bucket of soapy water in the morning when they are sluggish, and shake canes over a sheet; the full routine is in How to Get Rid of Japanese Beetles.
- A tangled thicket of old and new canes, small berries, everything shaded: not a disease — an unpruned patch. Fix: in late winter cut out every cane that fruited, thin the new canes to the strongest 5–7 per plant, and tie them fanned out on the wires; the next crop tells the difference.
📅 Your personal Blackberry schedule
Blackberries fruit on second-year canes, so care is seasonal rather than day-counted — tie in the new canes through summer, and cut out the canes that fruited in late winter. The dated checks below cover settling in, the first tie-in, and that first late-winter prune.
Varieties worth growing
| Variety | Colour | Why gardeners like it |
|---|---|---|
| Chester | Glossy black | Thornless, very winter-hardy and heavy-cropping — the reliable cold-climate pick |
| Triple Crown | Glossy black | Thornless, with large sweet berries on vigorous semi-erect canes |
| Natchez | Glossy black | Thornless and early — big berries right at the start of the season |
| Prime-Ark Freedom | Glossy black | Thornless and primocane-fruiting — crops on this year’s canes, so no overwintered canes are needed for fruit |
| Marion | Deep purple-black | The famous marionberry — thorny, but the flavour benchmark for pies and jam |
Good for you — and take care
Benefits
- Rich in vitamin C, which supports the immune system
- A good source of vitamin K and manganese
- High in fibre, much of it in the small seeds
- The deep colour comes from anthocyanins, the same natural pigments found in blueberries
- A heavy, reliable crop from a patch that asks little once established
Take care
- Blackberry patches spread vigorously by suckers and tip-rooting canes — contain the patch and mow around it
- Thorny varieties make picking and pruning a gloves-on job; thornless types avoid the fight entirely
- A new patch needs patience: the first real crop comes in year 2, on the canes that grew in year 1
A little history — and one good fact
Blackberries are the cultivated form of the wild brambles that have edged fields and lanes across Europe and North America for as long as anyone has gathered them — the wild fruit was eaten fresh and dried for centuries before anyone bred a garden variety. The big, tame garden blackberry is recent work: breeders in the 1900s crossed wild species into large-fruited, and later thornless, canes, and Oregon’s breeding programme gave the world the marionberry in the 1950s.
Fun fact: A blackberry is not one fruit but an aggregate of dozens of tiny drupelets, each with its own seed, clustered around a soft core you eat along with them — and a red blackberry is simply an unripe one, which is why it tastes so sour.
Keep going
Guides: Companion Planting Chart · How to Get Rid of Powdery Mildew · How to Get Rid of Aphids
Calculators: Plant Spacing Calculator · Mulch Calculator · Fertilizer Calculator
More fruit & melons: Raspberry · Grapes · Strawberry · Boysenberry
← Back to the Plant Library · Get your personal planting dates
Questions people ask
When do I plant blackberries?
Plant bare-root canes in late winter or early spring while they are dormant, and potted canes any time in spring once the soil can be worked. Blackberries are hardy in zones 5–9 — in the coldest gardens, spring planting lets the roots settle before their first winter.
How far apart do I space blackberry canes?
Space canes 36–60 in apart along their wires or trellis, planted at the same depth they were in the pot. Sun: full sun.
When do blackberries fruit?
Berries in summer from year 2, on last year’s canes. The canes that grow this year (primocanes) fruit next year (as floricanes), then are pruned out — the exception is a primocane-fruiting variety like ‘Prime-Ark Freedom’, which fruits on new canes in their first fall.