
Guides · Houseplants · Published November 11, 2026
How to Bring Plants Indoors for Winter (Without the Bugs)
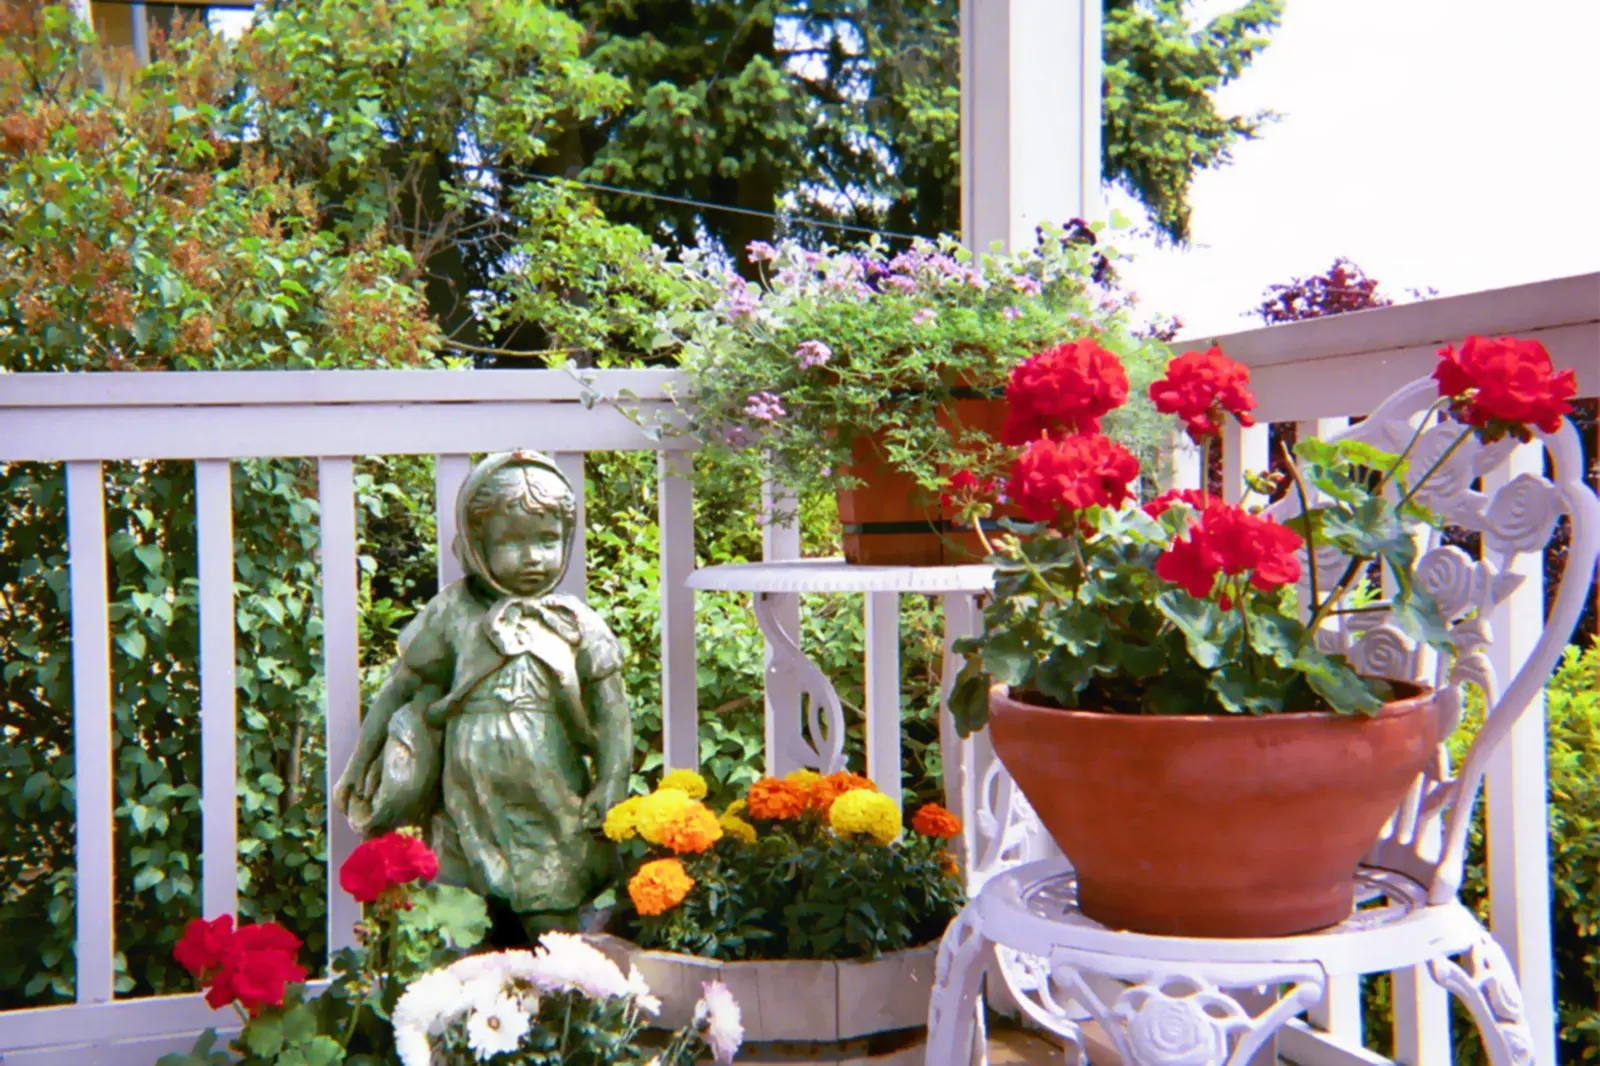
Bringing plants indoors for winter is really two jobs: moving the plant, and not moving its pests. The trigger is temperature, not the calendar — tender plants need to come in before nights sit below 50 °F (10 °C), which usually means a couple of weeks before first frost. Work through the six steps below in order and each plant arrives inside clean, checked, and ready to settle.
The move-in rule
- Watch the nights, not the calendar: tender plants come in before nights sit below 50 °F (10 °C) — about two weeks before first frost
- Start two weeks early: inspection, washing and treatment cannot be rushed into one cold evening
- Nothing joins the collection unchecked: every plant is inspected, washed, and quarantined first
Step 1 — Start two weeks early and triage
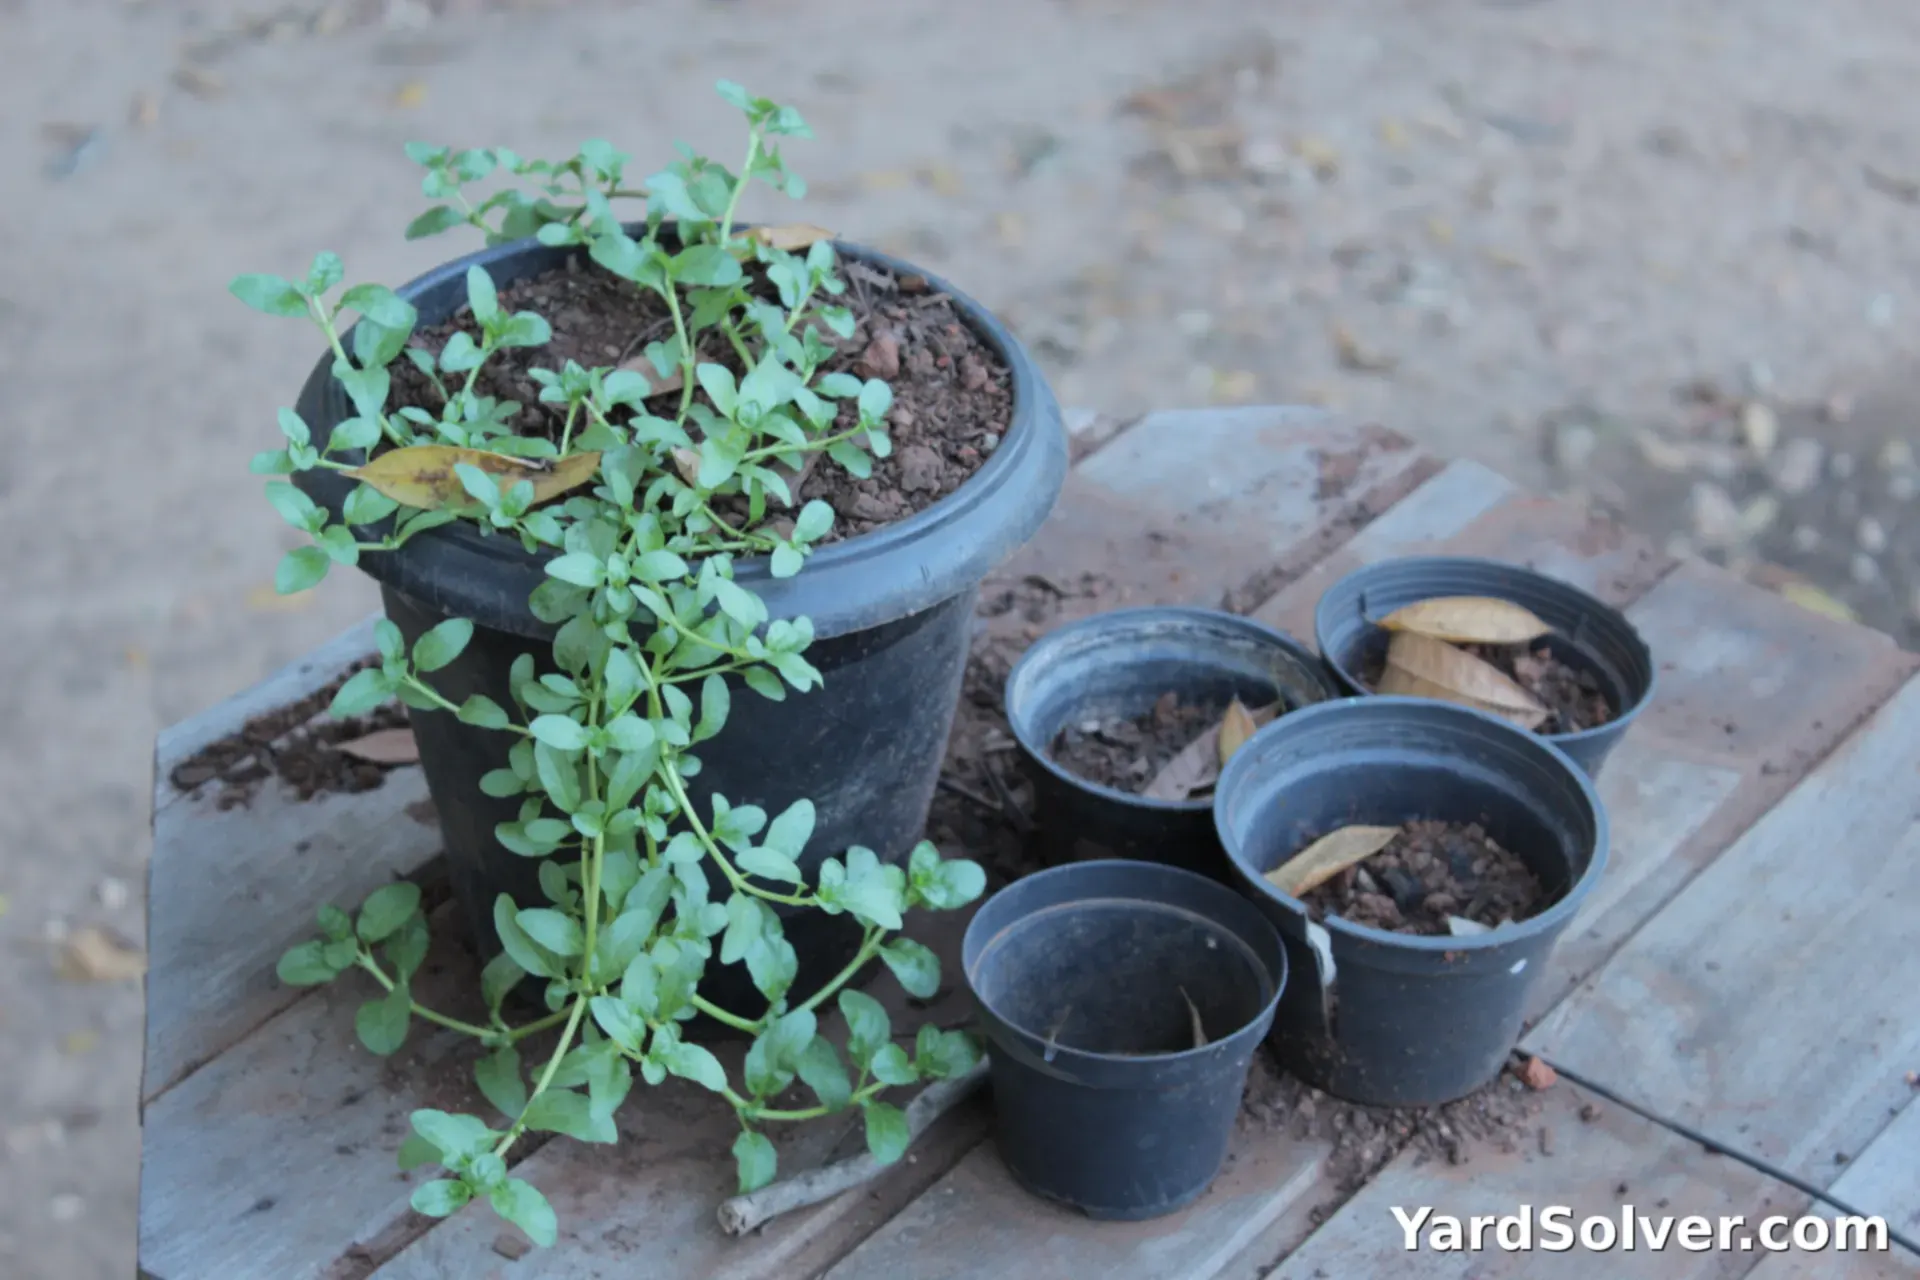
Bringing plants indoors for winter goes badly when it happens in a panic on the first frosty night. Start about two weeks before you expect to move anything. That gives you time to inspect, wash and treat each plant properly — and to repeat a treatment if the first one misses something.
Triage honestly. A healthy plant you love is worth the effort. A leggy geranium or coleus is usually better saved as cuttings: take a few strong tips, root them in water or fresh mix, and compost the tired mother plant. A plant that is badly infested, badly diseased, or was struggling all summer stays outside. Bringing a hopeless plant in does not save it — it just gives its pests a warm winter home next to your healthy collection.
Step 2 — Inspect like a detective
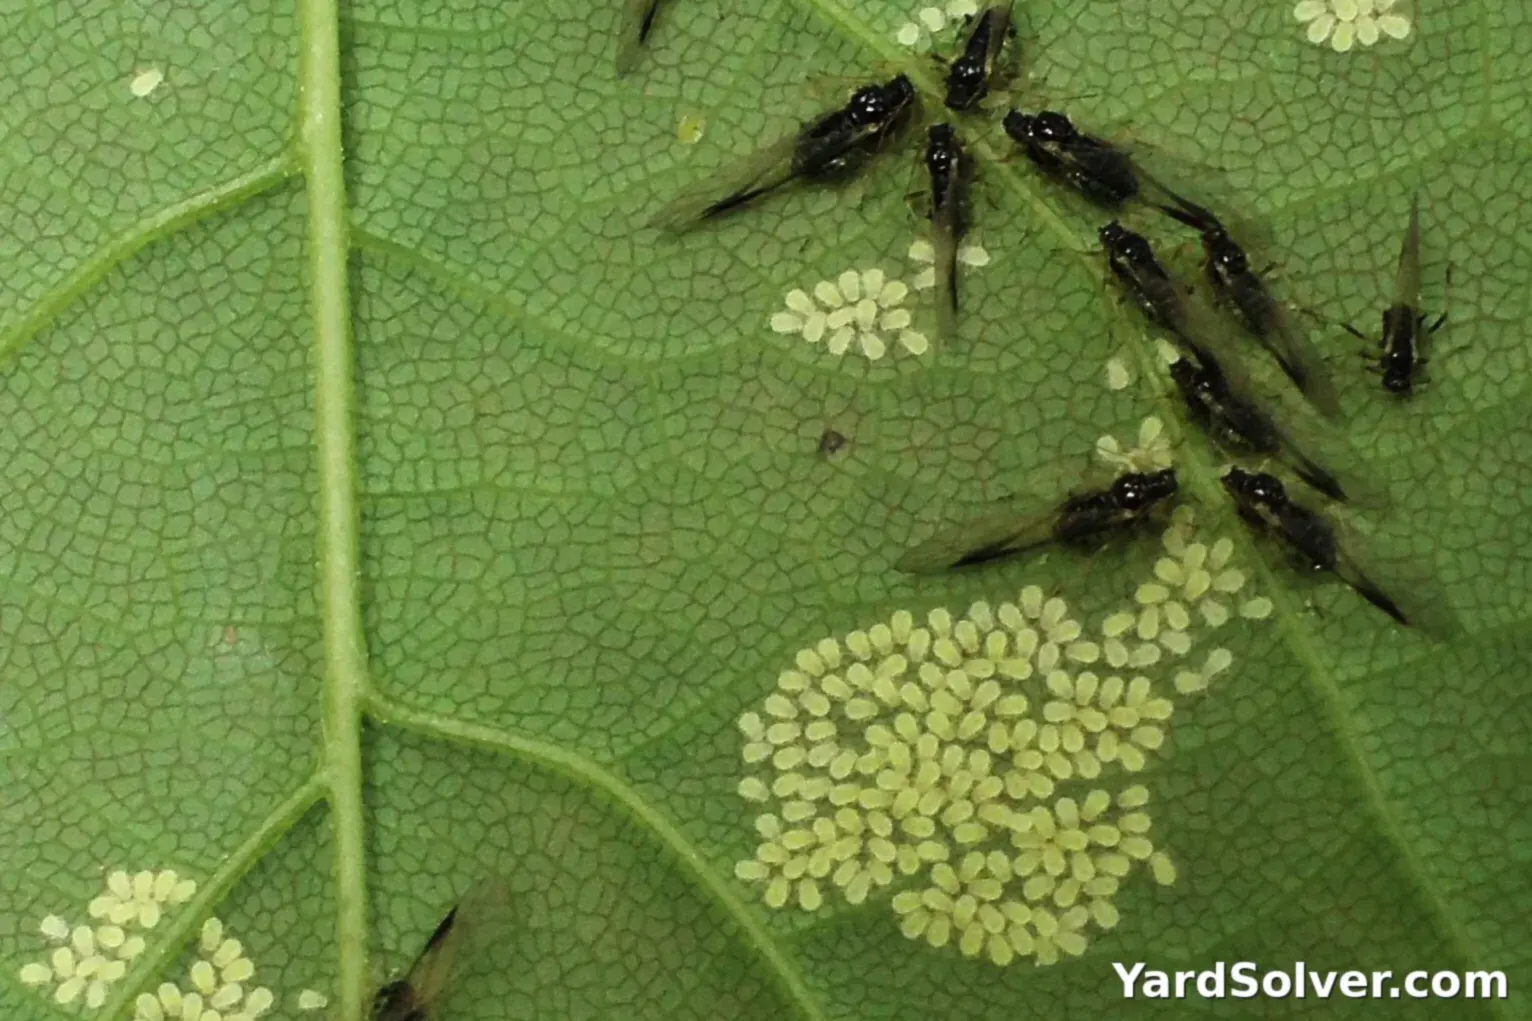
Most hitchhikers are small and well hidden, so look slowly and look in the right places: the undersides of leaves, the joints where leaves meet stems, the crown where stems leave the soil, the soil surface itself, the rim of the pot, and inside the drainage holes. Aphids cluster on soft new growth. Scale sits still along stems and leaf veins and looks like a bump. Spider mites are pinhead-sized and leave fine webbing in the joints — a hand lens or your phone's magnifier makes them much easier to spot.
Work through one plant completely before starting the next, and wash your hands and tools between a suspect plant and a clean one. If it helps, use the Plant Doctor to match what you find against common pest signs before you treat.
Step 3 — Wash the whole plant
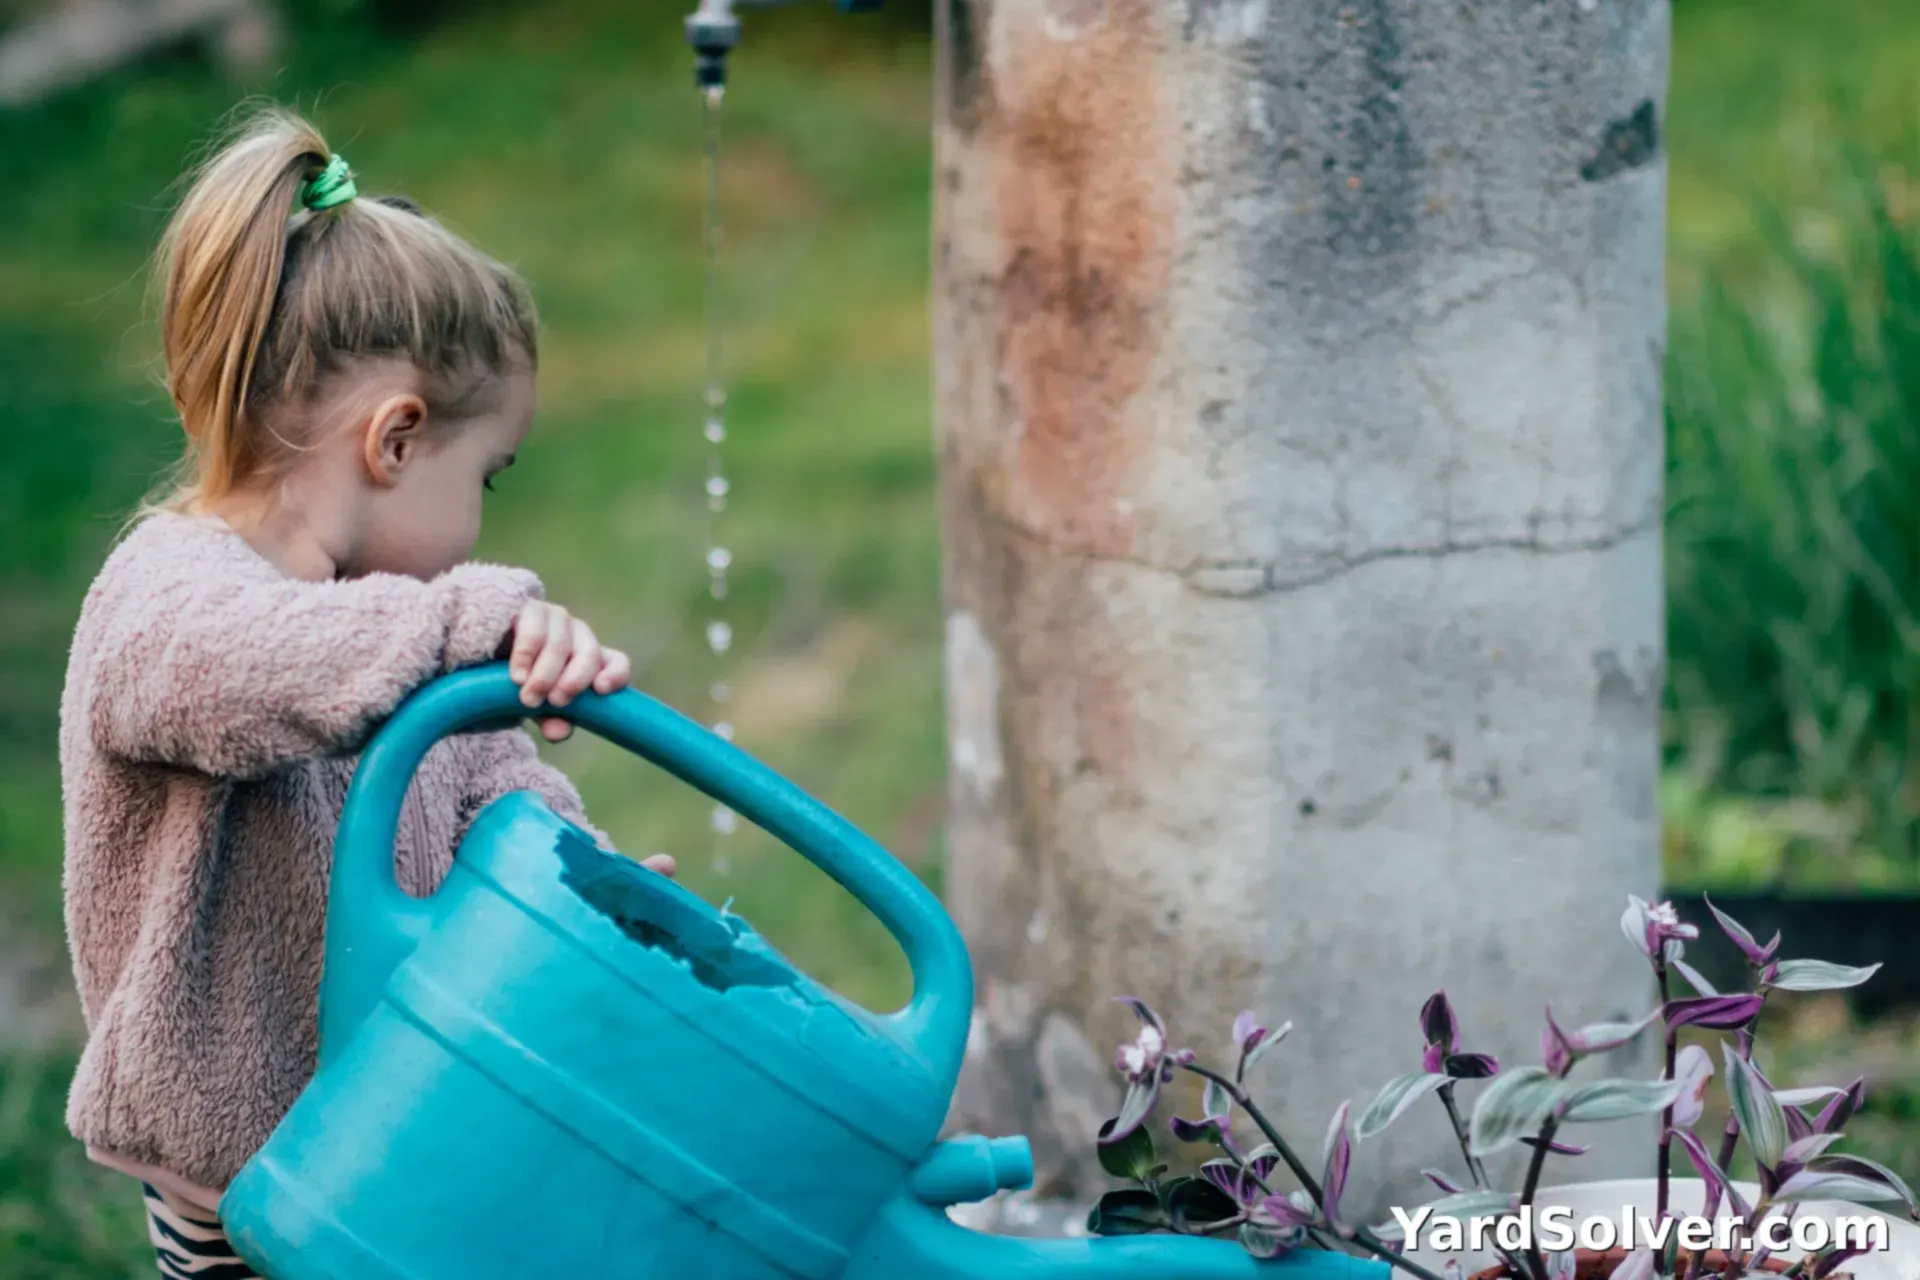
A strong rinse does more than any single spray. Outdoors with a hose, or in a shower indoors, rinse the whole plant — tops and undersides of leaves, stems and joints — with a firm stream of water. That physically knocks off aphids, mites and loose debris, including pests no spray would reach.
Then deal with the soil. Set the pot in a bucket or sink of lukewarm water, deep enough to cover the pot, and soak it for about 15 minutes. Ants, earwigs, pillbugs and other soil dwellers cannot stay underwater — they float out or leave. Let the pot drain completely afterwards. A plant that is too big to soak still benefits from the rinse and a careful check of the soil surface and drainage holes.
Step 4 — Treat what you find

If inspection or the wash turned up live pests, treat now, while the plant is still outside. Insecticidal soap kills soft-bodied pests like aphids, mealybugs and mites on contact, but only where it actually touches them — so spray slowly and coat the undersides of the leaves and every joint, not just the top growth. Our guide to how to make insecticidal soap spray covers mixing and safe use.
One treatment is rarely the end of it, because eggs survive. Repeat every 4–7 days for at least two or three rounds, checking as you go. If you find white cottony tufts in the joints instead, that is mealybug — a slower pest that needs its own routine of alcohol dabs and weekly repeats.
Step 5 — Ease the light change
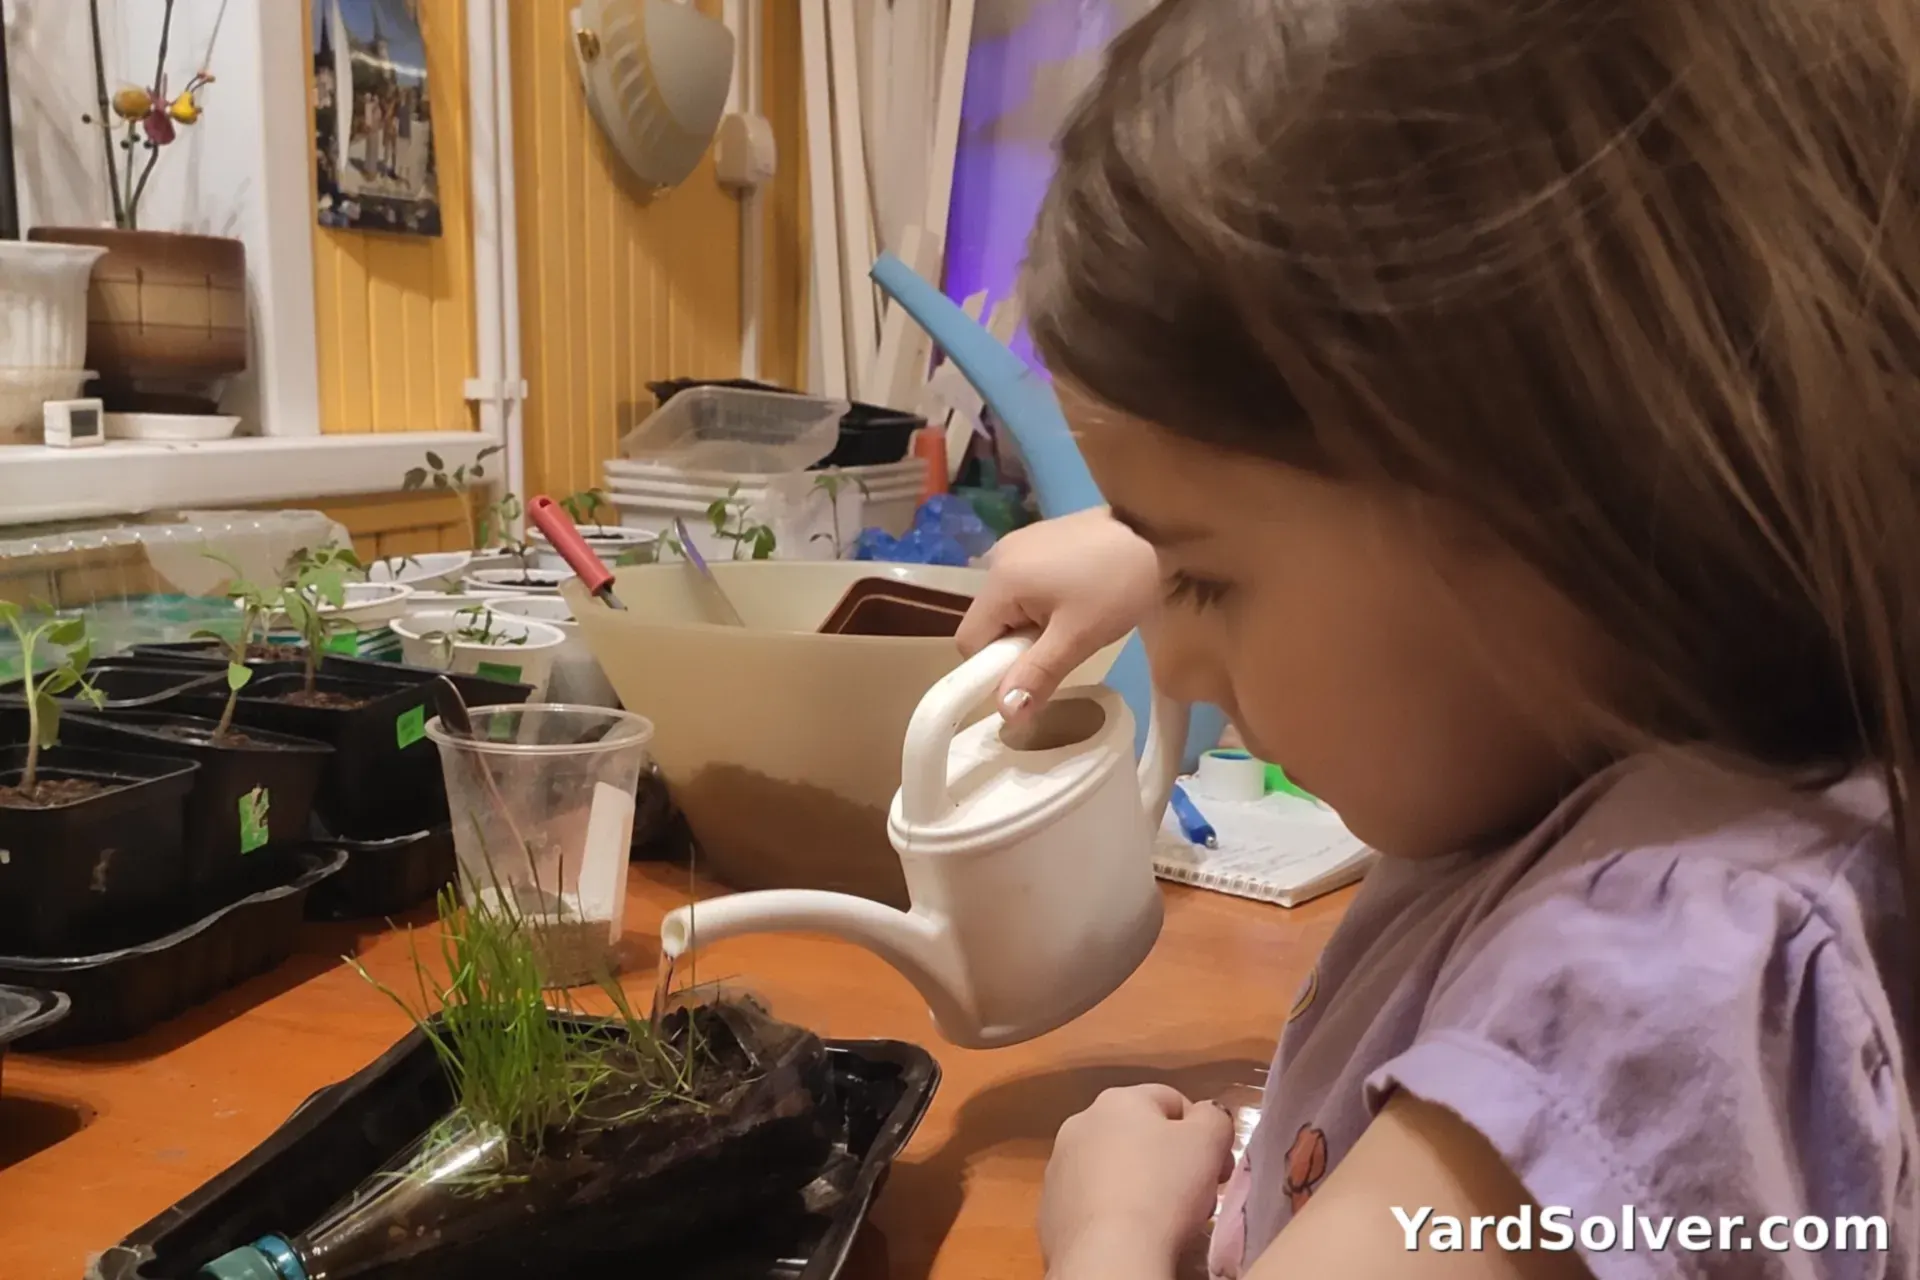
The biggest shock of moving indoors is not temperature — it is light. Even your brightest window delivers far less light than a summer patio, and a plant moved straight from full sun to a dim corner sulks and drops leaves. Ease the change the same way you harden seedlings off in spring, in reverse: give the plant about a week in bright shade outdoors first, where light drops but temperature and air stay familiar.
Then move it to the brightest spot you have indoors — close to a south- or east-facing window for sun-lovers. A monstera and other tropical foliage plants tolerate the change well if the light step-down is gradual. Expect the plant to grow slowly, or not at all, over winter. That is normal resting behaviour, not a problem to feed your way out of.
Step 6 — Quarantine and settle in
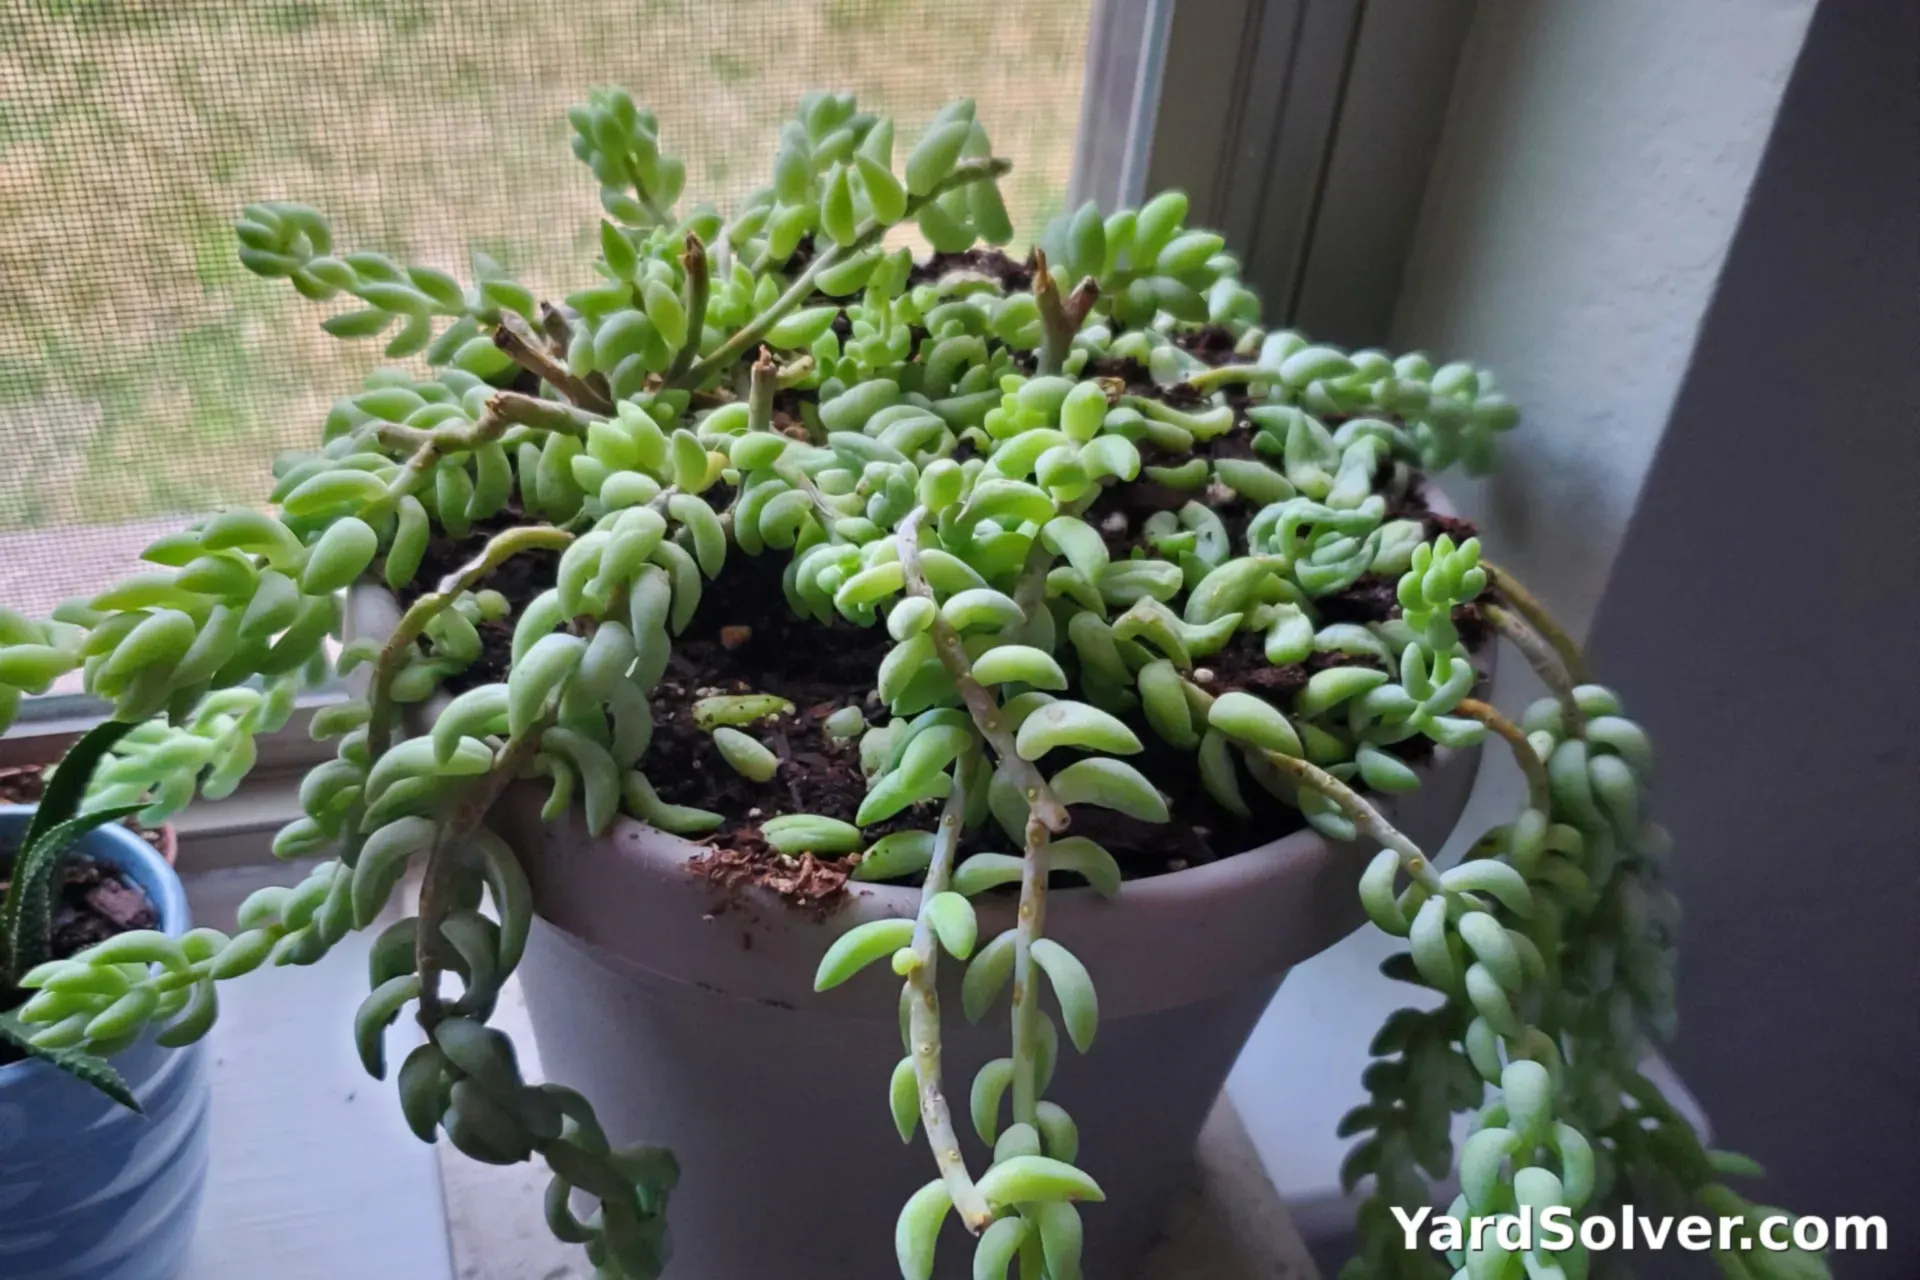
Every newcomer spends its first 2–4 weeks indoors apart from your existing houseplants — a separate windowsill or a spare room, close enough to check often. Inspect it every few days during quarantine. Pests that survived the wash usually show themselves within this window, and catching them on one isolated plant is far easier than treating a whole collection. Fungus gnats are the most common late surprise; if tiny flies appear around the soil, our guide on how to get rid of fungus gnats handles them.
Some leaf drop in the first weeks is normal adjustment, not failure. Water sparingly — growth is slow and indoor soil dries slowly — and hold off fertilizing until days lengthen in spring. Once a plant passes two clean inspections, it can join the collection for the winter.
Keep going
Next reads: Winter Houseplant Pests · Grow Herbs Indoors in Winter · Plan the winter layout with the Garden Planner.
Questions people ask
When should I bring my plants inside?
Bring tender plants in before nighttime temperatures sit below 50 °F (10 °C) — usually a couple of weeks before your first frost. Start the inspection and cleaning routine about two weeks before that move date, so nothing is rushed on the first cold night.
How do I keep bugs from coming in with them?
Inspect every leaf underside, joint and pot rim, rinse the whole plant, soak the pot in lukewarm water for about 15 minutes to drive out soil dwellers, and treat anything you find with insecticidal soap. Then quarantine the plant for 2–4 weeks before it joins your indoor collection.
How long should I quarantine plants?
Two to four weeks. Keep newcomers in a separate spot, check them every few days, and only move them in with the rest of your collection after two clean inspections in a row. Most hitchhiking pests show themselves within that window.
Why is my plant dropping leaves after moving indoors?
Indoor light is far weaker than outdoor light, even beside a bright window, and indoor air is drier. Some leaf drop while the plant adjusts is normal. Ease the change with a week in bright shade outdoors first, give it your brightest indoor spot, and hold off on fertilizer until spring.
Comments & ratings
No comments yet.
Be the first to share your experience.