
Guides · Pests · Published November 11, 2026
How to Get Rid of Mealybugs: The Repeat-Until-They're-Gone Method
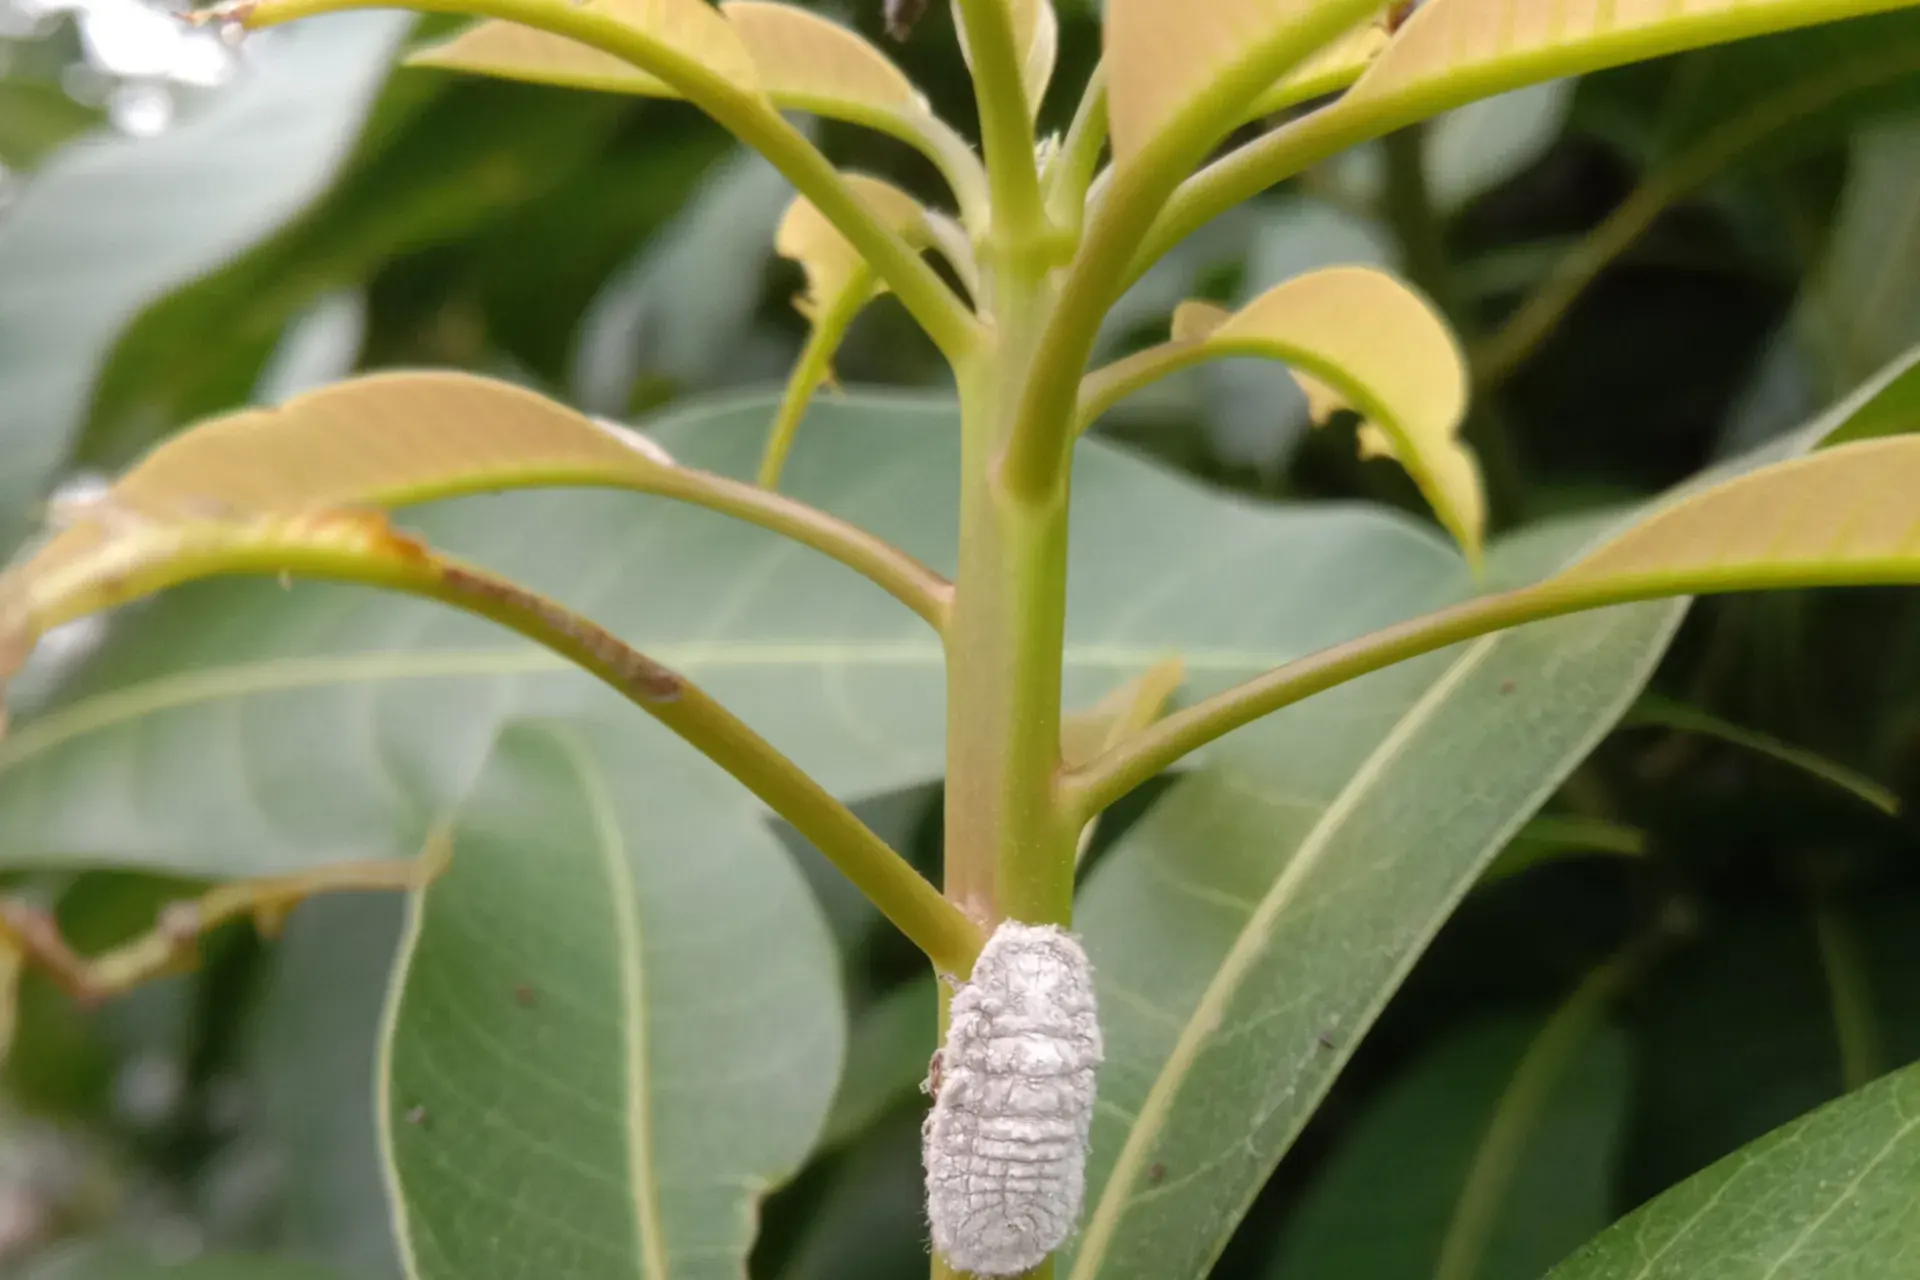
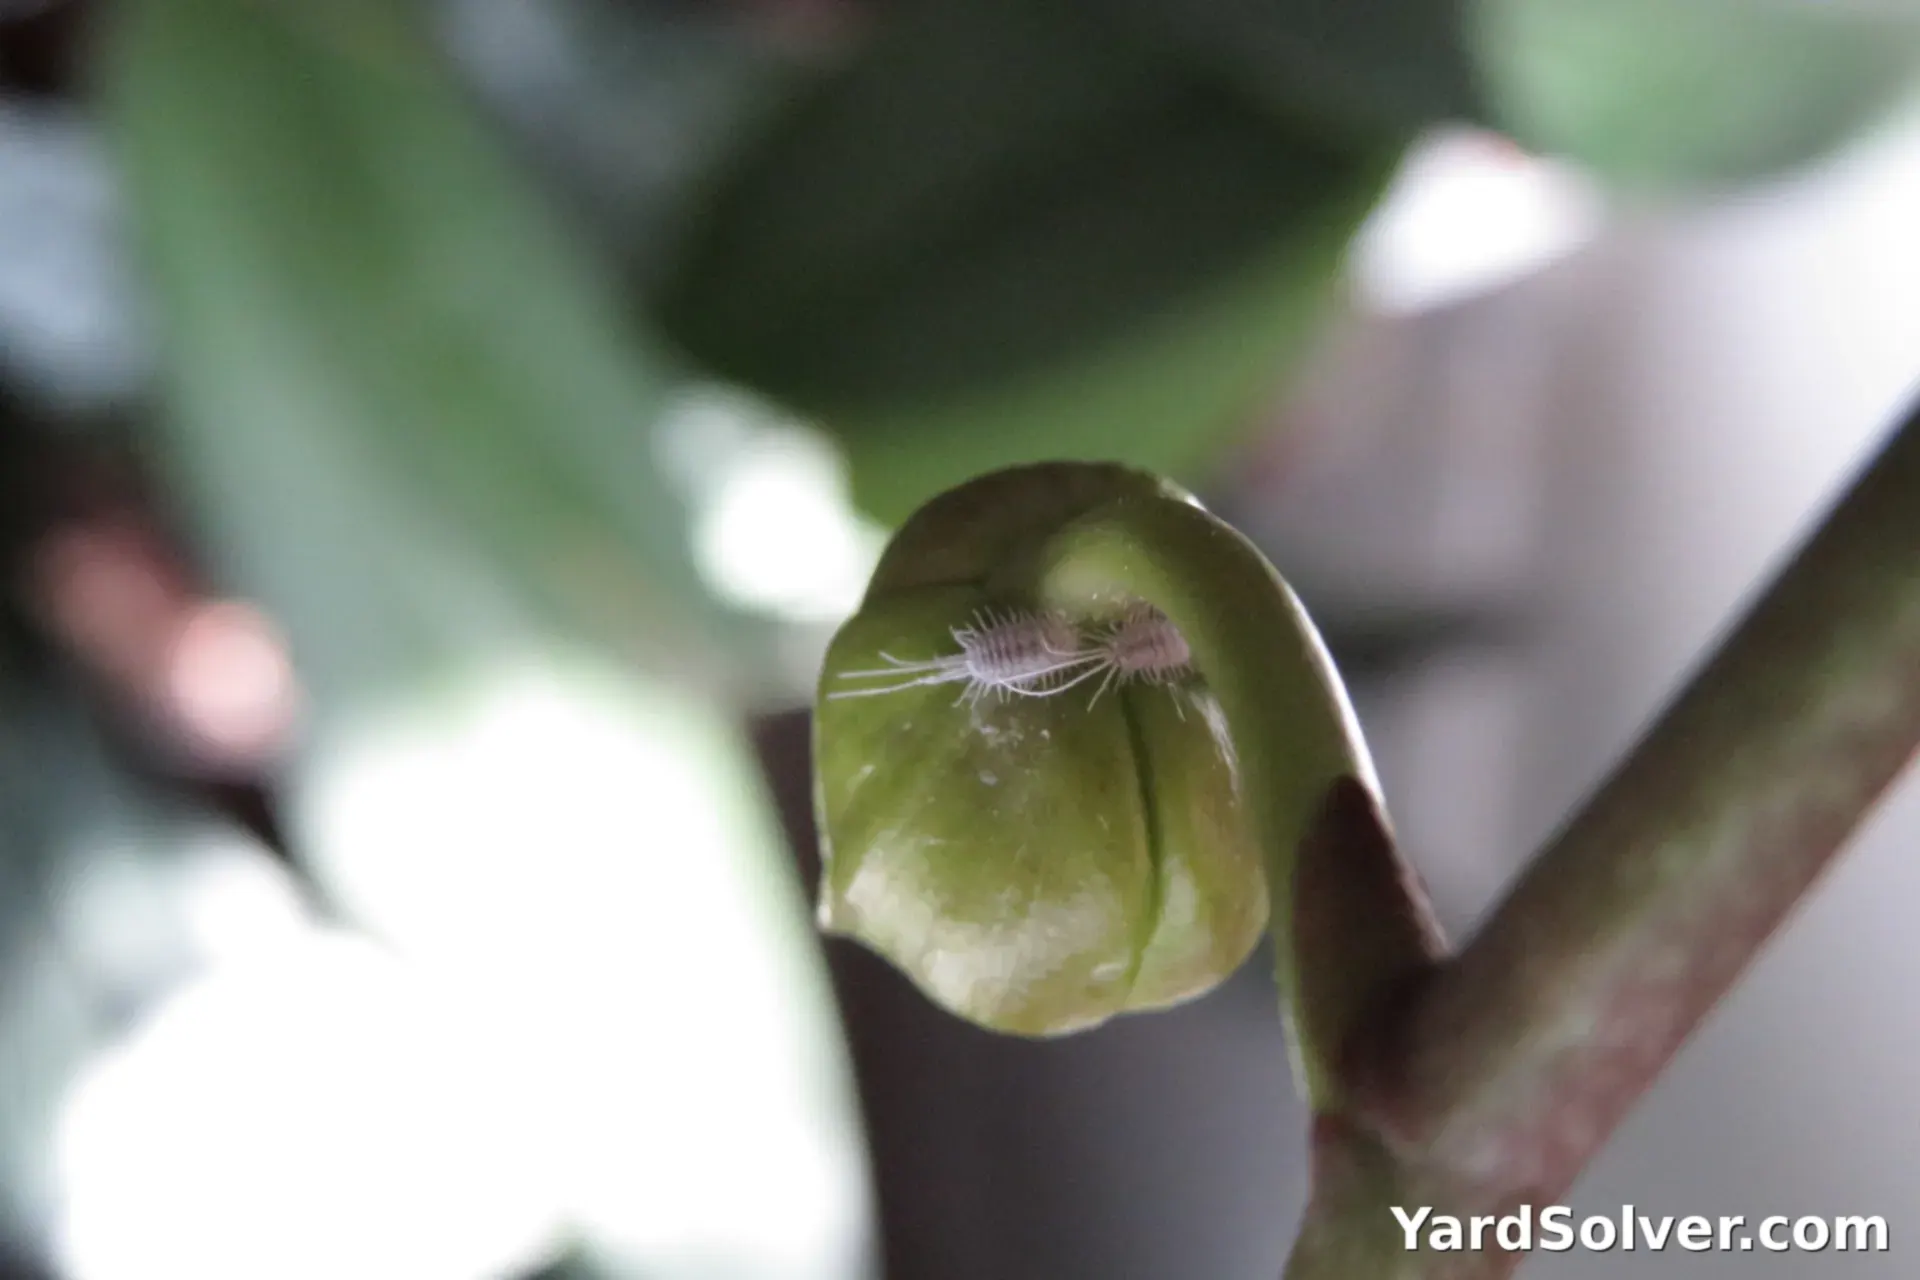
Mealybugs are the white, cottony tufts that appear in leaf joints and along the undersides of leaves. That fluff is wax, made by a soft, pink-grey, oval insect feeding underneath it. Left alone, they coat the plant in sticky honeydew, sooty mold follows, and growth stalls. They are not mold, and they are not quite scale — though scale is a close relative, which is why the treatments rhyme. The honest method below is not fast, but it is final: isolate, dab, wash, spray if you must, and repeat on the hatch cycle until they are gone.
Know your enemy
- What you see: white cottony tufts in leaf joints, undersides and crevices — wax, not the insect itself
- What is underneath: a soft, pink-grey, oval insect feeding on sap, protected by that wax
- What follows: sticky honeydew on leaves and shelves, then black sooty mold growing on it
- What it is not: not mold, and not scale — a close relative, which is why alcohol and soap work on both
Step 1 — Isolate the plant today
Do this the day you find them, before any treatment. Mealybugs move: the young crawlers walk, and they cross to any plant whose leaves touch the infested one. They also hitchhike on your hands, your watering can and your pruning tools. Move the infested plant to a separate spot — a spare room or a far windowsill — and wash your hands and tools after handling it.
Then check every neighbour the plant has touched, leaf joint by leaf joint. Mealybugs have favourite hosts: succulents, hoya, orchids, ficus and citrus are the usual next stops, but any plant that shared the shelf is a suspect. Run anything doubtful through the Plant Doctor to confirm what you are looking at. Catching a second plant at the three-bug stage saves you a second full campaign.
Step 2 — Dab every bug with rubbing alcohol
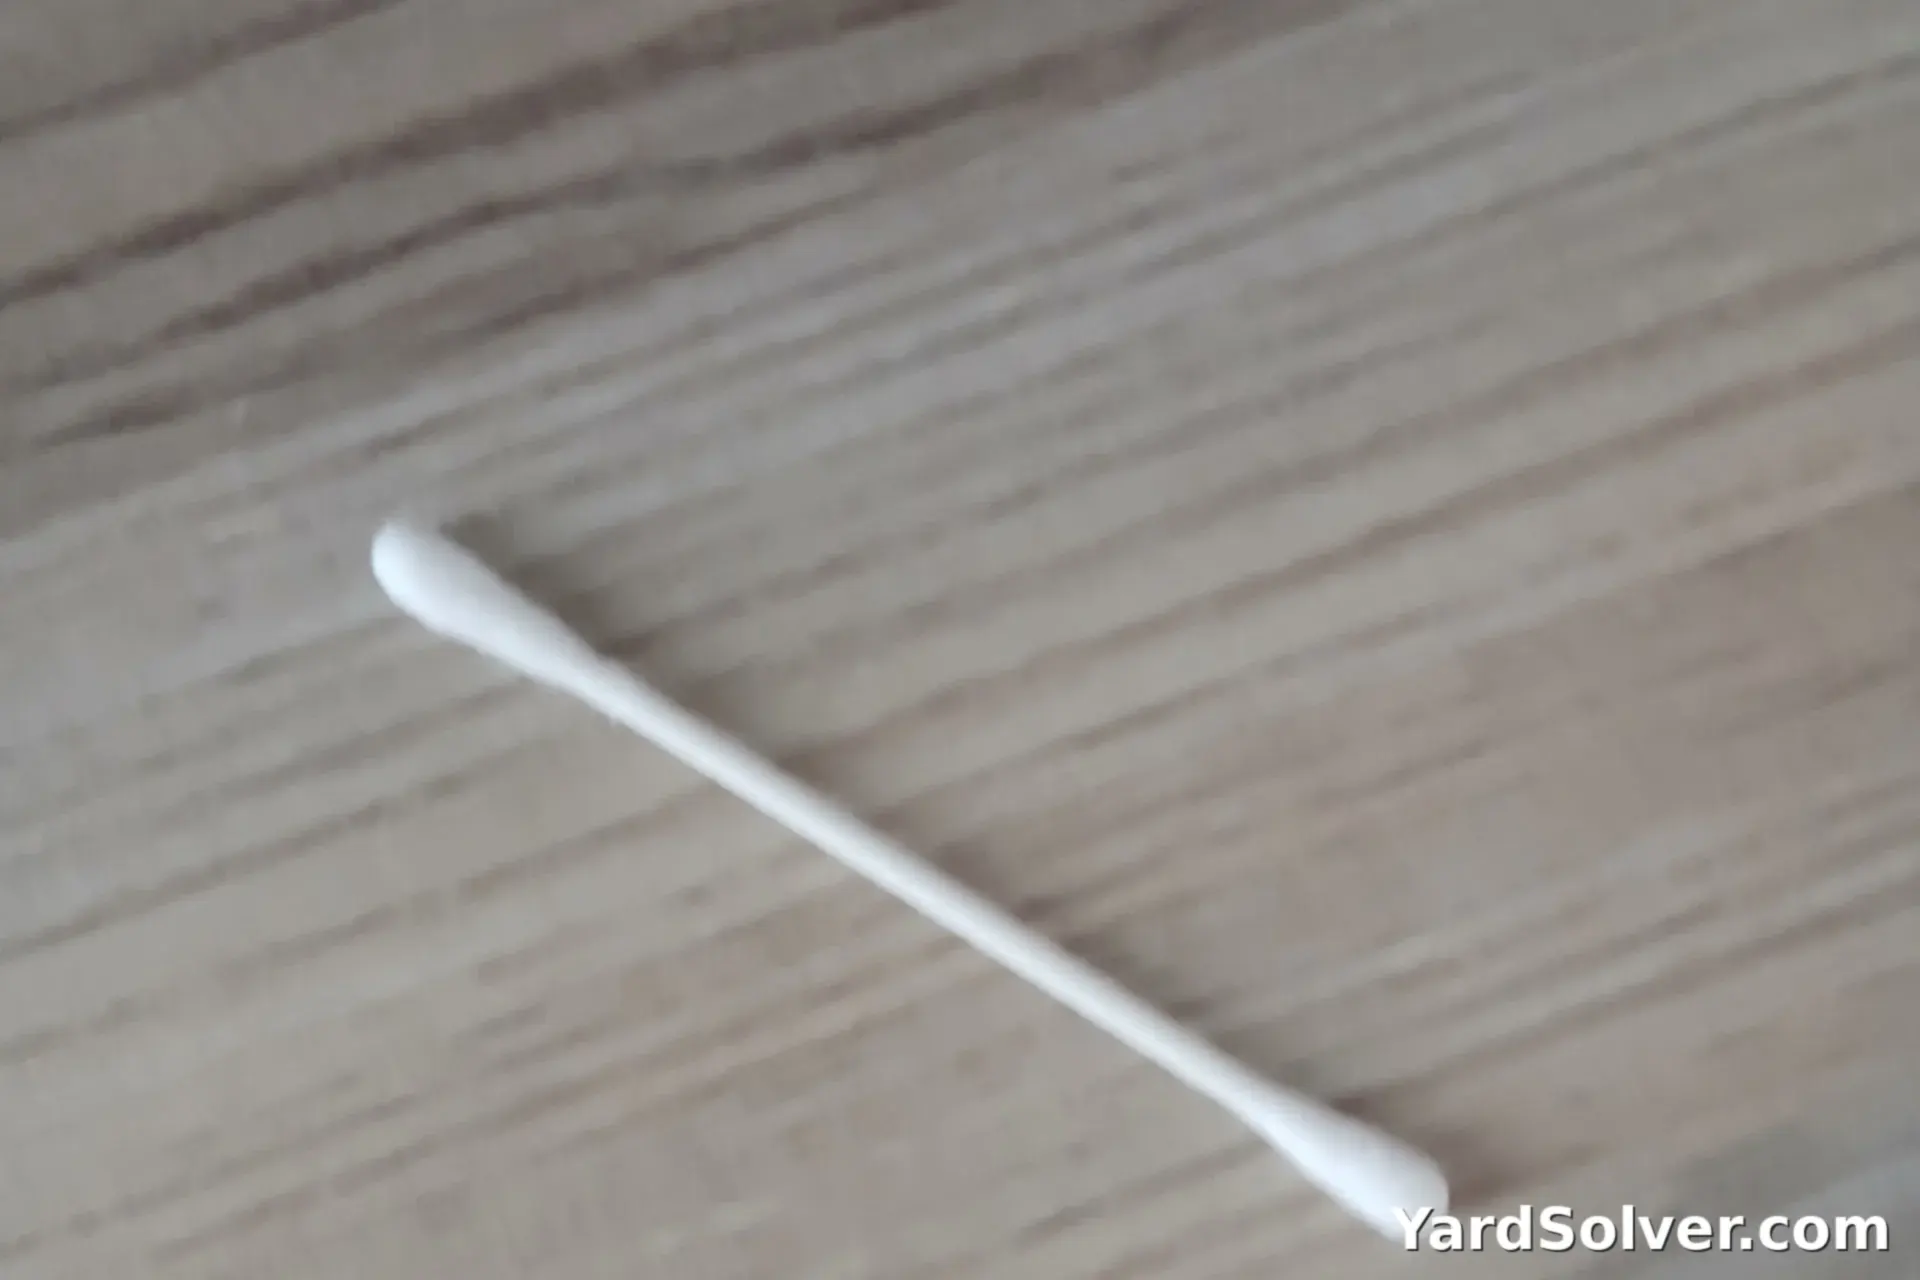
For a plant you can still count the bugs on, this is the best method there is. Dip a cotton swab in rubbing alcohol — plain 70% isopropyl, or a weaker solution — and touch it directly to each mealybug. The alcohol melts the insect's protective wax and kills it on contact. Work slowly through every joint, underside and crevice, turning the plant as you go. The white tufts wipe away as you work, which makes it easy to see where you have been.
Two cautions. Test one leaf a day ahead if the plant is new to you — a few thin-leaved plants mark if alcohol sits on them, though a swab dabbed on the bug, not sprayed over the leaf, is gentle in practice. And do not go stronger than 70%: more alcohol is not more effective here, it is just harder on the plant. For a valuable orchid, this careful dabbing is far safer than any blanket spray.
Step 3 — Wash the plant down
After dabbing, wash the plant. A lukewarm shower — in the sink, the tub, or outside with a hose — aimed into the joints and along the undersides knocks off crawlers you missed and, just as importantly, washes off honeydew. That sticky coating is what sooty mold grows on, and a plant that stays sticky stays marked long after the bugs are gone.
Let the plant drip and dry in its quarantine spot. Do not return it to the shelf "just for now" — the whole point of isolation is that it stays isolated until the campaign is finished. Check the saucer and the outside of the pot too; crawlers hide under pot rims exactly the way they do on the plant brought in from outside.
Step 4 — Spray when there are too many to dab
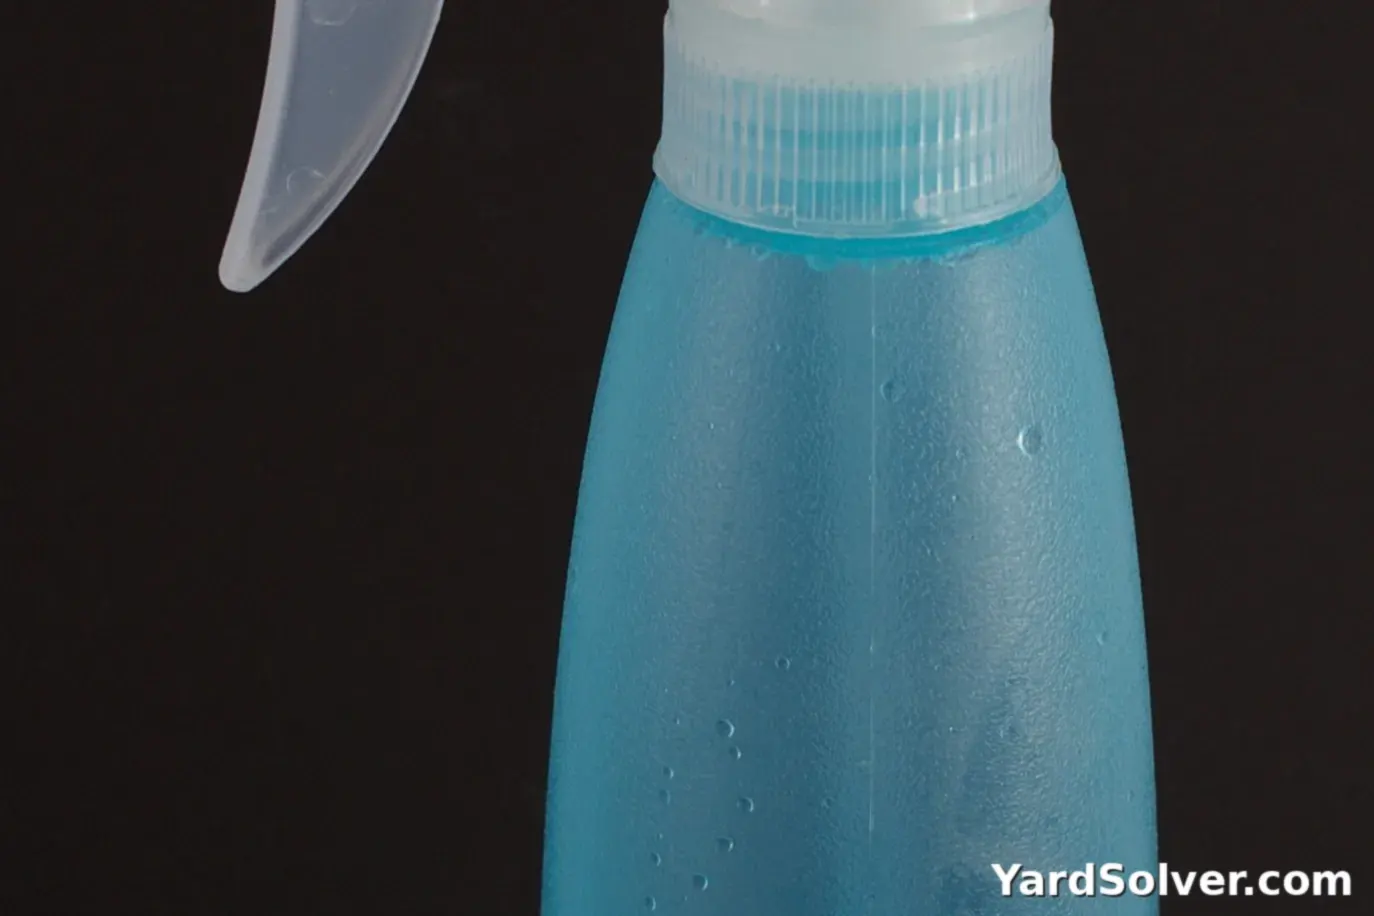
On a big plant or a heavy infestation, dabbing every bug stops being practical. Then spray: a 10–25% alcohol solution in water, insecticidal soap, or horticultural oil are the standard options. Our insecticidal soap spray guide and the neem oil spray guide cover mixing and timing. All of them are contact treatments — they kill what they wet and do nothing once dry — so spray slowly, to dripping, into joints and along undersides.
Read and follow the label of anything you buy, keep sprays off stressed or freshly watered plants in hot sun, and expect to spray more than once. A spray is a population cut, not an ending. The ending comes from the next step, and skipping it is the single most common reason mealybugs "come back".
Step 5 — Repeat on the hatch cycle
Here is why mealybugs have their reputation: their eggs are laid inside cottony wax sacs that alcohol and sprays barely penetrate. You can kill every visible insect today and still have a fresh generation hatching next week. The fix is not a stronger product — it is a schedule. Treat weekly, inspect every 3–4 days between treatments, and keep going for 4–8 weeks depending on how heavy the infestation was.
Keep the plant isolated the whole time. Each inspection gets faster as numbers fall: a tuft here, a crawler there, then nothing. Two clean checks in a row — no live bugs, no new tufts, a full week apart — is the honest finish line. Only then does the plant go back to the shelf, ideally beside tougher neighbours like a jade plant that you can inspect easily.
Step 6 — Know when to let go
Sometimes the right call is the bin. If a plant is collapsing and covered — every joint colonised, leaves yellowing wholesale — the weeks of treatment may cost more, in time and in risk to your other plants, than the plant is worth. A common, replaceable plant with a heavy infestation is usually best discarded, bagged, and put out with the household waste, not the compost.
The hidden version of this decision is root mealybugs: a different, soil-dwelling group that feeds on roots. The plant declines slowly for no visible reason. Unpot it and look — white waxy deposits on the roots and the inside of the pot are the giveaway. Light cases can be washed, trimmed of the worst roots and repotted in fresh mix; heavy or root infestations are usually best discarded before they seed the rest of the collection through shared saucers and watering cans. Letting one plant go to protect twenty is not defeat. It is the job.
Keep going
Next reads: Winter Houseplant Pests · How to Get Rid of Aphids · Plan a quarantine shelf in the Garden Planner.
Questions people ask
Does rubbing alcohol kill mealybugs?
Yes — on contact. Rubbing alcohol (70% isopropyl, or weaker) melts the waxy coating that protects the mealybug and kills the insect underneath. Dab it directly onto each bug with a cotton swab. It does not kill eggs inside their waxy sacs, which is why treatments have to repeat weekly.
Why do mealybugs keep coming back?
Because the eggs survive. Mealybugs lay eggs inside protective cottony wax sacs that sprays and alcohol barely reach. Those eggs hatch over the following days and weeks, so one treatment always looks like it worked — until the next generation appears. Weekly treatment for 4–8 weeks breaks the cycle.
Can mealybugs spread to my other plants?
Yes. Young mealybugs crawl, and they move plant to plant wherever leaves touch. They also travel on hands, tools and pots. Isolate an infested plant the day you find it, and inspect every neighbour — especially succulents, hoya, orchids, ficus and citrus, which mealybugs favour.
What are root mealybugs?
A related group that feeds on roots below the soil instead of on stems and leaves. The plant declines slowly for no visible reason — poor growth, wilting despite watering — and the giveaway is white waxy deposits on the roots and the inside of the pot when you unpot it. Heavy root infestations are usually best discarded.
Comments & ratings
No comments yet.
Be the first to share your experience.