
Guides · Plant problems · Published November 3, 2026
Overwatered Plant Rescue: Root Rot Signs, and How to Save the Plant
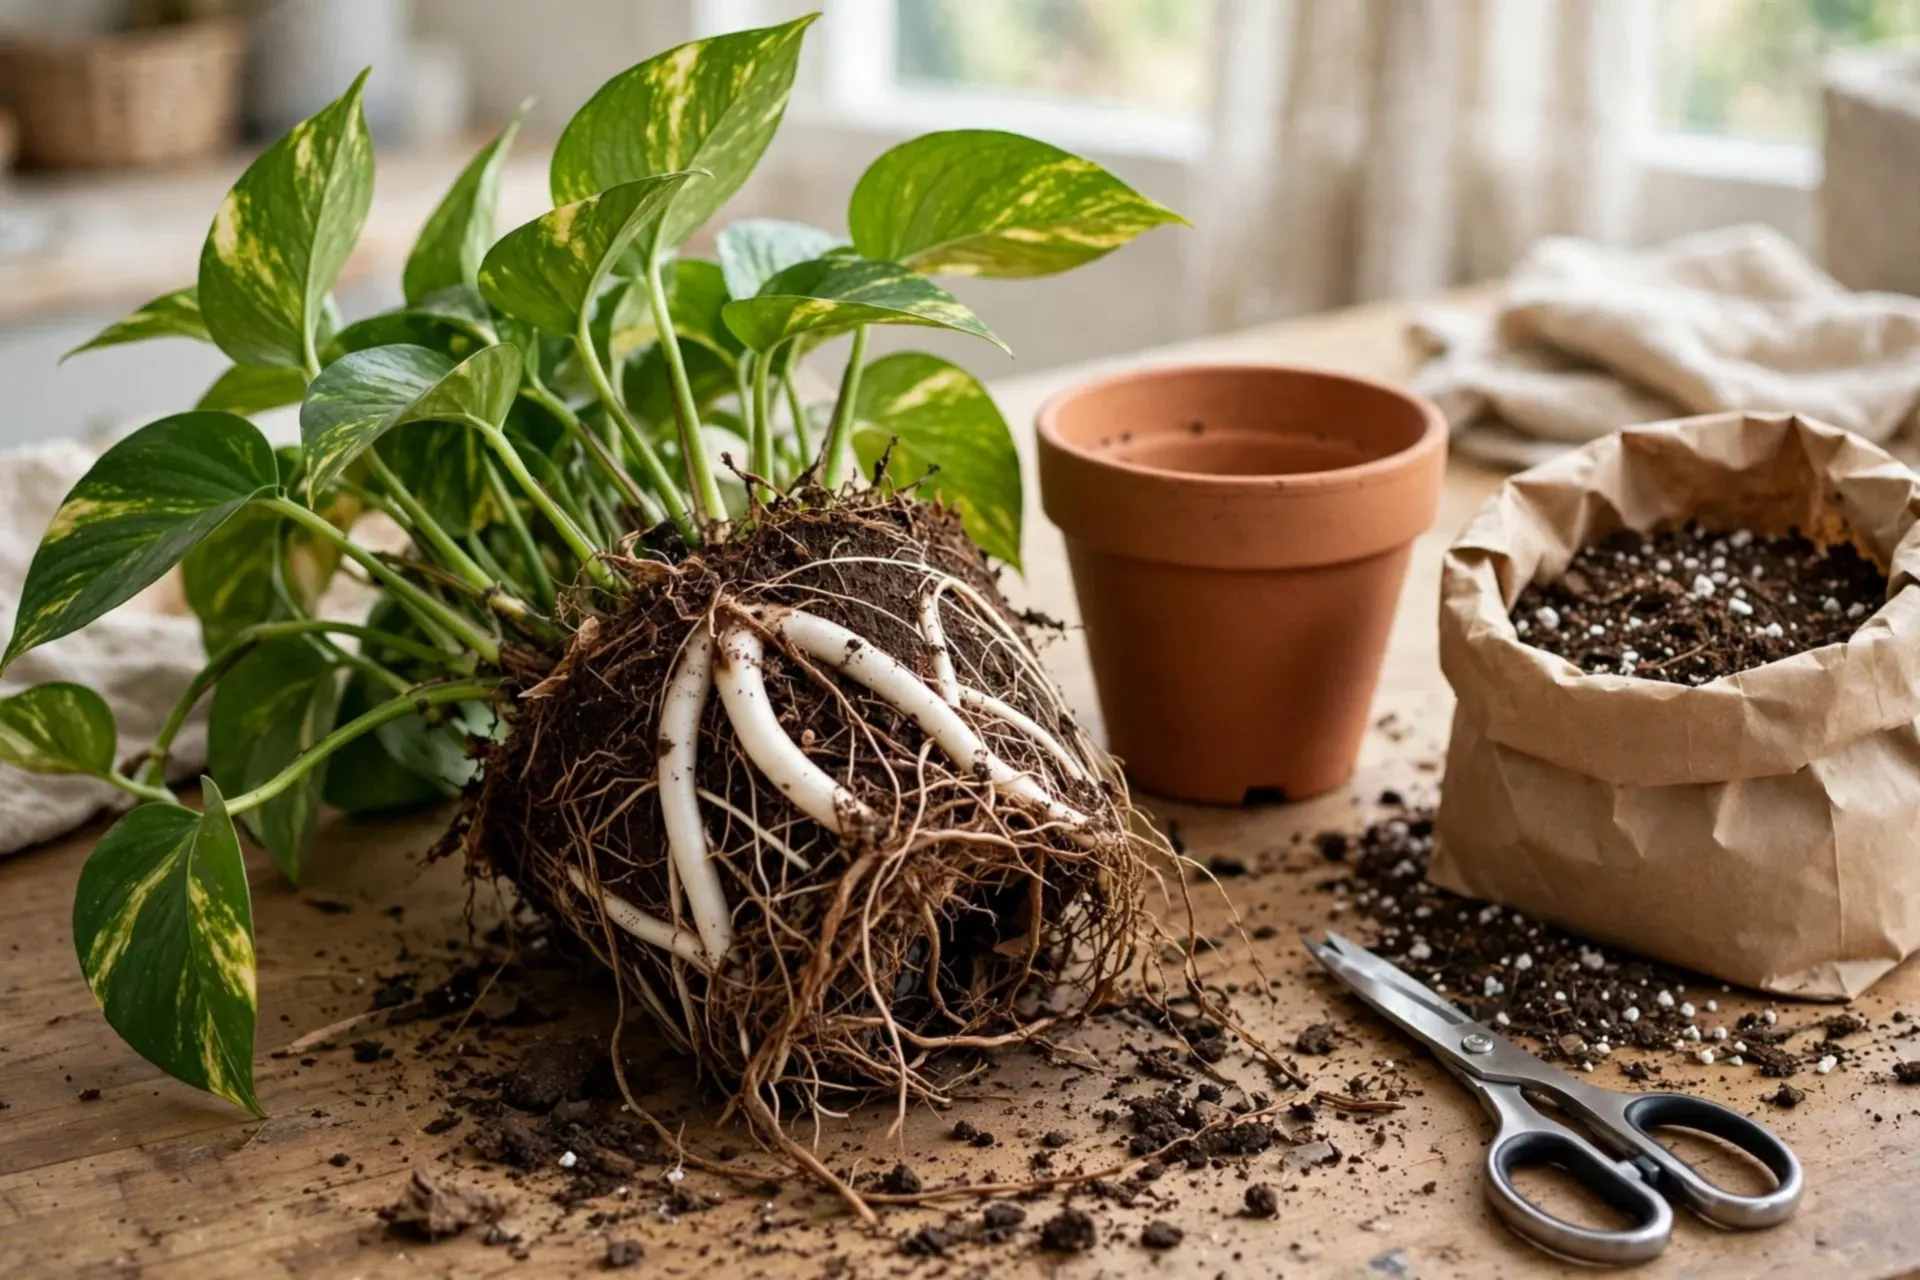
Overwatering kills more houseplants than every pest and disease combined, and it does it by kindness: the plant wilts, we water it, and the wilting gets worse. The paradox resolves once you see what is happening underground — roots sitting in saturated, airless soil suffocate, die back, and rot, until the plant cannot take up water at all and wilts in a swamp. The rescue is real surgery, not a tonic: stop the water, get the plant out of its pot, read the roots, cut away everything rotted, and repot into a mix that drains. This page walks that rescue in order, states the honest triage — some plants are beyond it — and ends with the drainage and rhythm changes that make sure you only do it once.
The rescue, in the order that saves plants
- Diagnose by soil, not leaves: wilting plus wet, heavy, sour-smelling soil is overwatering until proven otherwise
- Stop and drain: out of the decorative cover pot, saucer emptied — no plant recovers sitting in its own puddle
- The roots tell the truth: white and firm is alive; brown, black, mushy or stringy is rot
- Cut back to healthy tissue with clean scissors — rot left behind is rot that spreads
- Repot into fresh, draining mix in a pot with holes, then water lightly and wait
- The honest triage: a stem rotted through at the base means cuttings, not rescue — take them and start again
Step 1 — Diagnose first: wet wilt is not thirst
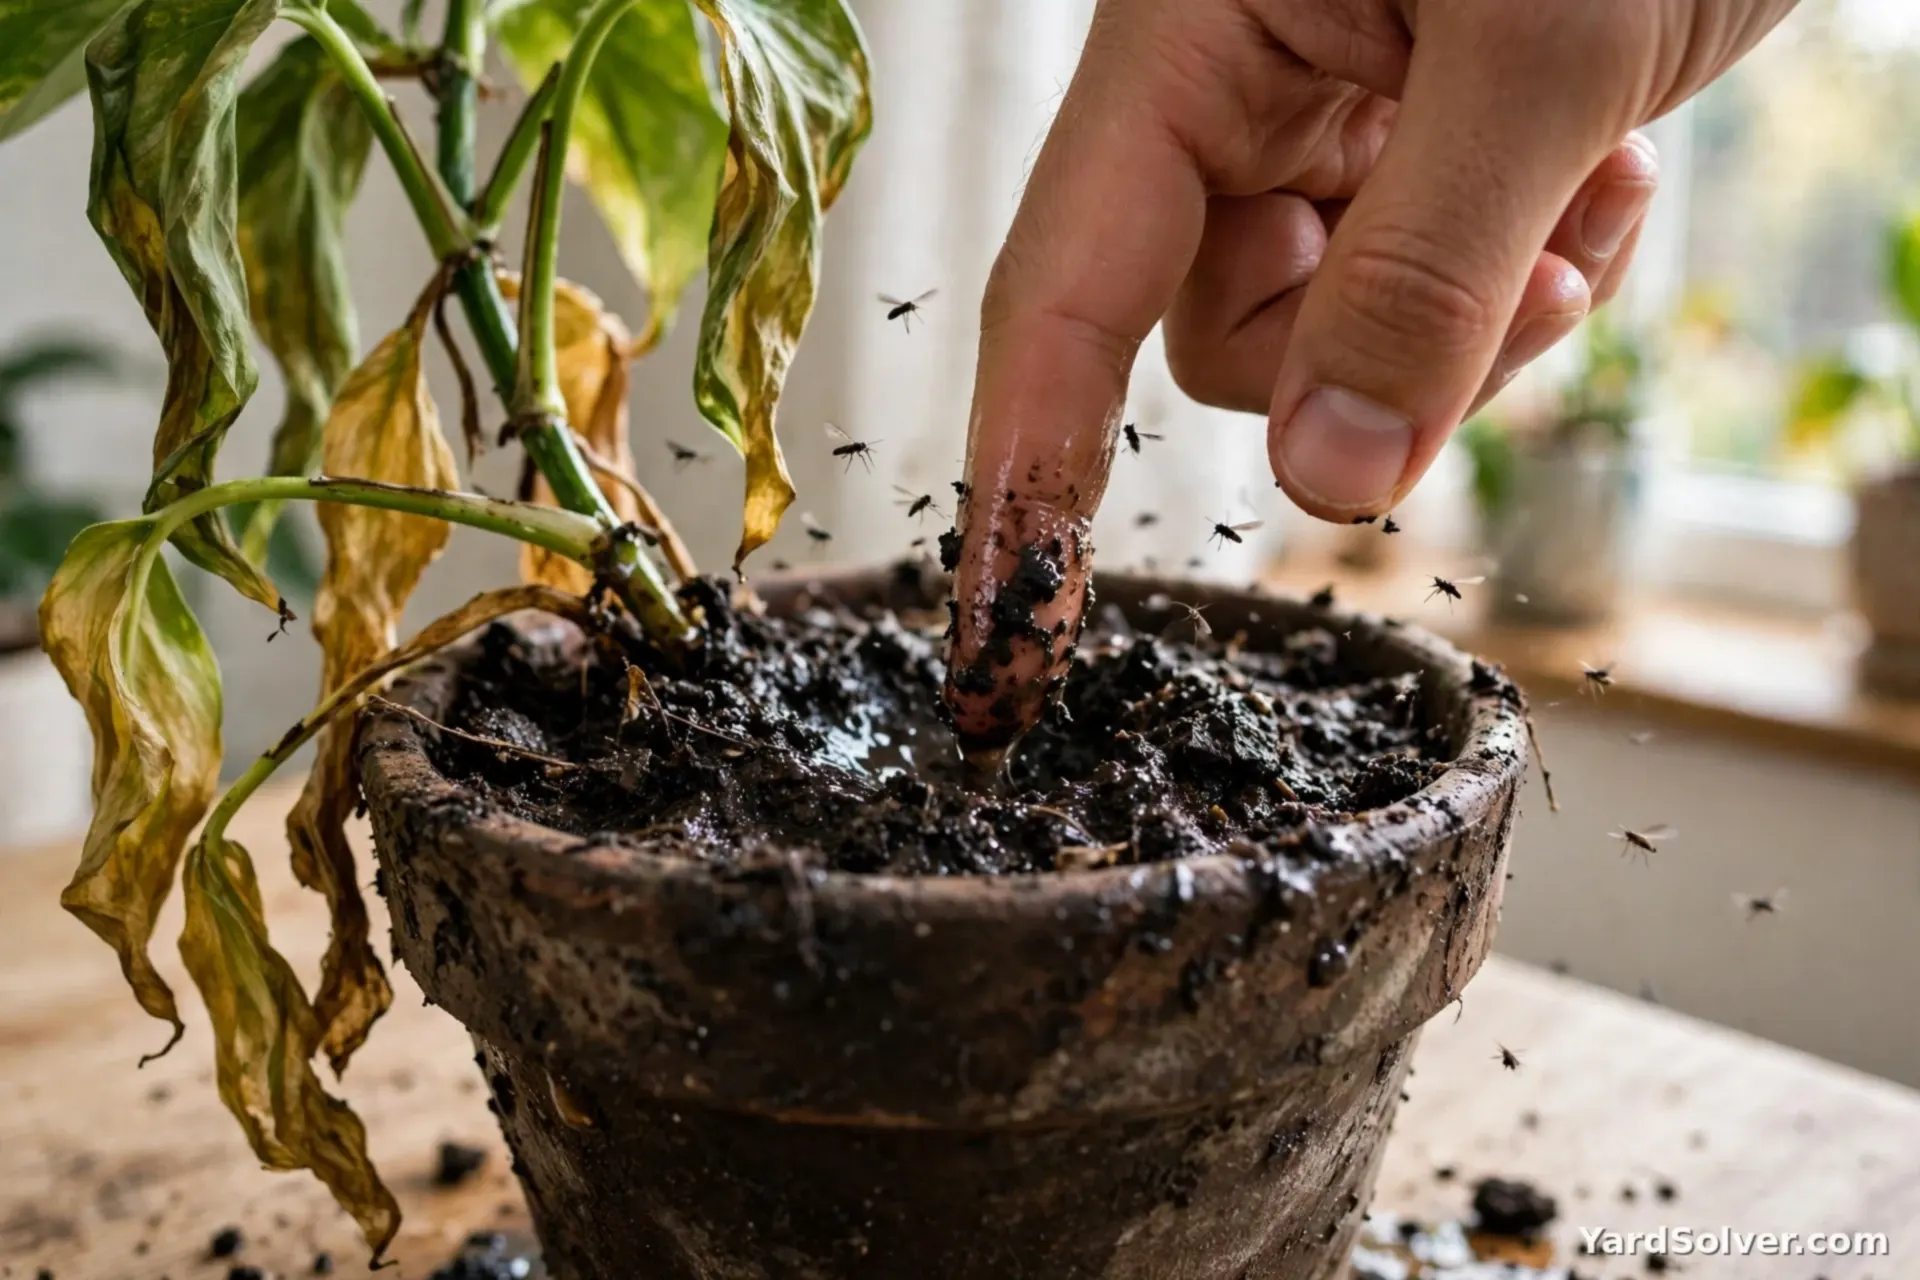
Start with the test that settles it: push a finger two inches into the mix, and lift the pot. Overwatered soil is wet or muddy at that depth days after the last watering, the pot feels noticeably heavy, and there is often a sour, stagnant smell — sometimes with a white or green film on the surface and a cloud of tiny fungus gnats, which breed in exactly this dampness. Above ground, expect the pattern that confuses everyone: wilting despite the wet soil, yellowing that starts on the lower leaves, soft rather than crispy leaf texture, and slow decline rather than sudden collapse. Underwatering looks similar from across the room but opposite up close — mix dry all the way down, a light pot, crispy brown leaf edges, and a plant that perks up within hours of a drink. The two most overwatered plants in captivity are the forgiving ones — the pothos watered on a weekly schedule it never asked for, and the snake plant, a desert plant killed by monthly kindness in a pot with no drainage hole. If the finger test says wet, believe it, and move to Step 2 without adding another drop.
Step 2 — Stop the water and drain everything
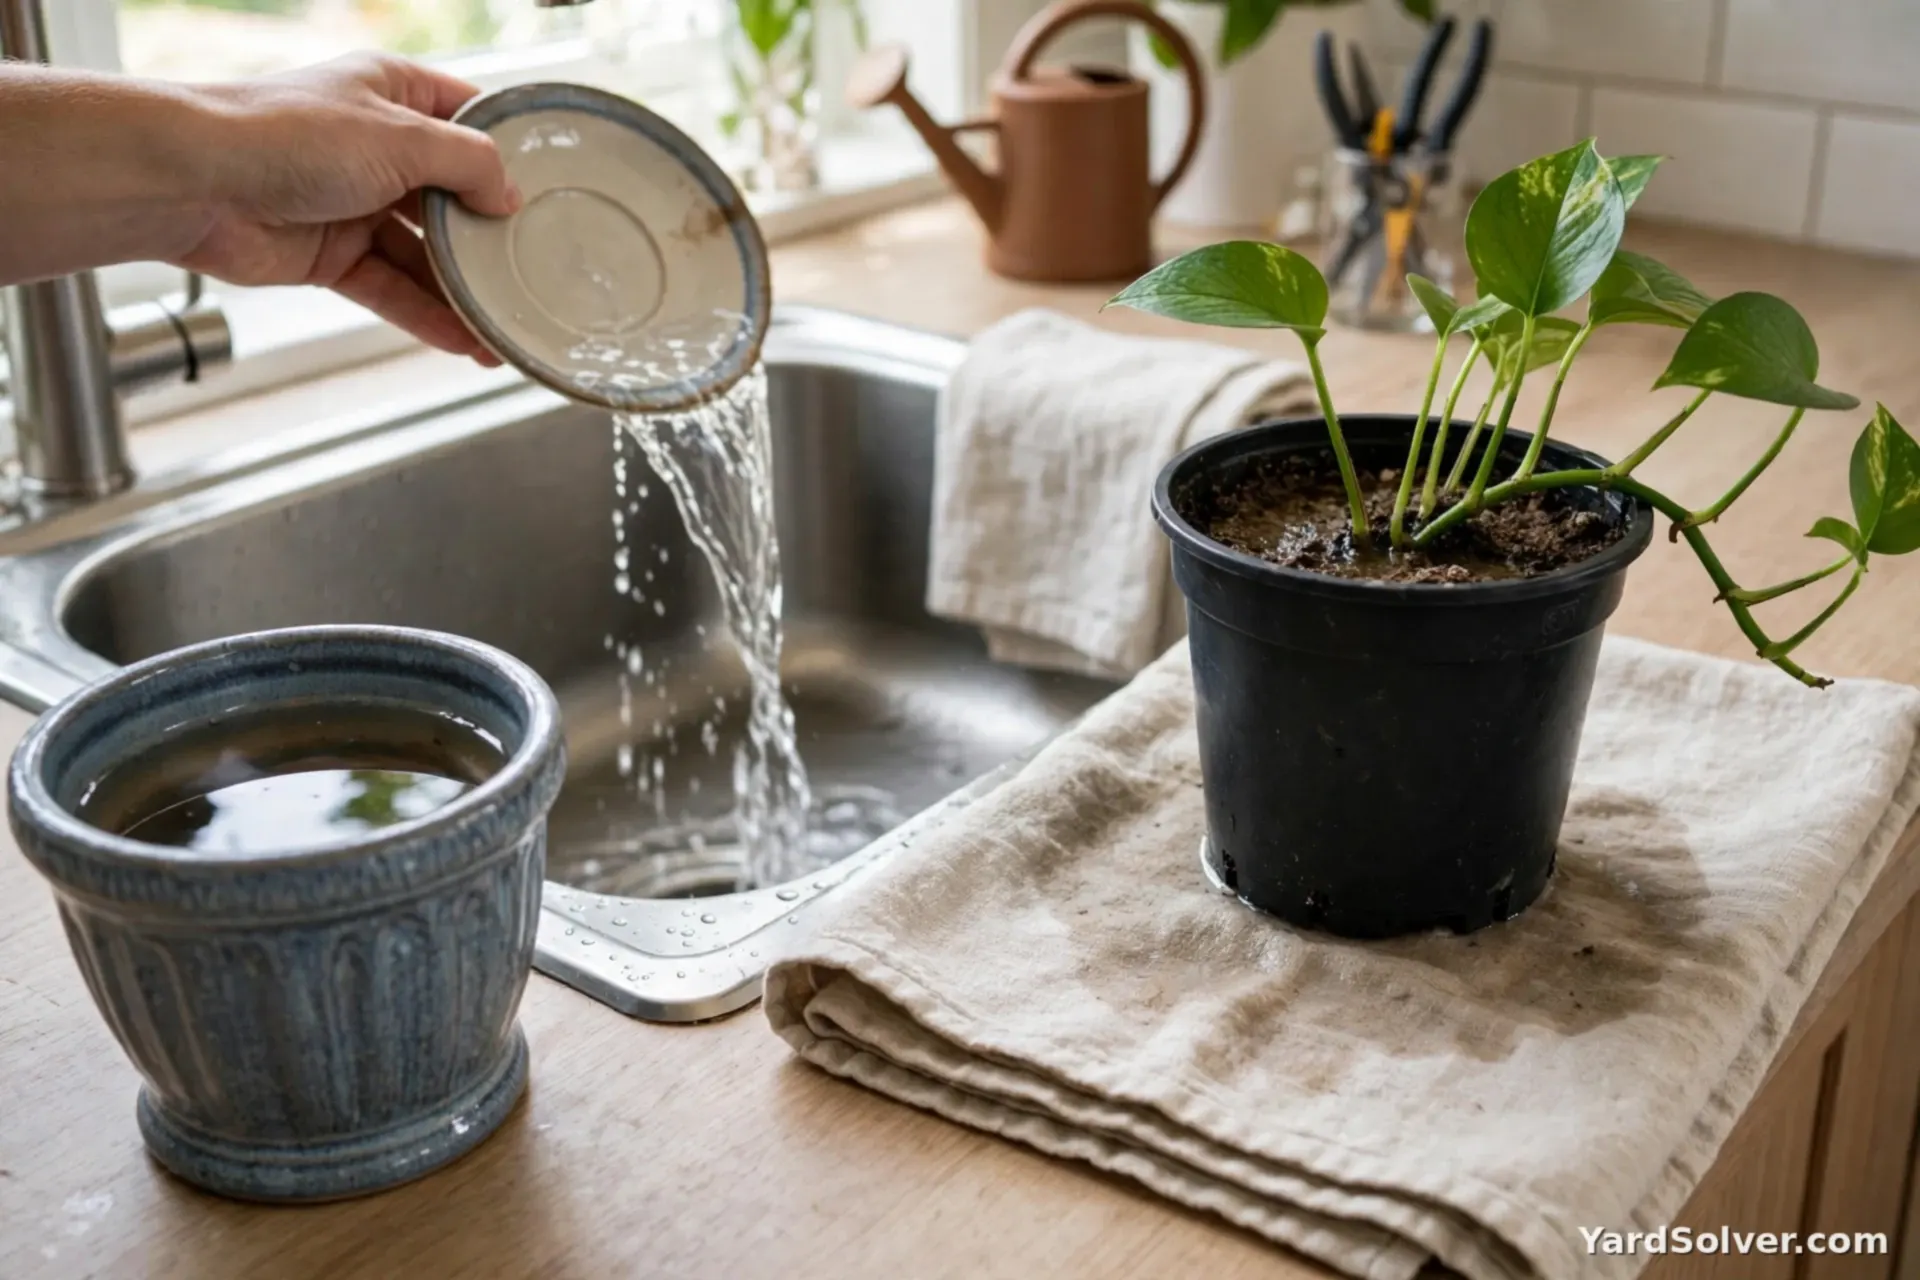
Before any surgery, end the drowning. Lift the plant out of its decorative cover pot — this is where you often find the smoking gun, an inch of standing water the plant has been sitting in for weeks — and empty the saucer. Set the nursery pot on a folded towel or a stack of newspaper for a few hours; capillary action wicks out a surprising amount of water. For a plant that is only mildly waterlogged — soil wet, leaves just beginning to sulk, no sour smell — this plus a long drying-out period in bright, indirect light may be the entire cure, and it is always worth a day of observation before you escalate. But if the decline is established — multiple yellowing leaves, a sour pot, a stem base that feels soft — waiting only gives the rot more root to eat. Those plants go straight to Step 3 while there is still healthy root left to save. Either way, nothing gets watered again on this rescue until the repotting is done and the new watering rhythm of Step 5 begins.
Step 3 — Unpot and read the roots
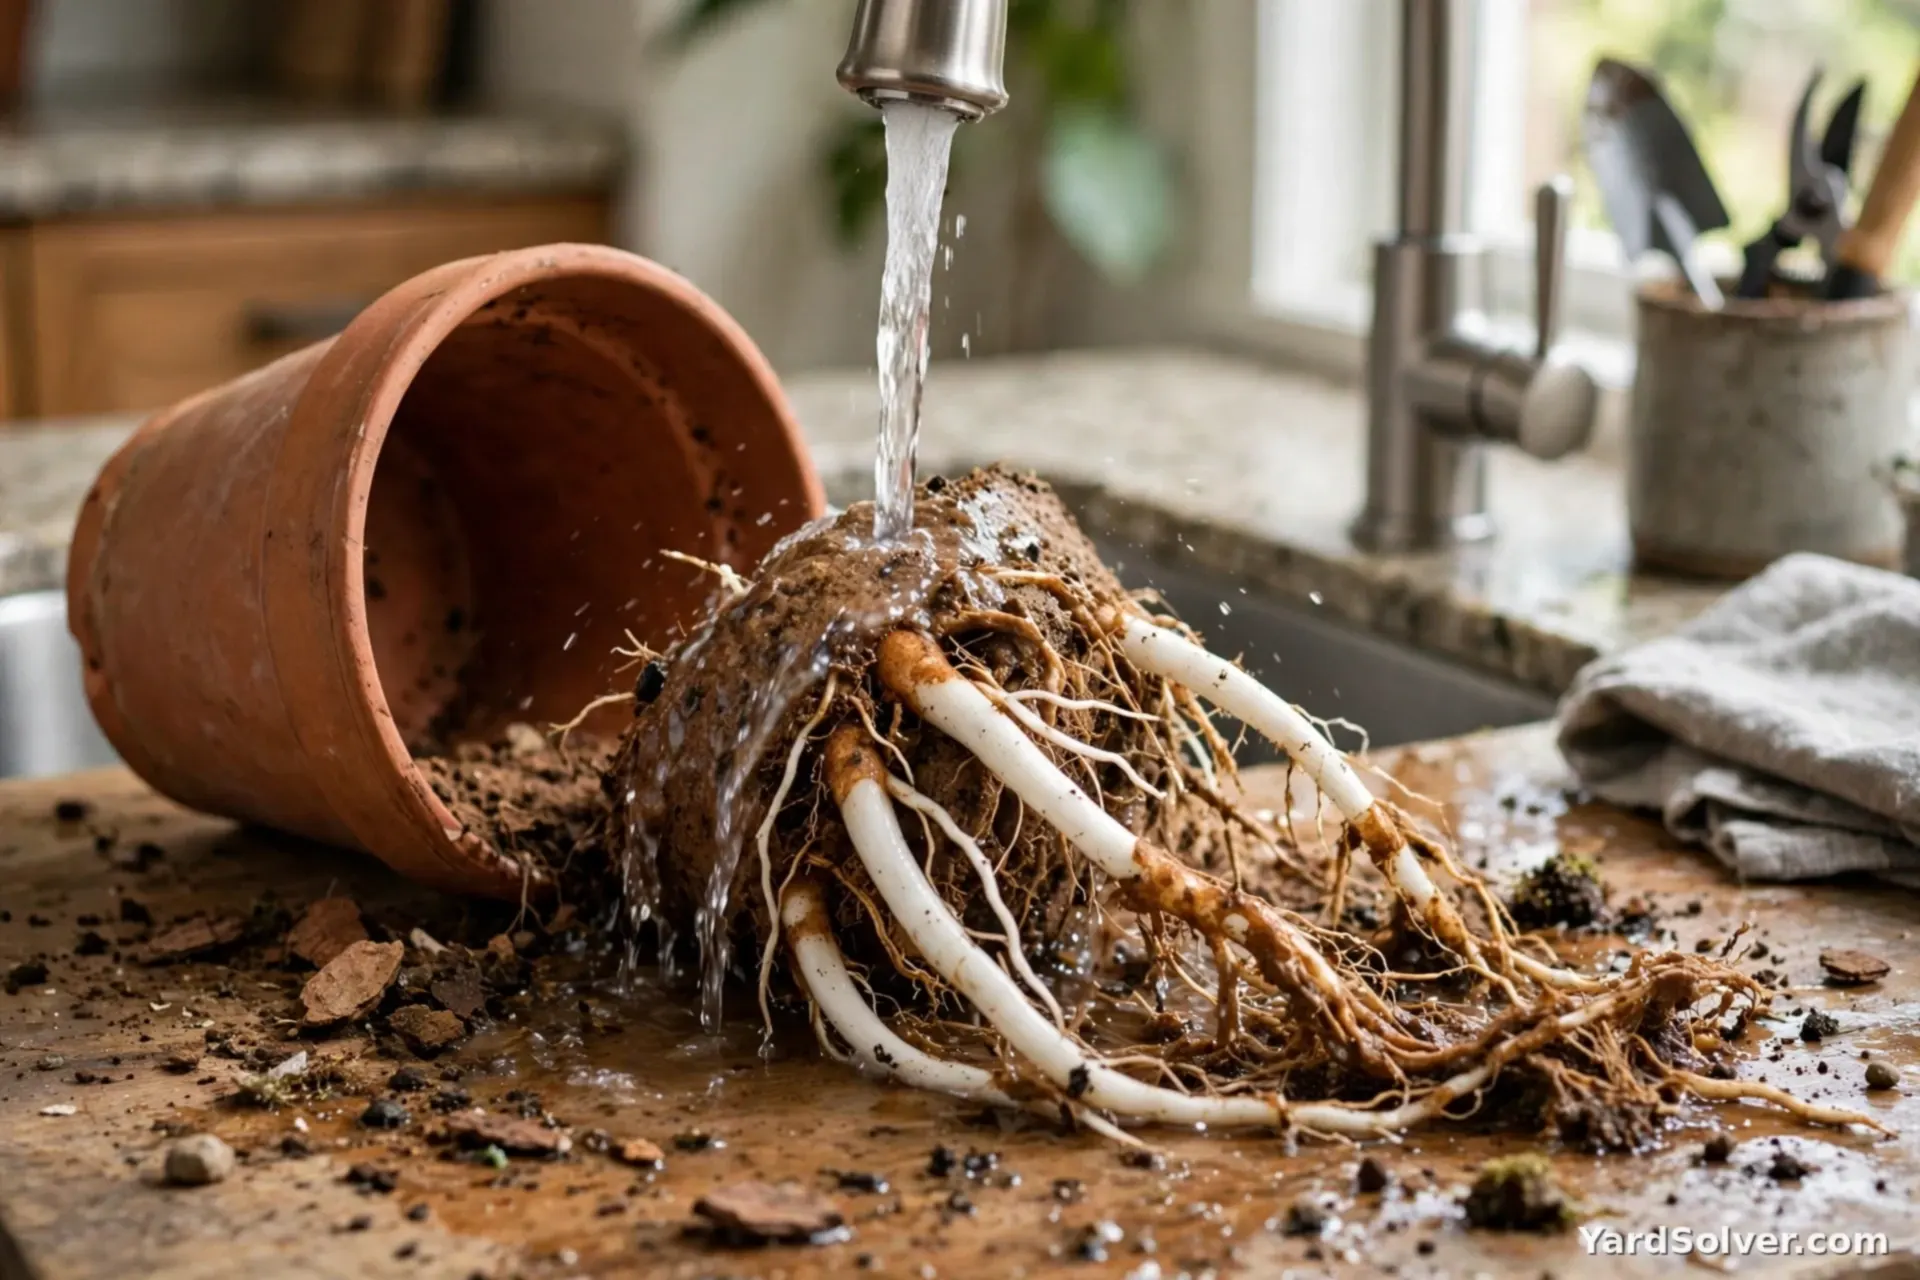
Tip the plant out of its pot — squeeze a plastic pot, or run a knife around a ceramic one — and gently work the old mix off the root ball with your fingers. Rinse the roots under a gentle stream of lukewarm water so you can see them clearly; this is the diagnosis that decides everything. Healthy roots are white or pale tan, firm and springy, and they smell of nothing much. Rotted roots are brown to black, soft or mushy, sometimes reduced to a stringy thread when the outer layer slides off between your fingers, and they carry the sour smell you noticed earlier. Check the stem base too: firm is fine; soft, dark and mushy at soil level is the serious sign, because rot that has entered the stem climbs. Garden plants suffer the same disease in slow motion — a tomato wilting in a waterlogged bed is fighting the same root failure, which is why bed drainage in Step 5 matters as much as pot drainage. Now, with the roots clean and readable, you know which of two jobs you have: a trim, or a farewell with cuttings.
Step 4 — Trim the rot back to healthy tissue
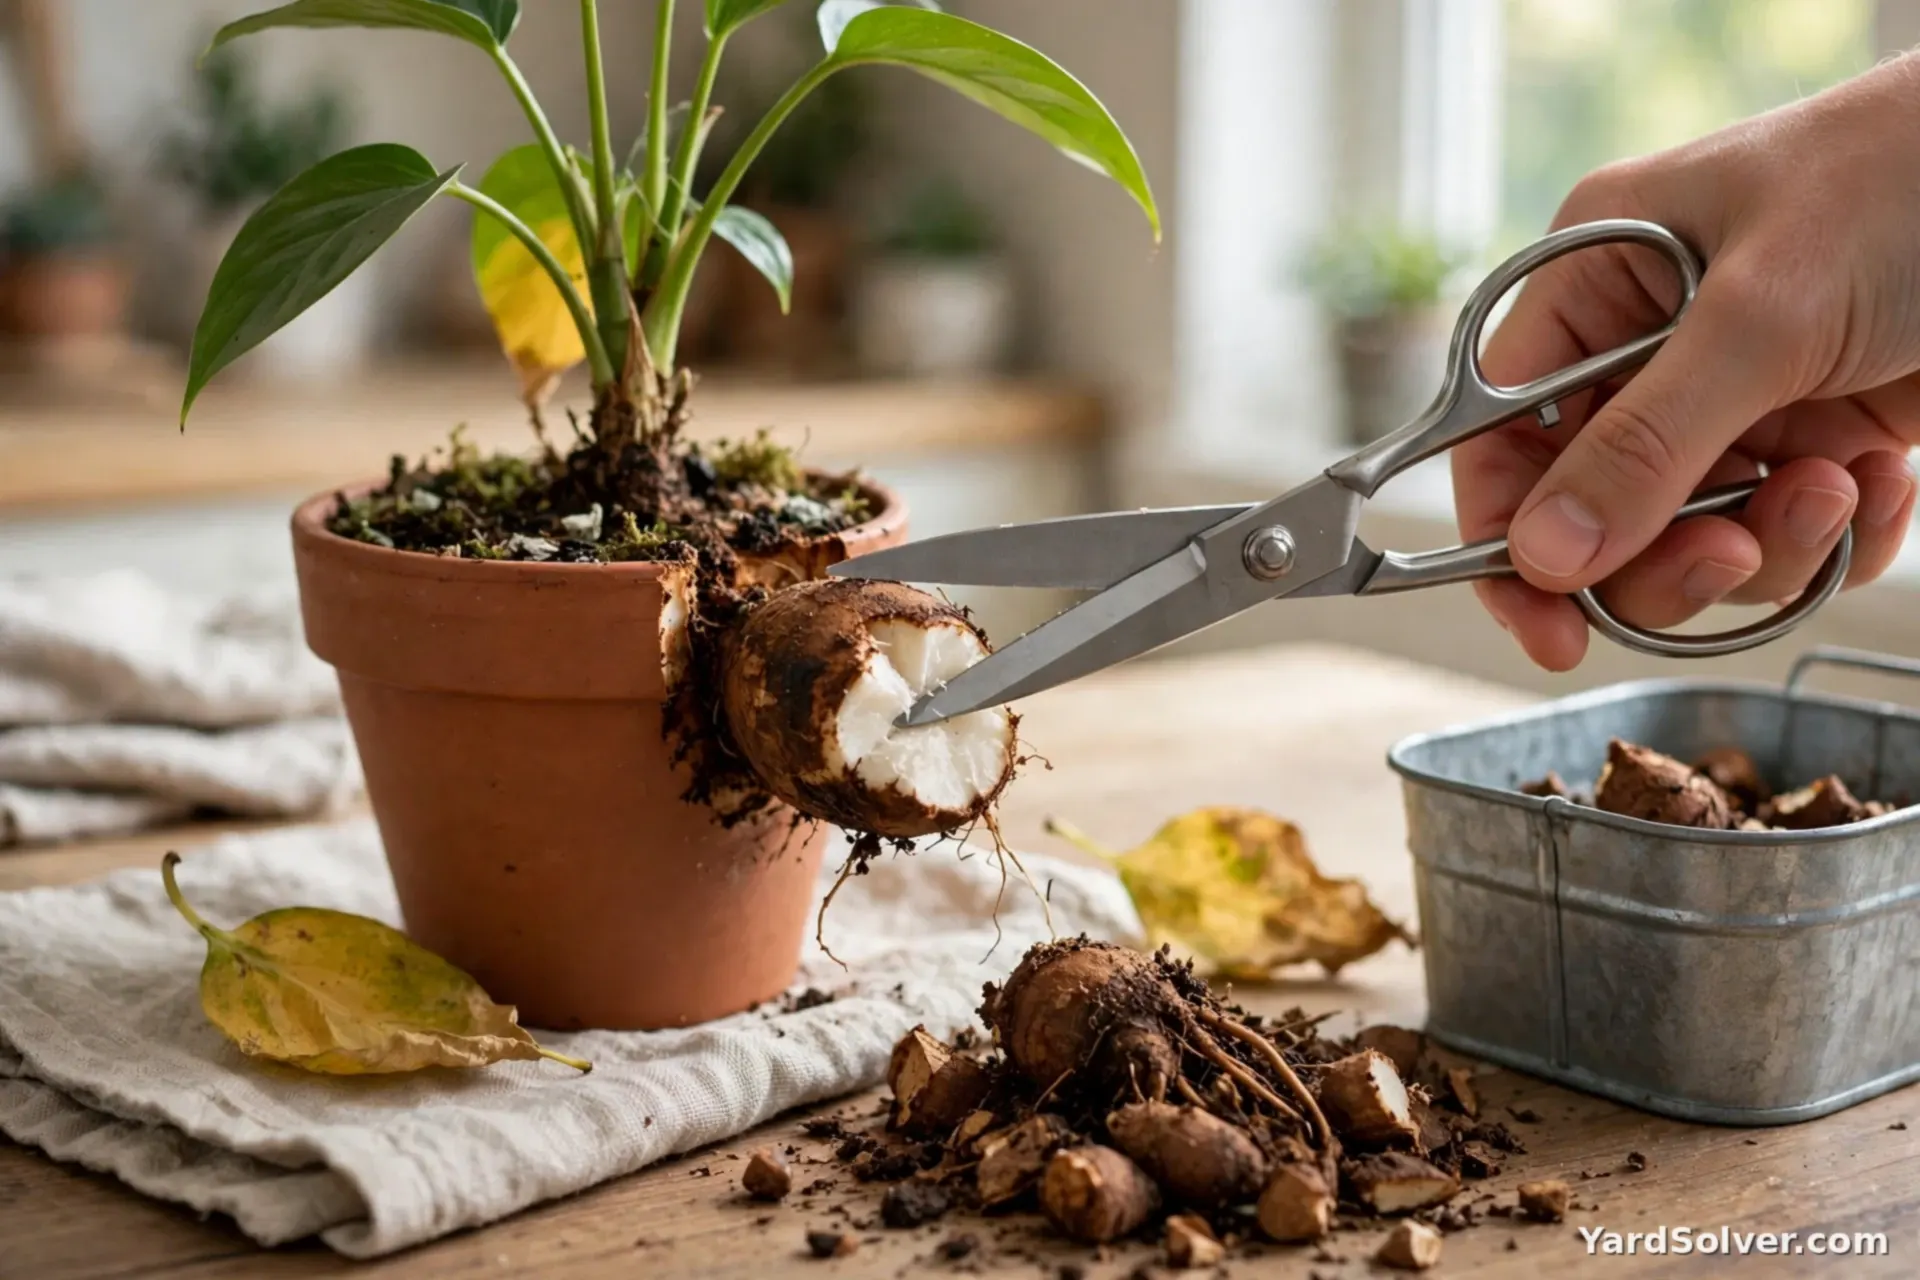
With scissors or pruners cleaned in rubbing alcohol, cut away every rotted root, cutting back into healthy tissue — the cut end should look white or pale and firm, not brown-streaked. Be thorough rather than sentimental: rot left behind keeps spreading in the new pot, and a plant with a third of its roots healthy will outgrow a plant with all of its roots half-rotted. Balance the top to match — remove leaves that are yellowed, mushy or mostly dead, because the reduced root system cannot supply the full canopy, but keep every healthy leaf you can: they are the engine of recovery. Bin the trimmings and the old mix; never compost rotted material indoors, and do not reuse the old soil. You will also meet two folk remedies at this point, and both deserve their honest labels: a dilute hydrogen-peroxide drench (roughly one part standard 3% peroxide to two or three parts water) can add a little oxygen and surface disinfection around the trim — helps a little at best — and cinnamon dusted on cuts is a mild, mostly harmless tradition. Neither substitutes for the trimming and the drainage fix; drainage is the real medicine, and any source that tells you otherwise is selling folklore as a cure.
Step 5 — Repot into drainage, then fix the rhythm for good
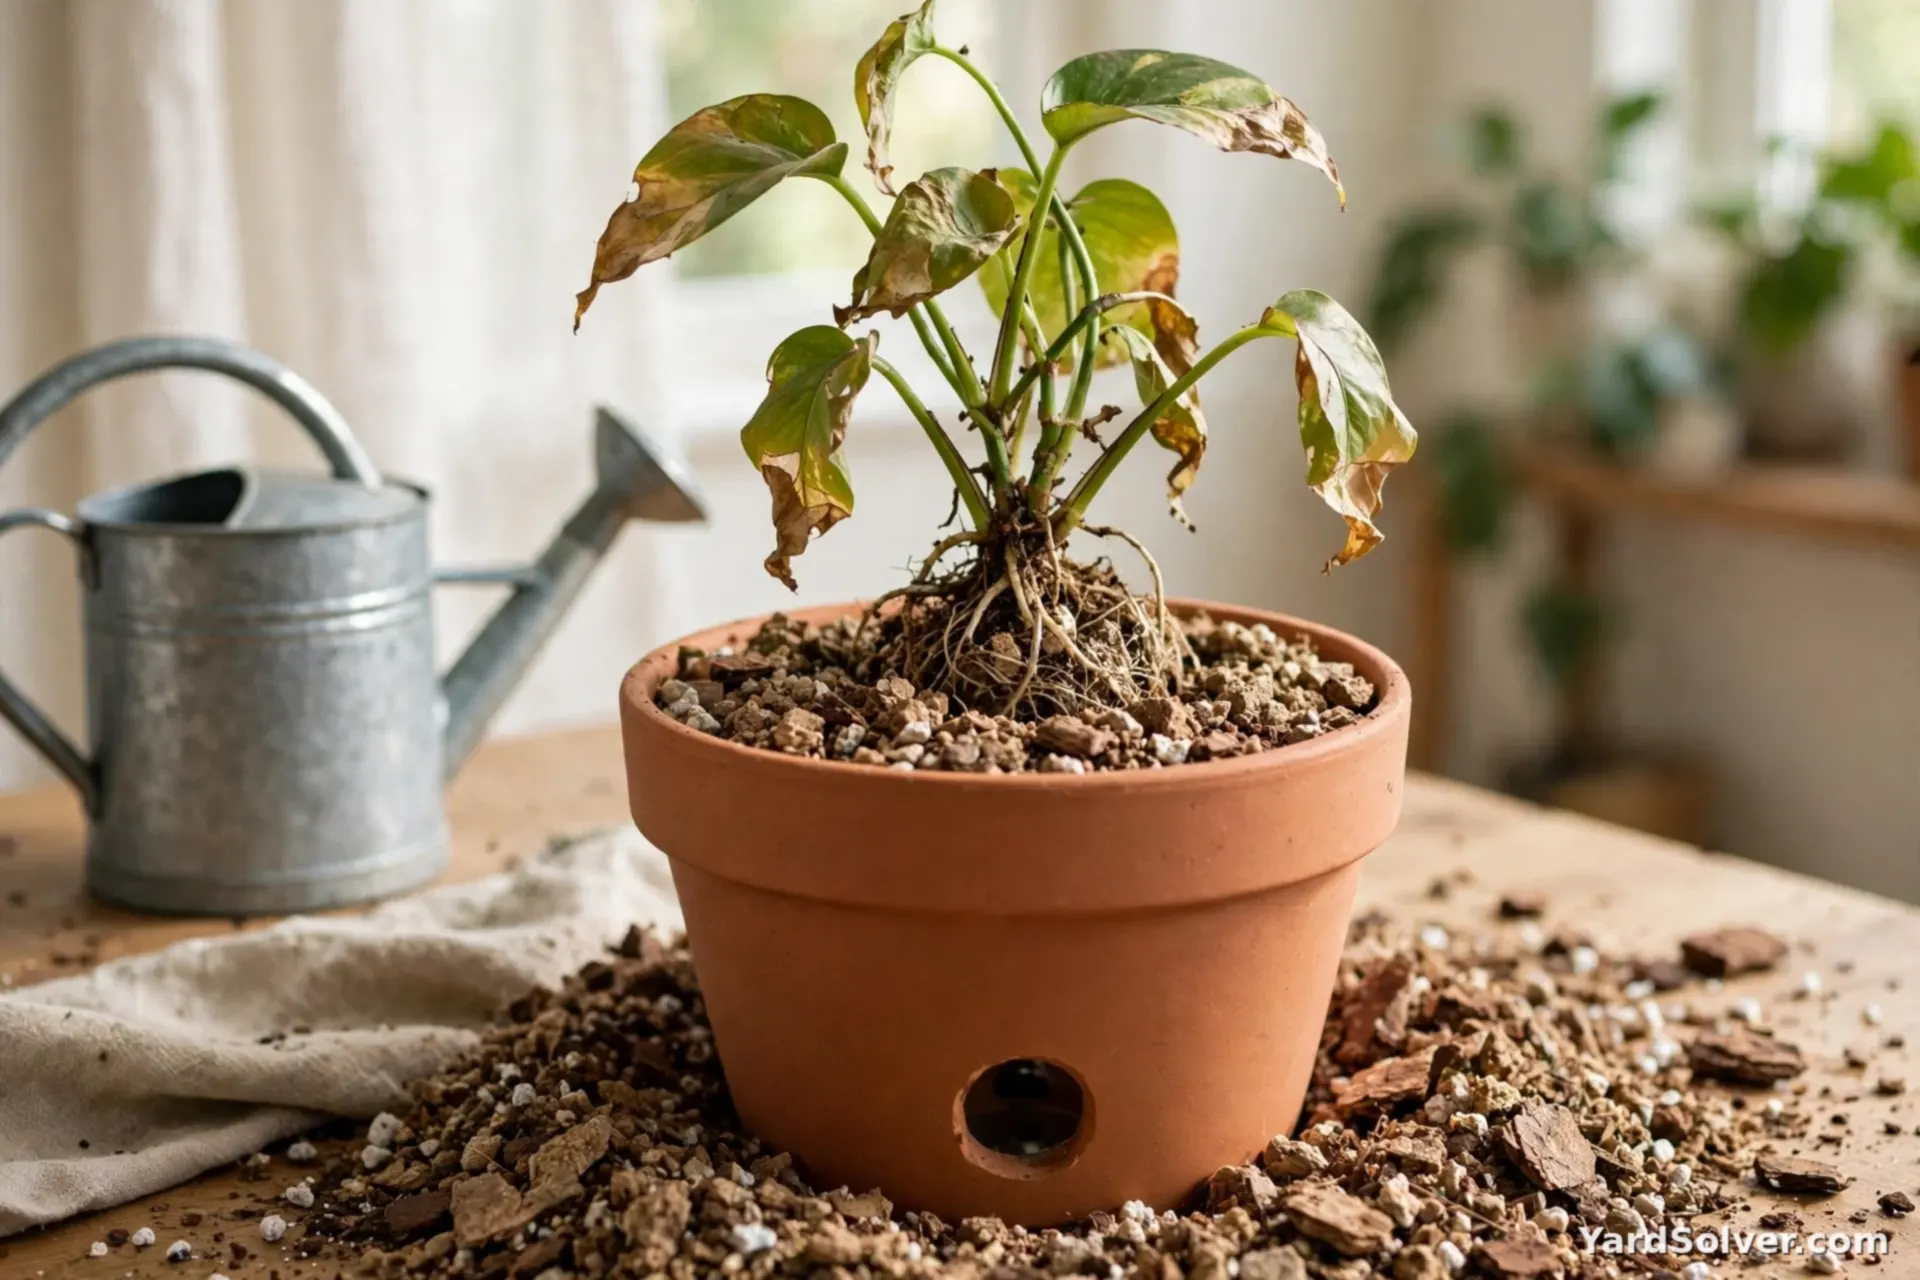
Repot into a clean pot with a drainage hole — the same size as before or one smaller, since a shrunken root system in an oversized pot sits in a sea of wet mix — filled with fresh, open-textured potting mix. Build that mix by drainage, not by habit: the Garden Mix Calculator works out the blend and quantities for containers, and the Raised Bed Soil Calculator does the same job for the beds where garden plants drown more slowly. Water once, lightly, to settle the mix, then put the plant in bright indirect light and leave it alone: no fertilizer until new growth appears, and no water until the top couple of inches are dry. The permanent fix is a rhythm, not a schedule — check with the finger test and water by need, which is precisely the habit our container gardening guide builds from day one, the reason drip irrigation beats the hose outdoors (measured water, delivered slowly, at the roots), and the plan a vacation watering setup should copy — steady and modest, never a flood to make up for absence. Do that, and this rescue becomes a story you tell once, not a routine you repeat every winter.
Keep going
Prevention, the watering side: Container Gardening for Beginners · How to Water Plants While on Vacation · How to Set Up Drip Irrigation.
The usual patients: Pothos · Snake Plant.
Questions people ask
How do I know if my plant is overwatered or underwatered?
Check the soil, not the leaves — both problems make leaves wilt and yellow. Push a finger two inches into the mix: if it comes out muddy and the pot feels heavy, the plant is overwatered, especially if the soil smells sour and tiny fungus gnats drift up. If the mix is dry and dusty all the way down, the pot feels light and the leaf edges are crisp rather than soft, it is underwatered. Wet soil plus a wilting plant is the classic overwatering signature: the roots are damaged, so the plant cannot drink even while it sits in water.
Can a plant with root rot really recover?
Often, yes — if some healthy root remains. White, firm roots are alive even when much of the root ball has rotted; trim everything brown, black and mushy back to healthy tissue, repot into fresh draining mix, and many plants regrow their root system over the following weeks. The honest exception: if the stem base is soft and rotted through, or every root is gone, the plant itself will not recover — then the salvage move is cuttings from any healthy stem above the rot, which plants like pothos root readily in water.
How long does recovery take, and how should I water meanwhile?
Expect weeks, not days: two to six weeks is a realistic window before new growth proves the rescue worked, and the plant will look unimpressive for most of it. Water lightly after repotting, then only when the top couple of inches of mix have dried — a rescued root system is small and easily drowned again. Keep the plant in bright, indirect light, skip fertilizer entirely until it is growing again, and resist the kind urge to water it back to health: restraint is the treatment.
Comments & ratings
No comments yet.
Be the first to share your experience.