
Guides · Winter projects · Published November 8, 2026
Winter Sowing: How to Start Seeds Outdoors in Winter
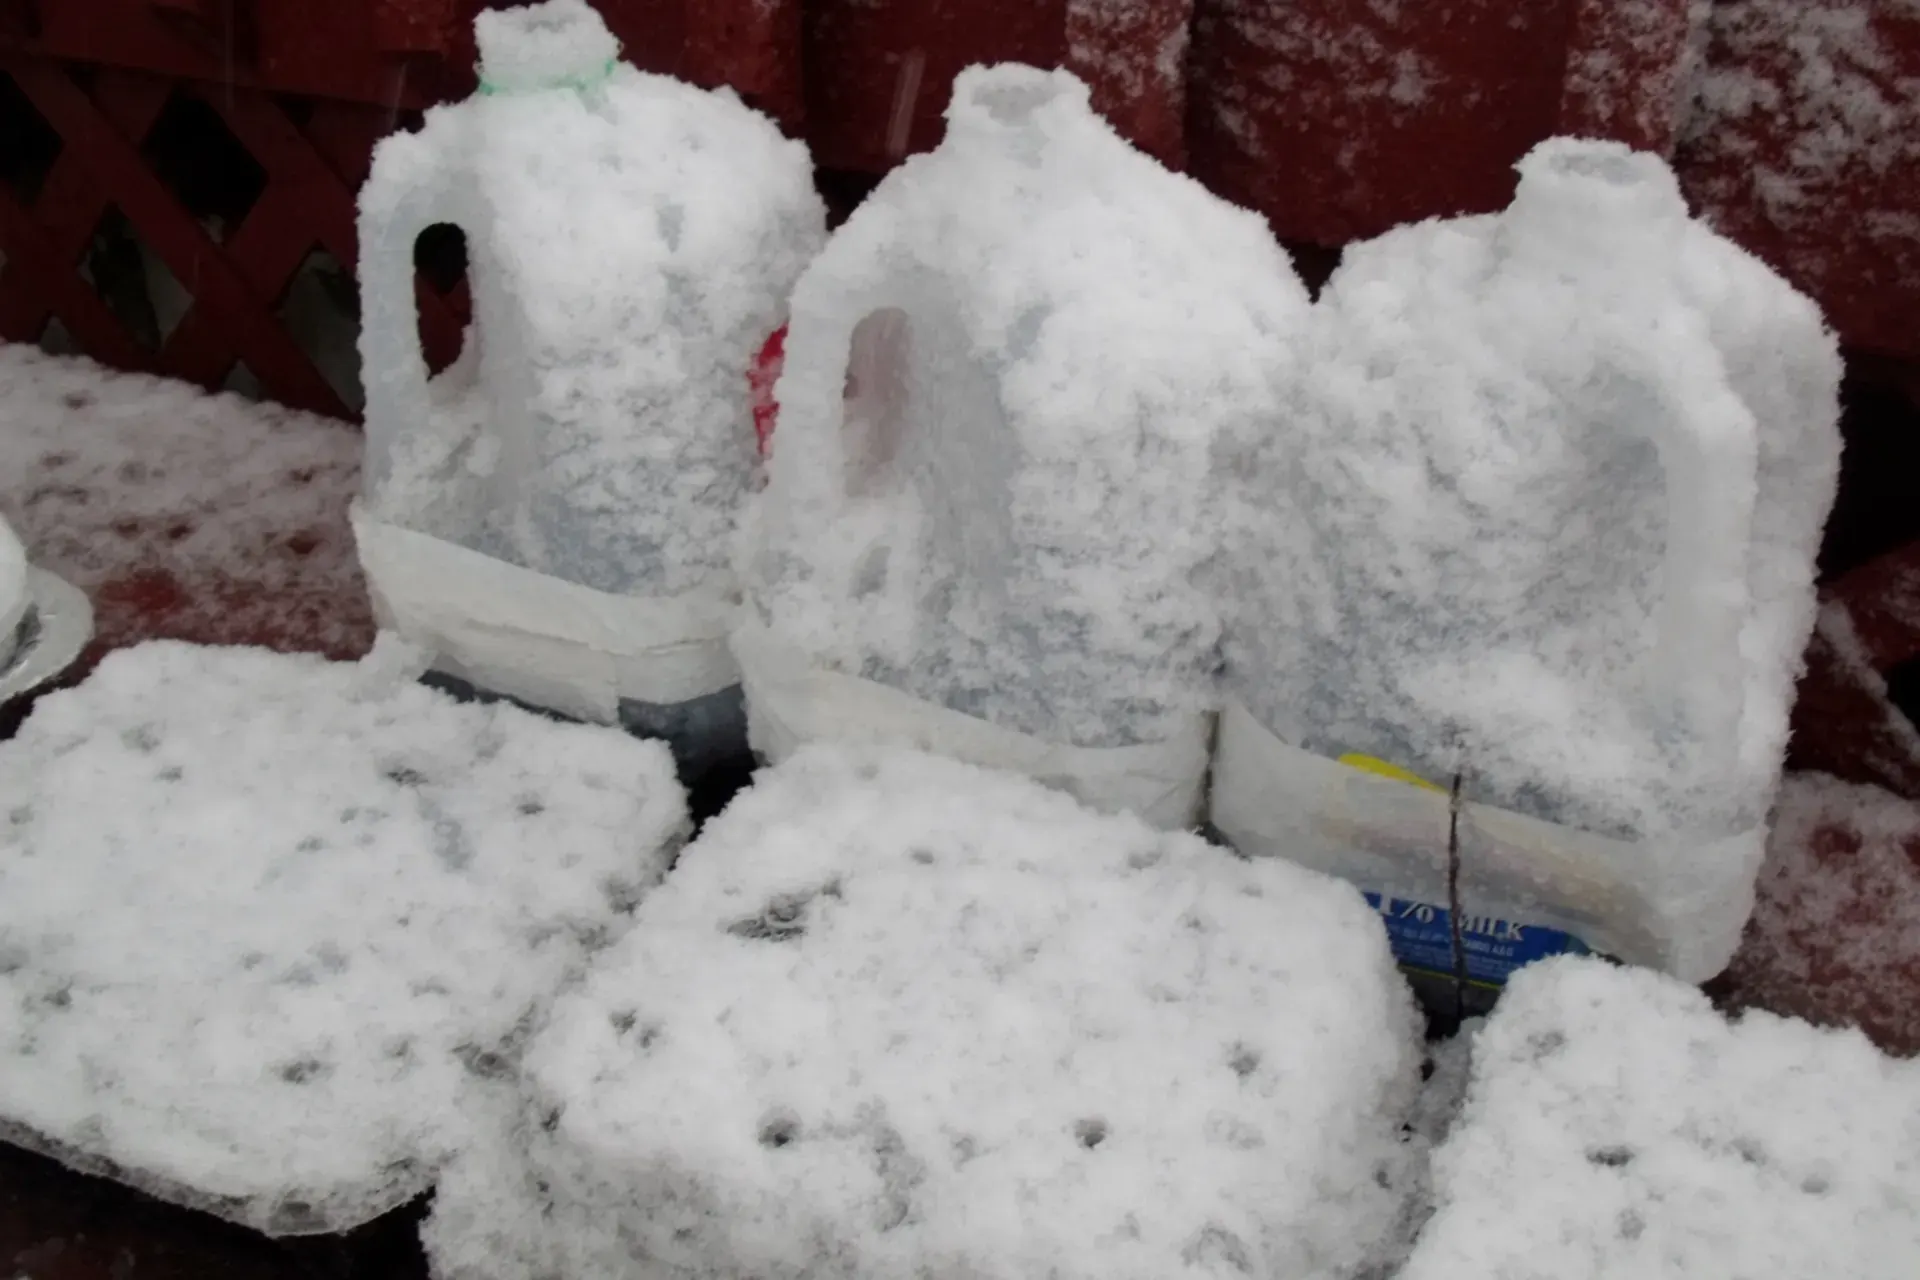
Winter sowing is the seed-starting method for gardeners with no grow lights, no sunny windowsill and no patience for either: you sow seeds in translucent containers, set them outside in the coldest weeks, and let winter run the schedule. Inside its little greenhouse, each seed gets the freeze-thaw cycles many hardy plants actually require to germinate, then wakes exactly when its own conditions arrive — and the seedling that emerges is already hardened to real weather. This is the complete guide: which seeds suit the method, any container that works, timing by climate, and spring care through transplanting. If you want the hands-on free version with the most popular container, our Winter Sowing in Milk Jugs page is the step-by-step technique this guide builds on.
Winter sowing at a glance
- The container: any translucent tub or jug — clear enough to see soil moisture, with drainage holes and a vented lid
- The seeds: hardy perennials and wildflowers (many need winter cold to germinate), plus cold-tolerant vegetables — kale, brassicas, onions, spinach, hardy herbs
- The timing: sow from the winter solstice onward; the coldest months do the work, seeds wake on their own schedule
- The payoff: seedlings already hardened to real weather — no hardening-off week, no leggy windowsill starts
Step 1 — Choose seeds that want the cold
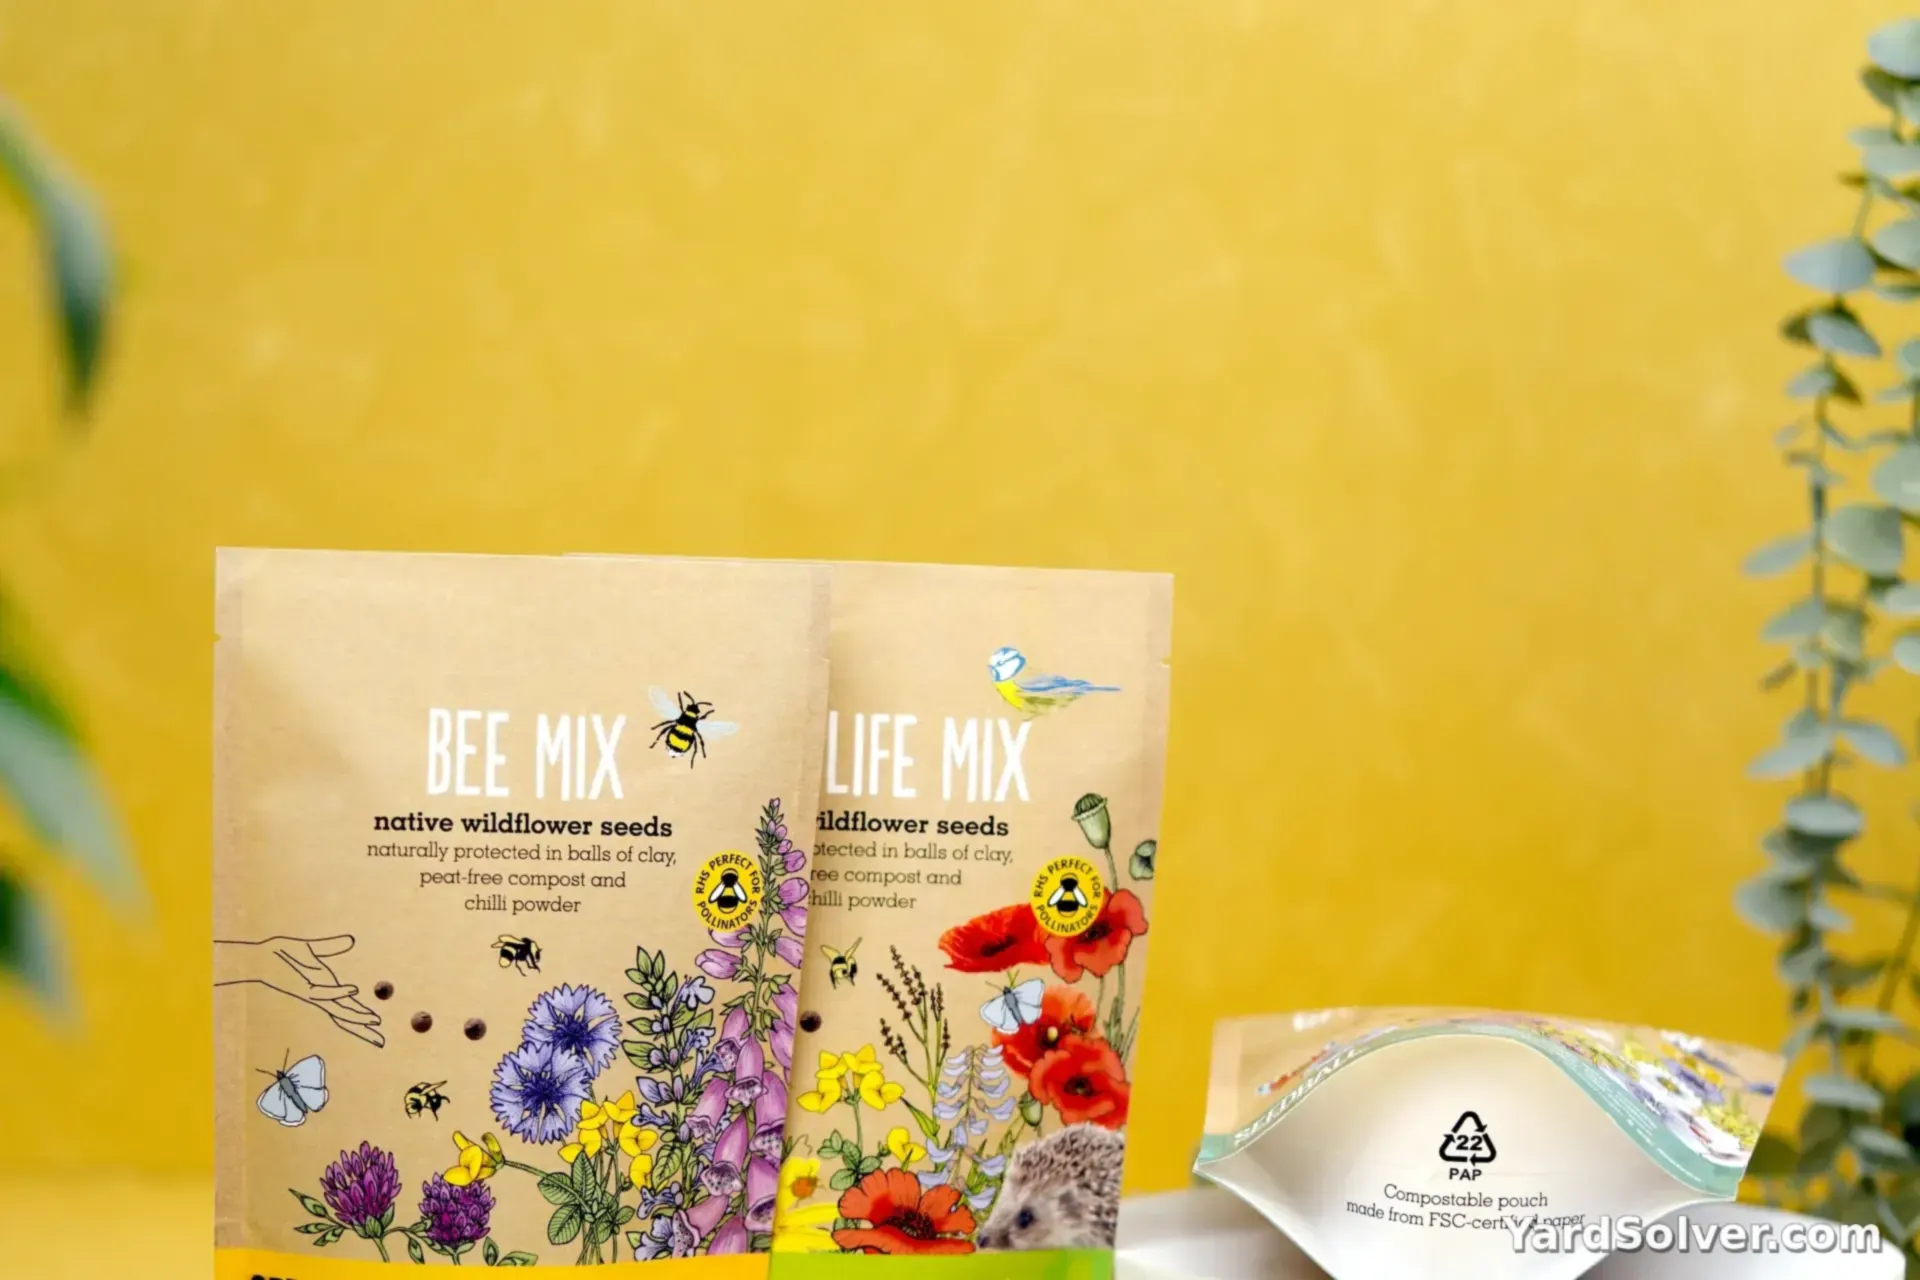
Winter sowing suits seeds that are cold-hardy or cold-needing. Many hardy perennials and native wildflowers require stratification — weeks of cold, moist conditions — before they germinate at all; an indoor start simply fails them. The vegetable list is equally strong: kale, cabbage, broccoli and other brassicas, onions and leeks, spinach, chard and hardy herbs like parsley and cilantro all wake up happily in a frozen container. What does not belong in a mid-winter container: tomatoes, peppers, basil, cucumbers and squash — warmth-lovers whose seeds rot in cold wet soil. They get the same containers later, sown in spring, or an indoor start counted from the Planting Calendar.
Native wildflowers deserve a special note: a winter-sown crop of local species becomes next year's pollinator planting, and the species-choice rules are in Native Plants for Pollinators. Seed quantities for a container are small — a pinch per tub — so the Seed Calculator mostly matters for the beds the seedlings graduate into.
Step 2 — Prepare any translucent container
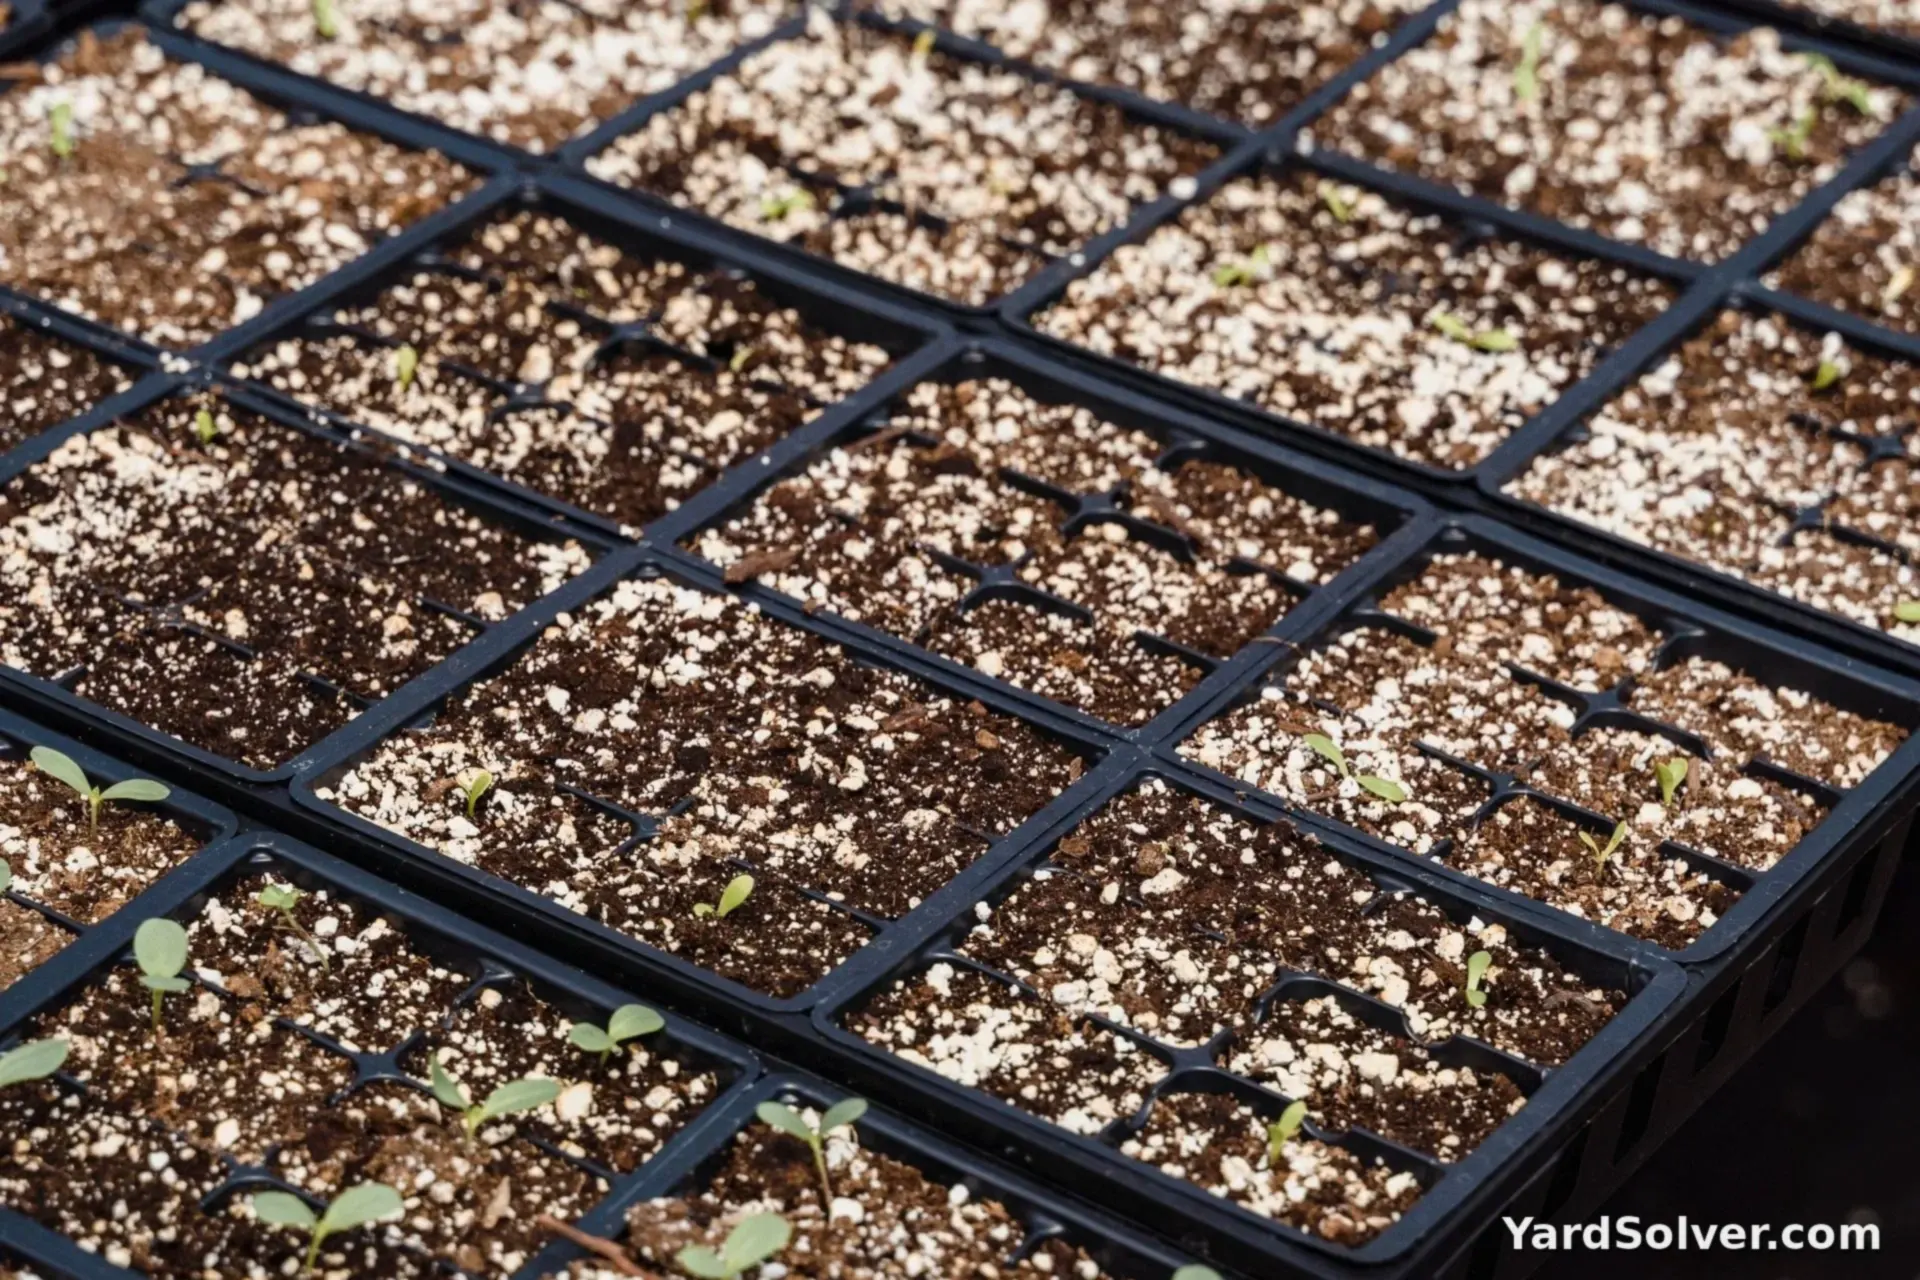
The container spec is short: translucent (you should be able to see the soil's moisture through it), at least 3–4 inches (8–10 cm) deep for mix plus headroom, drainage holes in the bottom, and a vent at the top — an uncapped bottle neck or holes in the lid — so rain enters and heat escapes. Gallon milk and water jugs are the classic because they are free and already shaped like greenhouses; salad tubs, clamshells and takeout containers work identically. The jug-specific craft — the hinge cut, the cap rule, the double labelling — is laid out photo-step by photo-step in Winter Sowing in Milk Jugs.
Fill with moist potting mix to within an inch of the rim, and firm it gently. Soil mix, not garden soil — in a container, garden soil compacts and carries weed seeds into your clean start. Pre-moisten the mix in a bucket before filling; trying to wet dry mix after sowing washes seeds into corners.
Step 3 — Sow, water in, and seal it up
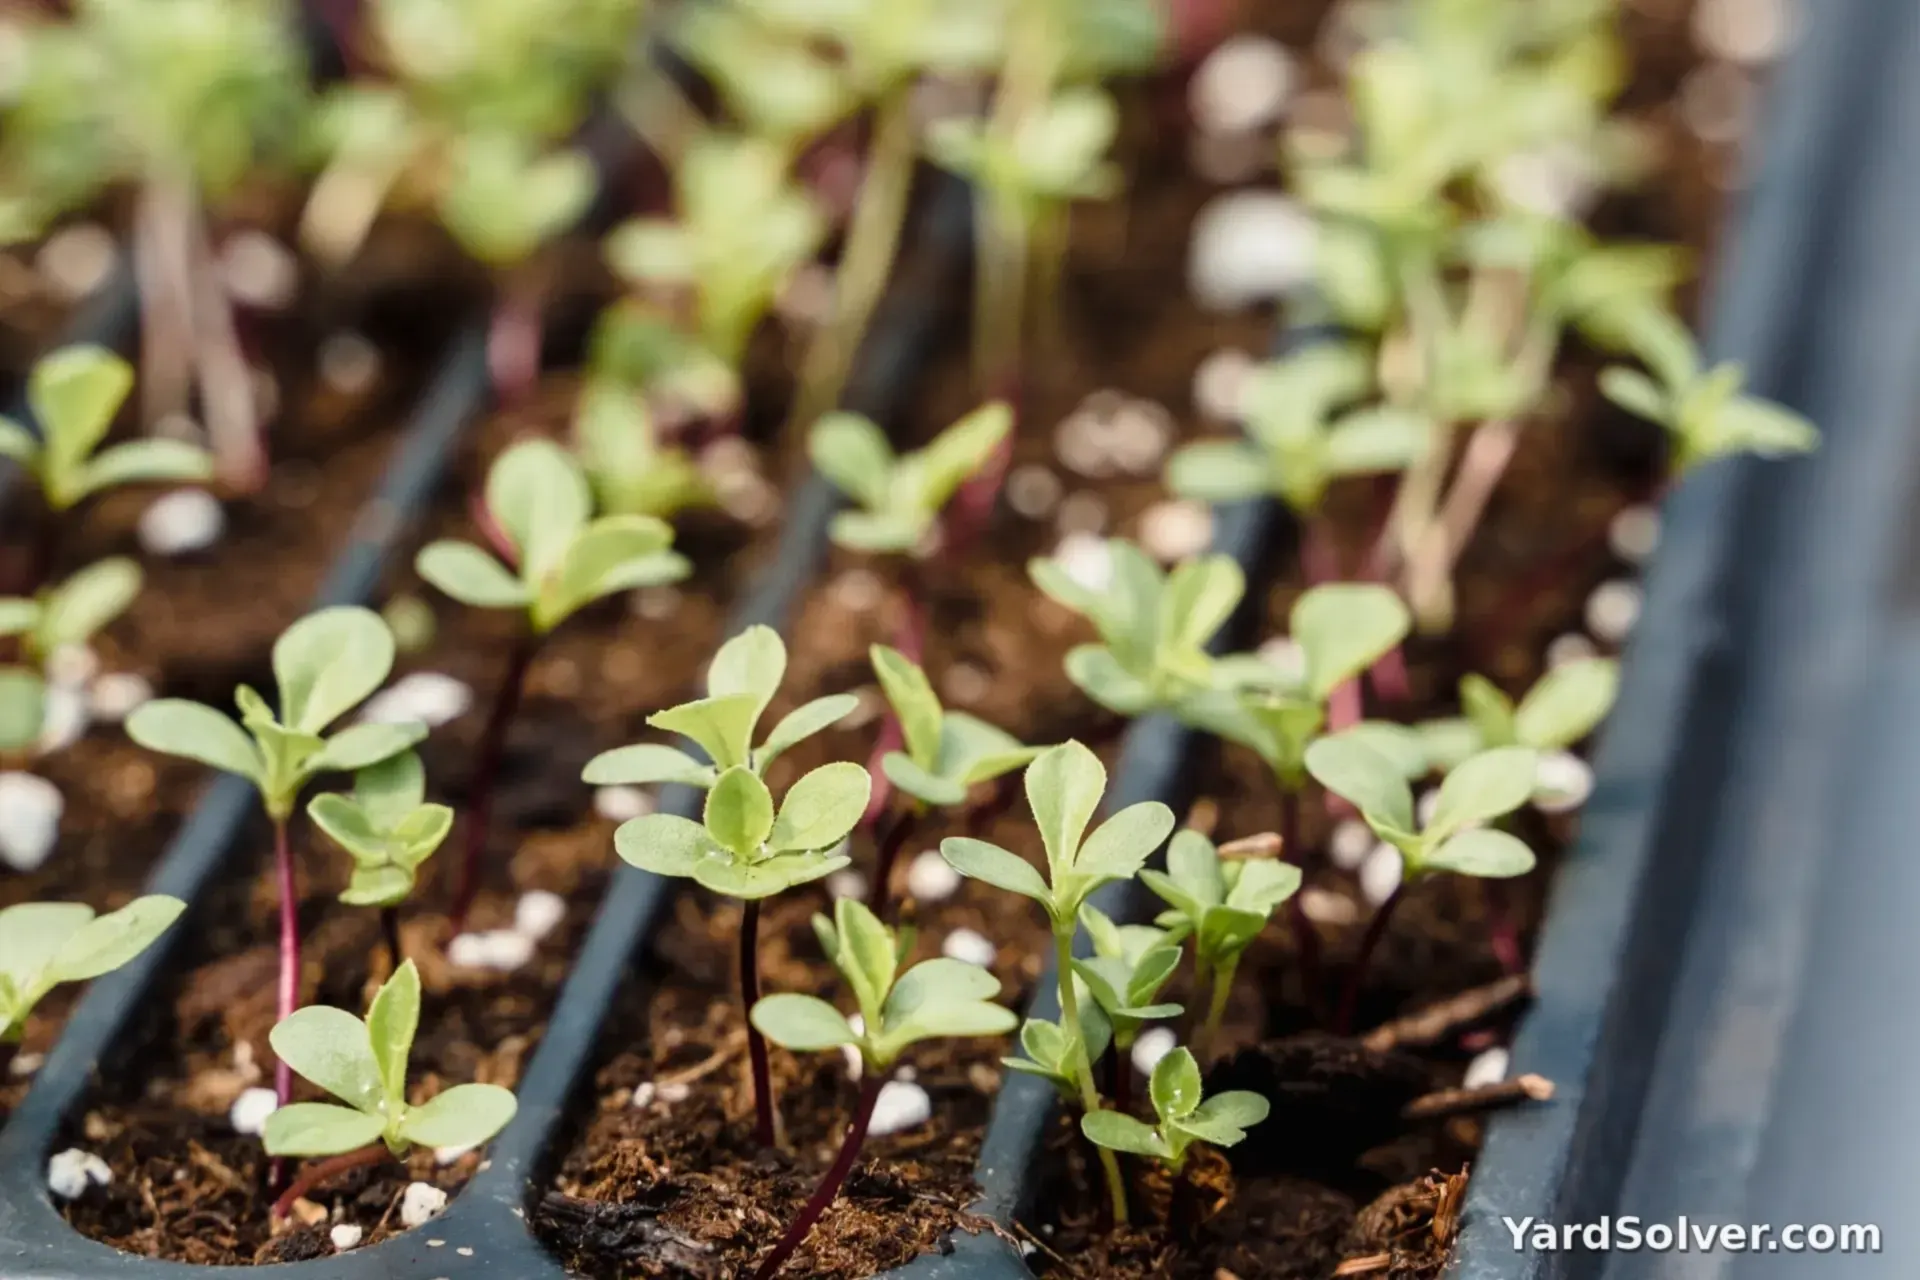
Sow at packet depth — when in doubt, about twice the seed's own width — and sow a little generously: outdoors, some seed is always lost to cold, birds of appetite and plain bad luck, and surplus seedlings thin in seconds at transplant time. Water the container in thoroughly (the mix should be evenly moist, not swimming), then close and tape the seam or lid so wind cannot pop it open.
Label twice: once on the outside with a paint pen or grease pencil, once on a tag buried inside the container. Sun and weather fade outside ink to invisibility by March, and every winter sower has a story about a tray of magnificent mystery seedlings. Write the variety and the sowing date — the date matters when you compare methods next year.
Step 4 — Set them out in the cold — timing by climate
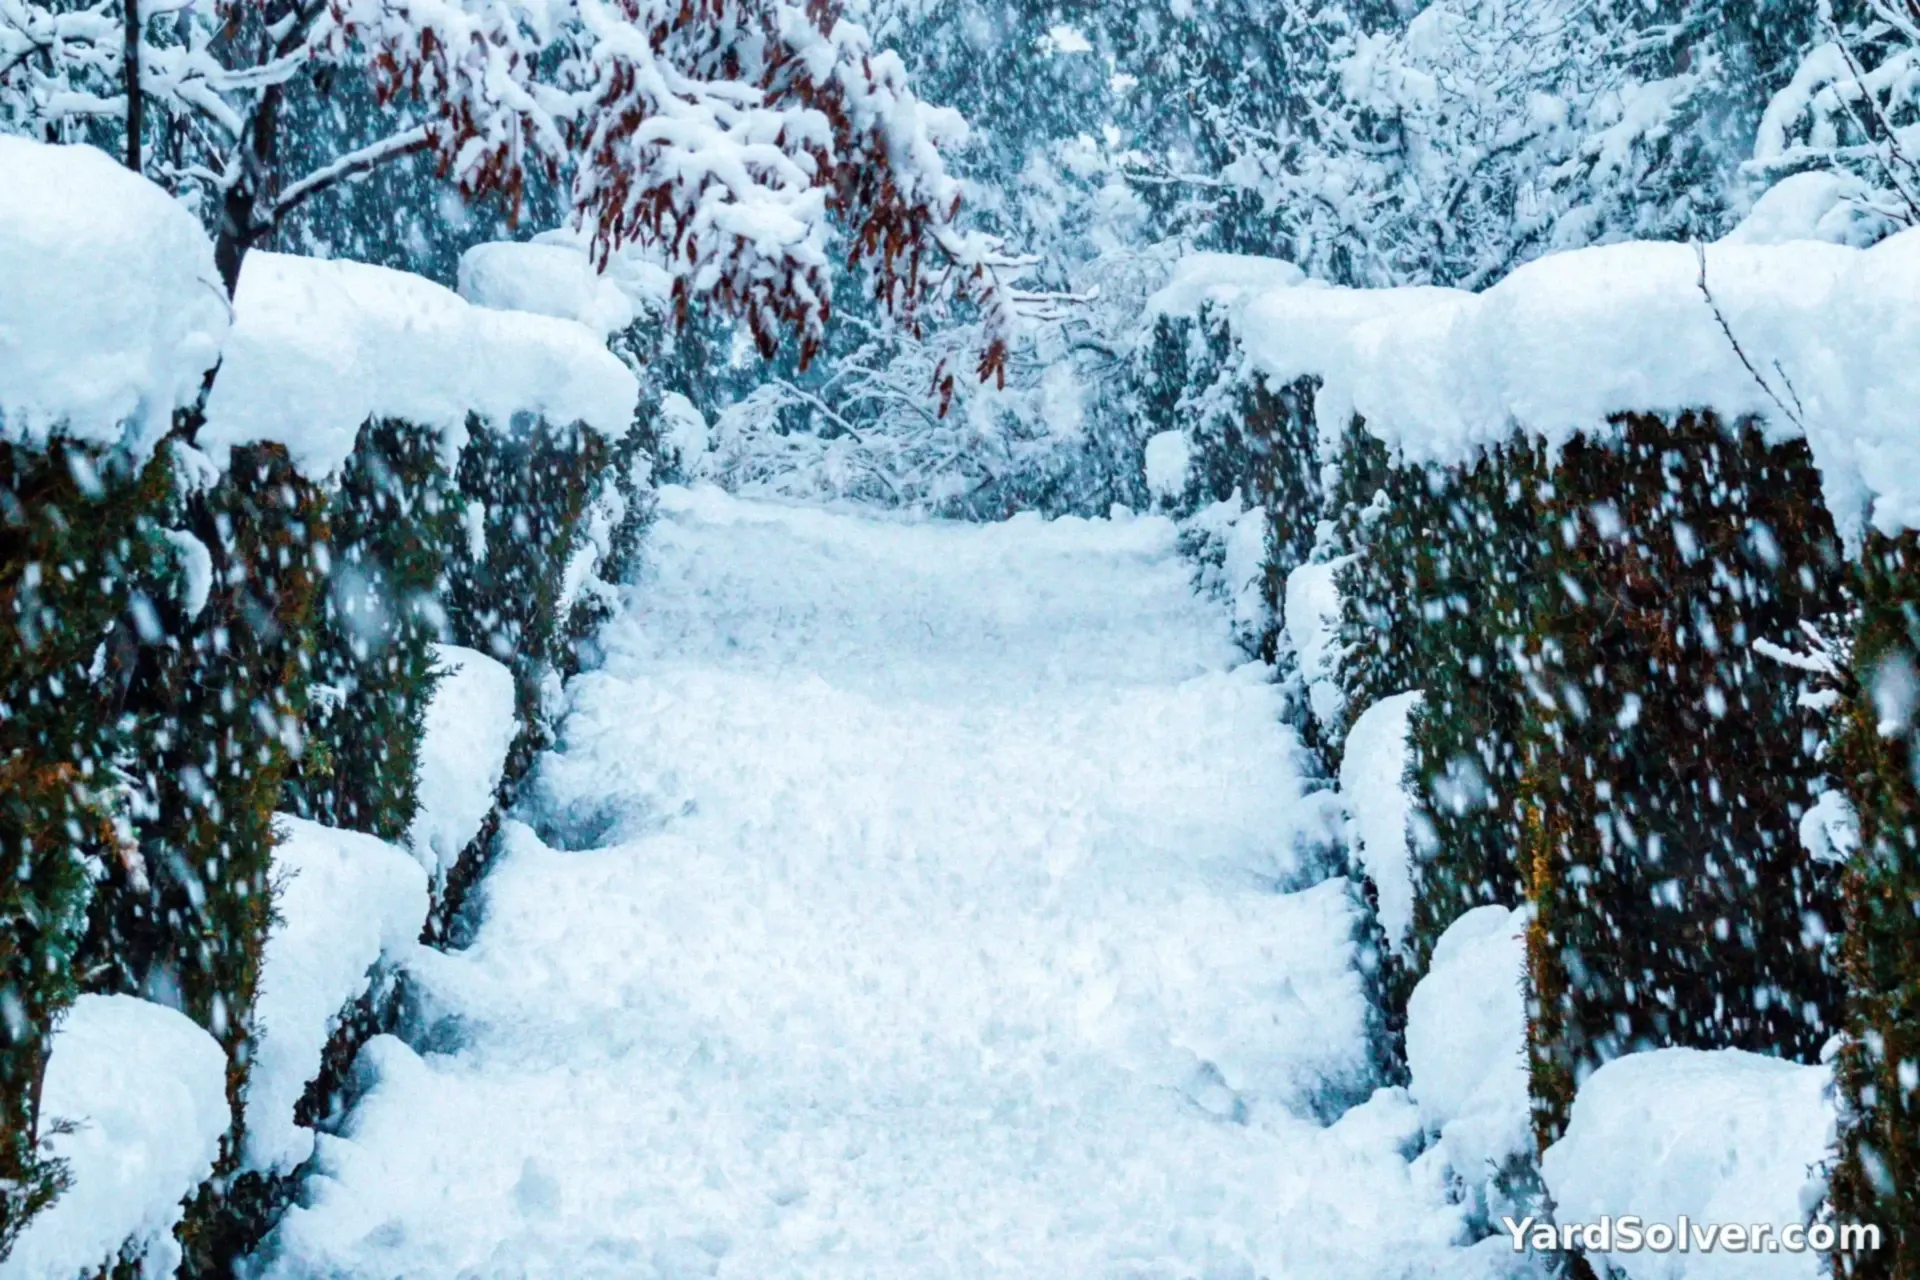
Place the containers outdoors where rain and snow can reach them, out of the way of shovels, plows and hungry wildlife — along a fence or against a wall is the classic spot. Timing: any time from the winter solstice onward suits hardy seed in cold-winter climates (roughly USDA zones 3–7, most of Canada). In mild-winter areas (zones 8–9), sow during your coldest month and park the containers in the coolest, shadiest corner so seeds get their chill without a warm spell waking them too early. In genuinely warm climates the refrigerator can substitute for stratification, but at that point indoor sowing is usually simpler.
Then walk away — this is the method's charm. Do not bring containers in for a cold snap; cold is the treatment. Check only after wild wind, to stand up anything tipped over, and confirm snowmelt or rain is keeping the mix moist.
Step 5 — Spring care and transplanting
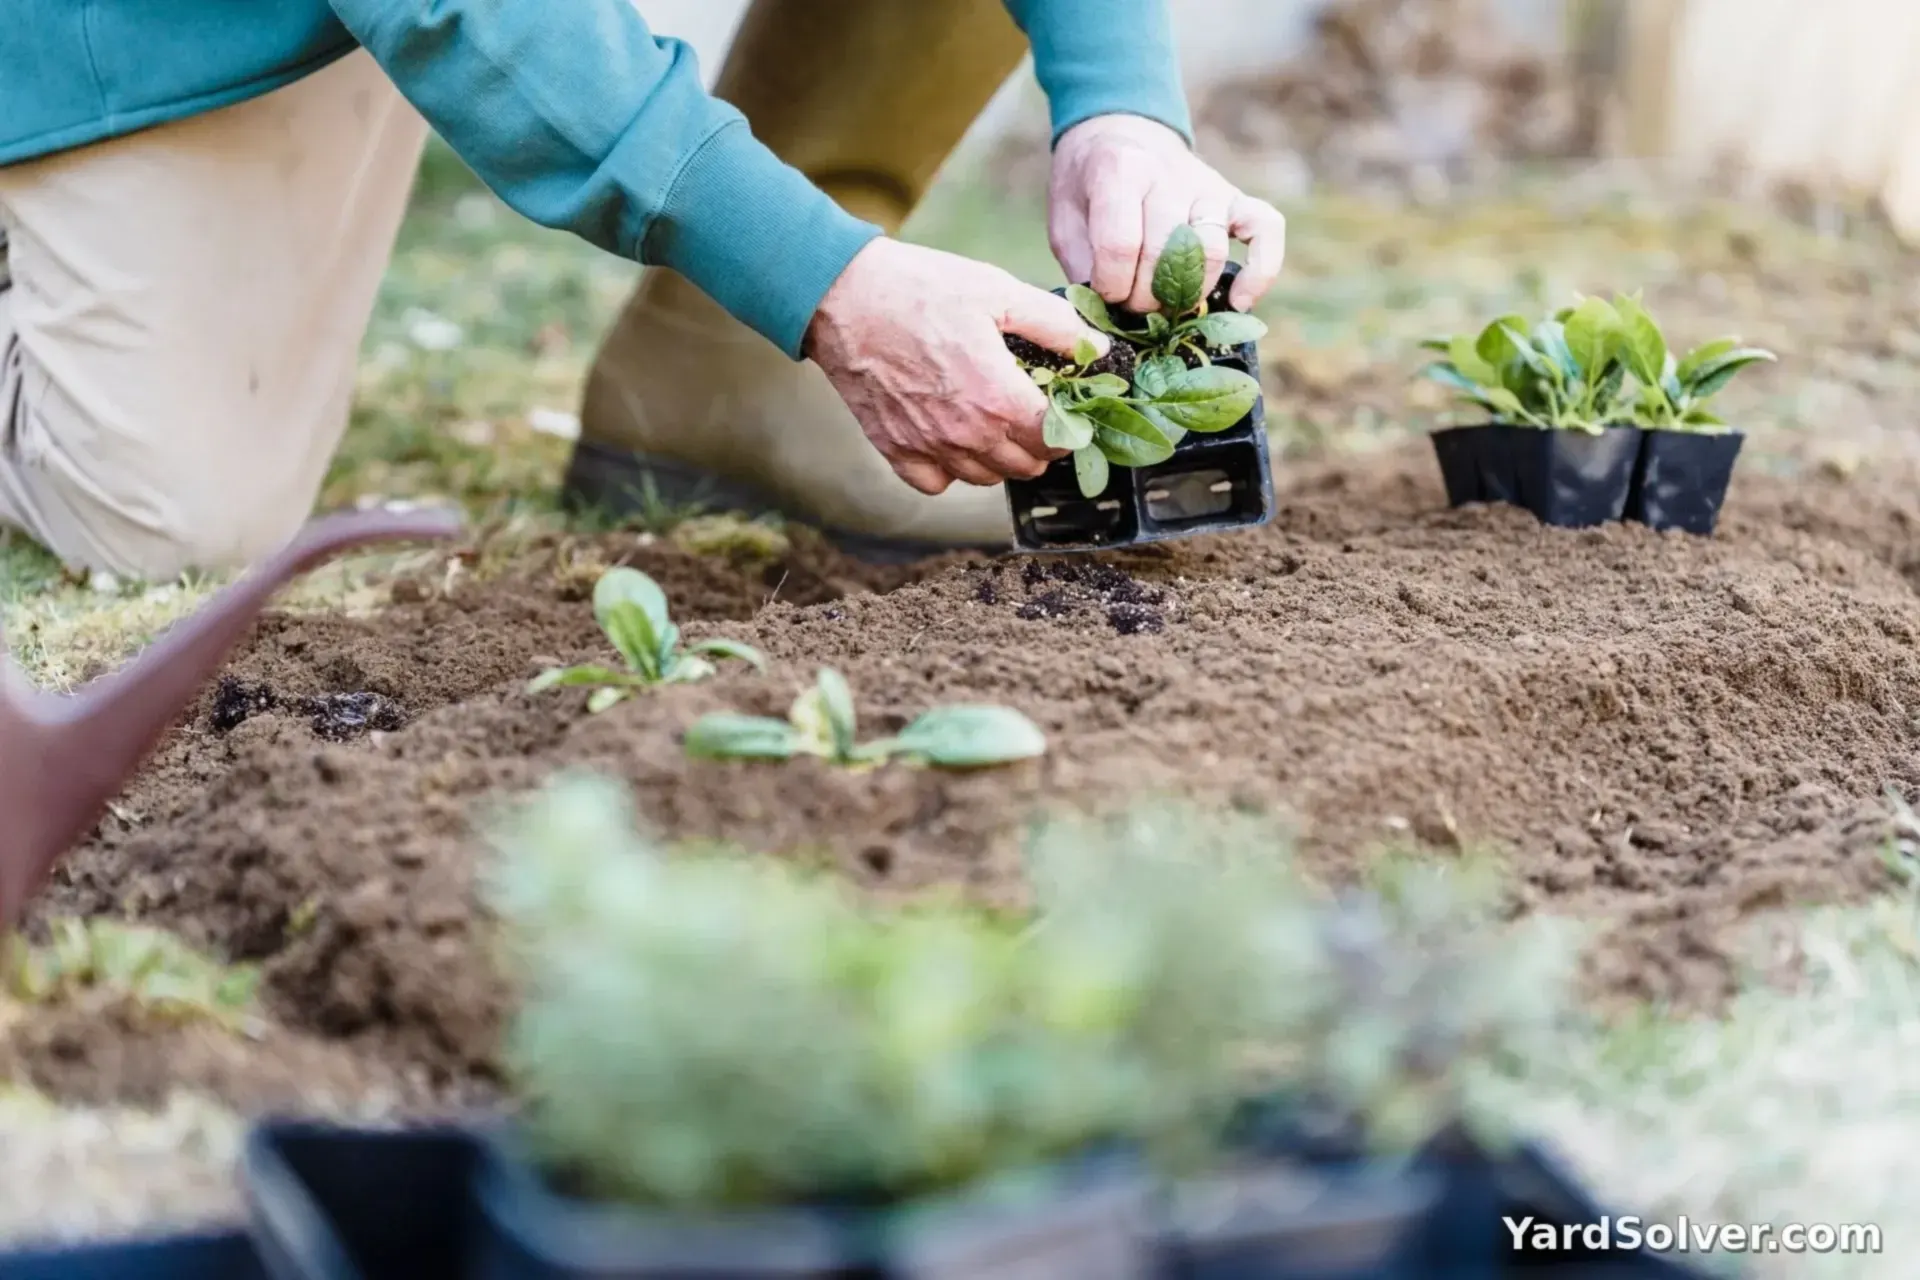
As days warm, watch for green. On sunny spring days, open lids or vents — a sealed container in strong sun can cook seedlings in an hour — and close them again at night while frosts continue. If a dry spell hits, water through the vent; the mix should stay evenly moist once seeds are awake.
Transplant when seedlings have two sets of true leaves and your soil is workable: tease the soil block apart into small clumps (winter sowing's generous sowing makes clump-transplanting natural — a hunk of seedlings goes in together for crowded crops like onions and wildflowers) and plant at the spacing the Plant Spacing Calculator gives for the crop. No hardening-off week is needed — these plants have lived outside their whole lives. Leftover containers of tender crops sown in spring follow exactly the same spring steps, minus the snow.
Keep going
The hands-on technique: Winter Sowing in Milk Jugs, Step by Step — this guide's companion page.
Prefer the windowsill for tender crops? When to Start Seeds Indoors and the Planting Calendar count the weeks for you.
What to do with winter itself: Composting in Winter · Grow Herbs Indoors in Winter · Cold Frames in Winter.
Questions people ask
What seeds are best for winter sowing?
Hardy perennials and wildflowers are the classic choice — many need a period of cold, moist conditions (stratification) before they will germinate at all. Among vegetables: kale, cabbage, broccoli, onions, leeks, spinach and hardy herbs all winter-sow well. Tender crops like tomatoes, peppers and basil are not sown in deep winter; use the same containers for them in spring, or start them indoors by the calendar.
When should I start winter sowing?
Any time from the winter solstice (late December) through late winter for hardy seeds — the traditional window. The containers sit outside through the coldest weather; the freeze-thaw cycle and lengthening days wake each seed when its conditions arrive. In mild-winter climates, sow in the coldest month you have and keep containers in the shadiest, coolest spot.
Do winter-sown seedlings need hardening off?
No — that is the method's best gift. Winter-sown seedlings germinate and grow up outdoors in real wind, sun and temperature swings, so they are already hardened when you transplant them. Indoor-started seedlings, by contrast, always need a week or more of gradual outdoor exposure.
What containers can I use for winter sowing besides milk jugs?
Any translucent container at least 3–4 inches (8–10 cm) deep: salad tubs, berry clamshells, takeout containers, juice bottles, or purpose-bought pots under a clear cover. Milk jugs are simply the free classic — the full jug method is our step-by-step page, Winter Sowing in Milk Jugs.
Comments & ratings
No comments yet.
Be the first to share your experience.